
On this page
Start here
Quick answer
A KitchenAid microwave odor usually starts with food soil or a spill held in the cavity, turntable, or other accessible surface. Let the oven cool, identify whether the smell follows a particular food or appears with smoke/arcing, then clean with mild soap and water before using KitchenAid's one-cup water-and-lemon or vinegar method. A chemical, electrical, burning-plastic, or recurring scorched smell is a reason to stop using the microwave and request service.
Before you begin
Safety first
- Turn controls off and wait for the oven to cool before cleaning. Do not open the microwave cabinet or work on high-voltage components.
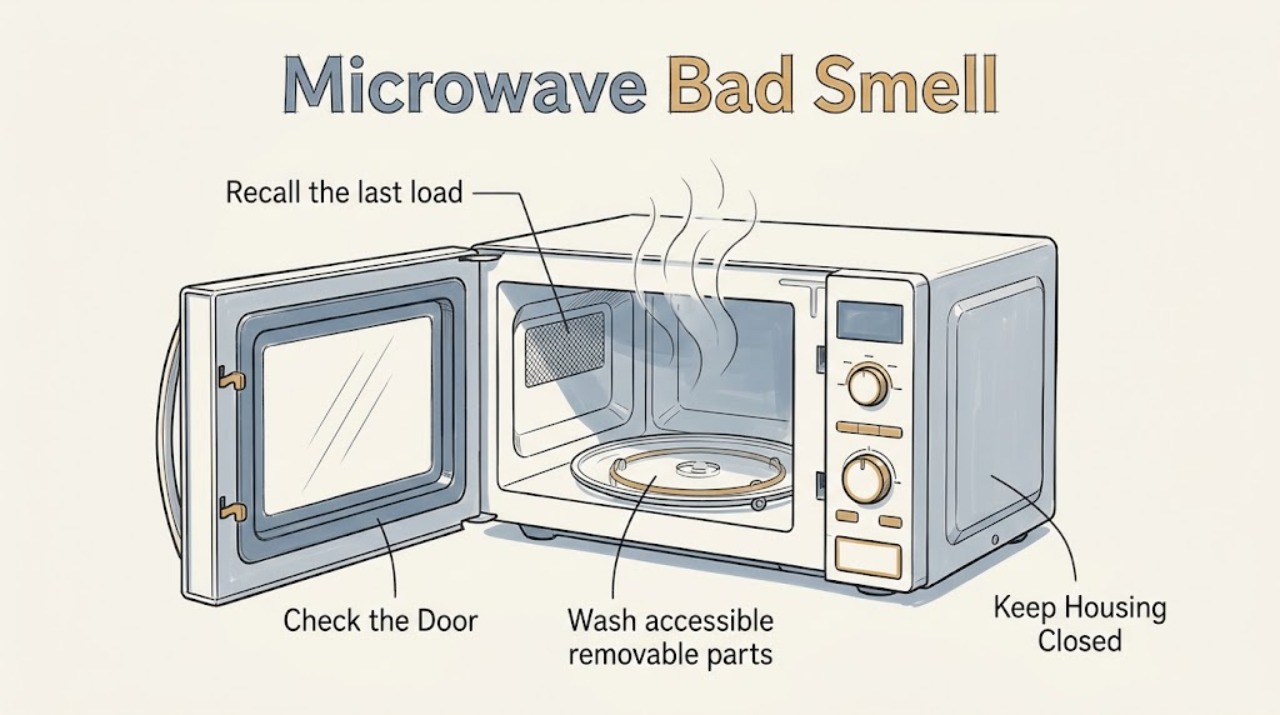
Work through in order
Diagnostic checks
Use only checks that match the exact appliance or system and its official guide.
-
Check 1
Recall the last load and locate when the odor appears: immediately after a spill or strong-smelling food, only while the microwave is running, or together with a flash, smoke, or crackle.
Expected result: The odor follows a food/spill with no hazard sign, or it coincided with arcing, smoke, or a scorched spot.
Next step: For ordinary food odor, allow the oven to cool and inspect it; for arcing, smoke, or scorching, stop using it and do not repeat the cycle.
Why this matters
Why: A food-related odor is compatible with retained cavity soil; an odor paired with arcing or scorching needs a safety stop and separate diagnosis.
-
Check 2
With controls off and the cavity cool, remove the turntable and inspect the cavity floor, ceiling, walls, turntable underside, and the area where the door meets the frame for dried splashes or soil.
Expected result: Food debris or a baked-on spill is visible, or the cavity is clean but has charring, a damaged cover, melted material, or a persistent chemical smell.
Next step: Clean only accessible soil with the approved mild method; leave a damaged or chemically smelling oven off and arrange qualified service.
Why this matters
Why: Visible soil is a plausible odor reservoir; damage or an unexplained chemical smell is outside routine cleaning.
-
Check 3
Wash accessible removable parts and wipe the cool cavity with mild soap and water using a soft cloth or sponge, then dry it. Next, heat one cup of water with one tablespoon of lemon juice or vinegar for 2 to 5 minutes and dry the interior again.
Expected result: The smell fades after the residue is removed, or it remains unchanged after the cavity is clean and dry.
Next step: If clean and dry, perform at most one brief supervised retest with a microwave-safe container; stop if the smell returns with smoke, arcing, or heat damage.
Why this matters
Why: A strong improvement supports retained food soil; no change means the original residue was not the whole source or the odor is not an ordinary food odor.
-
Check 4
For any retest, use a plain microwave-safe container and observe the cavity through the door without touching it; note whether the odor is absent, returns only with a specific load, or returns with visible arcing or smoke.
Expected result: The microwave is odor-free, the odor follows one food load without arcing, or the odor returns with a flash, smoke, or scorching.
Next step: Do not continue testing a recurring hazard; stop using the microwave and provide the observations to qualified service.
Why this matters
Why: A load-specific odor points back to the food or a new spill; a recurring hazard sign points to possible accessory, soil, or oven damage.
Use your observations
Decision map
Find the observation that best matches what you see, then follow the next safe action.
-
PATH 01Next step
What you see
Odor follows a spill or food and falls after the cavity and turntable are cleaned
Do this next
Dry the cavity and clean new spills promptly using the model's instructions.
Why this path and its safety boundary
Why it matters: Retained food soil is the most supported explanation from the timing and cleaning response.
-
PATH 02Next step
What you see
Odor appears only with a particular food but no smoke, flash, or scorching occurs
Do this next
Stop using that load until the container and food preparation are checked; do not infer a failed part from smell alone.
Why this path and its safety boundary
Why it matters: The load itself or residue left by that load is more likely than a general microwave fault.
-
PATH 03Next step
What you see
A chemical/electrical or burning-plastic odor, smoke, arcing, or a scorched cavity returns after cleaning
Do this next
Stop the microwave, keep it out of service, and arrange qualified appliance service; never remove the cabinet.
Why this path and its safety boundary
Why it matters: This is not a routine deodorizing result and may indicate unsafe arcing or damage.
Helpful context
Understand the symptom
Start with the smell's trigger
A food odor that remains after a spill calls for cleaning. A smell that began with a flash, smoke, or scorched mark is a different problem: remove the food or utensil only when safe, stop the oven if the symptom returns, and do not treat repeated arcing as an odor-removal task.
When checks do not resolve it
Need a professional?
Stop using the KitchenAid microwave for smoke, arcing, scorching, melted material, or a persistent electrical/chemical odor. Arrange service if ordinary odor remains after the documented cleaning.
Safety scope: Turn controls off and wait for the oven to cool before cleaning. Do not open the microwave cabinet or work on high-voltage components.
Have this ready
- Provide the model number, food or spill involved, odor timing, any flash/smoke/scorching, and the cleaning result.
Common questions
FAQ
Should I replace a microwave part just because it smells?
No. First separate ordinary food residue from smoke, arcing, scorching, or electrical odor. A persistent hazard symptom needs model-specific service rather than a guessed part.
What is KitchenAid's odor-removal method?
With all controls off and the oven cool, clean the interior with mild soap and water, heat one cup of water with one tablespoon of lemon juice or vinegar for 2 to 5 minutes, and dry the interior.
Read the exact guide
Official sources
- General Arcing and Sparking - Built-In MicrowaveKitchenAid Product Help · KitchenAid microwave cavity soil, arcing, accessory, and service guidance
- Removing Odors and Smells - Countertop MicrowaveKitchenAid Product Help · KitchenAid microwave odor cleaning
Community feedback
Share a repair observation
Share a plain-text repair observation. Accepted observations are published automatically; this page may take a moment to update.