
On this page
Start here
Quick answer
After cleaning and reinstalling the T36IB800SP ice bin, first verify that the ice maker is enabled, the bin is fully seated against the back-wall detection switch, and no ice or tool is blocking the level-sensing arm. Thermador says a jammed cube can be released with a blunt plastic tool and warns against sharp objects. Do not pull, bend, reconnect, or remove the lever arm and do not use a service mode sequence from another model. If frozen cubes are present but the maker still does not dump after the bin and controls are correct, arrange Thermador service.
Work through in order
Diagnostic checks
Use only checks that match the exact appliance or system and its official guide.
-
Check 1
Check the normal refrigerator controls and confirm that ice production is enabled. If the T36IB800SP display shows an ICE status indicator, confirm it is on; do not enter a technician menu or use a sequence from a different Thermador model.
Expected result: The ice maker is disabled or its ICE status is off, or the control is enabled and the display gives no ice-maker fault indication.
Next step: Enable ice production using the normal T36IB800SP control if it was off. If it was already enabled, continue with the bin and arm checks; do not use a cross-model reset sequence.
Why this matters
Why: Thermador lists an ice maker that is not turned on as a cause of insufficient production and directs owners to the model manual for the control. The opened exact-model page identifies the T36IB800SP/13 support path but does not publish a universal service-mode reset.
-
Check 2
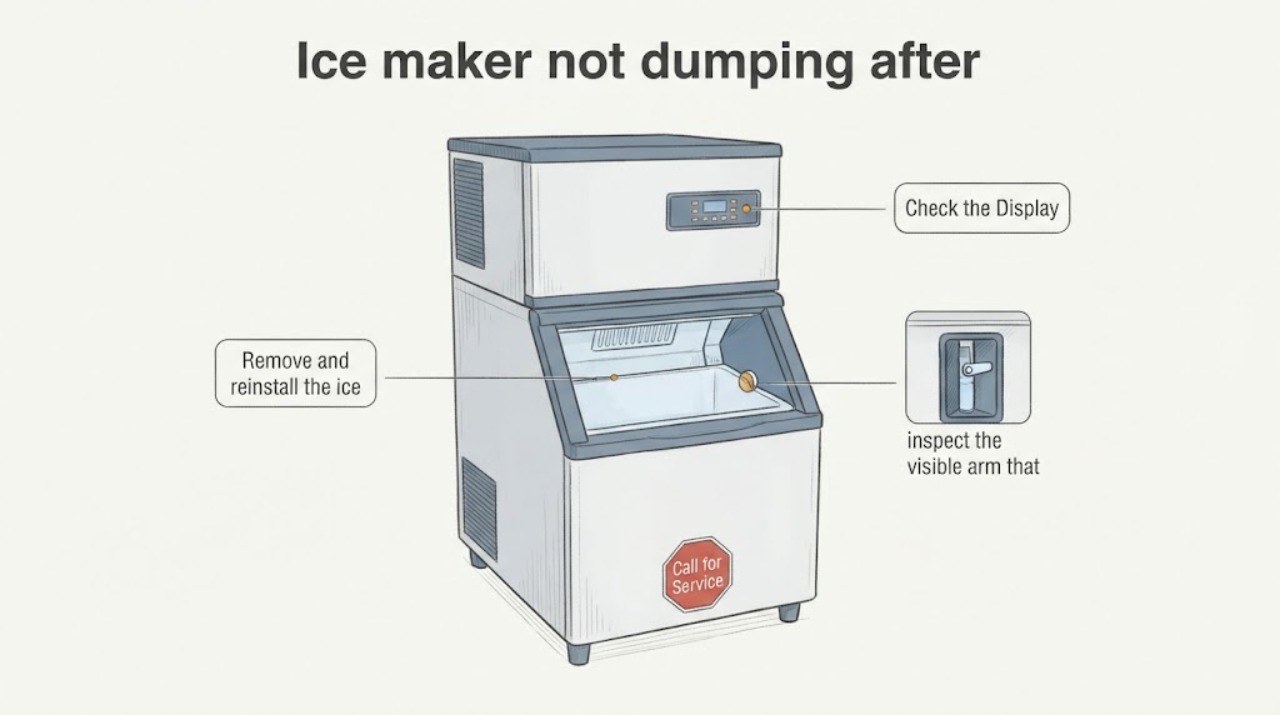
Remove and reinstall the ice bin using the normal user-accessible motion. Push it fully into its guides so the rear of the bin reaches the back wall. Look only at the accessible bin edge and rear contact area for an obstruction; do not remove covers or reach into the ice-maker mechanism.
Expected result: The bin was not fully seated, an obstruction prevents the rear contact, or the bin is fully seated and the ice maker still does not dump.
Next step: Clear only a visible obstruction and seat the bin fully. If it is fully seated and dumping still does not occur, continue with the level-arm check and then request service rather than changing the switch or bin part.
Why this matters
Why: Thermador says a built-in appliance’s correctly inserted ice bin activates the ice-bin detection switch on the back wall. A bin that stops short can therefore make the appliance read the container as absent or incorrectly positioned, but the support page does not prove a failed switch when reseating does not help.
-
Check 3
With the bin removed and the appliance otherwise untouched, inspect the visible arm that measures the ice-container level. If an ice cube is visibly wedged in the arm’s path, release only that cube with a blunt plastic tool as Thermador describes. Do not pull the arm down, bend it, unscrew it, or try to reconnect a linkage.
Expected result: A loose cube or other visible ice blocks the arm, or the arm is free but appears loose, disconnected, immobile, or out of its normal path.
Next step: After clearing only the visible cube, reinstall the bin and monitor normal production. If the arm remains loose or does not move normally, stop handling it and request Thermador service; do not diagnose a motor or switch from its appearance.
Why this matters
Why: Thermador supports removing a jammed cube from the level-measuring arm with a blunt plastic tool and specifically rejects sharp or pointed objects. It does not provide a user procedure for reconnecting, forcing, or replacing the lever arm.
-
Check 4
After the maker is enabled, the bin is seated, and the level arm path is clear, leave the appliance on its normal control setting and observe whether new cubes form and are dumped. Record whether the freezer is cold, whether cubes are present in the mold, and whether the arm is obstructed; do not invoke service mode or repeatedly manipulate the arm.
Expected result: Ice production resumes after the external checks, or cubes freeze but remain in the maker and automatic dumping still does not occur.
Next step: If normal production resumes, leave the mechanism intact. If cubes freeze but do not dump, or the arm remains abnormal, arrange Thermador authorized service and provide the exact T36IB800SP model and the fact that the problem began after bin removal/reinstallation.
Why this matters
Why: Thermador says ice production may take about 24 hours to begin after power is switched on and up to 72 hours for full production, but it does not say that a correctly seated bin with frozen cubes should be repaired by a consumer. A continued no-dump condition after the post-cleaning checks needs model-specific diagnosis.
Use your observations
Decision map
Find the observation that best matches what you see, then follow the next safe action.
-
PATH 01Next step
What you see
The ice maker was disabled or the ICE status was off.
Do this next
Enable it with the normal T36IB800SP control and allow the documented production interval. Do not use a technician-menu sequence.
Why this path and its safety boundary
Why it matters: The official Thermador troubleshooting guide lists an ice maker that is not turned on as a cause of inadequate ice production.
-
PATH 02Next step
What you see
The bin stops short of the rear wall, or a visible obstruction prevents it from seating.
Do this next
Remove only the visible obstruction and reseat the bin fully. If it still does not dump when seated, stop and request service.
Why this path and its safety boundary
Why it matters: The bin may not be activating the back-wall detection switch that Thermador says a built-in unit uses to detect the ice container.
-
PATH 03Next step
What you see
A cube is visibly jammed in the level arm path.
Do this next
Release the cube gently with a blunt plastic tool, reinstall the bin, and monitor. Do not use a sharp tool or force the arm.
Why this path and its safety boundary
Why it matters: Thermador identifies a jammed cube in the arm that measures container level as an external cause and permits a blunt plastic tool for that cube only.
-
PATH 04Next step
What you see
The bin is seated, the ice maker is enabled, the arm path is clear, and cubes still form but do not dump automatically.
Do this next
Leave the arm and ice-maker assembly intact and arrange Thermador authorized service. Do not copy service-mode instructions or order an unverified part.
Why this path and its safety boundary
Why it matters: The external checks did not resolve the exact symptom. The opened official sources do not establish whether the cause is the arm, detection switch, motor, wiring, or complete ice-maker assembly.
Helpful context
Understand the symptom
Start with the cleaned ice bin and the level arm
The timing after removing and replacing the ice bin makes seating, a jammed cube, or an object near the level-sensing arm the first external checks. Thermador’s refrigeration troubleshooting page says a built-in unit must have the bin inserted correctly to activate the detection switch on the back wall. It does not support treating a loose-looking arm as a consumer-reconnect job.
A service-mode result does not authorize an internal repair
A community report for this exact model describes cubes forming and a dump in service mode while automatic dumping failed after the bin was removed. That report is useful symptom context only. Use the normal controls and external bin checks below; do not copy a service-mode sequence or infer a motor, switch, or complete ice-maker assembly failure from the arm’s appearance.
When checks do not resolve it
Need a professional?
Arrange Thermador authorized service if the T36IB800SP ice bin is fully seated, the ice maker is enabled, no visible cube blocks the level arm, and ice still forms without automatic dumping; also call if the arm appears disconnected, will not move normally, or the bin detection condition cannot be restored.
Common questions
FAQ
Why did the T36IB800SP stop dumping ice after I cleaned and replaced the bin?
First check that the bin is fully seated against the back wall, because Thermador says a built-in unit uses the bin position to activate its detection switch. Then confirm ice production is enabled and look for a visible cube blocking the level arm. These checks do not prove that the arm or motor has failed.
Can I pull the lever arm back down?
Do not force or bend it. Thermador supports clearing a visibly jammed cube from the level-measuring arm with a blunt plastic tool, but the opened official guidance does not provide a consumer procedure to reconnect or reset a loose lever arm.
Should I use service mode to make the T36IB800SP dump ice?
No. A community report may describe a service-mode result, but that is not official operating guidance and does not identify a repair. Use the normal ice-maker control, bin seating, and visible obstruction checks; request authorized service if automatic dumping remains absent.
How long should I wait after turning the ice maker back on?
Thermador’s refrigeration guide says production may take approximately 24 hours to begin after power is switched on and up to 72 hours for full production. Waiting does not justify repeated arm manipulation or a service-mode test if the bin is seated and frozen cubes still will not dump.
What if cubes are forming but stay in the ice maker?
Confirm the bin is seated, the level arm path is clear, and the ice maker remains enabled. If the cubes still do not dump automatically, leave the mechanism intact and arrange Thermador authorized service; the available official guidance does not support selecting a motor, switch, or full assembly from this symptom alone.
Read the exact guide
Official sources
- Refrigeration - Troubleshooting GuideThermador · Official Thermador refrigeration troubleshooting page. It supports checking that ice production is on, clearing a visibly jammed cube from the level-measuring arm with a blunt plastic tool, allowing the documented production interval, and correctly seating the bin to activate the back-wall detection switch. It does not provide a lever-arm reconnection, internal repair, or cross-model service-mode procedure.
- WARNING! – SAFETY CONCERNSThermador / BSH Home Appliances Corp · Official Thermador safety notice used only for the boundary against consumer internal repair, part replacement, and technical work. It does not define the T36IB800SP lever mechanism or diagnose the no-dump symptom.
- Appliance Information - built-in fridge-freezer with freezer at bottom | T36IB800SP/13Thermador · Exact model support page for T36IB800SP/13. The opened page confirms the assigned built-in bottom-freezer identity and provides official manuals/support routing; it does not itself publish a consumer lever-arm reconnection or service-mode procedure.
- Lever arm connection in thermador bottom freezer ice makerReddit r/appliancerepair · Exact Reddit post for the assigned T36IB800SP symptom context only. It is not authoritative technical guidance and contains no confirmed repair outcome.
Community feedback
Share a repair observation
Share a plain-text repair observation. Accepted observations are published automatically; this page may take a moment to update.