
On this page
Start here
Quick answer
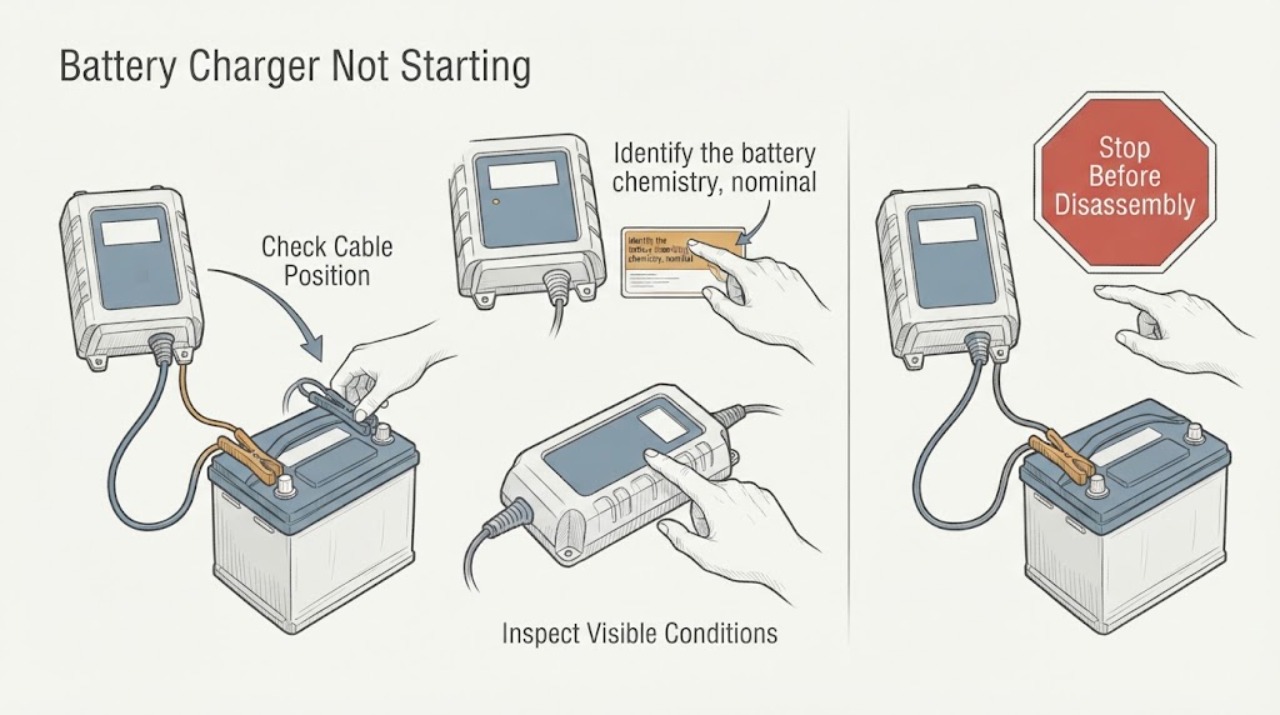
A battery charger that does not start can be blocked by the wall outlet, a damaged lead, a poor battery connection, wrong polarity or charge mode, a battery below the charger’s detection threshold, or a battery fault. Identify the charger and battery type first, then inspect the outlet and leads while disconnected and reseat the specified connectors. Use the charger’s own indicator meanings; do not force-charge an unknown battery or continue if the battery is swollen, leaking, hot, or the charger or cord is damaged.
Work through in order
Diagnostic checks
Use only checks that match the exact appliance or system and its official guide.
-
Check 1
With the charger disconnected from the battery, check the wall outlet using a known-good low-risk device, then inspect the charger plug, cable, connectors, and inline fuse housing if the model exposes one. Avoid extension cables during the test and do not use a damaged cord.
Expected result: No outlet power, visible cable or connector damage, a loose connector, or normal external condition is found.
Next step: Use a different wall outlet only as the CTEK guidance describes. Replace damaged leads or use service according to the exact charger manual.
Why this matters
Why: No LEDs can be caused by the outlet or charger input; a powered unit with normal leads shifts attention to battery connection, mode, or detection.
-
Check 2
Identify the battery chemistry, nominal voltage, and charger mode from the labels and manual. Confirm polarity and that the charger is intended for that battery; do not rely on color alone.
Expected result: The mode and polarity match, a wrong mode or reversed connection is shown, or the battery type is unknown.
Next step: Disconnect and use the exact charger manual; do not force a charge on an unknown or mismatched battery.
Why this matters
Why: NOCO identifies reverse polarity, high voltage for the selected mode, and standby as distinct conditions; an unknown battery type cannot be safely assigned a mode.
-
Check 3
With both items off, reseat the clamps, eyelets, or charging connector on clean, stable contact points as the manual permits. Observe whether the charger changes from standby or flashing power to its normal charging indication.
Expected result: The indicator changes to charging, remains in standby, or shows an error after the connection is corrected.
Next step: Do not short terminals or touch leads together. Follow the model manual or have the battery tested if detection does not recover.
Why this matters
Why: A changed indicator supports a connection problem; persistent standby can mean low battery voltage or a charger-specific detection state, while an error needs the exact code meaning.
-
Check 4
Inspect the battery externally for swelling, leakage, cracks, severe corrosion, unusual heat, or a smell, and note whether a different known-compatible battery produces the same indicator. Do not open, puncture, or attempt to revive a damaged battery.
Expected result: The battery is damaged or hot, the charger works with another compatible battery, or all compatible batteries fail to start charging.
Next step: Stop charging a damaged battery and obtain qualified battery or charger service. Use a second battery only when it is known compatible with the charger.
Why this matters
Why: A damaged or consistently rejected battery may be unsafe or unable to accept charge; success with another compatible battery makes the first battery more suspect, while failure across batteries points back to charger or setup.
-
Check 5
Record the exact LED or display pattern, charger model, battery label, and whether the unit is mains-powered or vehicle-connected. Compare the pattern with the official model support page before considering any reset or low-voltage feature.
Expected result: The indicator has a documented meaning, a low-voltage or temperature state, or no official match is found.
Next step: Stop at the documented safe checks and contact the manufacturer or qualified service with the recorded details.
Why this matters
Why: Indicator meanings vary by charger family; a no-match pattern is an evidence gap, not proof of a failed component.
Use your observations
Decision map
Find the observation that best matches what you see, then follow the next safe action.
-
PATH 01Next step
What you see
No LEDs appear in a known-good outlet and the cable and plug are undamaged.
Do this next
Stop using it and arrange manufacturer or qualified charger service.
Why this path and its safety boundary
Why it matters: The charger input or internal power path may have failed, but external checks cannot identify the part.
-
PATH 02Next step
What you see
The charger is powered but stays in standby or flashes a power indicator.
Do this next
Reseat compatible connections once and consult the exact manual; do not force-charge an unknown or damaged battery.
Why this path and its safety boundary
Why it matters: A poor connection, low battery detection, or under-voltage protection is more likely than a dead charger.
-
PATH 03Next step
What you see
An error shows reverse polarity, high voltage, temperature, or bad battery.
Do this next
Disconnect, correct only the documented setup issue, allow safe temperature recovery, or have the battery checked; do not bypass protections.
Why this path and its safety boundary
Why it matters: The indicator has narrowed the cause to setup, temperature, or battery condition as defined by that charger family.
-
PATH 04Next step
What you see
The battery is swollen, leaking, cracked, hot, or smells abnormal.
Do this next
Stop charging, isolate the battery from ignition sources when safe, and use appropriate qualified battery or hazardous-material guidance.
Why this path and its safety boundary
Why it matters: This is a battery safety boundary.
Helpful context
Understand the symptom
“Not starting” may describe the charger itself staying dark, or a powered charger refusing to begin battery charging. Read the indicator pattern and identify whether the charger is for an automotive, lithium, USB, or rechargeable-cell battery before using any mode-specific instruction.
When checks do not resolve it
Need a professional?
Use qualified service for a charger that remains dark in a known-good outlet, repeats an error, has damaged leads, or cannot identify its indicator state. Stop immediately for a hot, swollen, leaking, cracked, or odorous battery; never bypass charger protections or force an unknown battery.
Common questions
FAQ
Why is my battery charger powered but not charging?
CTEK says standby or a flashing power light can mean poor connection, a battery below the recognition threshold, or battery under-voltage protection. NOCO also identifies wrong mode, reverse polarity, temperature, and bad battery states.
Can I use any charger mode for a battery?
No. Confirm the battery chemistry and nominal voltage against the exact charger manual. NOCO documents separate modes and errors for voltage and battery type.
What should I do if the battery gets hot while charging?
Stop charging if the battery itself becomes unusually hot, swells, leaks, or smells abnormal, and obtain qualified battery service. Do not open or puncture it.
Read the exact guide
Official sources
- The charger does not turn on when connected to the mains. Is it faulty?CTEK · CTEK 12V/24V charger no-power checks
- My charger won’t start charging and only the green power light is flashing. Is it faulty?CTEK · CTEK charger standby, connection, deeply discharged battery, and under-voltage protection explanation
- NOCO - GENIUS2 SupportNOCO · NOCO battery charger standby, polarity, battery, temperature, and mode diagnostics
Community feedback
Share a repair observation
Share a plain-text repair observation. Accepted observations are published automatically; this page may take a moment to update.