
On this page
Start here
Quick answer
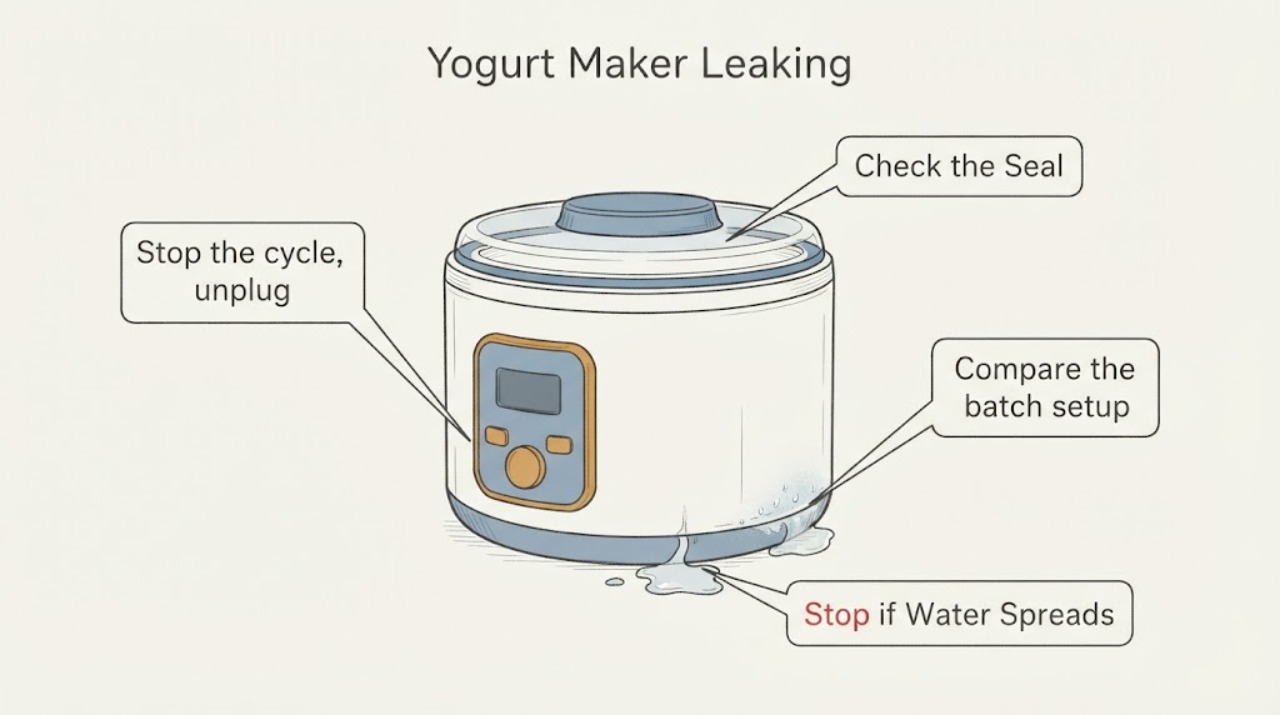
A yogurt maker leak usually comes from a cup filled too high, a lid or cup seal that is not seated or is cracked, condensation/spilled mixture around the removable cups, or liquid reaching the base. Stop the cycle, unplug and cool it, inspect the cups and lids, use the manual’s fill level and incubation setup, and keep liquid out of the electrical body. A cracked cup, damaged cord, or liquid inside the base needs manufacturer service.
Work through in order
Diagnostic checks
Use only checks that match the exact appliance or system and its official guide.
-
Check 1
Stop the cycle, unplug the yogurt maker, and let it cool; identify whether liquid is inside a cup, around a lid, on the tray/body, or under the electrical base.
Expected result: Liquid has reached the body, cord, plug, or outlet, or the leak is active while powered.
Next step: Keep it unplugged, dry the exterior only, and contact the manufacturer if liquid entered the body or the cord/plug is wet or damaged.
Stop if: Never immerse the base or re-energize it while wet.
Why this matters
Why: Moisture at the electrical base creates shock and damage risk.
-
Check 2
Inspect each removable cup and leak-resistant lid for cracks, warping, food on the sealing surface, cross-threading, or a lid that does not seat evenly.
Expected result: One cup/lid leaks when tilted or has a damaged seal; all cups and lids are intact.
Next step: Do not use a cracked or deformed cup; obtain a model-compatible replacement through the manufacturer and clean intact parts as directed.
Stop if: Do not seal a damaged container with tape or improvised gasket material.
Why this matters
Why: A container or lid defect can explain a localized leak without proving a maker-body fault.
-
Check 3
Compare the batch setup with the manual: use the supplied removable cups, fill no more than the stated three-quarters level for the described method, and leave lids off during incubation.
Expected result: A cup was overfilled, a lid was fitted during incubation, or mixture spilled during loading.
Next step: Clean and dry the removable parts, then retry with the documented fill level and open cups during the cycle.
Stop if: Stop if the main lid or base cannot be cleaned without liquid entering the appliance.
Why this matters
Why: Excess volume and incorrect incubation setup can push liquid under the main lid or out of the cup.
-
Check 4
Place the maker on a level, dry, heat-resistant surface and observe one supervised cycle for seepage from the same cup or from the body seam.
Expected result: The leak follows a cup and disappears with correct setup, or it emerges from the body/seam despite intact cups.
Next step: Use only intact cups for a corrected test; stop and contact Aroma for a body/seam leak or recurring leak.
Stop if: Do not move the appliance while hot or open the housing.
Why this matters
Why: A setup/container issue is more likely in the first case; a body seal or internal fault is more likely in the second.
Use your observations
Decision map
Find the observation that best matches what you see, then follow the next safe action.
-
PATH 01Next step
What you see
One cup or lid is cracked, warped, or leaks when handled separately
Do this next
Discard or replace that model-compatible cup/lid and keep the base dry.
Why this path and its safety boundary
Why it matters: The removable container is the likely leak source.
-
PATH 02Next step
What you see
All cups are intact but the mixture was overfilled or lids were fitted during incubation
Do this next
Clean the removable parts, follow the documented fill level, and incubate with cups open.
Why this path and its safety boundary
Why it matters: The batch setup can explain overflow without an internal appliance failure.
-
PATH 03Next step
What you see
Liquid comes from the maker body, cord area, or repeats with correct cups and setup
Do this next
Keep unplugged and contact the manufacturer; do not disassemble or improvise a repair.
Why this path and its safety boundary
Why it matters: A body seal or electrical/internal fault is more likely and is outside user cleaning.
Helpful context
Understand the symptom
How to read the result
A yogurt maker leak usually comes from a cup filled too high, a lid or cup seal that is not seated or is cracked, condensation/spilled mixture around the removable cups, or liquid reaching the base. Stop the cycle, unplug and cool it, inspect the cups and lids, use the manual’s fill level and incubation setup, and keep liquid out of the electrical body. A cracked cup, damaged cord, or liquid inside the base needs manufacturer service.
When checks do not resolve it
Need a professional?
Contact manufacturer service for liquid inside the base, a body/seam leak, damaged cord or plug, or recurring leaks after intact cups and the documented fill/incubation setup are used.
Common questions
FAQ
Should the yogurt cups be closed during incubation?
In Aroma’s described method, fill the cups three-quarters full and leave them open during the yogurt cycle; fit the leak-resistant lids after the cycle before refrigeration.
Can I rinse the yogurt maker base to remove a leak?
No. Aroma says never immerse the yogurt maker body, cord, or plug; unplug, wipe the body safely, and seek service if liquid entered the base.
Read the exact guide
Official sources
- AYM-606 Digital Yogurt Maker Instruction ManualAroma Housewares · yogurt maker cups, lids, fill level, cleaning and service
Community feedback
Share a repair observation
Share a plain-text repair observation. Accepted observations are published automatically; this page may take a moment to update.