
Repair problem
Leaking Troubleshooting Guides
Published FixGraph guidance for diagnosing and responding to leaking.
Matching published guides
Choose a guide that matches the service, equipment, and conditions you are seeing.
-
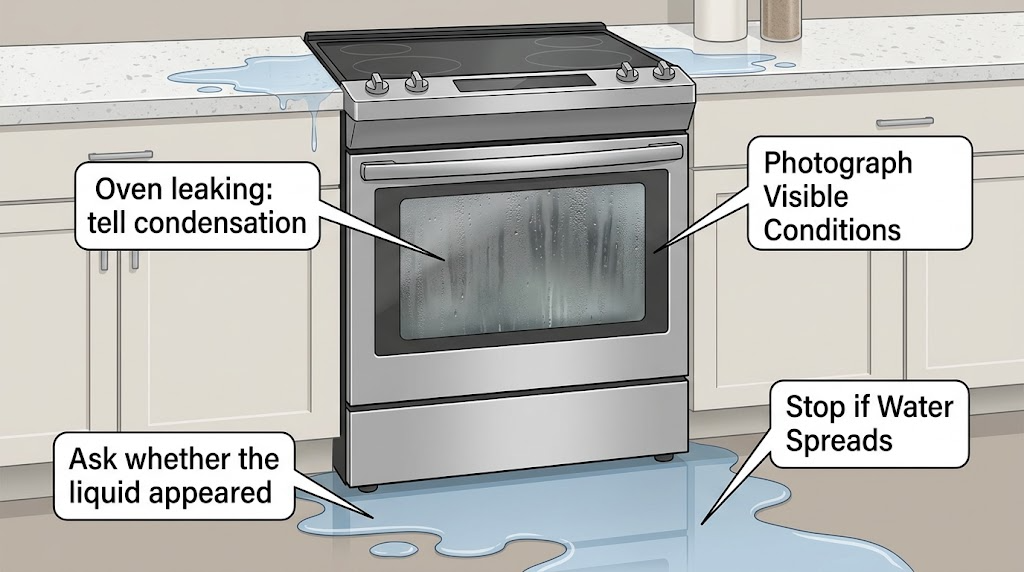
Admiral oven leaking: tell condensation from a real water leak
First identify what is leaking and where it starts: a few clear drops on the door or floor after cooking can be steam condensation, especially with high-moisture food, while water pooling under the range, entering a control area, or continuing when the oven is cool is not normal. Turn the oven off and let it cool before wiping or inspecting; check that vents are clear, the door closes, and any optional steam reservoir is not overfilled.
-
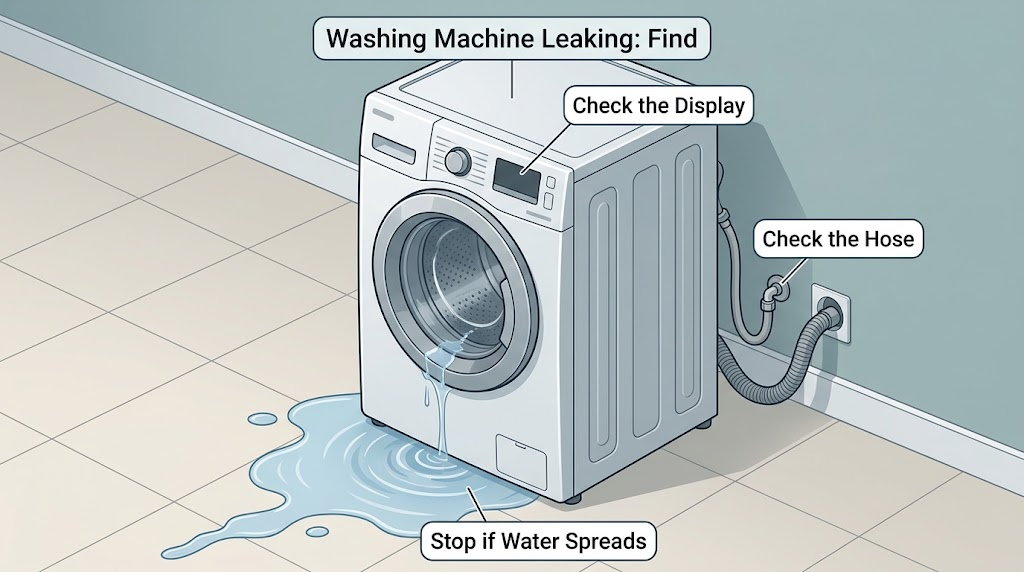
Admiral Washing Machine Leaking: Find the Source Safely
Stop the Admiral washer, keep it out of the cycle, and turn off the wall water valves before investigating a leak. If the floor, outlet, or power cord is wet, do not touch the plug or electrical parts; use a safe, accessible disconnect only if you can do so without entering water or a hazard.
-
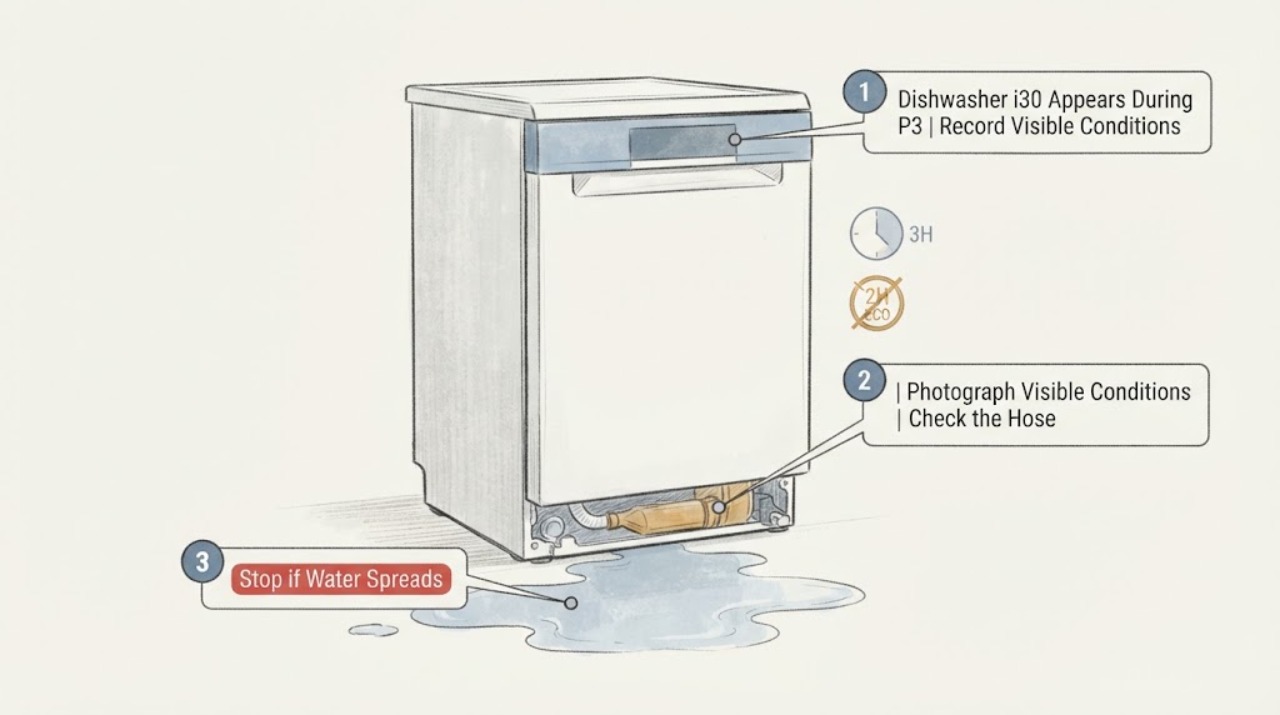
AEG Dishwasher i30 Appears During P3 but Not Eco
Treat AEG i30 as a leak or anti-flood warning even when it appears only during the P3 programme and not during Eco. Close the water tap, stop the dishwasher, and do not tilt, repeatedly reset, or run another cycle to reproduce the event.
-
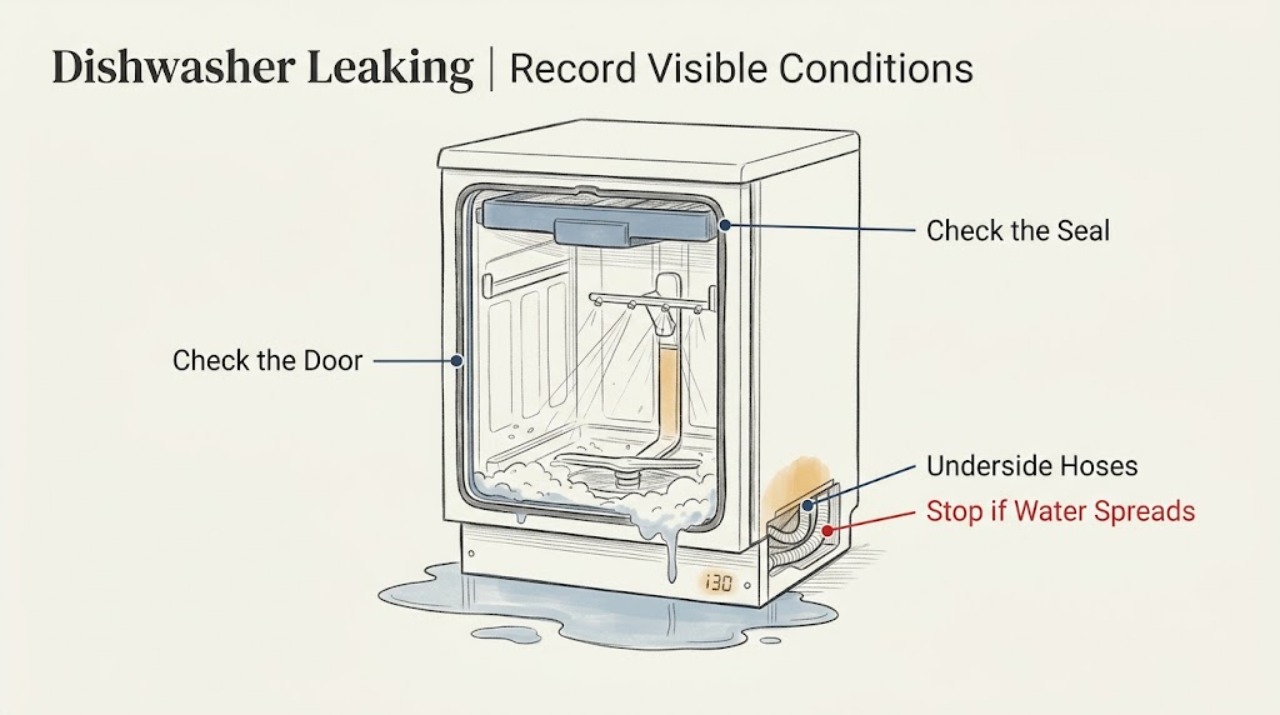
AEG Dishwasher Leaking: Trace the Water Before Running Another Cycle
Turn off the dishwasher and close the water tap as soon as you see a leak. Note whether the water comes from the door, a rear connection, underneath the appliance, or only appears as foam.
-
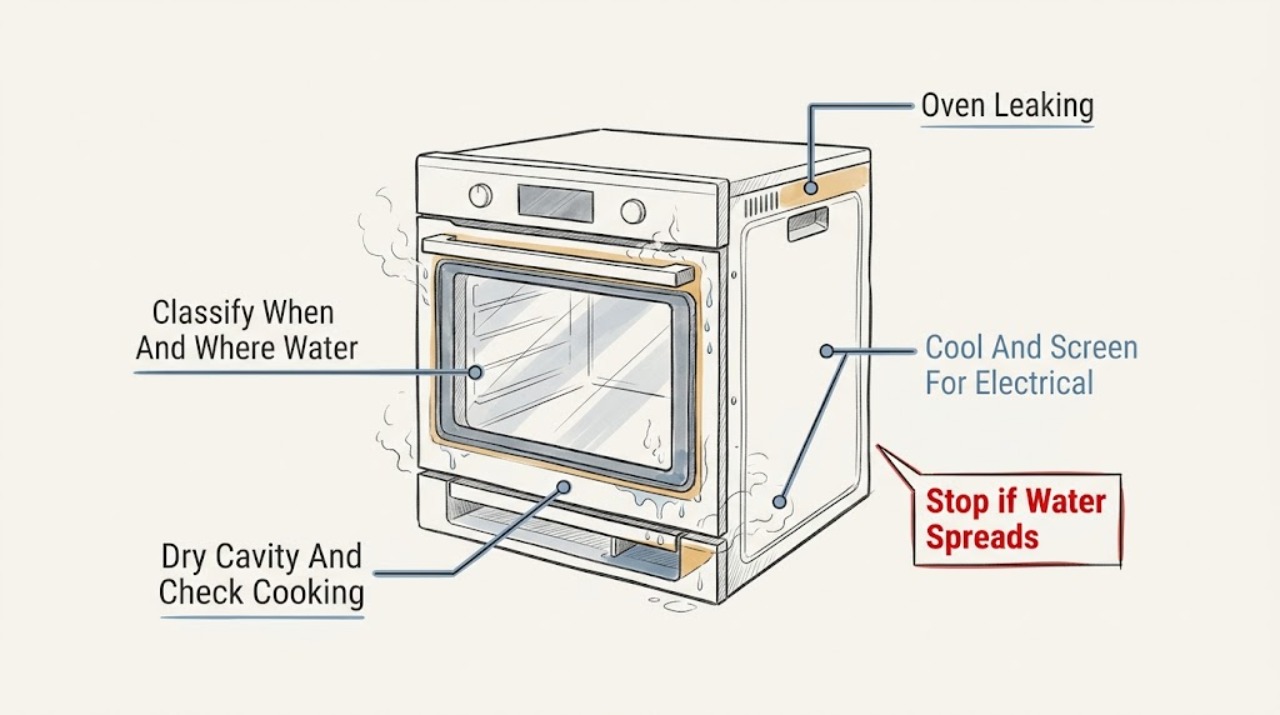
AEG Oven Leaking: Separate Condensation, Steam Water, and a Real Leak
If an AEG oven is leaking, stop the programme and let the appliance cool before touching water or wiping the cavity. First note when and where water appears: during roasting, at the door when it opens, after a steam or Sous Vide programme, from the cavity floor, or beneath the appliance.
-
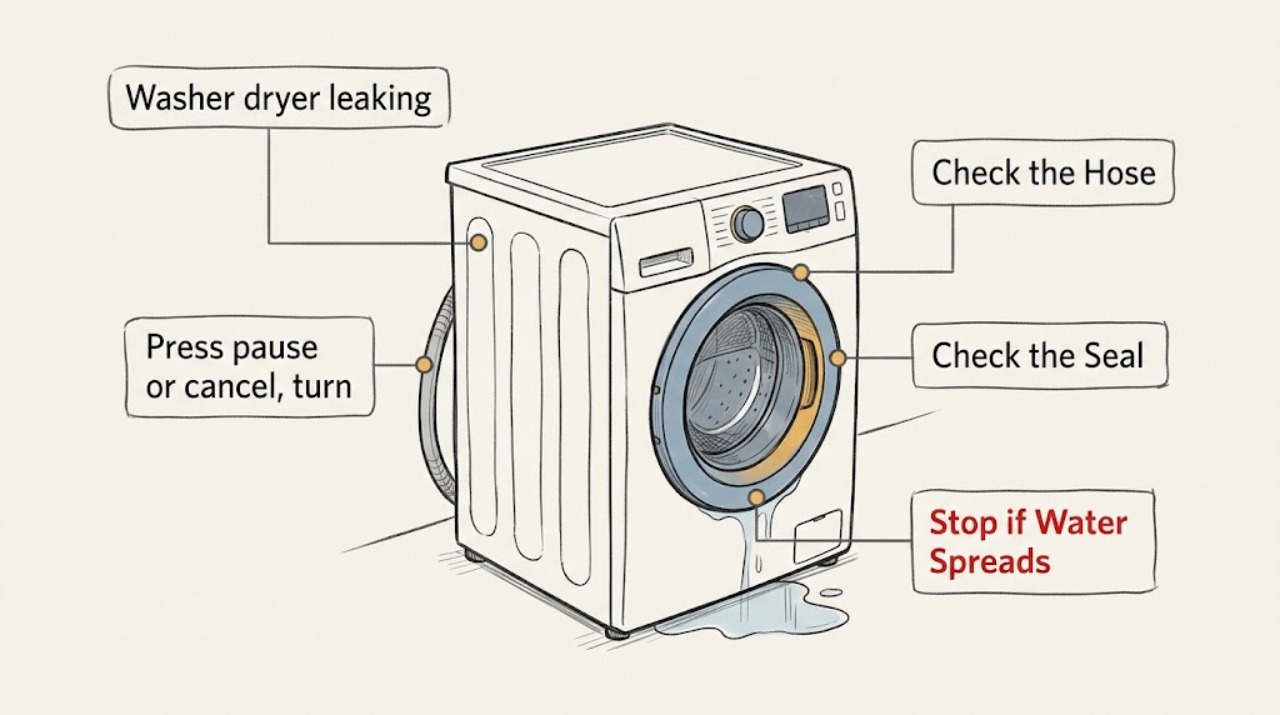
AEG washer dryer leaking: find the source and stop water damage
Stop the programme, turn off the water tap, and disconnect power only if you can do so without touching water or a wet electrical connection. Note whether the leak starts during filling, washing, draining, or drying, then inspect the inlet-hose connections, door seal, detergent drawer, and accessible drain-filter area without moving the machine or removing panels.
-
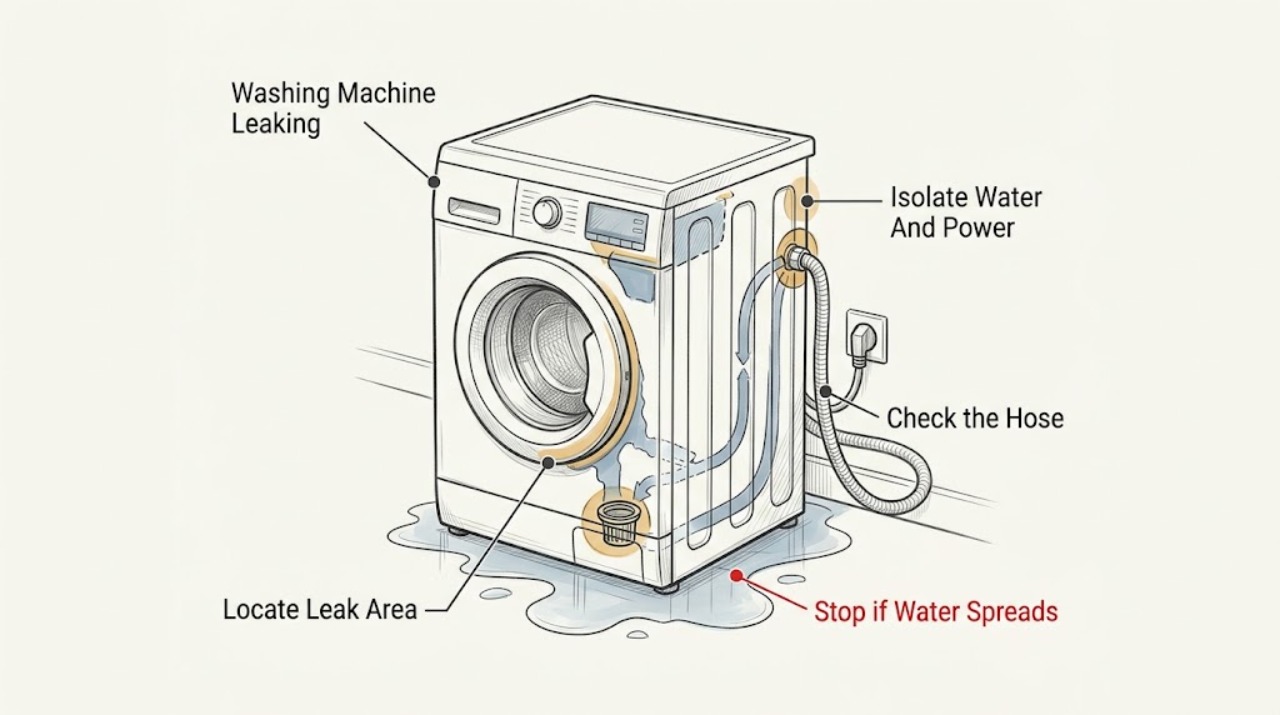
Aeg Washing Machine Leaking
If an AEG washing machine is leaking, stop the cycle, keep people away from spilled water, turn off the machine's water supply, and disconnect power only when you can do so without touching water or damaged electrical parts. Once safe, identify whether water comes from the rear inlet hose, front door seal, detergent drawer, or lower filter area.
-
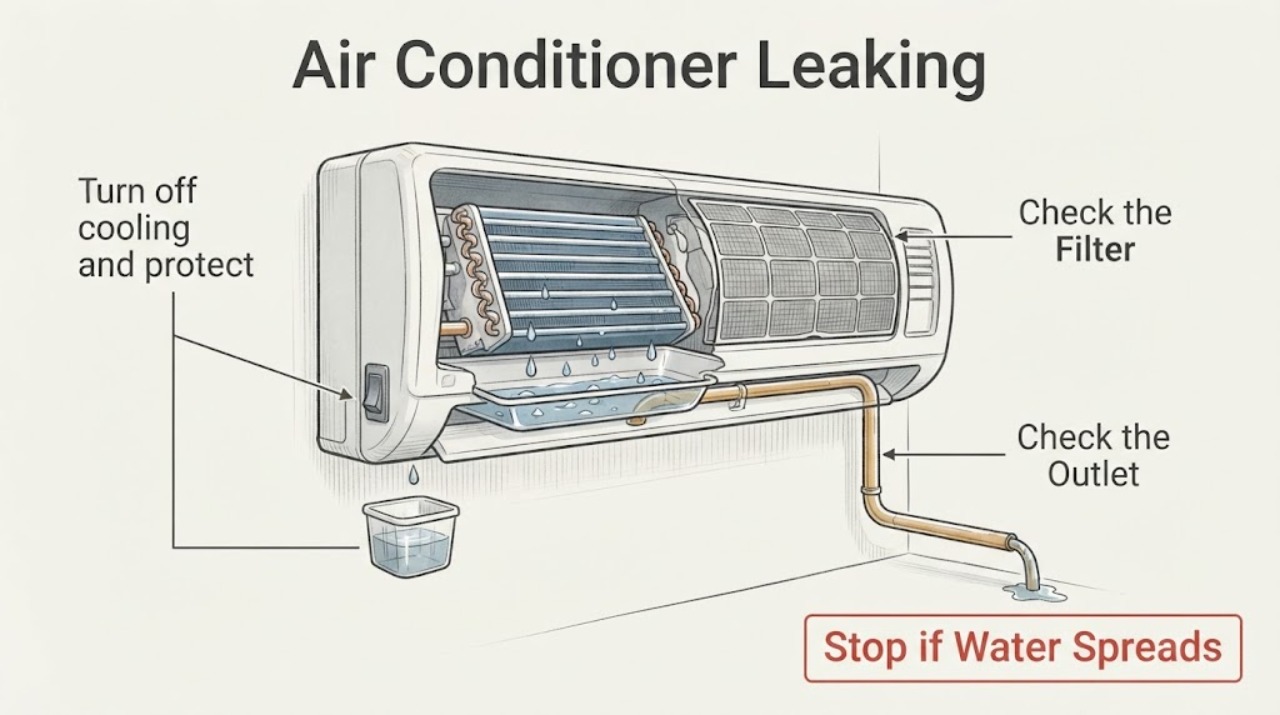
Air Conditioner Leaking
An air conditioner leaking water is usually a condensate drain problem, airflow restriction that freezes the coil, or a damaged pan. Turn it off, check the accessible filter and drain path, and use qualified HVAC service for persistent leaks, pooling, ice or poor cooling.
-
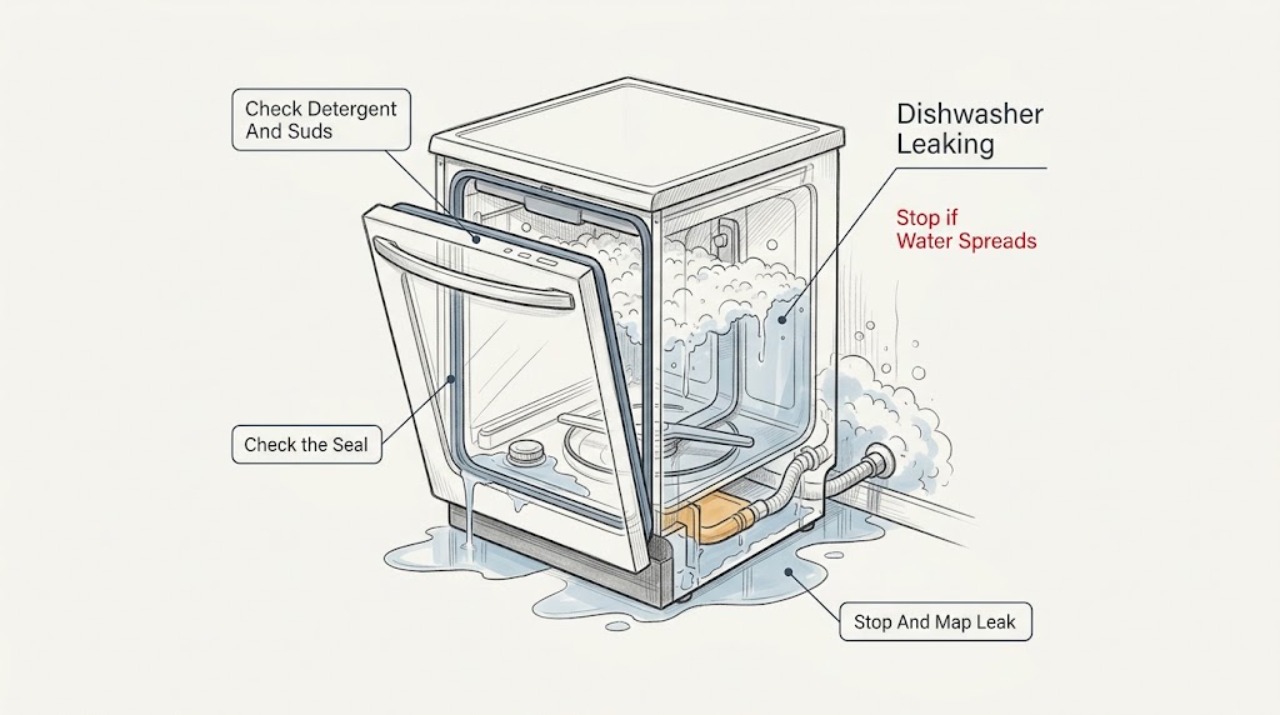
Amana Dishwasher Leaking: Trace the Water Before Replacing a Seal
Stop the cycle and identify where the first water appears. Water or a spot at the door can come from condensation at the vent, excess suds, an item blocking the seal, a damaged seal, or a dishwasher that is not level.
-
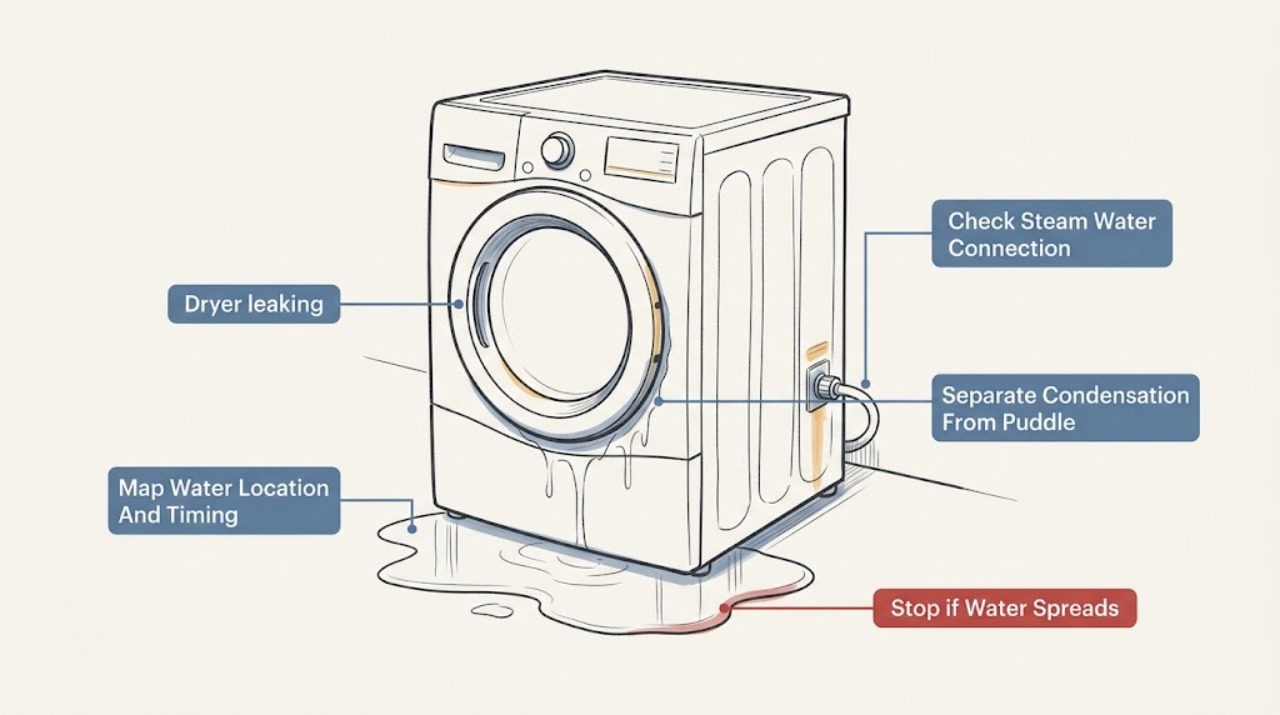
Amana dryer leaking: trace the water before assuming a failed part
Start by locating the water and recording when it appears. On an Amana steam dryer, a loose water-inlet connection or missing hose washer can leak at the back; turn the water supply off before handling a wet connection and follow the model's installation instructions.
-
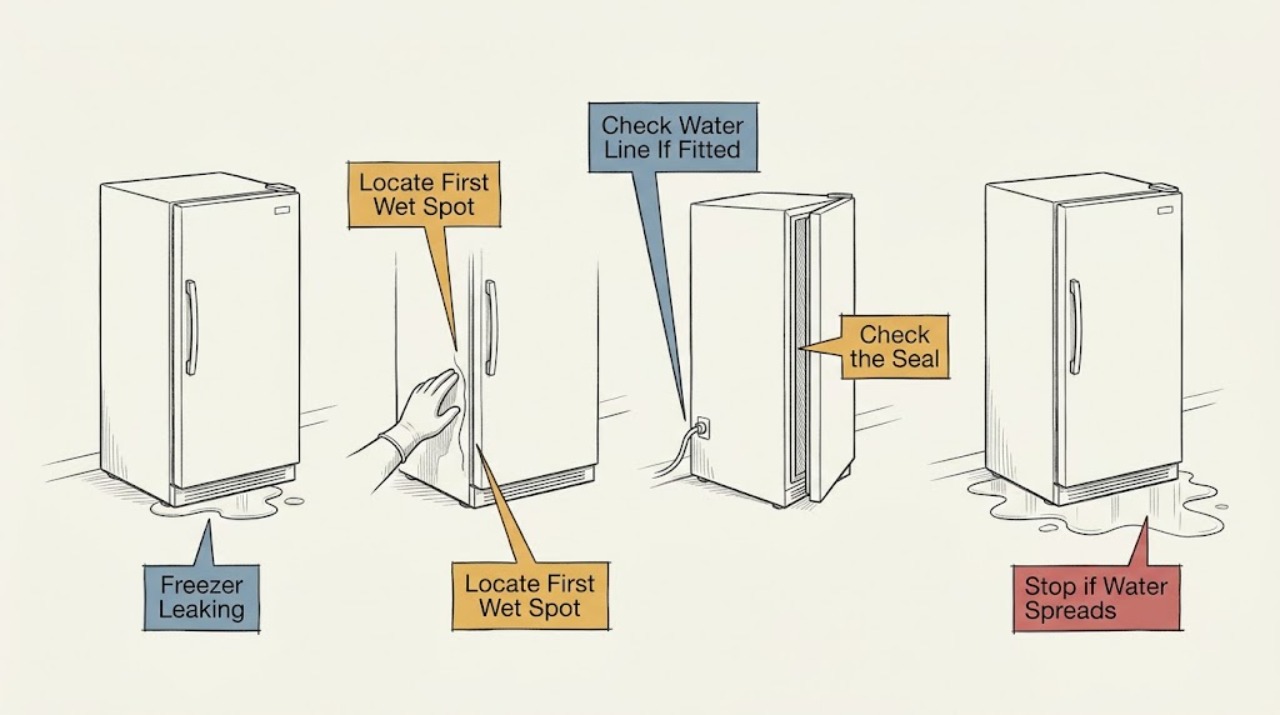
Amana Freezer Leaking: Find the Water Source Safely
An Amana freezer leak is easiest to narrow down by locating where the water first appears. Water behind the freezer points first to an installed water supply line or a connection, if that model has one.
-
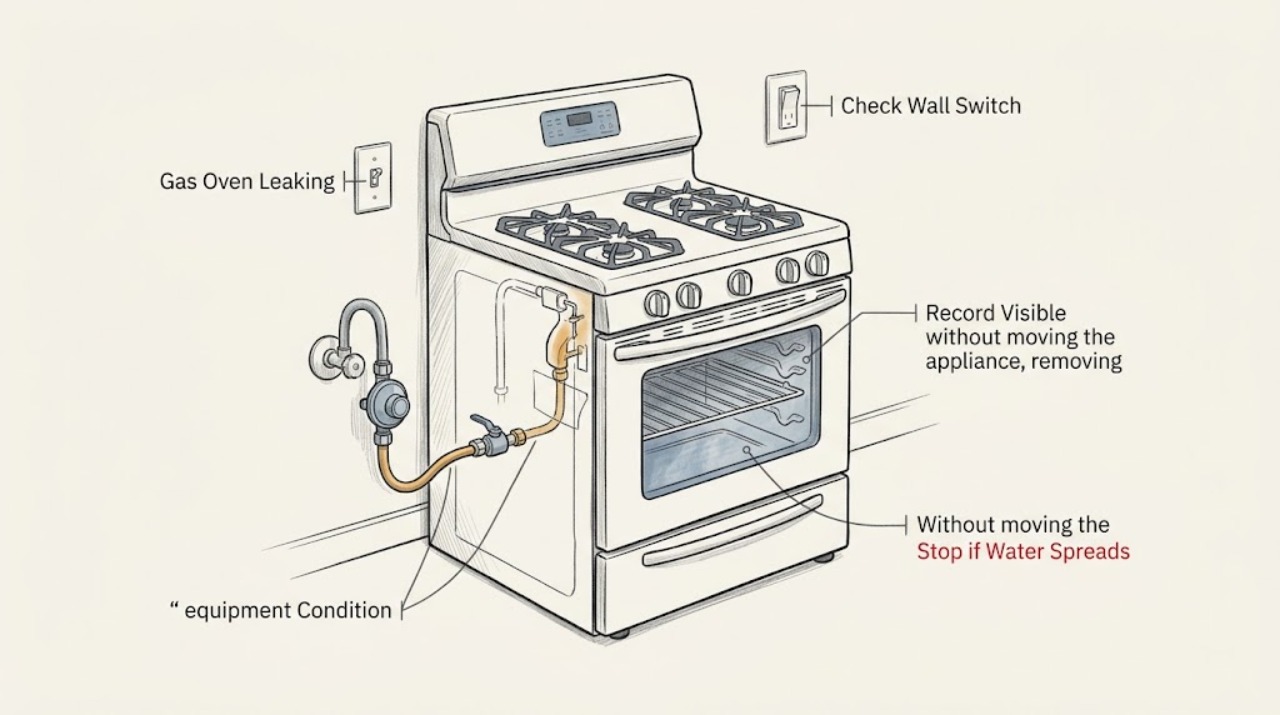
Amana Gas Oven Leaking: Treat Any Gas Smell as a Safety Issue
If an Amana gas oven or range smells like gas when the burners are not in use, do not troubleshoot the appliance in place: do not light anything, touch electrical switches, or use a phone inside the building. Leave the area and contact the gas supplier from a safe location; if the supplier cannot be reached, contact the fire department.
-
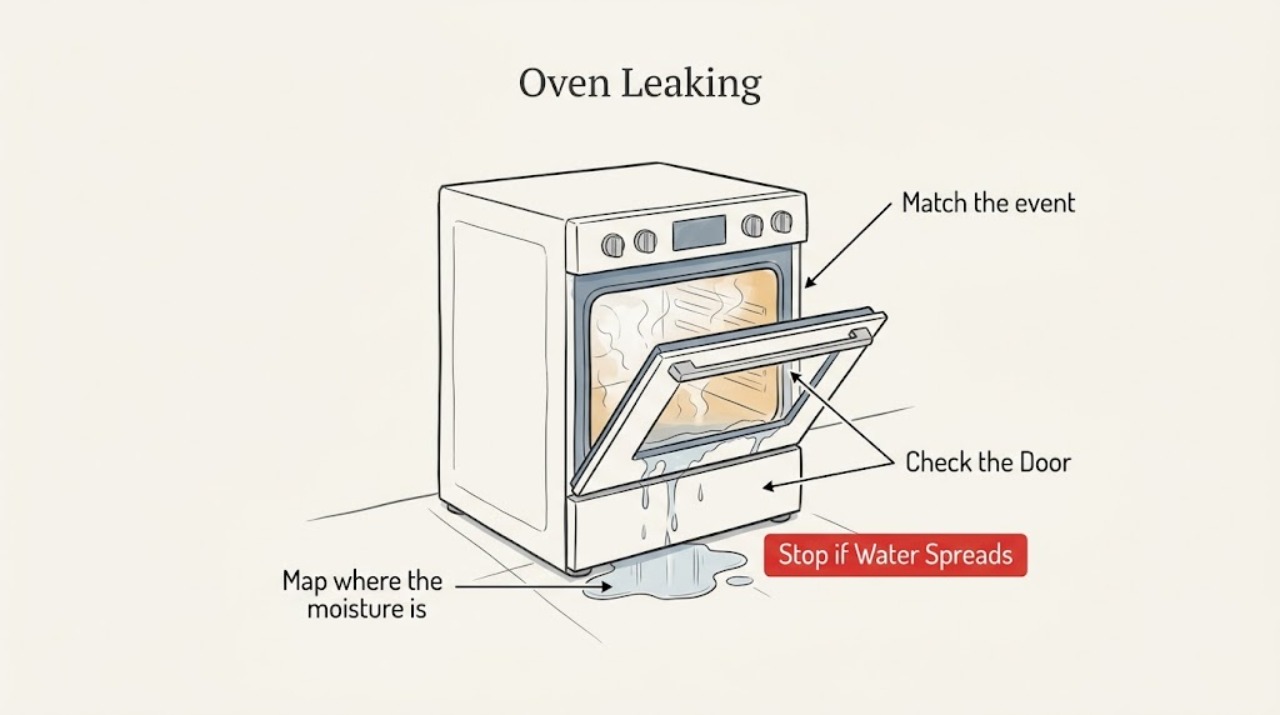
Amana Oven Leaking: Identify Steam, Spills, or a Water Leak
If an Amana oven appears to be leaking, first identify what the liquid is, where it appears, and whether it started during cooking, Steam Bake, or Steam Clean. Moisture on or between the door glass can be normal condensation from a gas oven or high-moisture food, and a steam feature can intentionally leave water in its reservoir or oven bottom.
-
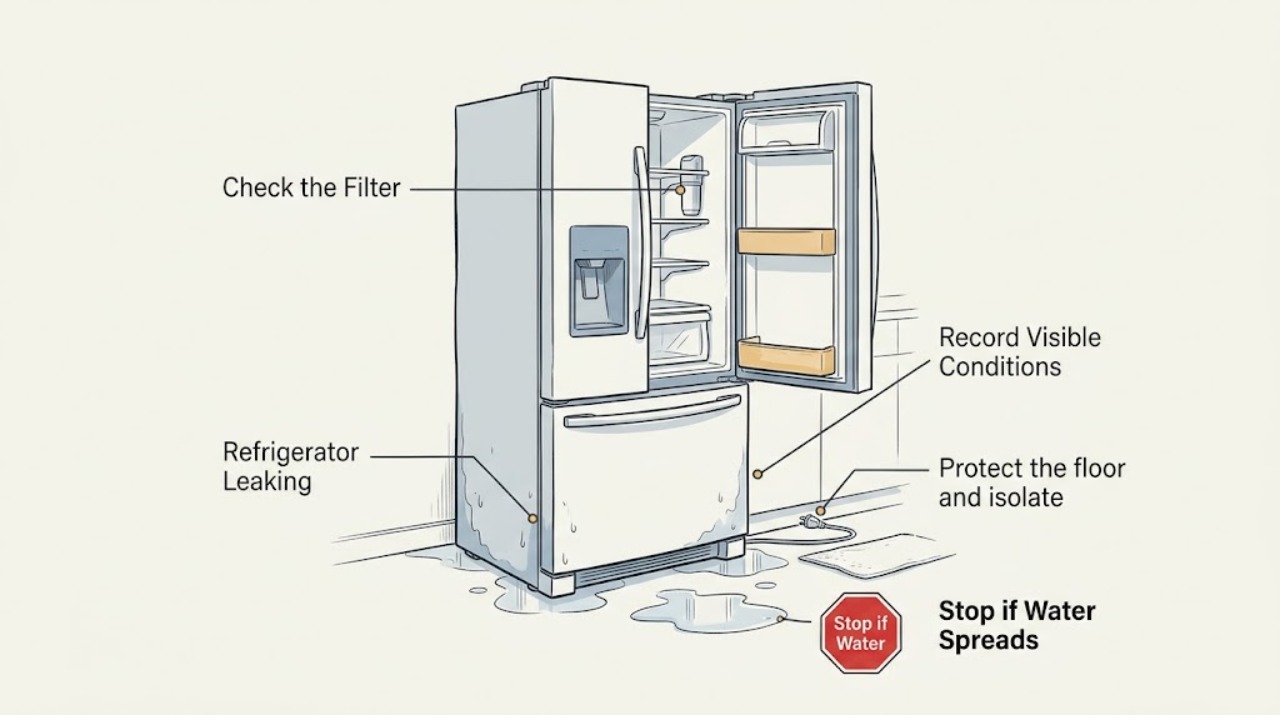
Amana Refrigerator Leaking: Trace the Water Safely
First identify where the water starts and when it appears: the filter area, dispenser or hinge, a shelf, the bottom of the cabinet, behind the refrigerator, or only after dispensing or ice-making. Amana's guidance points to a filter that is not seated or is damaged, loose or cracked supply tubing and shutoff connections, dispenser tubing under a hinge cover, condensation or a leaking container, and model-specific drainage or door-sealing issues.
-
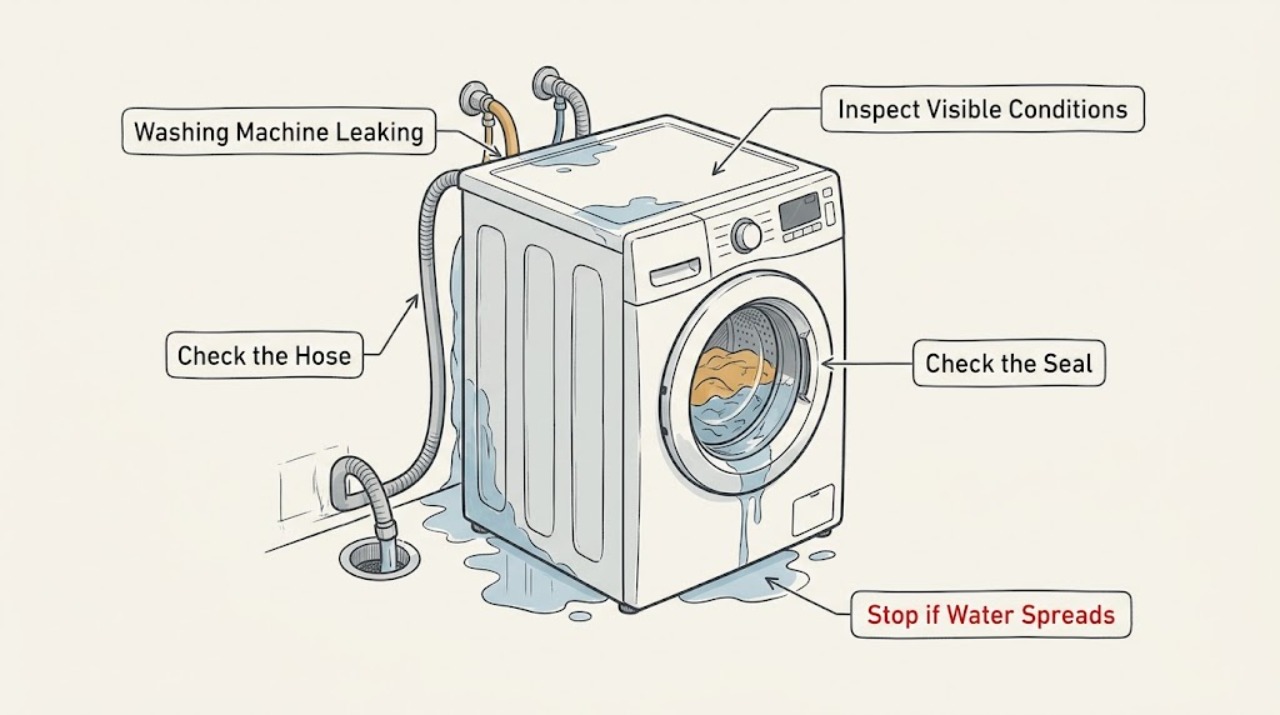
Amana Washing Machine Leaking: Find the Source Before Replacing Parts
Stop the cycle and identify where the water first appears: at the rear connections, from a front-load door or dispenser, from beneath the cabinet, over the top of a top-load basket, or inside the tub while the washer is idle. If water is entering while the machine is off, Amana advises turning off the washer's water valve while waiting for service.
-
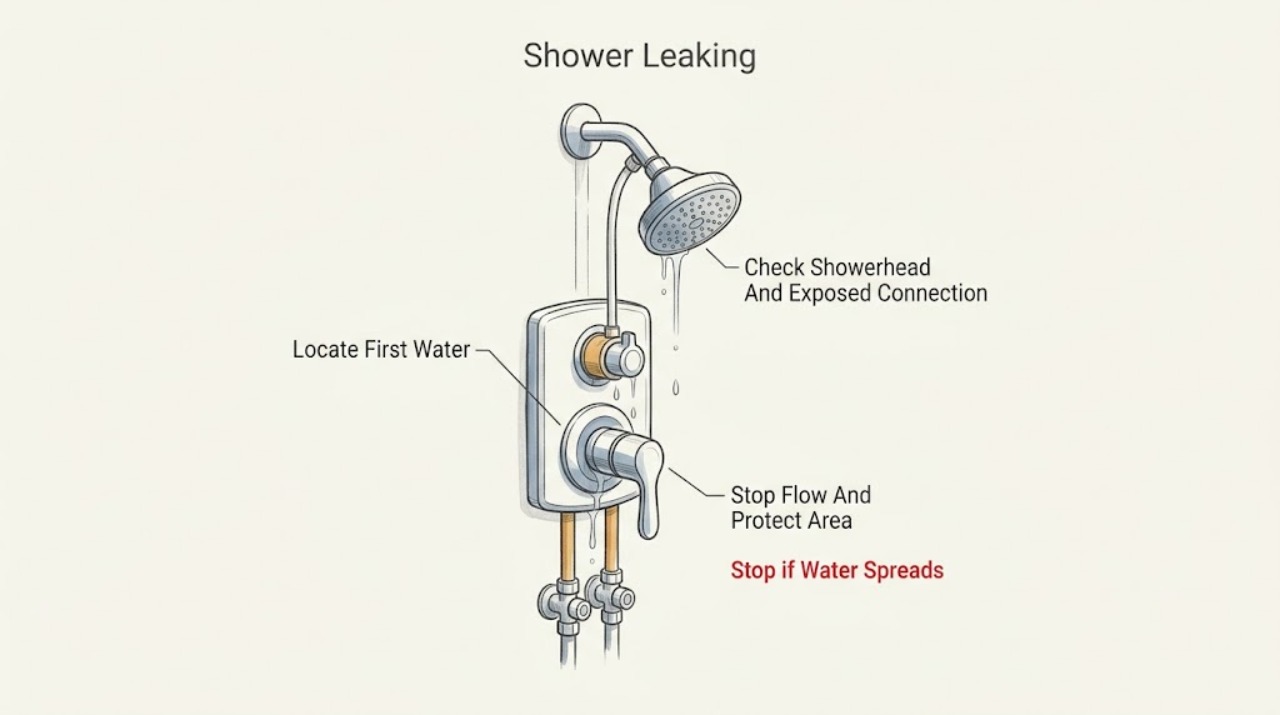
American Standard Shower Leaking: What to Check and What to Do Next
For a leaking American Standard shower, first identify whether water comes from the showerhead, handle or trim, tub spout or diverter, a visible connection, or behind the wall. Turn the shower off and use the accessible local or main water shutoff if water is continuing to escape; protect the floor and do not remove the trim to search for a leak.
-
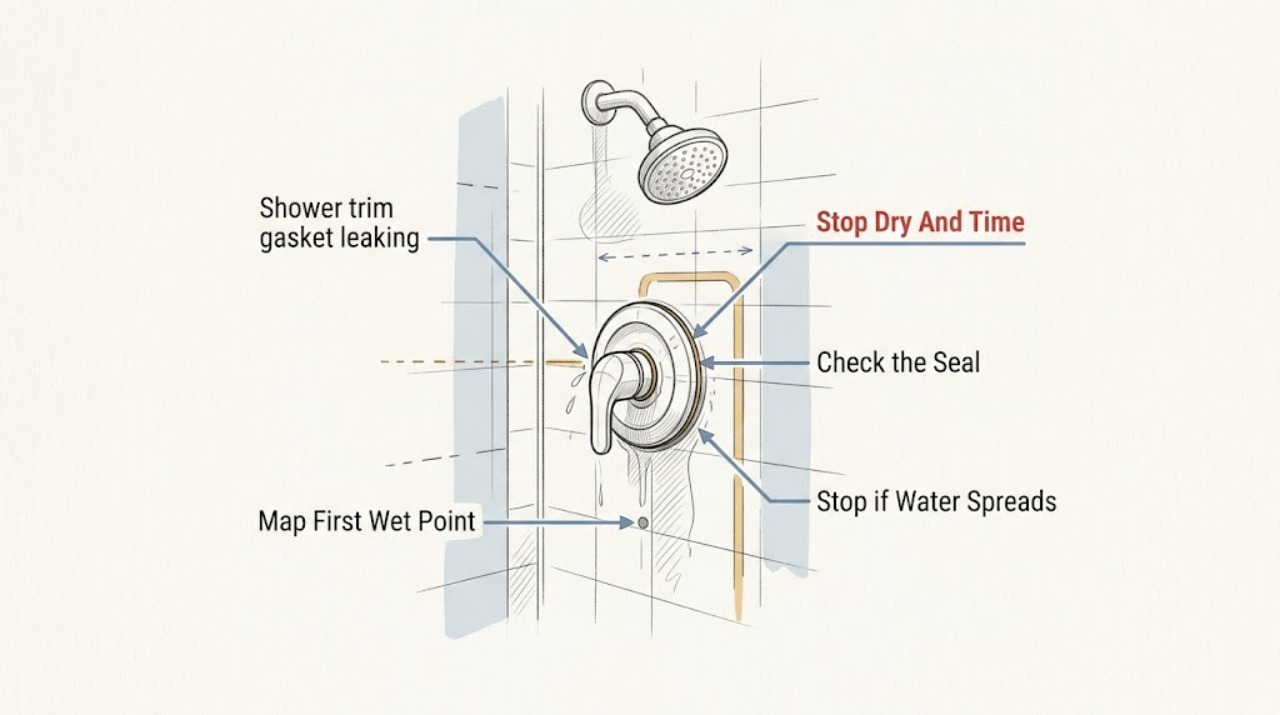
American Standard shower trim gasket leaking: What to Check and What to Do Next
If an American Standard shower trim gasket appears to leak, first stop the shower, dry the trim and wall, and identify whether water is coming from the outer escutcheon edge only while the shower runs or from the handle, center opening, shower arm, or wall opening.
-
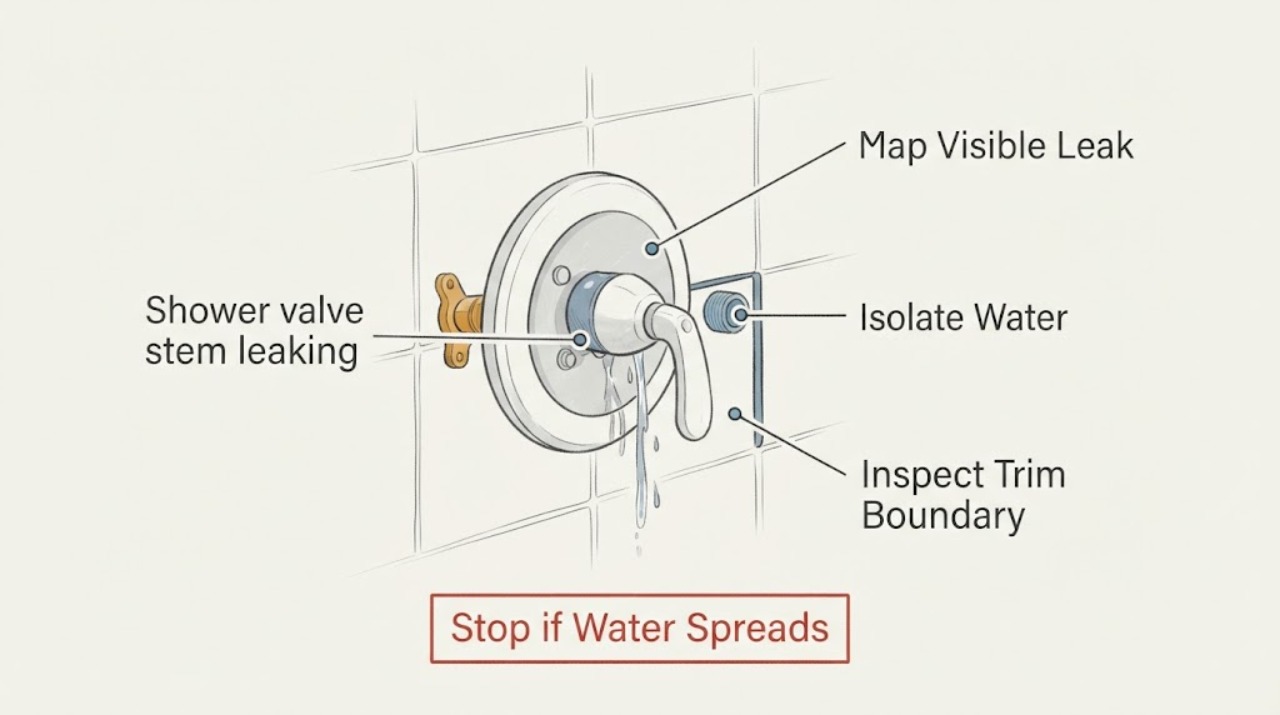
American Standard shower valve stem leaking: What to Check and What to Do Next
A leak that appears around an American Standard shower handle or valve stem can come from a worn stem seal or cartridge, a loose or damaged trim seal, a connection that leaks only while the shower runs, or a leak behind the wall. Turn the shower off, contain the water, and identify whether the leak is at the handle, the escutcheon, the shower arm, or the wall before removing anything.
-
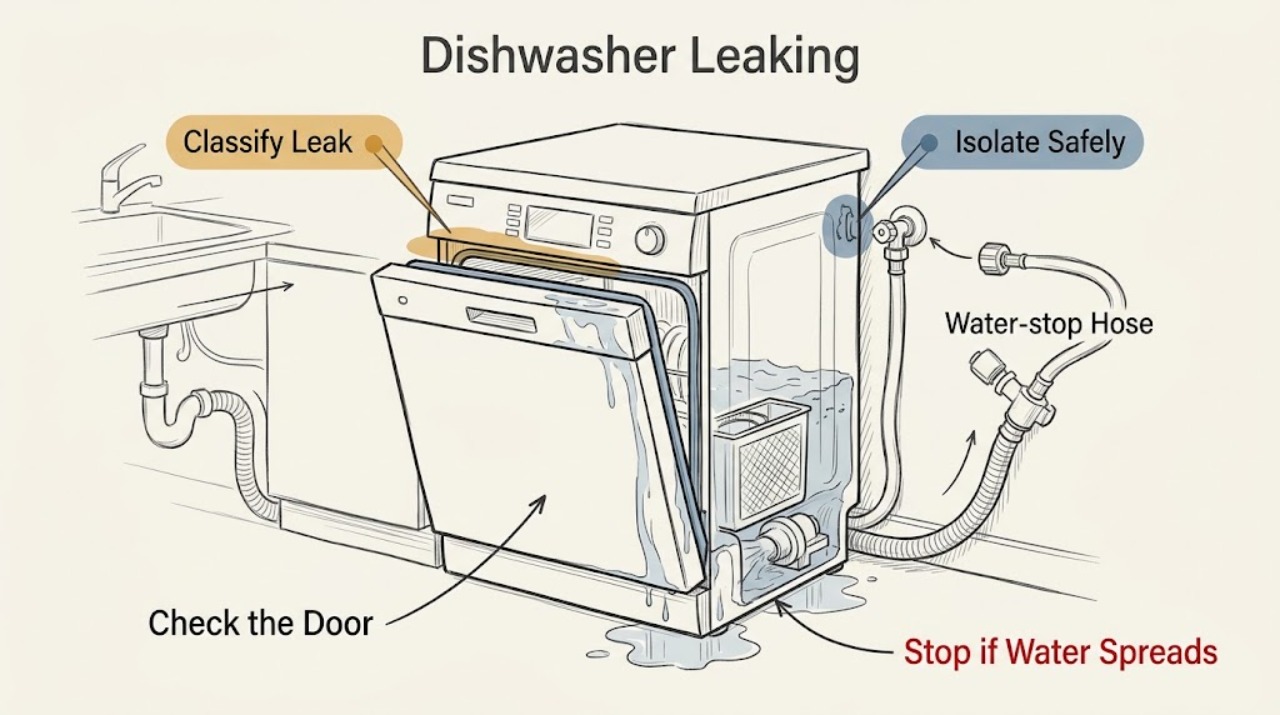
Ariston Dishwasher Leaking: Find the Source and Stop the Leak Safely
Stop the cycle and contain the water. Close the dishwasher's water tap; disconnect power only if the plug, floor, and surrounding area are dry and safe to approach.
-
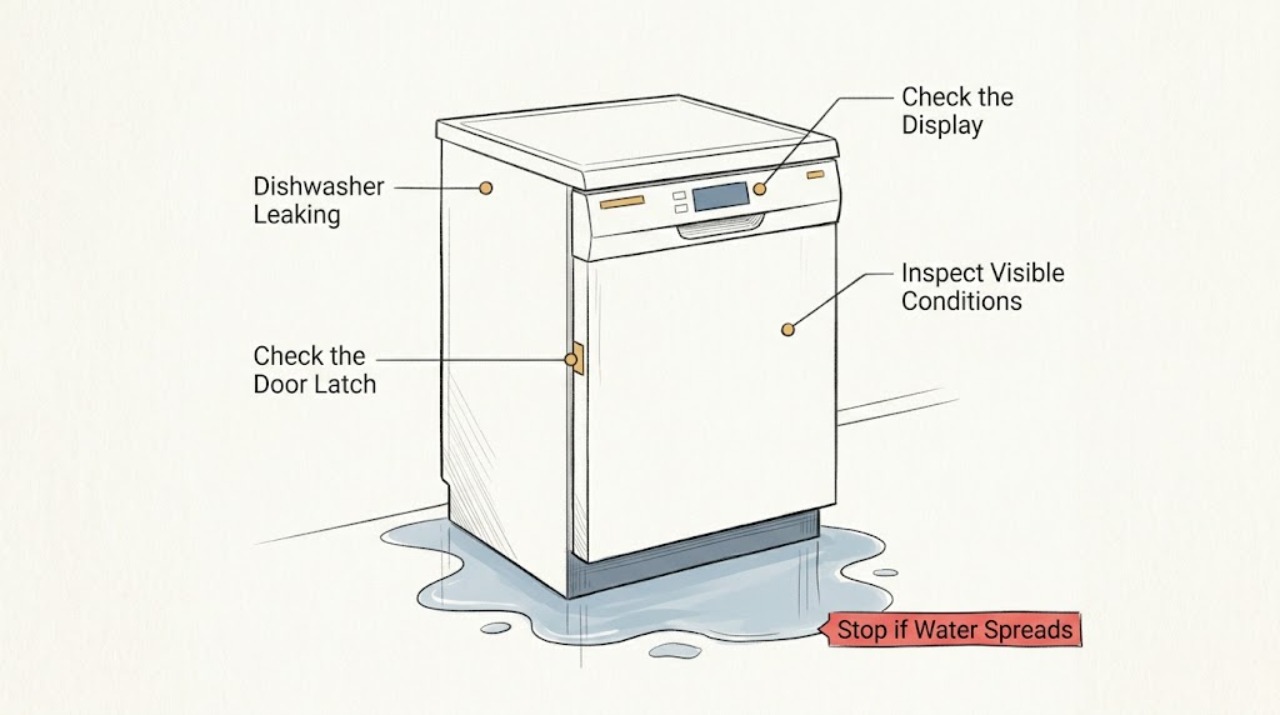
Asko Dishwasher Leaking: Find the Leak Safely and Stop Water Damage
Stop the cycle and do not keep running a leaking Asko dishwasher. From a safe position, note whether the water is at the front door, under the unit, or at a visible hose or connection; close the dishwasher's water shutoff and isolate power through the normal safe disconnect if there is active leaking or a continuously running drain pump.
-
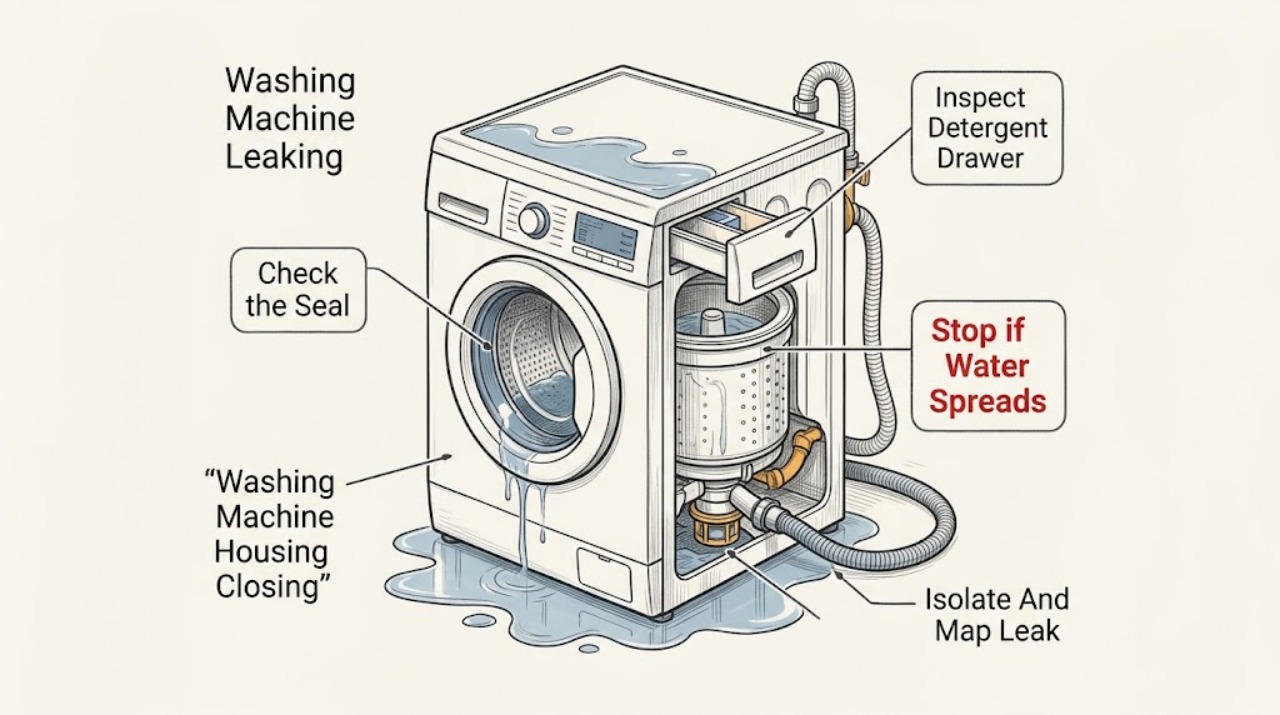
Asko Washing Machine Leaking: Find the water path and stop safely
Treat an Asko washing-machine leak as a water-and-electricity safety issue first. Stop the program, keep hands and feet away from pooled water, turn off the water supply if it is safe, and disconnect power only without reaching through water or touching damaged wiring.
-
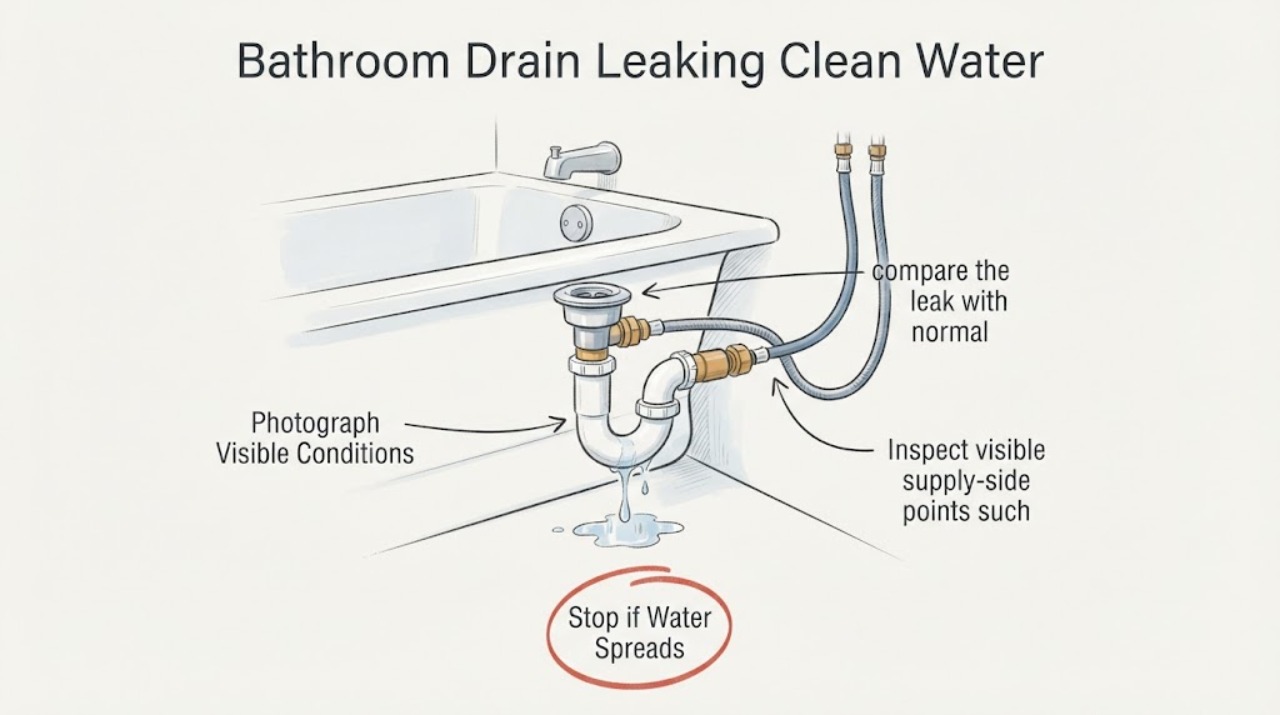
Bathroom Drain Leaking Clean Water: Find the First Wet Point
Stop using the bathroom fixture and find the first place that becomes wet, rather than assuming the visible puddle marks the source. Clean water that appears while the faucet or shower runs can come from a supply connection, faucet, shower arm, or diverter; water that appears only as the tub or sink drains points more toward the drain, overflow, trap, or a connection below the fixture.
-
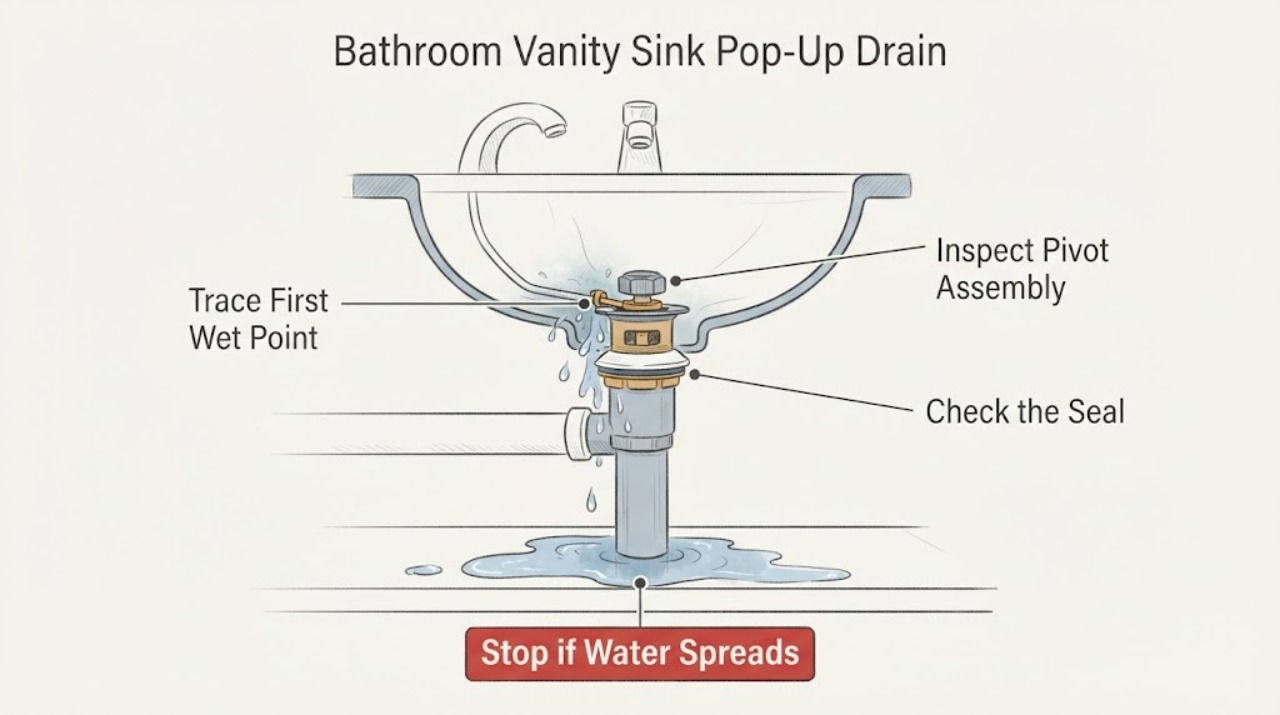
Bathroom Vanity Sink Pop-Up Drain Leaking at the Pivot Rod Gasket
A leak at the small nut where a vanity sink pop-up drain's horizontal pivot rod enters the drain body usually points to the pivot gasket or pivot seat being damaged, misplaced, or no longer sealing; a leak from the flange, tailpiece, or P-trap is a different joint. Dry the area, place a container below it, and identify the exact leak without over-tightening or forcing the rod.
-
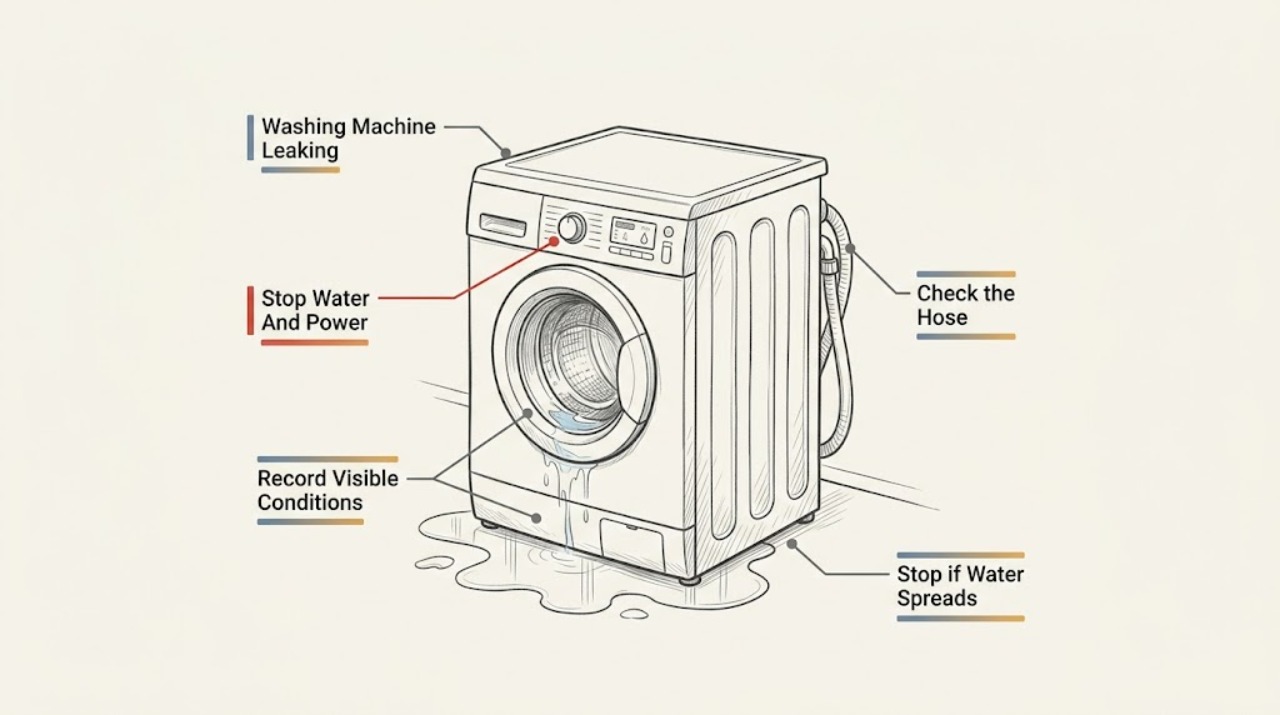
Bauknecht Washing Machine Leaking: Stop the Water and Find the Safe Next Check
If a Bauknecht washing machine is leaking, close the water tap first, unplug the machine if it is safe to reach the plug, and keep nearby electrical equipment away from the water. Once the area is safe, note whether the leak appears at the inlet connection, door, detergent drawer, underneath the machine, or the drain hose, and whether it happens while filling, washing, or draining.
-
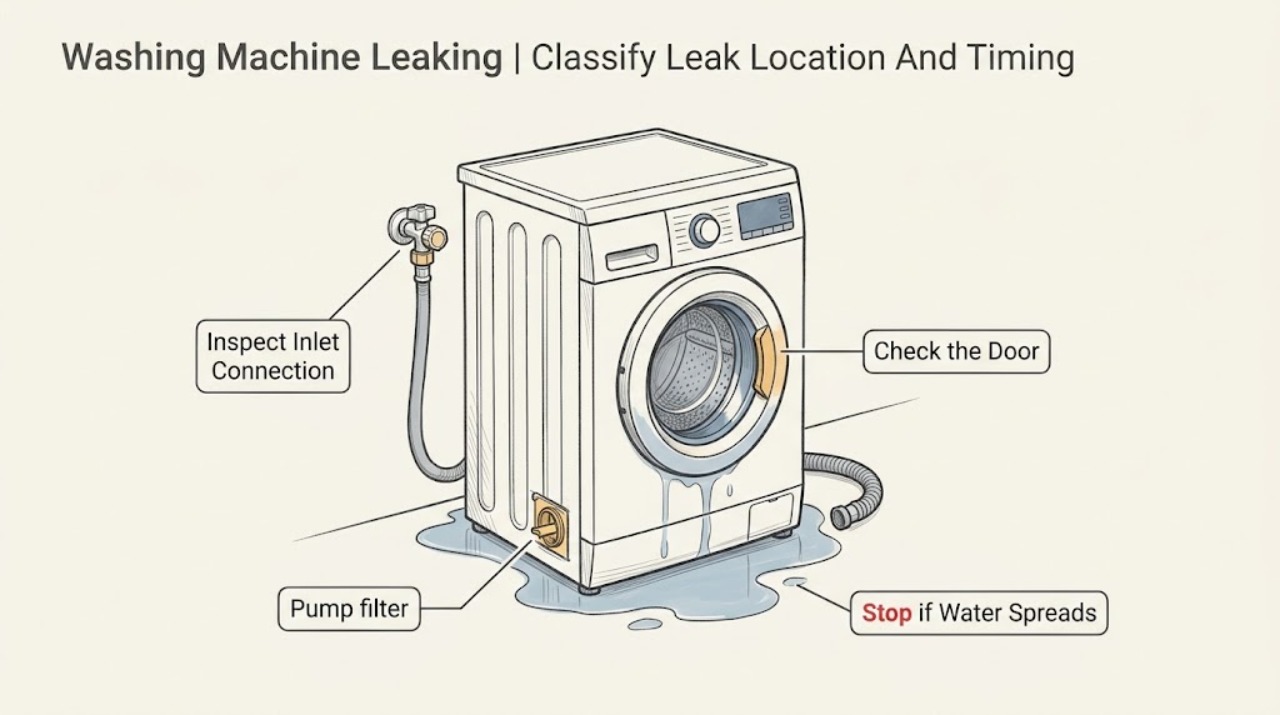
Baumatic Washing Machine Leaking: Safe Checks Before Service
For a leaking Baumatic washing machine, stop the cycle and first locate whether water is coming from the inlet connection, door area, detergent drawer, drain hose, filter cover, or underneath the cabinet. Baumatic's guidance identifies seals around the tap, supply hose, and fill valve and a filter that is not closed correctly as possible leak points; its installation guidance also stresses checking hose connections and the waste route for the exact model.
-
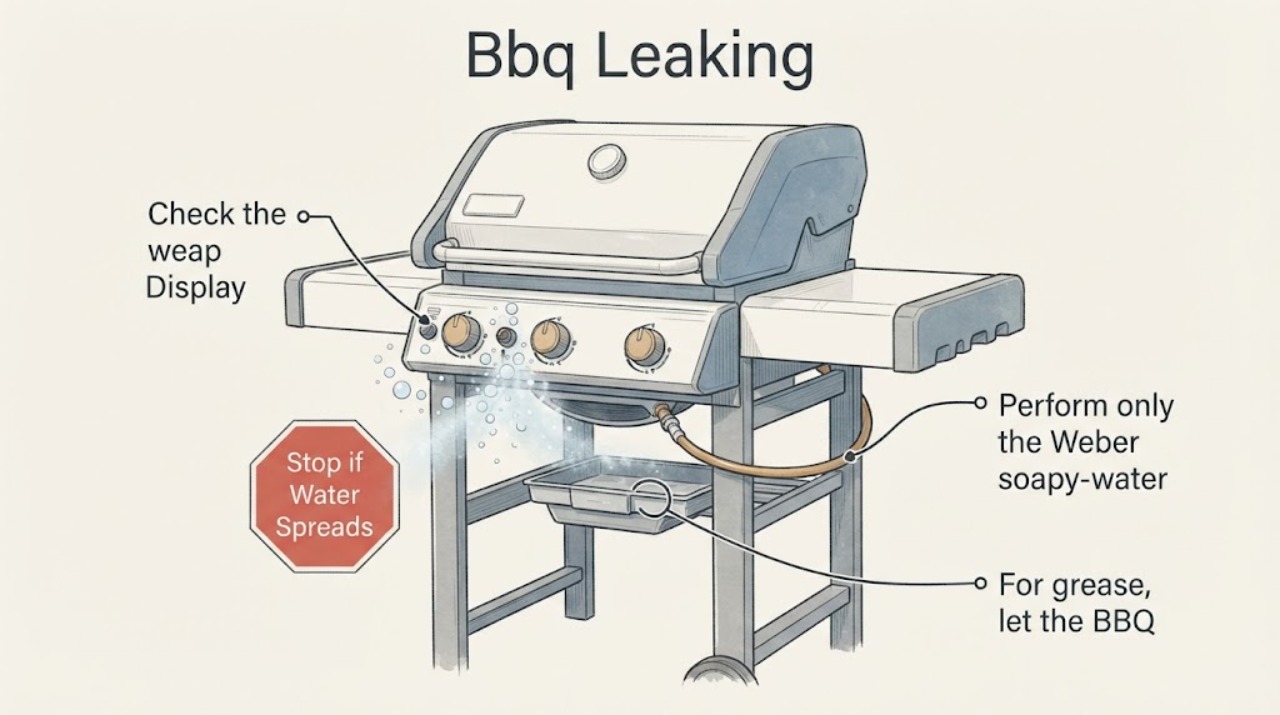
Bbq Leaking
A leaking BBQ can release gas at a tank or hose connection, or liquid grease from an overflowing or misaligned collection system. Weber’s official instructions require a soapy-water gas leak test with burners off and say never to use the grill when bubbles persist; grease leaks require a cold, clean collection system.
-
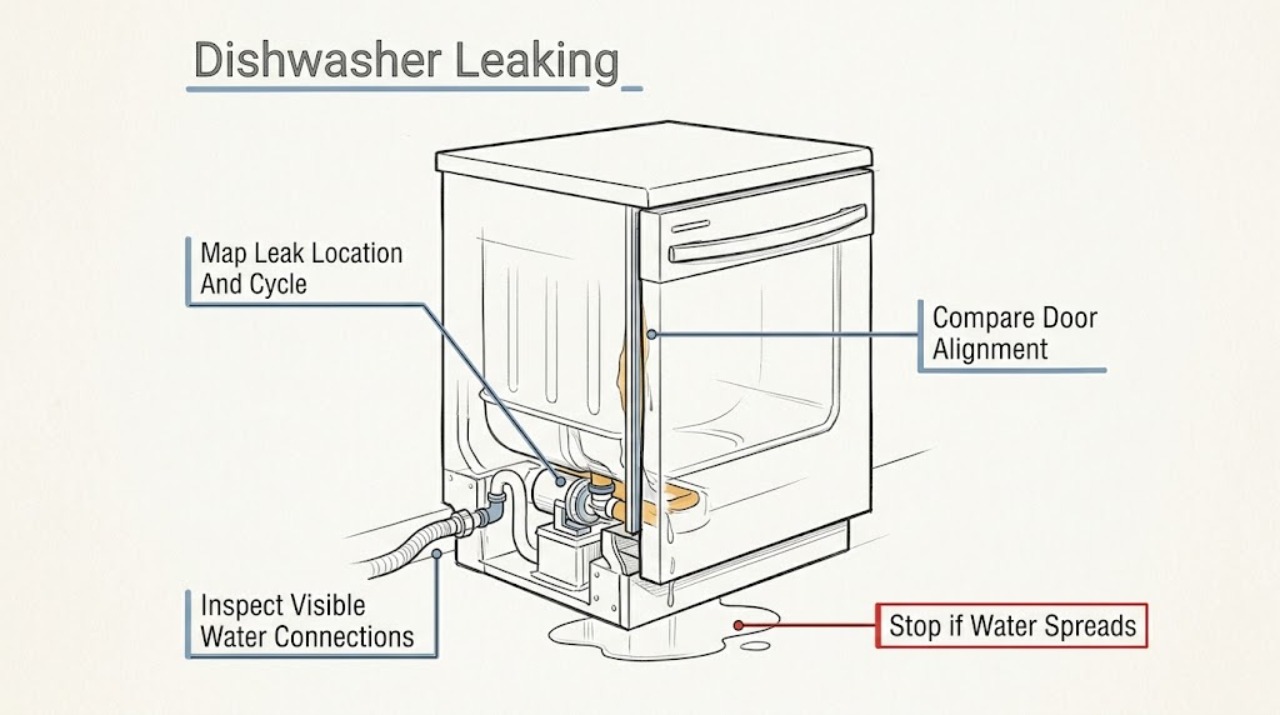
Beko Dishwasher Leaking
Stop using a leaking Beko dishwasher until you know where the water is coming from. First note whether the leak appears at the door, under the sink or behind the appliance, or only during filling, washing, or draining.
-
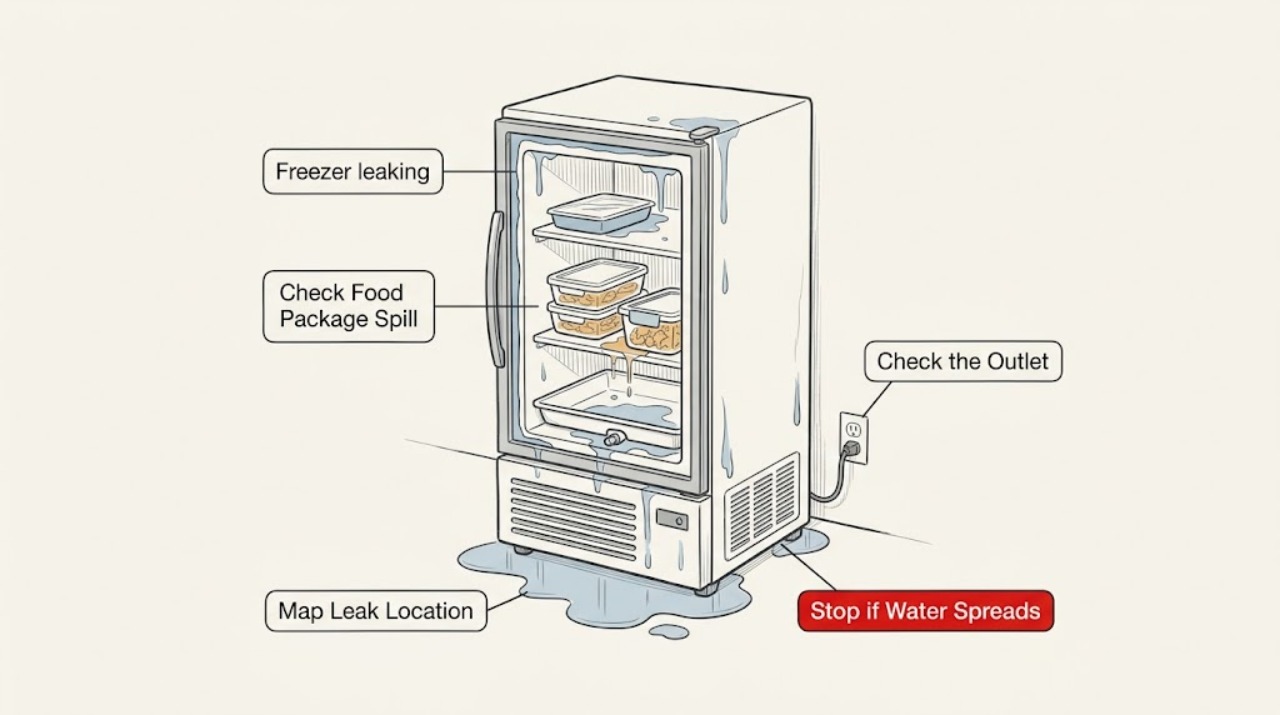
Beko freezer leaking: safe checks before calling for service
First locate the liquid: inside the cabinet, on the outer walls, or on the floor underneath. Keep the freezer closed while you inspect, and stop immediately if water reaches the plug, socket, damaged cord, or another electrical area.
-
Beko Refrigerator Leaking
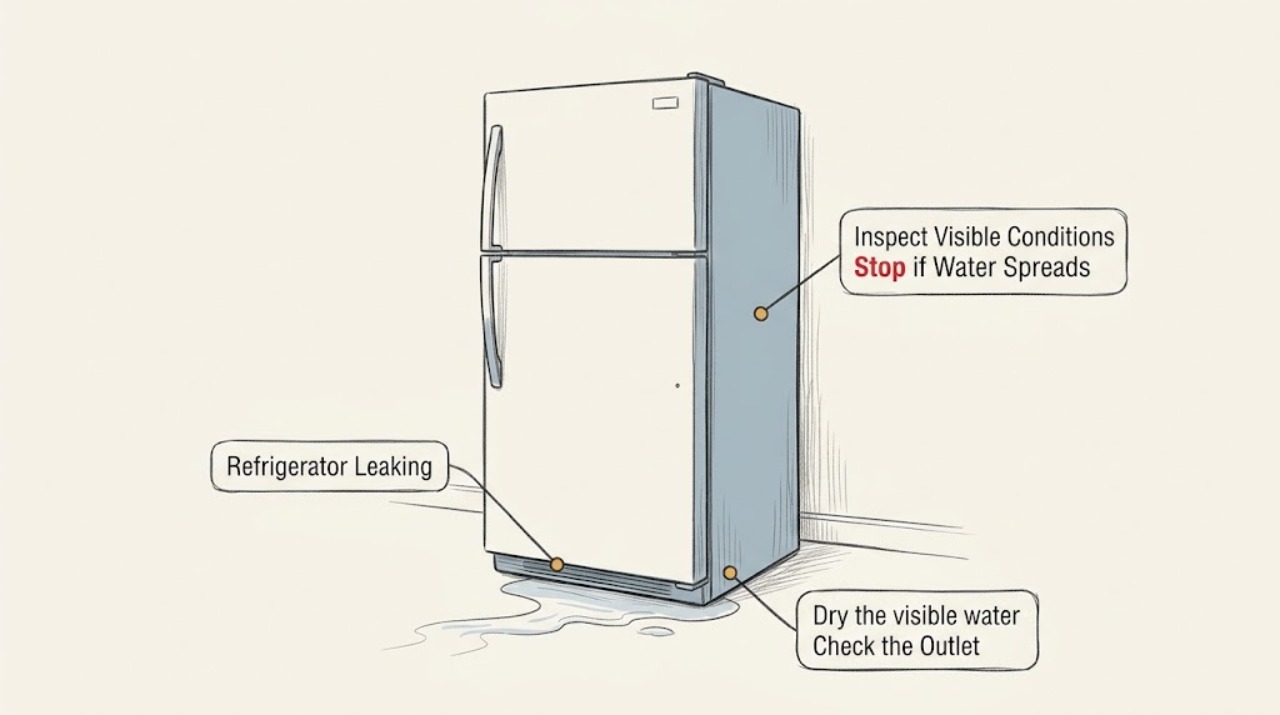
First locate whether the water is behind the crisper drawers, on the floor under the refrigerator, or at a plumbed dispenser connection. A blocked defrost drain commonly leaves a puddle inside; an unbalanced refrigerator can spill its drain pan; frost, a door that does not seal, or a water connection can create other leak paths.
-
Beko Washing Machine Leaking: Find the Source Safely
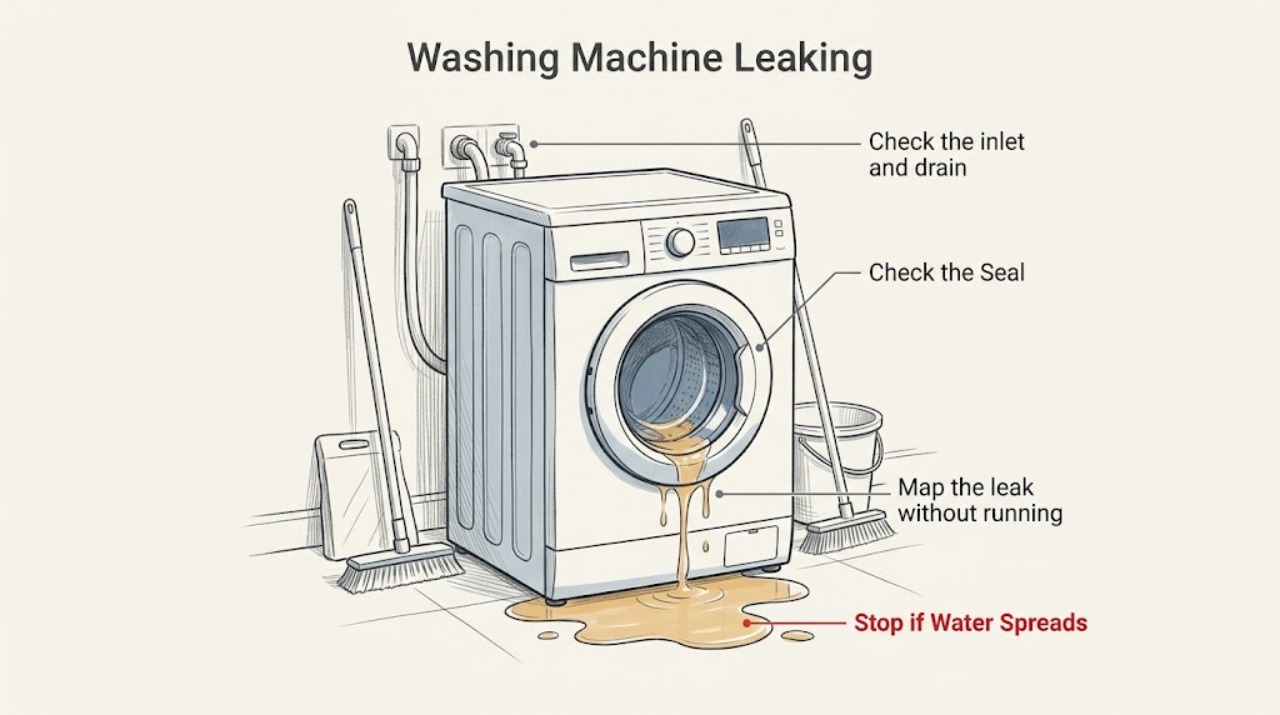
Stop the cycle, turn off the water supply, and note where and when the water appears. On a Beko washing machine, a leak at the rear during filling points first to an inlet connection, hose, or gasket; a front leak points to the door seal or detergent drawer; a leak during draining or from underneath points to the drain hose, pump-filter area, or an internal fault.
-
Beverage Cooler Leaking
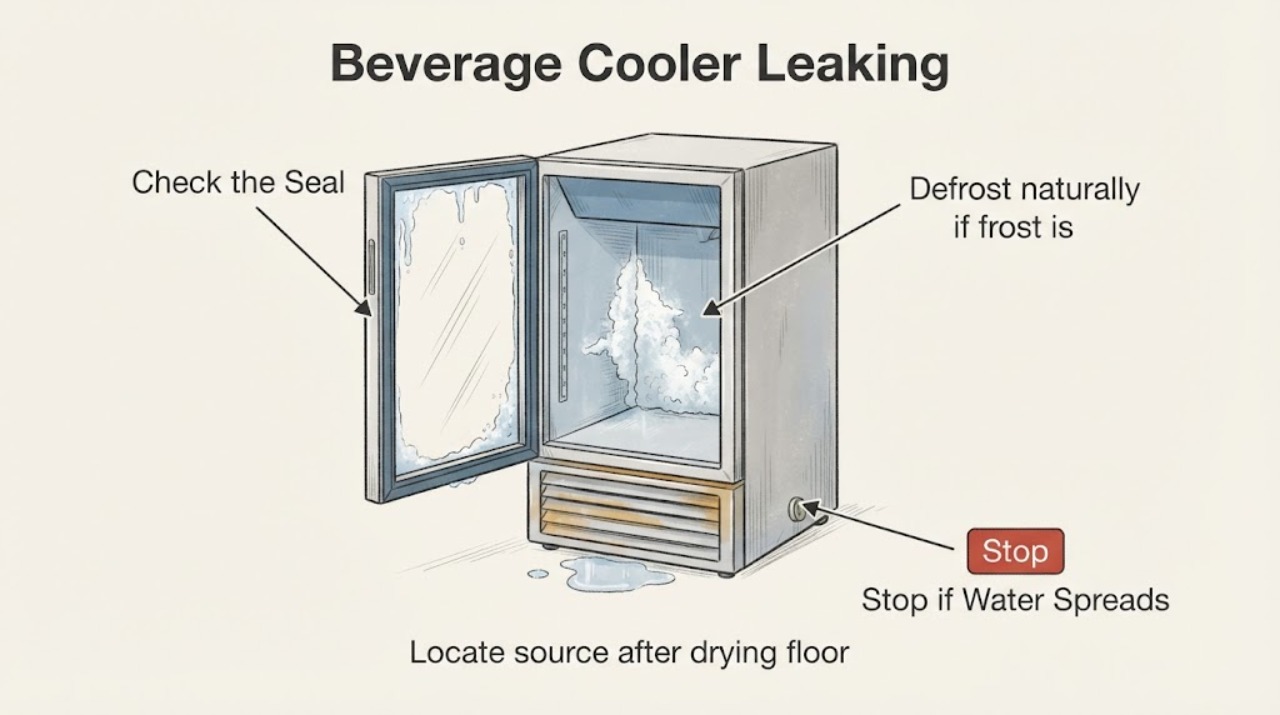
A beverage cooler leaking water may have condensation from a poor seal, frost melt, or an internal drain problem. Locate the source, check level/gasket/airflow, and defrost naturally if needed. Water near electrics, repeated leaks or loss of cooling needs appliance service.
-
Blender Leaking
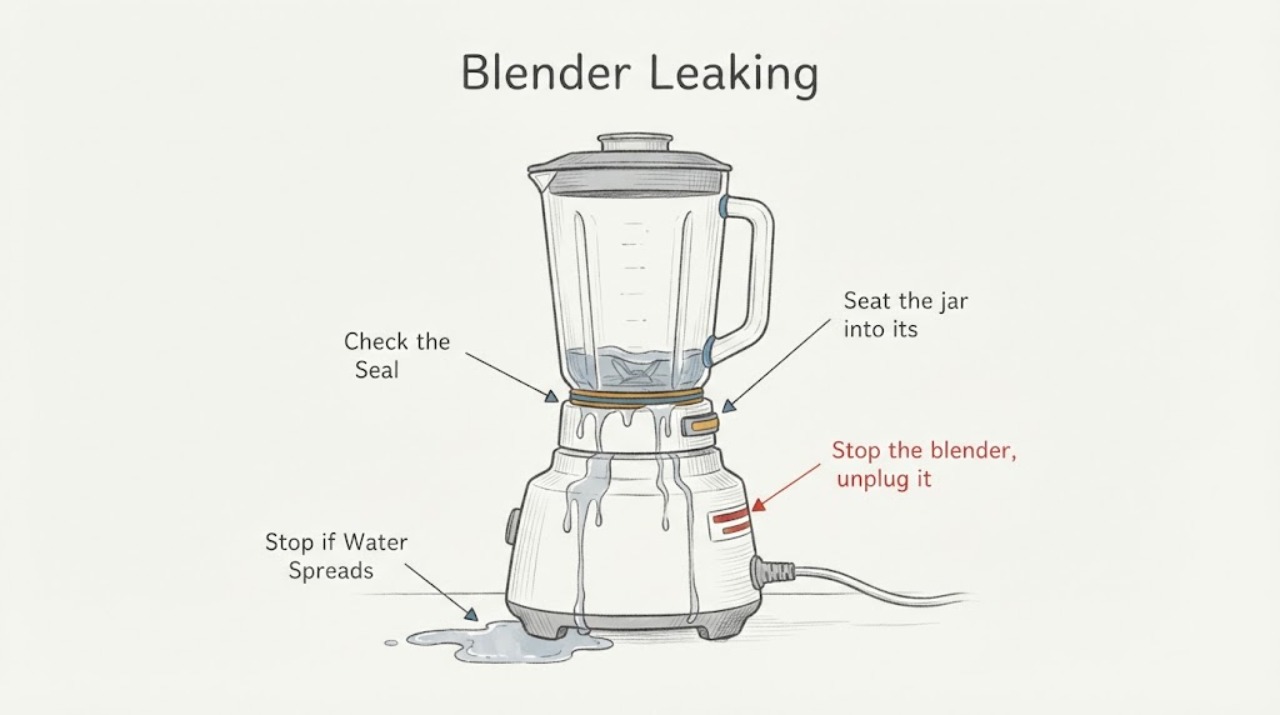
A leaking blender jar usually needs the jar assembly separated from the motor base, the gasket checked for damage or incorrect orientation, and the collar or blade interface seated correctly. Empty and unplug the blender before inspection. A cracked jar, damaged gasket, or leak that reaches the motor base requires the exact model part or service; do not run it to test a visible leak.
-
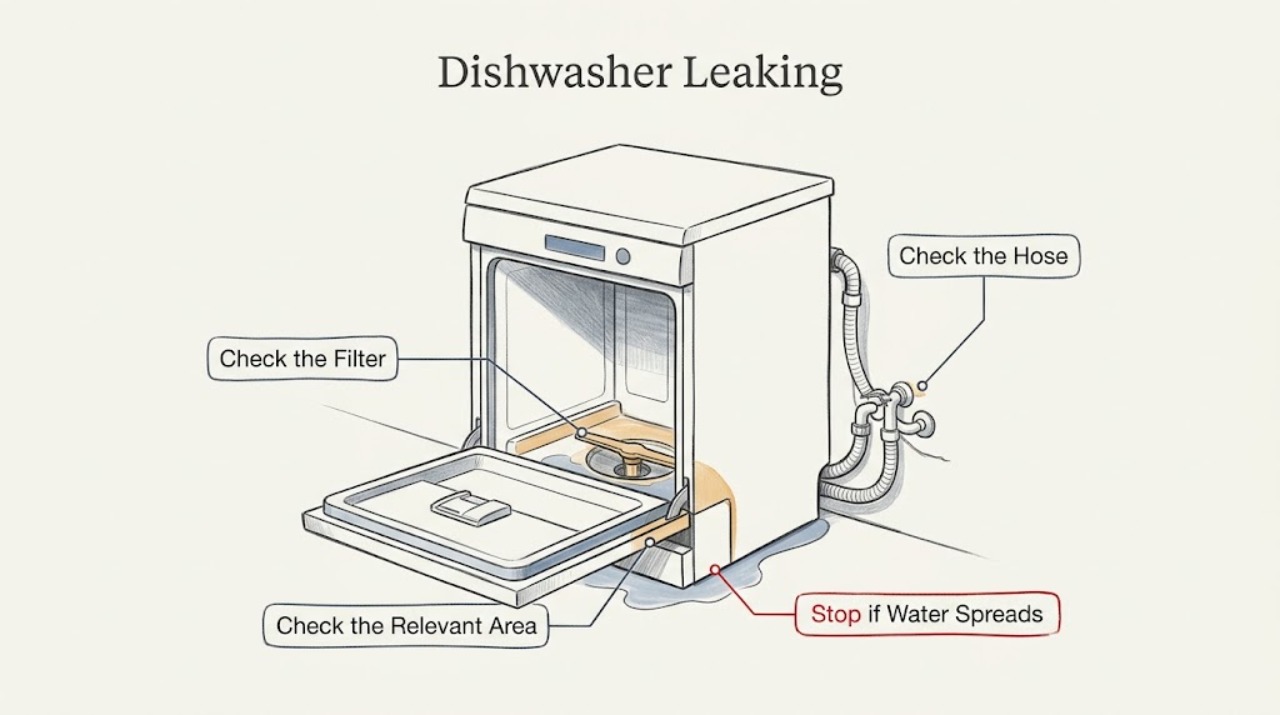
Blomberg Dishwasher Leaking
Unplug a leaking Blomberg dishwasher before accessible checks, then locate where water first appears. Common causes include a kinked or incorrectly positioned drain hose, a clogged pump filter, a worn door seal, incorrect leveling or installation, and overloaded or poorly loaded racks.
-
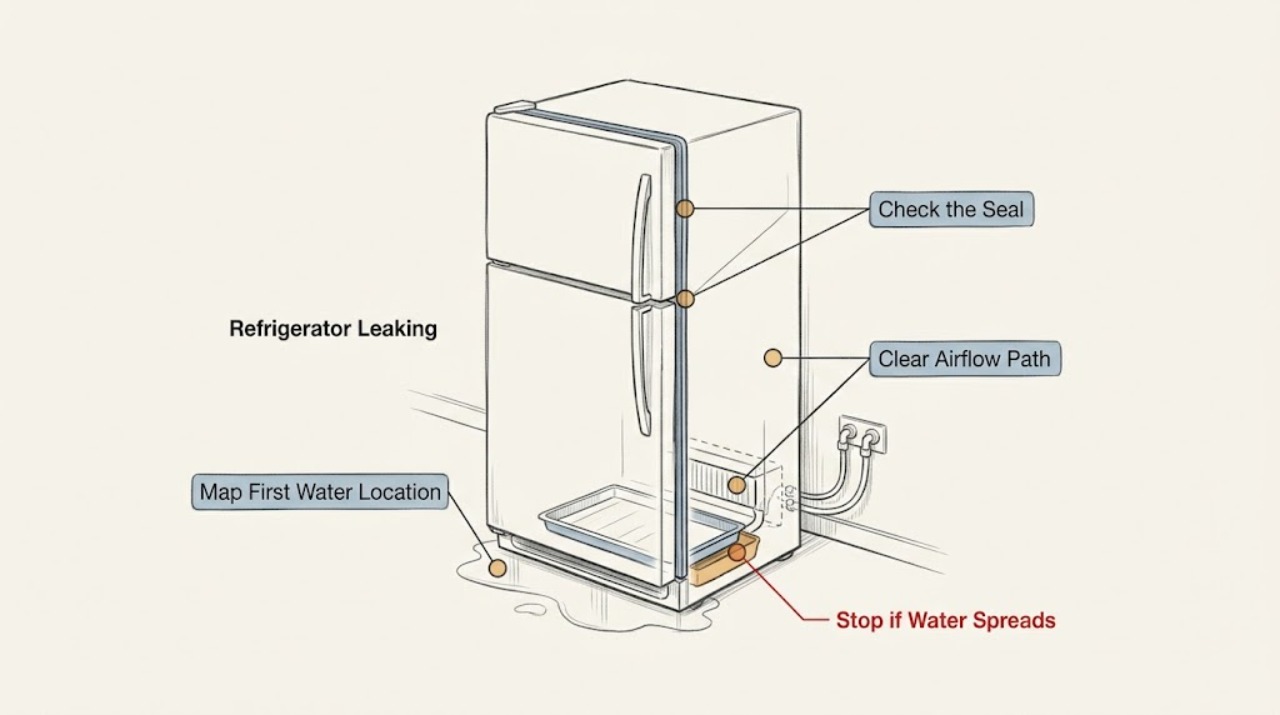
Blomberg Refrigerator Leaking: Find the Source Safely
Start by drying the visible water and identifying where it first returns: the inner rear wall, a door edge, beneath the cabinet, or an external water connection. Blomberg says rear-wall droplets can be normal condensation or defrost water, but excessive or constant water can indicate a blocked defrost drain, poor airflow, or a damaged door seal.
-
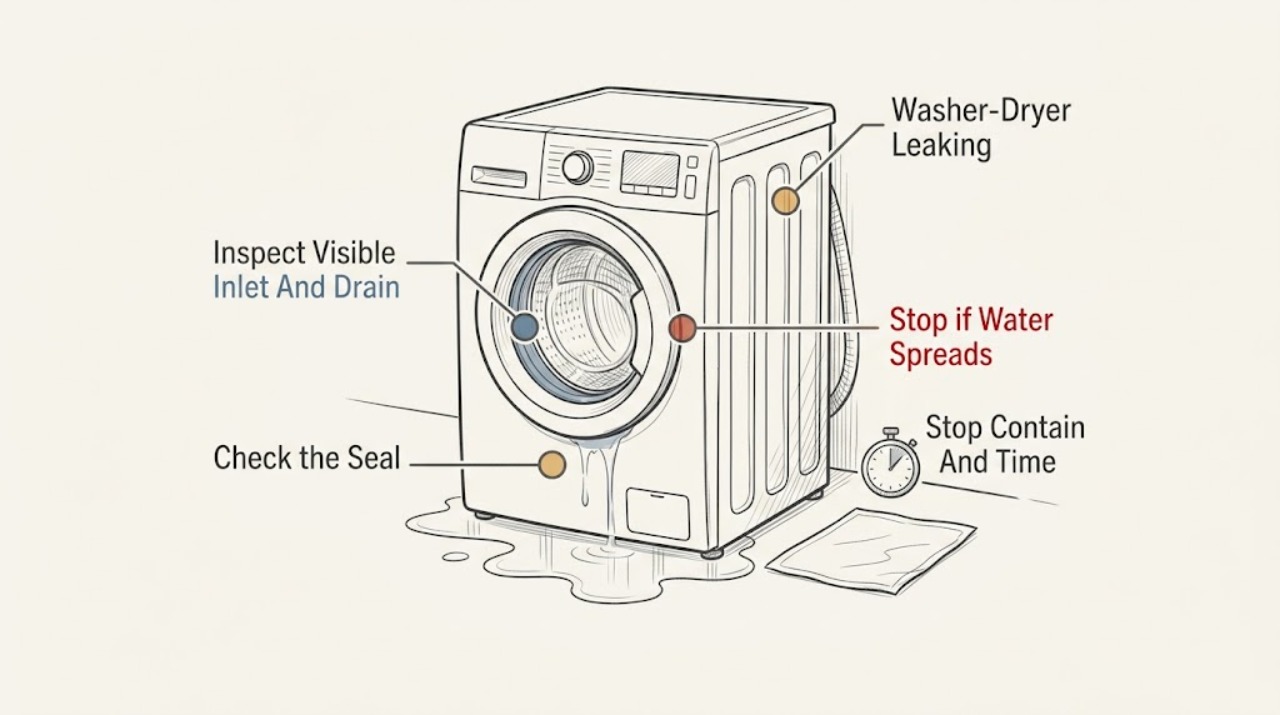
Blomberg Washer-Dryer Leaking: Trace the Water Safely
Stop the Blomberg washer-dryer and contain the water before troubleshooting. If the floor, plug, socket, or other electrical equipment is wet, do not touch the plug or controls; leave the area and arrange qualified help unless power can be isolated safely from a dry location.
-
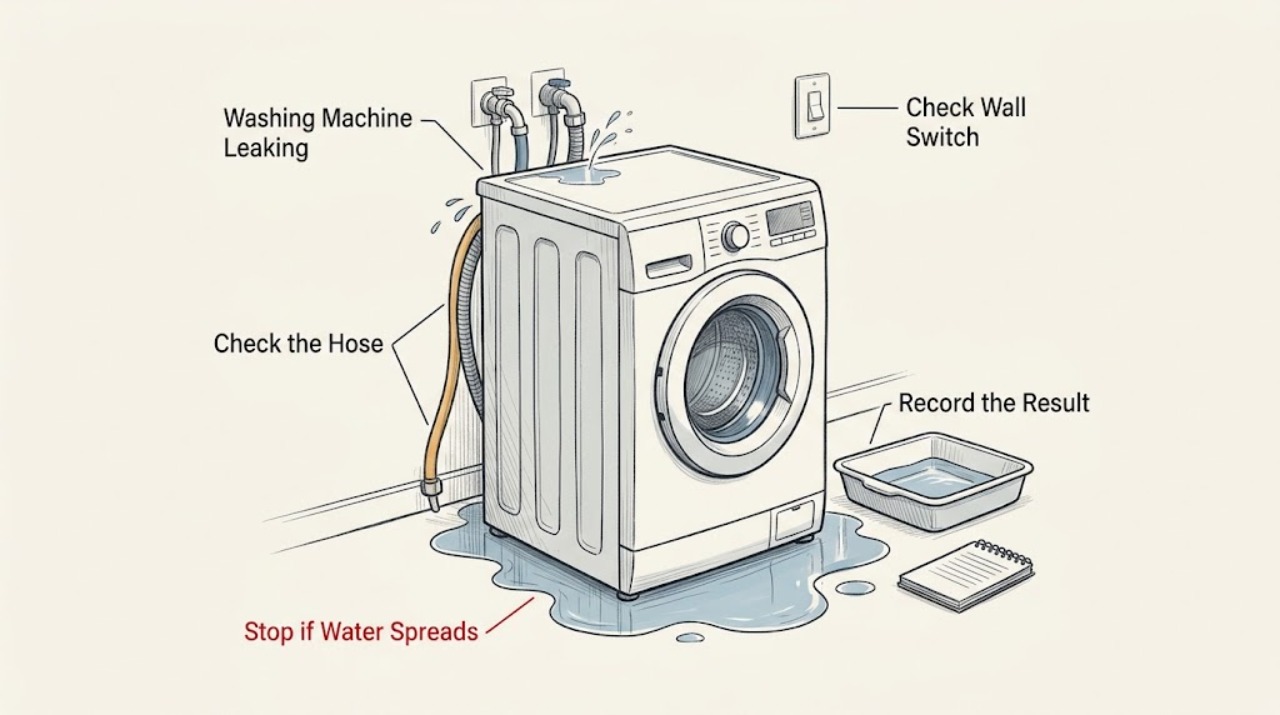
Blomberg Washing Machine Leaking: Safe Checks and Next Steps
Stop the programme, unplug the washing machine if it is safe to reach the plug, and close the water inlet taps before investigating a leak. Mop up standing water without moving the machine alone.
-
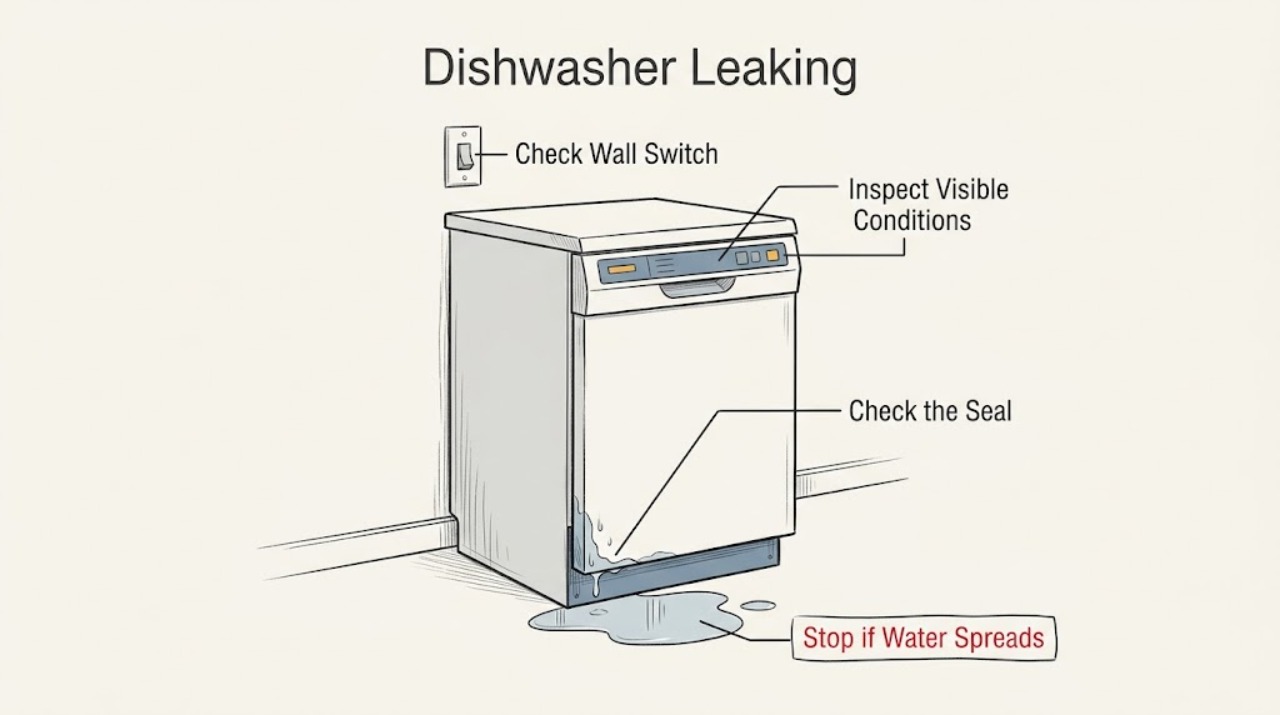
Bosch Dishwasher Leaking
If a Bosch dishwasher is leaking, stop the cycle and, only if you can do so without touching wet electrical parts, turn off the dishwasher's water supply and power. Note whether water is coming from the door, underneath, or the rear connection, and whether it appears only while filling, washing, or draining.
-
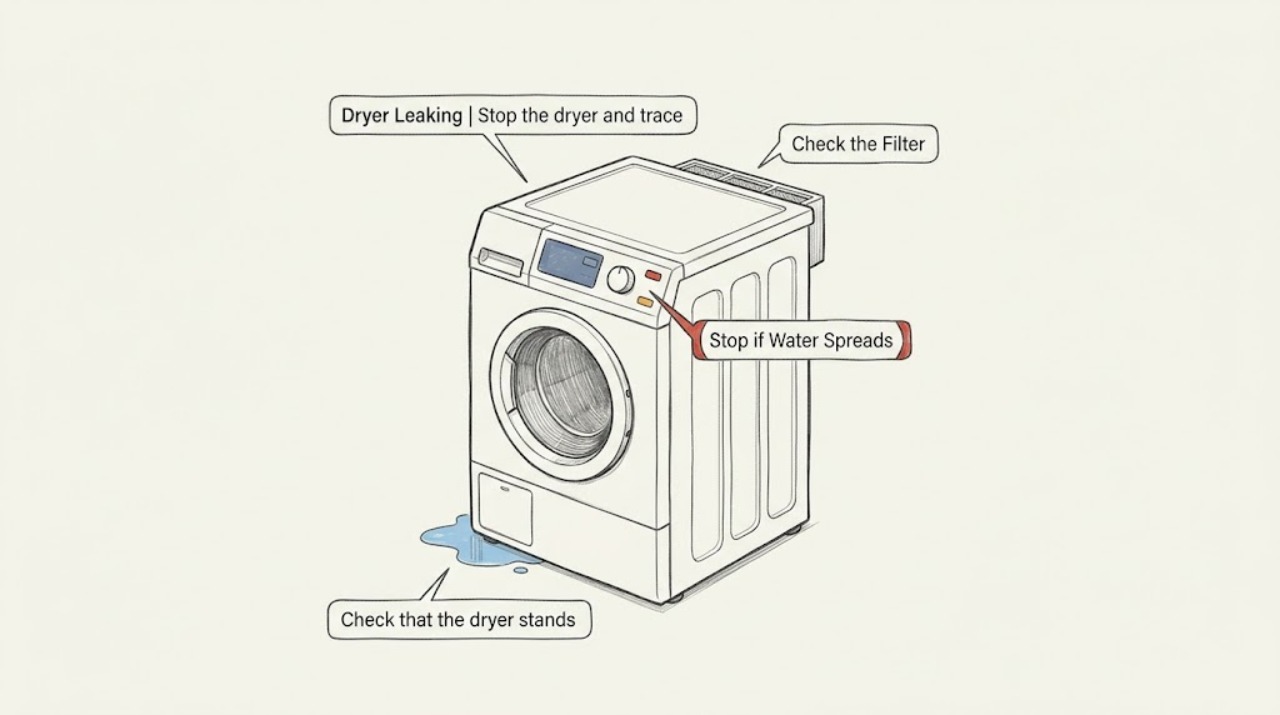
Bosch Dryer Leaking: Safe Checks for Water on the Floor
First identify where the water is coming from, then check the Bosch dryer is level, clean and refit the user-accessible fluff filter, and inspect any external condensation-drain hose for kinks, damage, or a slipped connection. If your condenser or heat-pump model uses a water container, empty it carefully and seat it fully.
-
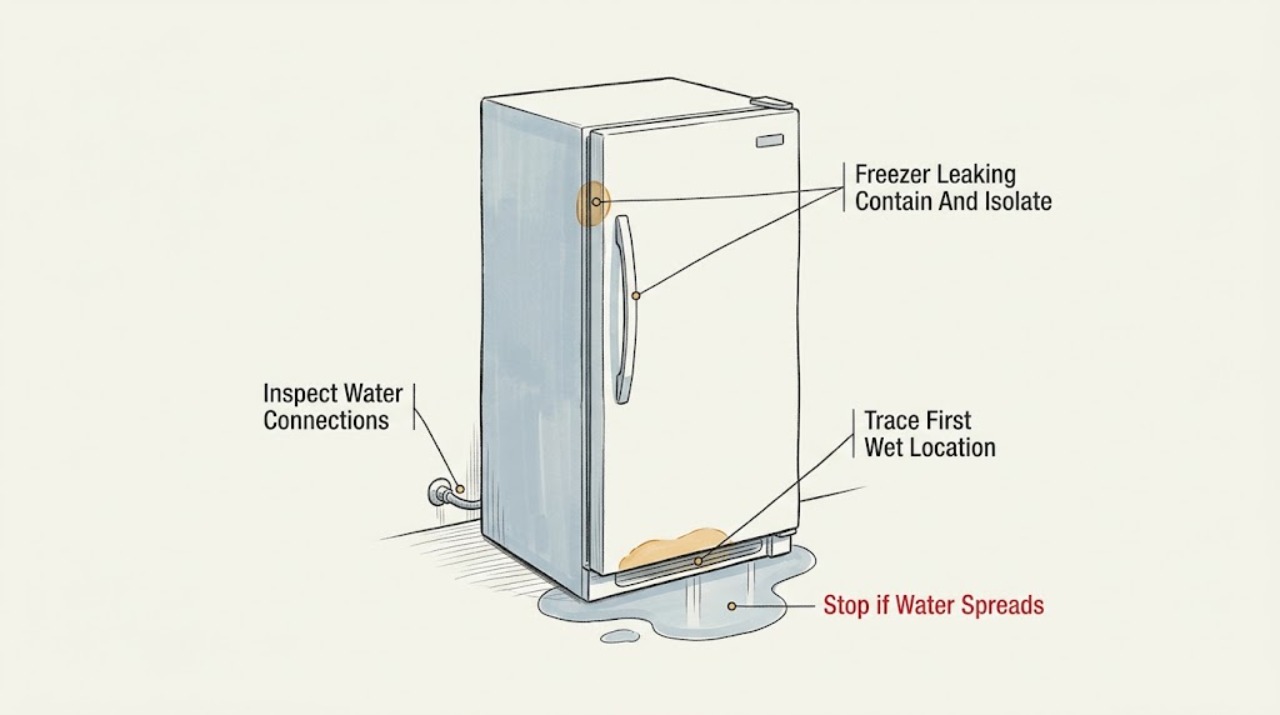
Bosch Freezer Leaking: Find the Water Source Safely
If your Bosch freezer is leaking, first protect the floor and keep water away from electrical parts. If it has an ice maker or water dispenser, check the accessible supply connections and drip tray; otherwise look for excessive frost, a door that is not sealing, or water collecting inside or beneath the appliance.
-
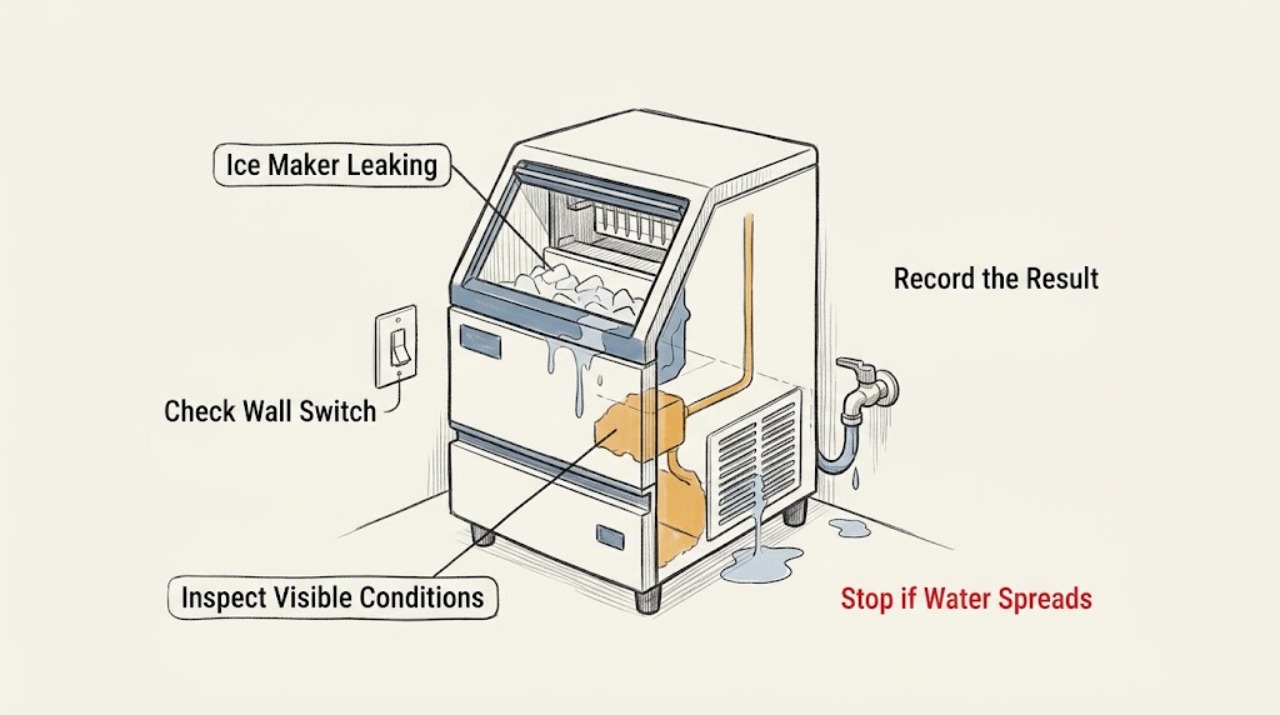
Bosch Ice Maker Leaking
First establish whether this is an ice maker built into a Bosch refrigerator or freezer, or a separate standalone machine. The Bosch manuals used here cover automatic ice makers integrated into Bosch refrigeration appliances; do not apply their refrigerator-leveling or hidden water-line instructions to a separate unit without its own model manual.
-
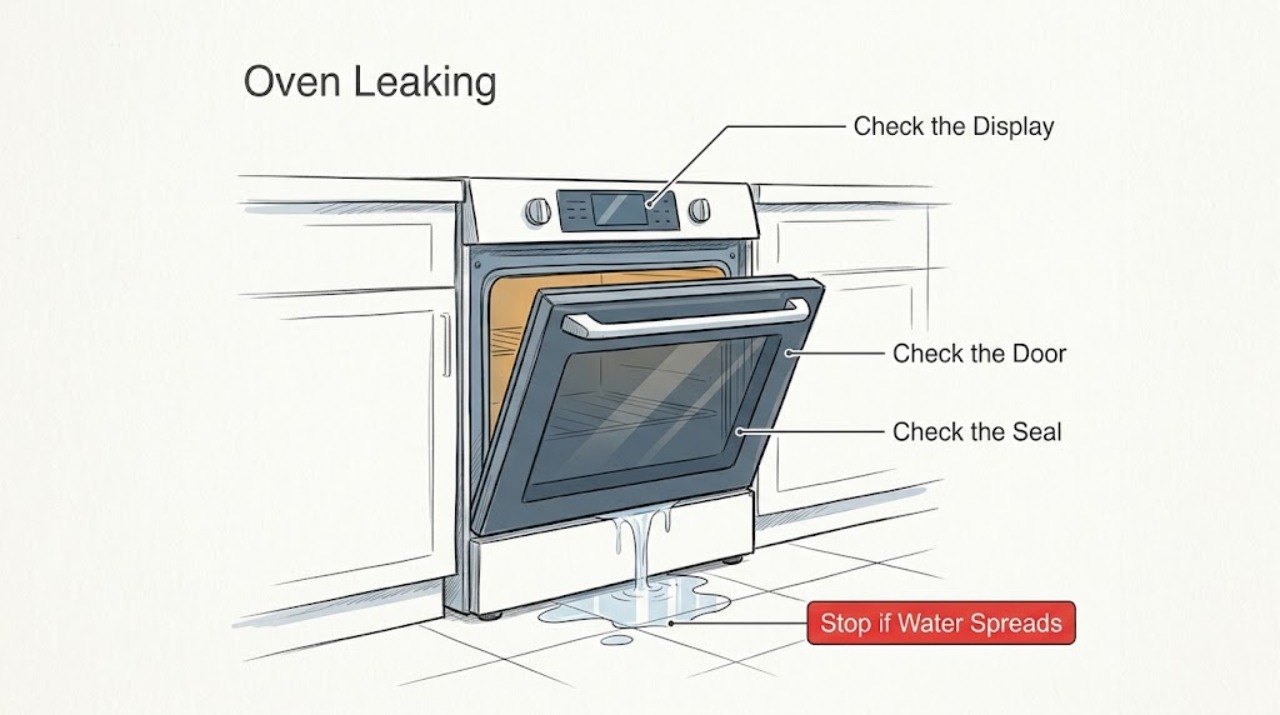
Bosch Oven Leaking: Check Condensation, Spillover, or the Steam System
A Bosch oven that appears to be leaking may be releasing normal condensation, overflowing a pan, or—on a steam model—leaking from the water tank or leaving too much water in the cooking compartment. Identify where the liquid starts and whether steam cooking was used.
-
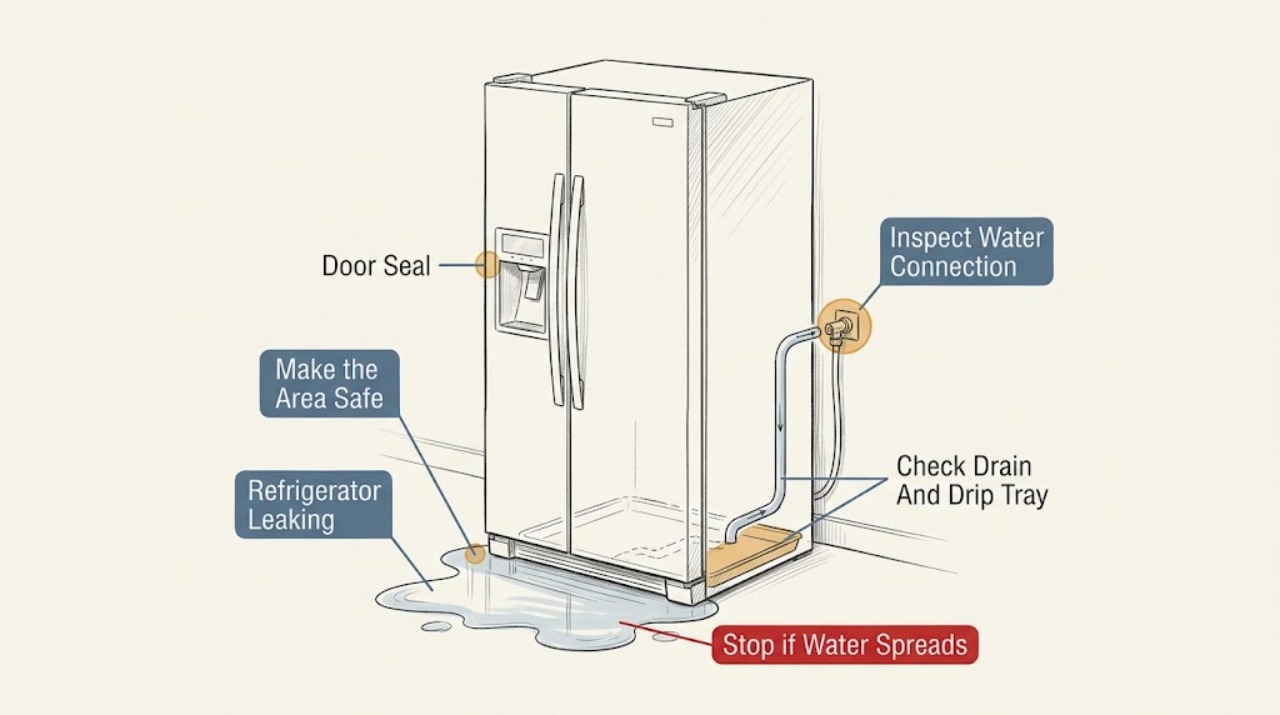
Bosch Refrigerator Leaking: Trace the Water Safely
First protect the floor and keep water away from the plug, cord, and controls. Then trace the highest wet point without pulling the refrigerator apart: a connected Bosch refrigerator can leak from a loose or damaged water hose/connection, an overflowing drip tray, a contaminated defrost drain, the ice or water dispenser, or condensation around a drawer or poorly closed door.
-
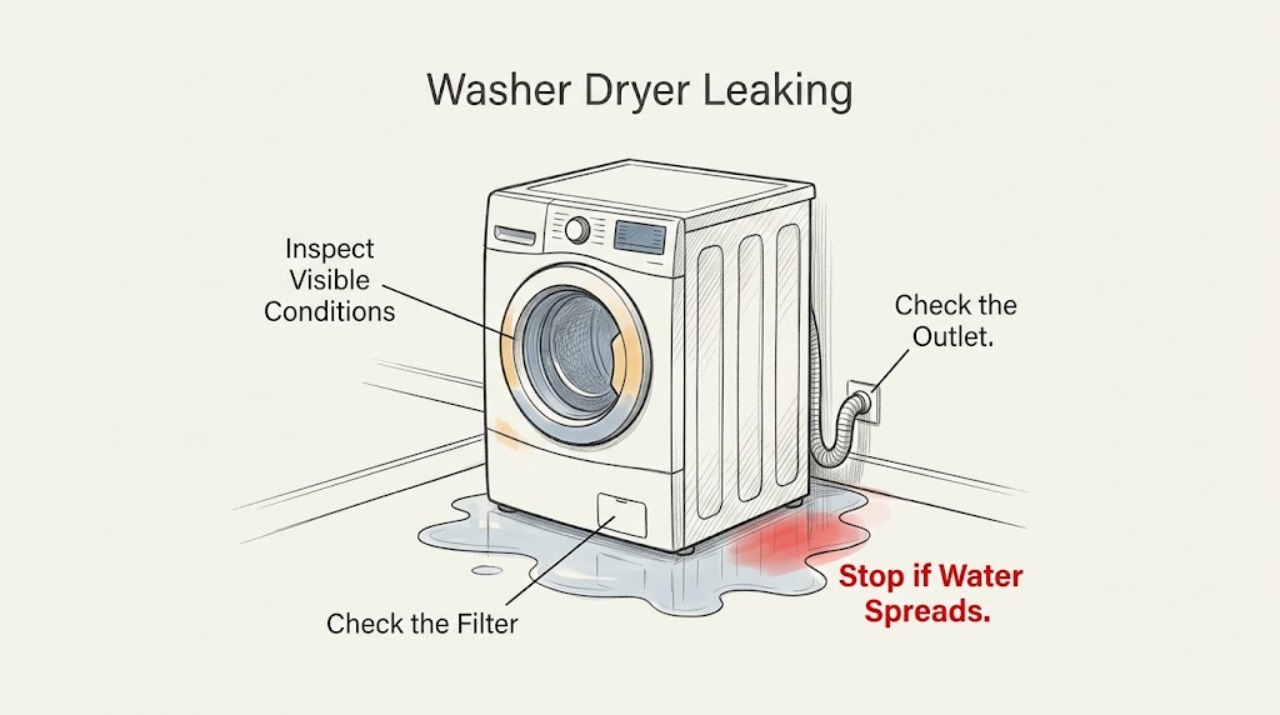
Bosch Washer Dryer Leaking: Find the Safe Next Check
Treat a leaking Bosch washer-dryer as a water and electrical safety issue first. If water is actively flowing, switch off the water tap; disconnect power only when the plug and floor can be reached without touching water, and never handle a wet plug or appliance.
-
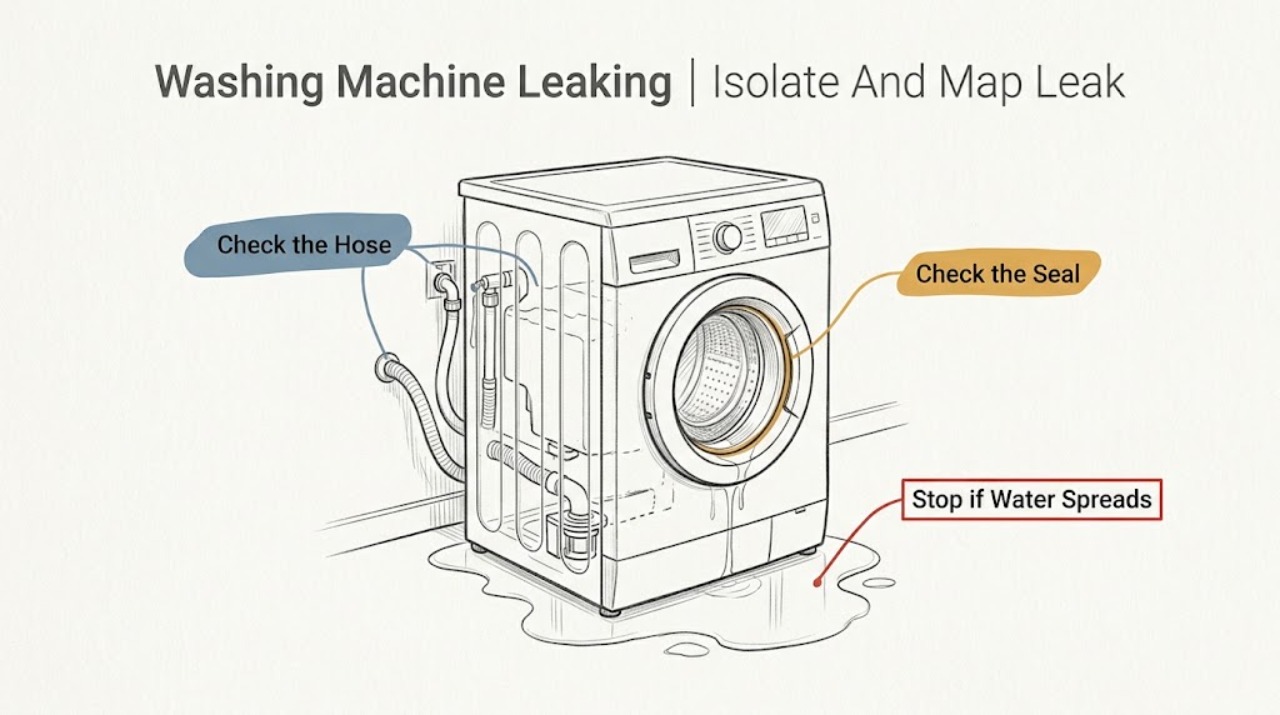
Bosch Washing Machine Leaking: Find the Water Source Safely
Stop the cycle and turn off the water tap. If water is near the outlet or power cord, do not touch the plug; isolate power only when it can be done without standing in water and the plug and outlet are dry.
-
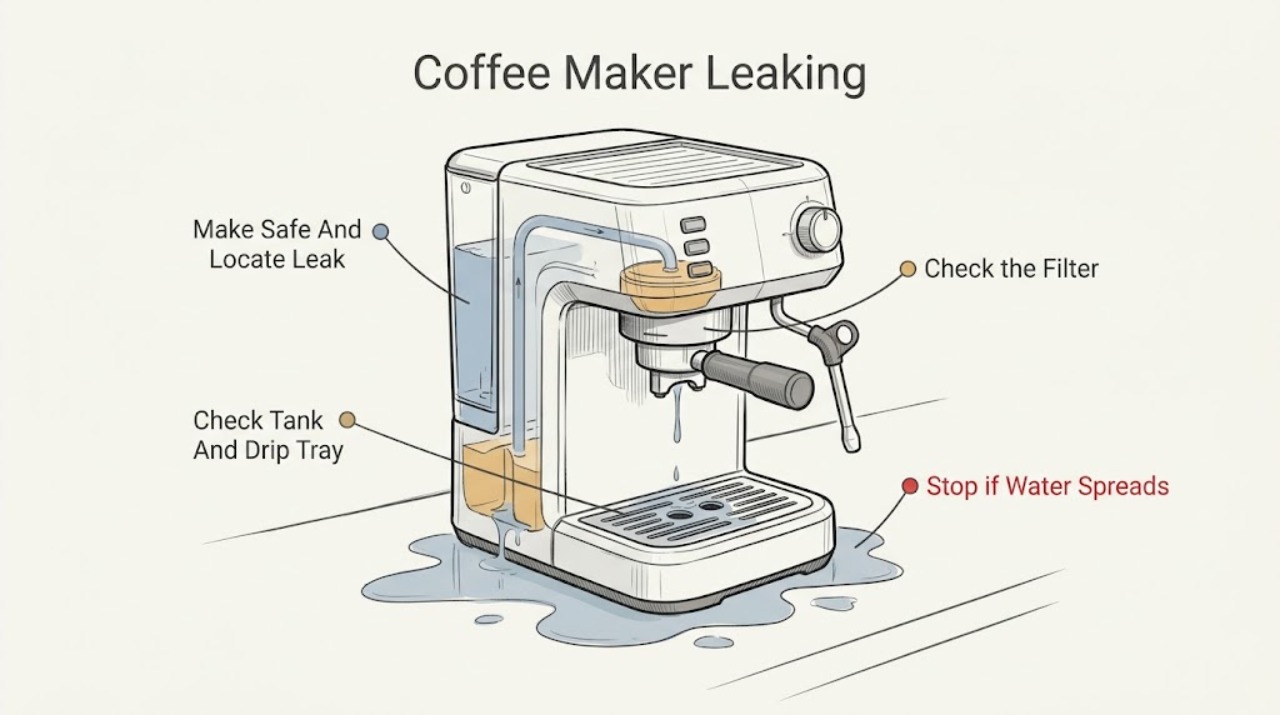
Breville Coffee Maker Leaking
For a leaking Breville coffee maker, first stop the cycle and identify where the water begins: an overfilled or poorly seated tank, a full or mis-seated drip tray, a normal purge into the tray, a portafilter or brew-head seal, a steam-wand purge, or water escaping from the base are different problems.
-
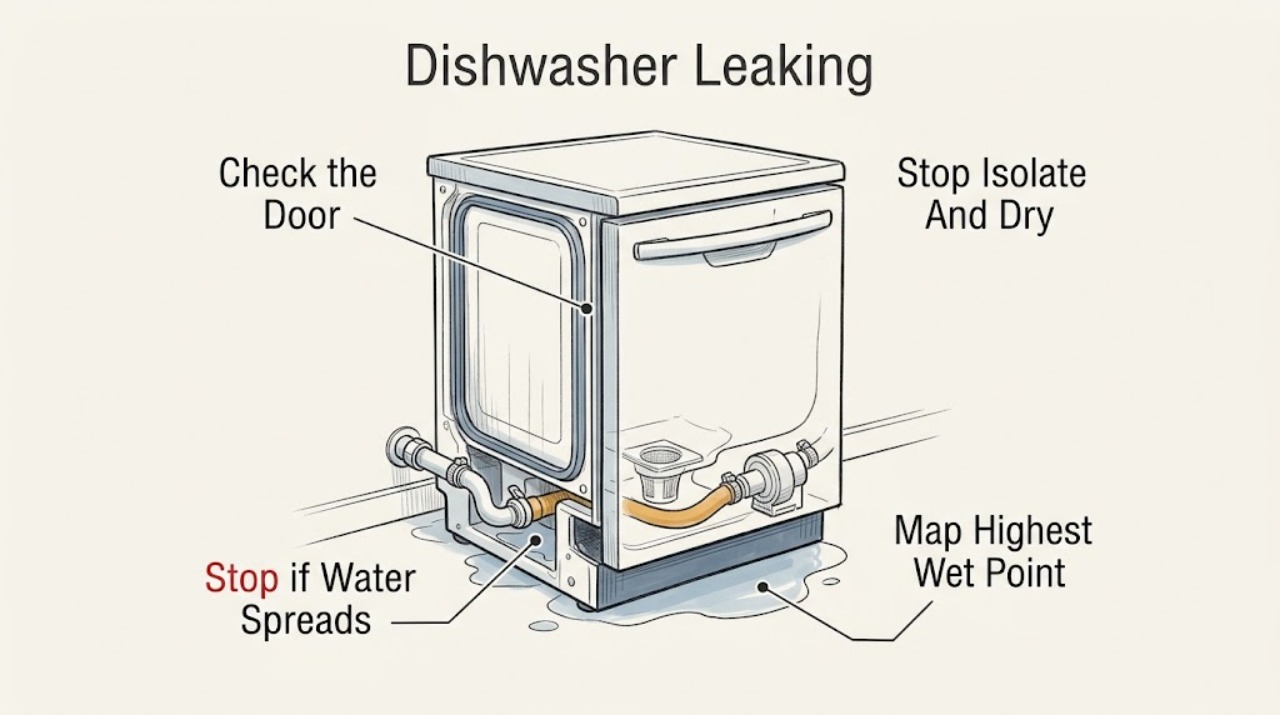
Candy Dishwasher Leaking: Trace the Water Before Replacing Parts
Stop the programme, keep water away from the plug, outlet, controls, and other electrical parts, and close the water supply if the leak is substantial or continues while the dishwasher is idle.
-
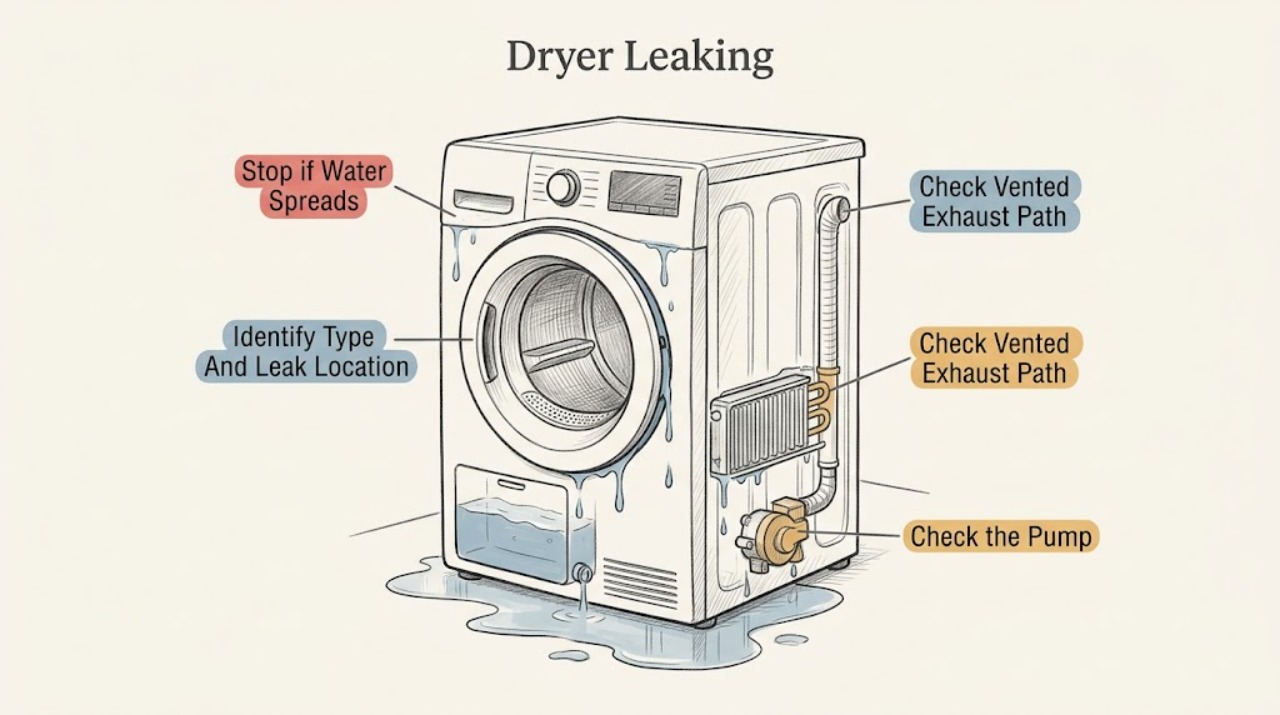
Candy Dryer Leaking
First identify whether the Candy dryer is vented, condenser, or heat pump because the leak path is different. A vented dryer normally sends moist air through an exhaust path and does not use a condensate tank; look for a disconnected or damaged vent path rather than a water container.
-
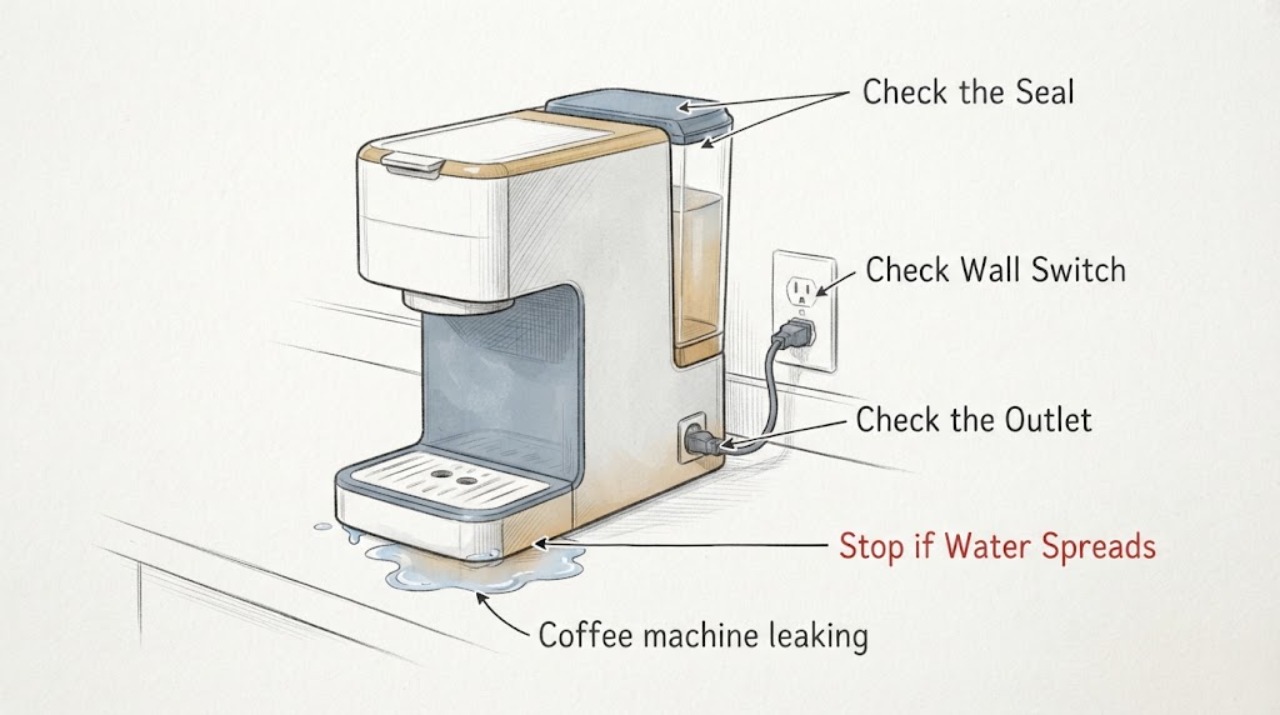
Coffee machine leaking
For a leaking coffee machine, first locate whether water comes from the tank, drip tray, brew group/filter holder, steam wand, or cabinet. Reseat accessible tanks and seals, clean scale from the inlet or brew path as the model allows, and make one controlled retest. Unplug and seek service for cabinet leaks or water near electrics.