
On this page
Start here
Quick answer
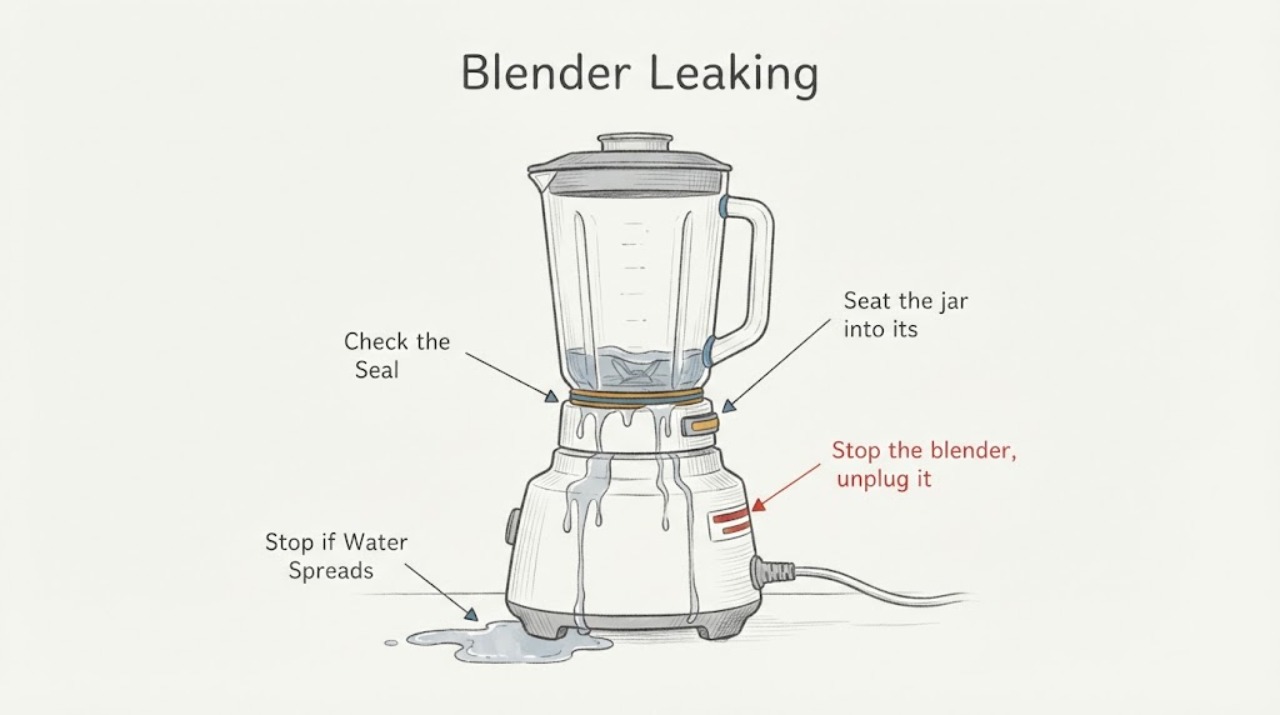
A leaking blender jar usually needs the jar assembly separated from the motor base, the gasket checked for damage or incorrect orientation, and the collar or blade interface seated correctly. Empty and unplug the blender before inspection. A cracked jar, damaged gasket, or leak that reaches the motor base requires the exact model part or service; do not run it to test a visible leak.
Work through in order
Diagnostic checks
Use only checks that match the exact appliance or system and its official guide.
-
Check 1
Stop the blender, unplug it, empty the jar, and identify whether liquid escaped from the lid, jar bottom, collar, or motor base.
Expected result: Leak is at the jar assembly or has reached the motor base.
Next step: Keep the base unplugged and inspect only removable jar parts.
Stop if: Do not run liquid near the motor.
Why this matters
Why: Location distinguishes a seal issue from a cracked jar or motor-area hazard.
-
Check 2
Inspect the removable gasket for missing, cracked, damaged, or upside-down installation.
Expected result: Gasket is damaged or incorrectly oriented.
Next step: Replace or reseat only the exact model gasket as the manual permits.
Stop if: Do not use a generic ring or sharp tool.
Why this matters
Why: KitchenAid identifies gasket condition and orientation as direct leak causes.
-
Check 3
Seat the jar into its collar or blade interface until the model locking position is reached.
Expected result: Jar was not fully seated or leaks despite correct fit.
Next step: Do not blend; obtain model-specific service or parts guidance.
Stop if: Do not force threads or cracked plastic.
Why this matters
Why: Incomplete fit can leak; continued leakage suggests damaged assembly or seal.
-
Check 4
Inspect the jar and collar for cracks or distortion and record the model.
Expected result: Crack is visible or leakage persists without visible damage.
Next step: Keep unplugged and contact qualified service.
Stop if: Do not operate until resolved.
Why this matters
Why: Structural damage needs replacement; unexplained leakage needs diagnosis.
Use your observations
Decision map
Find the observation that best matches what you see, then follow the next safe action.
-
PATH 01Next step
What you see
Leak is at the jar assembly or has reached the motor base.
Do this next
Keep the base unplugged and inspect only removable jar parts.
Why this path and its safety boundary
Why it matters: Location distinguishes a seal issue from a cracked jar or motor-area hazard.
-
PATH 02Next step
What you see
Gasket is damaged or incorrectly oriented.
Do this next
Replace or reseat only the exact model gasket as the manual permits.
Why this path and its safety boundary
Why it matters: KitchenAid identifies gasket condition and orientation as direct leak causes.
-
PATH 03Next step
What you see
Jar was not fully seated or leaks despite correct fit.
Do this next
Do not blend; obtain model-specific service or parts guidance.
Why this path and its safety boundary
Why it matters: Incomplete fit can leak; continued leakage suggests damaged assembly or seal.
Helpful context
Understand the symptom
Start with the observable symptom
A leaking blender jar usually needs the jar assembly separated from the motor base, the gasket checked for damage or incorrect orientation, and the collar or blade interface seated correctly. Empty and unplug the blender before inspection. A cracked jar, damaged gasket, or leak that reaches the motor base requires the exact model part or service; do not run it to test a visible leak.
Use the exact model guidance
Appliance models differ in controls, access, and parts. Record the model and serial information before any replacement or service request.
When checks do not resolve it
Need a professional?
Provide the exact model, serial information, symptom timing, and observations to the manufacturer or a qualified service provider. Do not open gas, refrigerant, high-voltage, or sealed assemblies.
Common questions
FAQ
What should I do first?
A leaking blender jar usually needs the jar assembly separated from the motor base, the gasket checked for damage or incorrect orientation, and the collar or blade interface seated correctly. Empty and unplug the blender before inspection. A cracked jar, damaged gasket, or leak that reaches the motor base requires the exact model part or service; do not run it to test a visible leak.
When should I call service?
Use qualified service when the accessible checks fail or a safety hazard is present.
Read the exact guide
Official sources
- Blender Jar Leaking | KitchenAid Product HelpKitchenAid · Blender jar gasket orientation, collar seating, and service boundary
Community feedback
Share a repair observation
Share a plain-text repair observation. Accepted observations are published automatically; this page may take a moment to update.