
On this page
Start here
Quick answer
When a Bosch induction hob displays an error, first record the exact code and check whether the panel is wet, covered by an object, locked, or showing a cookware or overheating warning. Bosch maps different displays to different actions: dry or clear a wet panel, remove cookware from the controls, let an overheated zone cool, or follow the model manual for a child lock or demo mode. If the code is not listed, returns after one model-approved reset, indicates incorrect supply voltage, or appears with a crack, burning smell, smoke, or repeated tripping, stop using the hob and arrange qualified appliance service. Do not remove the glass or perform live electrical tests.
Work through in order
Diagnostic checks
Use only checks that match the exact appliance or system and its official guide.
-
Check 1
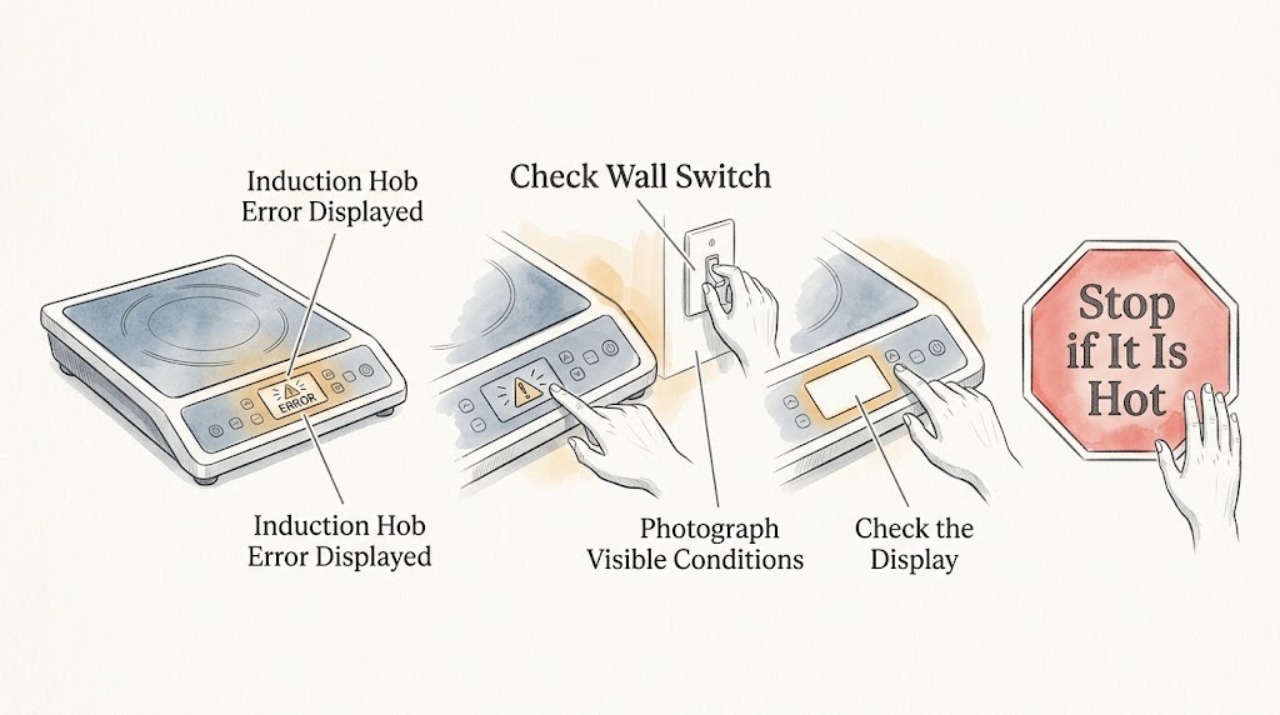
Write down the exact error display, the cooking zone involved, whether the displays are flashing or beeping, what cookware was present, and whether the hob had just been used at high power. Take a clear photograph of the panel if it can be done without touching hot glass.
Expected result: The same general complaint can represent a wet panel, child lock, demo mode, overheating, supply fault, or an unlisted electronics fault. The exact characters and timing distinguish those branches.
Next step: Continue to the matching visible condition below. If the glass is cracked, the panel is smoking, or the code is accompanied by burning smell or repeated tripping, stop immediately and arrange service.
Stop if: Stop for cracked glass, smoke, burning smell, sparking, or water entering the hob.
Why this matters
Why: Bosch directs users to identify the precise fault code and have the cooktop model number ready if the code is not listed.
-
Check 2
If all displays are flashing, switch the hob off at its normal control if it responds, then inspect the dry, cool control area for spilled liquid, condensation, or an object resting over a touch key. Remove only the object and wipe the accessible surface dry with the appliance off.
Expected result: Bosch identifies a wet control panel or objects lying on it as a cause of all displays flashing. If the display clears after the panel is dry and clear, the warning was likely caused by the control surface rather than an internal component.
Next step: Retry one zone only after the surface is dry and clear. If the display returns without a spill or obstruction, stop and arrange service; do not open the hob.
Why this matters
Why: The panel must be dry and unobstructed for touch controls to interpret input safely.
-
Check 3
If a key or padlock symbol is shown, check the model manual for the child-lock control and use only the documented touch-and-hold command with the hob cool and clear. Do not force the glass or repeatedly press unrelated controls.
Expected result: A key symbol indicates that the child lock is active, so a cooking zone may not respond even though the hob has power. When the lock symbol clears, the controls should accept a normal zone selection.
Next step: If the model-specific lock command does not clear the symbol, record the model and code and arrange Bosch or qualified appliance support rather than trying to bypass the lock.
Why this matters
Why: This is a control-state condition, not evidence that an induction coil or power board has failed.
-
Check 4
If the code is dE and the zones do not heat, check the model manual for demo mode. If a zone shows F1, F6, F2, F4, E7015, F5, U2, or U3, remove cookware from the control area where indicated and let the electronics or zone cool completely before trying one normal operation.
Expected result: Bosch associates dE with demo mode on applicable models; F1/F6 and U2/U3 indicate an overheated zone, F2/F4/E7015 indicate overheated electronics, and F5 can indicate hot cookware near the control panel.
Next step: Retry once only after cooling and clearing the control area. If the code returns, the hob does not restart, or the glass is damaged, stop use and arrange qualified service.
Why this matters
Why: These messages may be protective or configuration states, but a recurring code after cooling is evidence that the underlying condition remains.
-
Check 5
If the cookware or power-level display flashes without a clear fault code, center a suitable pan on the selected zone, keep it away from the touch controls, and check the model manual for the zone-size and cookware requirements. Do not test the hob with damaged or unstable cookware.
Expected result: Bosch explains that induction zones may not detect cookware that is not magnetic, too small, or poorly placed. A correctly detected pan with a normal power indication points away from a general control failure.
Next step: If the same compatible pan is still not detected on more than one zone, record the display and stop further tests; arrange qualified service.
Why this matters
Why: Induction heating depends on cookware detection, so a flashing level can be a pan or placement issue rather than an error in the hob electronics.
-
Check 6
If the display shows an unlisted E or F code, E9000, E9010, U1, or U400, do not attempt voltage measurements or repeated breaker resets. If the hob is safely accessible and the model manual permits one reset, use only that documented procedure; otherwise leave it off and record the code.
Expected result: Bosch treats an unlisted E or F code as a fault requiring the precise code for support. E9000, E9010, U1, and U400 indicate supply-voltage conditions outside the normal range and are not user-adjustable settings.
Next step: Arrange a qualified electrician or appliance technician as appropriate, especially if the circuit trips or the code returns. Do not remove the hob or its electrical cover.
Stop if: Stop immediately for repeated tripping, heat at the switch or cable, smoke, or any visible electrical damage.
Why this matters
Why: A recurring or supply-related code can involve the installation or internal electronics; guessing at a reset or component replacement can create a shock or fire hazard.
Use your observations
Decision map
Find the observation that best matches what you see, then follow the next safe action.
-
PATH 01Safety boundary
What you see
All displays are flashing and the panel is wet or covered by an object.
Do this next
Switch the hob off if it responds, remove the object, and dry the accessible panel. Retry once only when the surface is clear and cool.
Why this path and its safety boundary
Safety stop: Continue with the exact-code branch rather than guessing what the display means.
-
PATH 02Safety boundary
What you see
A key or padlock symbol is displayed.
Do this next
Use only the documented model-specific child-lock command. If the symbol remains, arrange support and do not bypass the lock.
Why this path and its safety boundary
Safety stop: Check for demo, overheating, cookware, or supply indications.
-
PATH 03Safety boundary
What you see
The code indicates demo mode, overheating, or hot cookware near the controls.
Do this next
Follow the matching Bosch cooling, clearing, or model-manual instruction, then retry once. Escalate if the code returns.
Why this path and its safety boundary
Safety stop: Continue to cookware-detection and unlisted-code checks.
-
PATH 04Safety boundary
What you see
A compatible pan is centered but the zone still flashes or is not detected.
Do this next
Stop repeated tests and arrange qualified service after recording the zone and display behavior.
Why this path and its safety boundary
Safety stop: Treat a pan or placement warning as resolved only if the zone responds normally without another code.
-
PATH 05Safety boundary
What you see
The code is unlisted, supply-voltage related, recurring after one safe reset, or accompanied by a circuit trip.
Do this next
Leave the hob off and arrange qualified appliance or electrical service. Do not perform live testing or open the hob.
Why this path and its safety boundary
Safety stop: Use the single matching visible correction and monitor one normal cooking attempt.
-
PATH 06Safety boundary
What you see
The glass is cracked, or there is smoke, burning smell, sparking, water ingress, or heat damage around the controls.
Do this next
Stop immediately, keep clear of the hob, isolate power only from a safe accessible point, and arrange qualified service or electrical help.
Why this path and its safety boundary
Safety stop: Continue only with the documented low-risk code-specific check; persistent errors still need service.
Helpful context
Understand the symptom
The code matters more than the word error
Bosch induction hobs use different displays for a wet control panel, child lock, demo mode, overheating, cookware placement, time limitation, and supply faults. A code that looks similar on another model may mean something else, so write down every character, symbol, and accompanying sound before clearing it. Have the model identification ready when the display is not covered by the Bosch list.
Keep the user checks low risk
Only clean and clear the accessible glass and controls, move cookware away from the control area, or wait for cooling when Bosch specifically indicates that action. Do not lift the glass, remove the hob from the worktop, open an electrical enclosure, bridge a safety device, or measure live voltage. A cracked glass surface is a stop condition because liquids can reach electrical parts.
Only after diagnosis
Potential parts
- induction hob control module
Consider this only after a qualified technician confirms an internal control fault and rules out a wet panel, lock, cookware, overheating, or supply condition.
Confirm the complete Bosch model identification and professional diagnosis before obtaining a replacement. - induction heating coil
Consider this only when service diagnosis identifies a failed zone coil after the control and supply paths are verified.
Zone components are model-specific and require professional installation; an error display alone does not establish coil failure.
Common questions
FAQ
Why is my Bosch induction hob showing an error?
The display may indicate a wet or obstructed panel, child lock, demo mode, overheating, cookware detection, supply voltage, or an internal fault. Record the exact code and match it to the model-specific Bosch guidance.
What should I do when all Bosch induction hob displays flash?
Bosch identifies a wet control panel or an object on it as a possible cause. Switch the hob off if it responds, remove the object, dry the accessible surface, and retry once. If the flashing returns, arrange service.
What does a Bosch induction hob key symbol mean?
It indicates that the child lock is active. Use only the documented model-specific unlock command; do not bypass the lock. If the symbol remains, arrange qualified support.
When should I stop using a Bosch induction hob with an error?
Stop for a recurring or unlisted code, a supply-voltage message, cracked glass, smoke, burning smell, sparking, water ingress, repeated circuit trips, or any need to open the appliance. Arrange qualified appliance or electrical service.
Read the exact guide
Official sources
- Bosch Induction Cooktop Error CodesBosch Home Appliances · Bosch induction-cooktop error meanings, safe visible corrections, cooling states, and support escalation
- Bosch Induction Cooktop TroubleshootingBosch Home Appliances · Bosch induction-cooktop power, lock, cookware detection, settings, overheating, and service checks
Community feedback
Share a repair observation
Share a plain-text repair observation. Accepted observations are published automatically; this page may take a moment to update.