
On this page
Start here
Quick answer
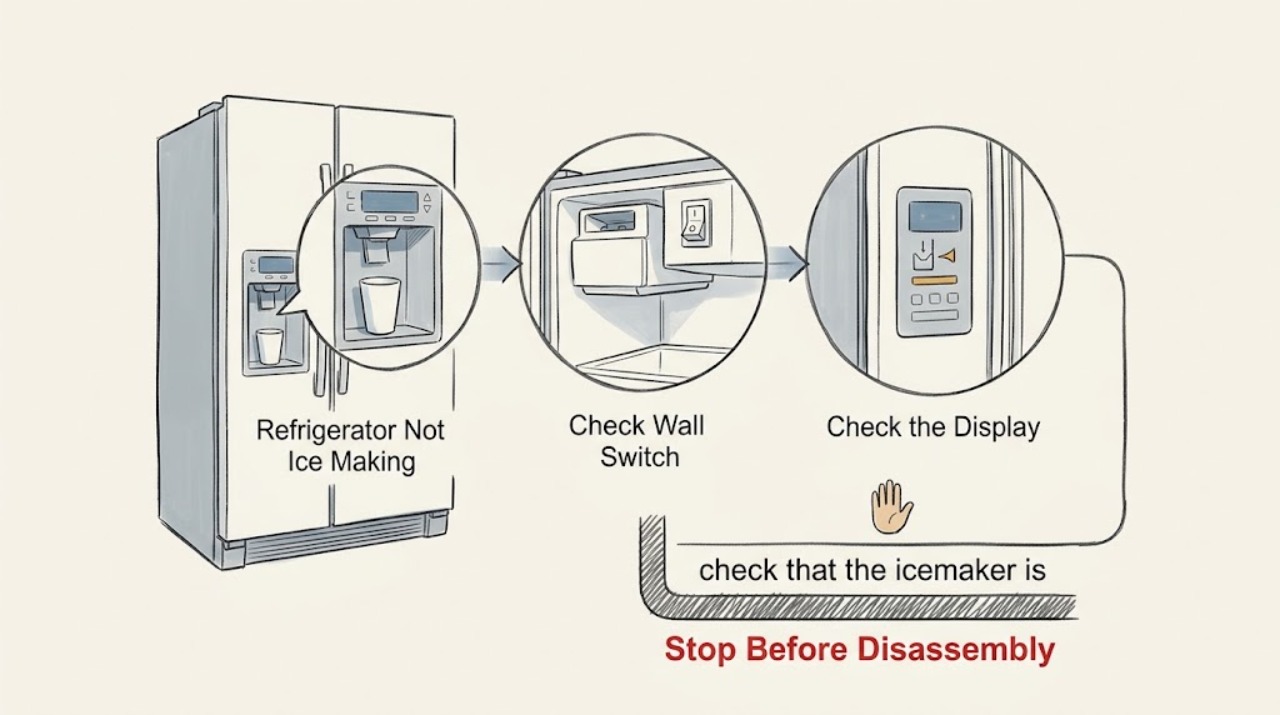
If a GE Artistry refrigerator is not making ice, first confirm that the refrigerator actually has the optional icemaker installed and that the icemaker is switched on. The Artistry refrigerator is a bottom-freezer model, but the exact icemaker location and control vary by installation and model. Then check whether the freezer is cold enough, the feeler arm or paddle can move, the water supply is on, and a water filter is not restricting flow. A newly installed refrigerator or icemaker may need up to about 24 hours to begin cycling. Do not pull out the icemaker, force a stuck rake, or test a water valve. If the freezer is cold and the icemaker is on but no water or harvest cycle occurs after these external checks, arrange qualified GE service.
Work through in order
Diagnostic checks
Use only checks that match the exact appliance or system and its official guide.
-
Check 1
Locate the model and serial label and confirm whether the GE Artistry refrigerator has the optional icemaker installed. Use the exact owner guide to find the icemaker, bin, switch or control-panel setting, and feeler arm or paddle; do not infer the arrangement from a different GE refrigerator.
Expected result: Record whether an icemaker assembly and ice mold are present, whether the ice bin is installed, and whether the control shows ON, OFF, or no icemaker option.
Next step: Install or enable only the parts and setting authorized for the exact model. If the model documentation does not identify an icemaker or the assembly is missing, stop and confirm configuration with GE service rather than buying a guessed kit.
Why this matters
Why: No installed icemaker means there is no ice-making function to troubleshoot. An installed unit with an OFF setting, absent bin, or model-specific control state can stop production without an internal failure.
-
Check 2
With the freezer door open and the appliance otherwise safe, check that the icemaker is powered on and that the feeler arm or paddle can move through its normal user-accessible range. Remove only loose ice that visibly blocks the arm or bin; do not force the arm or touch the mold, heater, or rake.
Expected result: Note whether the arm or paddle is held up by a full bin or obstruction, whether a green indicator is steady or flashing on a model that has one, and whether the icemaker appears powered.
Next step: Clear only a loose, accessible obstruction and return the arm or bin exactly as the manual shows. If the arm cannot move normally or the mold/rake is jammed, stop before removing the icemaker and arrange service.
Why this matters
Why: A raised or blocked arm tells the icemaker to pause production. A flashing indicator or ice stuck in the mold can prevent harvest, while an absent indicator or unresponsive assembly points toward model-specific power or control diagnosis.
-
Check 3
Check the freezer temperature using the exact Artistry manual's control guidance and consider timing since installation, icemaker installation, a long power interruption, or a large warm load. Keep the doors closed while the freezer recovers rather than repeatedly changing settings.
Expected result: Record whether the freezer is at the model's proper operating temperature, whether the refrigerator is newly installed, and whether the icemaker has had up to about 24 hours to become cold enough to cycle.
Next step: Set only the temperature documented for the exact model and allow the stated recovery period. If the freezer is cold and the icemaker still never cycles, continue to the water-path checks rather than lowering the setting indefinitely.
Why this matters
Why: An overly warm freezer or an incomplete new-installation recovery can delay or prevent ice production. GE's general guidance says the icemaker must reach a low operating temperature before a cycle begins, but the exact setpoint and display behavior are model-dependent.
-
Check 4
Inspect the external water supply path: confirm the refrigerator shutoff is open, the accessible line is not kinked, and the water dispenser flow is normal if the Artistry installation includes one. Check the filter only with the exact manual's removal or bypass instructions; do not disconnect hidden tubing.
Expected result: Compare normal, slow, or absent dispenser flow with the ice mold condition. A dry mold with poor dispenser flow is different from a dry mold with normal flow.
Next step: Restore only an accidentally closed shutoff or a model-approved filter condition. Do not remove the icemaker or attempt to thaw an internal fill tube; arrange service if the mold stays dry after external water checks.
Why this matters
Why: A closed or restricted supply, clogged filter, or sediment can limit water reaching the icemaker. Normal dispenser flow with a dry mold makes a frozen fill tube or icemaker fill/control problem more likely; GE says verifying a frozen fill tube requires removing the icemaker and should be done by a technician.
-
Check 5
After the icemaker is installed and on, the freezer is cold, and the external water path is normal, observe one complete user-safe cycle from outside the assembly. Note whether ice forms, the rake releases it, the mold refills, or production stops without water. Do not pour water into the mold or run a diagnostic sequence unless the exact Artistry manual explicitly provides it.
Expected result: Record the model, whether the mold is empty or contains frozen cubes, whether cubes are stuck, whether water enters, and any exact indicator or display message. Do not name an error code that the model manual does not identify.
Next step: Stop at external checks and arrange qualified GE service for a persistent dry mold, failed harvest, repeated flashing indicator, water leak, or internal component diagnosis. Preserve the model and observations for the technician.
Why this matters
Why: Frozen cubes that cannot release point toward a harvest obstruction; a dry mold after a cold freezer and normal supply points toward the fill path or control; no cycle with power on may require icemaker or temperature diagnosis. These observations do not prove a replaceable part.
Use your observations
Decision map
Find the observation that best matches what you see, then follow the next safe action.
-
PATH 01Next step
What you see
The GE Artistry refrigerator has no installed icemaker or the exact documentation shows the feature is optional.
Do this next
Confirm the exact model's configuration with GE; do not assume a generic kit or part will fit.
Why this path and its safety boundary
Why it matters: The appliance is configured without ice production rather than failing to make ice.
-
PATH 02Next step
What you see
An icemaker is installed but is OFF, blocked by the bin, or held by the feeler arm or paddle.
Do this next
Correct only the documented setting or loose obstruction. If movement is abnormal or ice is stuck in the mold, arrange service.
Why this path and its safety boundary
Why it matters: A pause command or bin/arm obstruction is more likely than a failed water valve.
-
PATH 03Next step
What you see
The icemaker is on but the freezer is too warm or the refrigerator was recently installed.
Do this next
Use the exact model temperature guidance, keep doors closed, and allow the documented recovery interval before judging production.
Why this path and its safety boundary
Why it matters: Temperature or normal initial recovery is more likely than an immediate icemaker failure.
-
PATH 04Next step
What you see
The freezer is cold, the icemaker is on, and the external water path is normal, but no ice cycle completes.
Do this next
Stop user troubleshooting and arrange qualified GE service. Do not remove the icemaker, apply heat, probe wiring, or perform a live water-valve test.
Why this path and its safety boundary
Why it matters: A fill tube, valve, icemaker, sensor, or control diagnosis is more likely; GE's generic evidence does not justify identifying one part across Artistry configurations.
Helpful context
Understand the symptom
Confirm that the Artistry unit has an icemaker
GE's Artistry product page describes a 20.3-cubic-foot bottom-freezer refrigerator equipped for an optional icemaker kit. A refrigerator that was never fitted with the kit cannot produce ice, and the location of the switch, arm, and mold depends on the exact installation. Find the model label and matching owner guide before assuming a control or part is missing.
Separate no ice production from no dispensing
Look in the ice bin or mold rather than relying only on the dispenser. A full bin, a jammed chute, or a dispenser problem can leave an apparently empty glass without proving that the icemaker failed. The checks below concern making and filling ice; a separate dispensing fault needs its own model-specific procedure.
Keep water and electrical work at the user boundary
External checks can cover the icemaker setting, accessible feeler arm or paddle, freezer temperature, supply shutoff, and model-approved filter procedure. Do not remove the icemaker, reach into a moving rake, probe the fill valve, thaw a frozen fill tube with a heat source, or work on wiring. GE identifies a frozen fill tube as a technician check.
When checks do not resolve it
Need a professional?
Arrange qualified GE service if the Artistry refrigerator has an installed and enabled icemaker but remains without a harvest or fill cycle after the freezer reaches its model temperature and the external water checks are normal; if the fill tube appears frozen, the rake or mold is jammed, an indicator repeatedly flashes, or water leaks. Stop immediately for water near electrical parts or damaged wiring. Do not remove the icemaker, force the feeler arm, apply heat to a frozen tube, probe a valve, or perform live electrical work.
Common questions
FAQ
Does every GE Artistry refrigerator include an icemaker?
No assumption is safe from the series name alone. GE's Artistry product page identifies the bottom-freezer refrigerator as equipped for an optional icemaker kit. Check the exact model and installation for an icemaker assembly and use the matching owner guide before troubleshooting production.
How long does a GE Artistry refrigerator take to make ice after installation?
GE says a newly installed refrigerator or icemaker may need up to about 24 hours to become cold enough to begin cycling. The exact temperature and controls depend on the model. Keep the freezer closed during recovery and do not judge the icemaker before the documented interval has passed.
Why is the GE Artistry icemaker not filling with water?
Check that the icemaker is on, the feeler arm or paddle is not blocked, the refrigerator water shutoff is open, and the filter is not restricting flow. If the dispenser works but the mold stays dry, GE notes that a frozen fill tube may require icemaker removal and should be checked by a service technician.
Read the exact guide
Official sources
- Refrigerator - New Icemaker Not Producing IceGE Appliances · GE newly installed refrigerator and icemaker startup guidance
- Refrigerator - Icemaker Doesn't Fill With WaterGE Appliances · GE refrigerator icemaker feeler arm, water supply, filter, fill tube, and service troubleshooting
- Refrigerator - Icemaker Not Producing IceGE Appliances · GE refrigerator icemaker power, temperature, filter, stuck-ice, and service troubleshooting
- Refrigerator and Freezer Troubleshooting and SupportGE Appliances · GE refrigerator model-specific support and icemaker troubleshooting scope
- GE Artistry Series bottom-freezer refrigeratorGE Appliances Pressroom · GE Artistry Series refrigerator product-family identity
- GE Artistry Series ENERGY STAR 20.3 Cu. Ft. Bottom Freezer RefrigeratorGE Appliances · GE Artistry bottom-freezer refrigerator product identity and optional icemaker configuration
- Refrigerator - Normal Ice Production and Cube SizeGE Appliances · GE refrigerator ice-production conditions and model-family variation
- 49-60090-1 Refrigerator Use and Care GuideGE Appliances · Older GE bottom-freezer refrigerator icemaker operation and safety context
Community feedback
Share a repair observation
Share a plain-text repair observation. Accepted observations are published automatically; this page may take a moment to update.