
On this page
Start here
Quick answer
Stop using the Maytag microwave until the broken handle and the door assembly have been checked. Do not pull on a damaged handle, tape it in place, hold the door shut, or run the microwave to see whether it still works. Maytag's microwave safety instructions say not to operate a damaged oven and specifically require the door to close properly with no damage to the door, hinges, latches, door seals or sealing surfaces; they also reserve adjustment and repair for qualified service personnel. With power disconnected, record the model and inspect only for visible misalignment, looseness, cracks, bent hinges or latches, and torn or displaced seals. Use Maytag's model-based parts lookup or schedule qualified service; a handle that looks like a separate piece is not proof that the door remains safe.
Before you begin
Safety first
- Do not operate a microwave with a damaged, misaligned or uncertain door, latch, hinge or seal. Do not open the cabinet, remove the door, access high-voltage components, defeat interlocks, or use tape, clamps, improvised fasteners or a temporary handle as a safety repair.
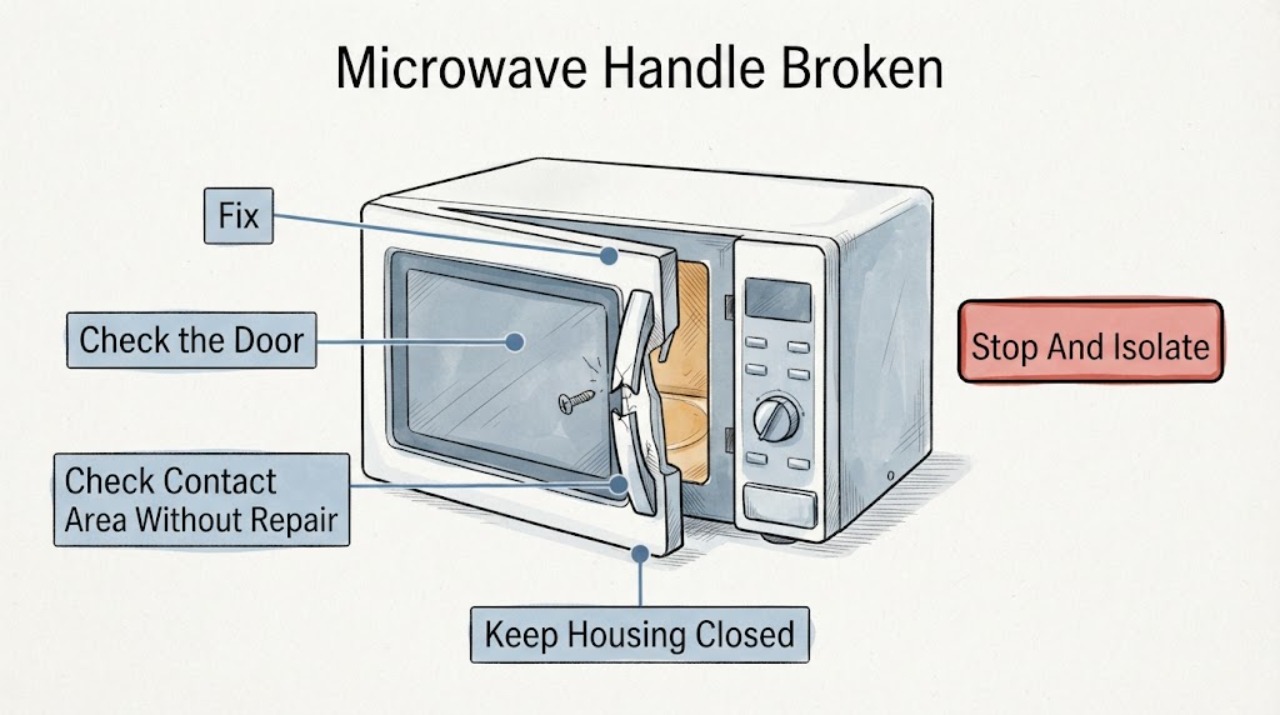
Work through in order
Diagnostic checks
Use only checks that match the exact appliance or system and its official guide.
-
Check 1
Stop operating the Maytag microwave and disconnect its power only if the plug, outlet and surrounding area are safe to approach; otherwise leave the circuit off and keep people from using the unit. Do not pull the door by the broken handle, tape or clamp it shut, or run a heating test.
Expected result: The microwave is isolated without forcing the damaged handle, or isolation cannot be done safely because of heat, smoke, water or electrical damage.
Next step: If there is smoke, fire, exposed wiring or an electrical hazard, leave the area and use appropriate emergency or electrical service. Otherwise continue only with a power-off external inspection and service planning.
Why this matters
Why: The door's mechanical and sealing integrity has not been established, so a successful display or heating cycle would not make operation safe.
-
Check 2
With power disconnected, observe the handle attachment, door face, hinges, latches, frame and seal from the outside without removing trim or the door; gently view whether the door hangs square and rests flush, but do not force it closed or pull on the broken handle.
Expected result: The handle is loose or detached, the door is bent or misaligned, a hinge or latch is loose, the seal is torn/displaced, or none of those defects are visible.
Next step: Keep the microwave off and arrange qualified Maytag microwave service when any defect is present or the condition is uncertain. Do not energize the oven to verify the observation.
Why this matters
Why: Any door, hinge, latch or sealing-surface defect means the issue is broader than a cosmetic handle replacement; an intact-looking exterior still does not prove the door is safe after damage.
-
Check 3
Only if the door frame and seal are visibly intact, look for removable food soil or residue on the door contact area without scraping, lifting, or repositioning the seal; do not use cleaning to compensate for a broken handle, bent door or loose latch.
Expected result: The contact area has removable residue, or the surface/edge is cracked, bent, torn, detached or otherwise damaged.
Next step: For residue, follow the model manual's cleaning instructions with power disconnected. For any damage or uncertainty, stop and schedule service; do not test the microwave afterward.
Why this matters
Why: Maytag lists contact-area buildup as a possible reason a door does not close, but residue is different from damage to the door, latch or sealing surface.
-
Check 4
Record the complete Maytag model and serial information from the appliance and compare the damaged component with the model-specific Maytag parts diagrams; do not order a handle from a photograph or generic search result.
Expected result: A complete model is available and the Maytag lookup identifies a handle/door component, or the model is missing/parts identity remains uncertain.
Next step: Use the exact model in Maytag's parts or support path and provide photos/observations to a qualified servicer. If the model or part identity remains uncertain, do not substitute a part or attempt a repair.
Why this matters
Why: Maytag's parts finder is model-based; the brand and a visual resemblance are insufficient to establish fit or whether the whole door assembly needs service.
-
Check 5
Arrange qualified Maytag microwave service for a loose/broken handle, damaged door, hinge, latch or seal; do not open the cabinet, remove the door, access interlocks or high-voltage parts, or attempt a handle repair that requires disassembly.
Expected result: The defect can be described from the outside, or the door condition cannot be safely characterized without disassembly.
Next step: Keep the microwave disconnected until the servicer confirms the door and sealing system are correctly repaired and suitable for operation. Do not use a temporary handle, bypass or improvised fastener as a safety fix.
Why this matters
Why: Maytag's safety instructions reserve oven adjustment and repair for qualified personnel, and the door/interlock/sealing system is a safety-critical assembly.
Use your observations
Decision map
Find the observation that best matches what you see, then follow the next safe action.
-
PATH 01Next step
What you see
The broken handle is accompanied by a bent or crooked door, loose hinge/latch, torn or displaced seal, a door that does not close flush, or uncertainty about whether the door closes correctly.
Do this next
Keep the microwave disconnected and arrange qualified Maytag microwave service. Do not pull, tape, clamp, force or test the door.
Why this path and its safety boundary
Why it matters: This is a door-integrity problem, not a confirmed cosmetic handle-only repair; Maytag specifically identifies the door, hinges, latches, seals and sealing surfaces as safety-critical.
-
PATH 02Next step
What you see
The handle is visibly broken but the door and seal appear intact when viewed with power disconnected.
Do this next
Keep it off until the exact model's service documentation or a qualified servicer confirms the handle/door repair path; do not run a heat or leakage test at home.
Why this path and its safety boundary
Why it matters: A visual check cannot prove that the handle mount, latch alignment or seal performance remained unaffected, so the microwave is not cleared for use by appearance alone.
-
PATH 03Next step
What you see
Only removable residue is visible on an otherwise intact door contact area, and no handle, door, latch, hinge or seal damage is present.
Do this next
Use the exact model manual's cleaning instructions and seek service if the door does not close normally; do not use residue cleaning to justify operation with a damaged handle.
Why this path and its safety boundary
Why it matters: Maytag lists contact-area buildup as a possible door-closing issue, but this branch applies only after the broken-handle and door-integrity concern has been ruled out by qualified assessment.
-
PATH 04Next step
What you see
The model number is unavailable, or a candidate replacement handle/door cannot be matched in Maytag's model-based lookup.
Do this next
Stop parts experimentation and contact Maytag support or a qualified servicer with the model/serial information and photos. Keep the microwave disconnected.
Why this path and its safety boundary
Why it matters: Fit, mounting and the correct door assembly are unresolved; a generic part or image match could leave the latch or sealing system unsafe.
Helpful context
Understand the symptom
Do not use a damaged door assembly
A broken handle can be a purely external part, but it can also leave the door pulling unevenly or prevent the latch and seal from seating as designed. Maytag's safety instructions do not limit the check to the handle: they say not to operate a damaged oven when the door, hinges, latches, door seals or sealing surfaces are damaged, and they prohibit operating with the door open or tampering with safety interlocks. Keep the unit disconnected while deciding whether service is needed.
Use observation, not a microwave test
With power disconnected and the door supported by its normal frame, look for a handle mount that is loose, a door that sits crooked or does not close flush, loose hinges or latches, and a seal that is torn, detached or displaced. Do not yank the handle, force the door, insert an object between the door and frame, or energize the oven to see whether it heats. Maytag's door-support guidance covers blocked latches, door contact buildup, leveling and service routing, but it does not turn a damaged door into a safe test condition.
Identify the exact model before ordering anything
Maytag's parts finder says to enter the model or part number and use the model-specific diagrams to locate compatible items. A handle, inner door panel, latch component or complete door can vary by microwave family and configuration. Record the model and serial information from the appliance, then use Maytag's support or parts path; do not substitute a visually similar handle or assume a generic door-seal kit fits.
Only after diagnosis
Potential parts
- Maytag microwave door handle or door assembly
Consider only after the exact model is confirmed and a qualified assessment establishes whether the handle alone or a larger door assembly is required.
Use the exact Maytag model and model-specific parts diagram; brand, appearance and microwave configuration alone do not establish fit.
When checks do not resolve it
Need a professional?
Keep the microwave disconnected and arrange Maytag-authorized or otherwise qualified microwave service if the handle is loose or broken, the door is bent, the latch or hinge is loose, the door does not sit flush, the seal is torn/displaced, or the model-specific repair path is unclear. Do not open the cabinet, remove the door, defeat an interlock, or attempt an internal repair.
Safety scope: Do not operate a microwave with a damaged, misaligned or uncertain door, latch, hinge or seal. Do not open the cabinet, remove the door, access high-voltage components, defeat interlocks, or use tape, clamps, improvised fasteners or a temporary handle as a safety repair.
Common questions
FAQ
Can I still use a Maytag microwave if only the handle is broken?
Do not assume that it is safe. Keep it disconnected until the exact handle mount and the door, latch, hinges and sealing surfaces have been checked by qualified service. Maytag's safety instructions prohibit operation when the oven or those door components are damaged.
Can I glue or tape a broken microwave handle?
Treat that as a temporary cosmetic idea, not a safety repair. Adhesive, tape or a clamp cannot verify door alignment, latch engagement or seal integrity, and a repair that requires disassembly should be handled by qualified microwave service.
How do I find the correct Maytag replacement handle?
Record the complete model number and use Maytag's model-based parts finder or support route. Do not match a handle by brand or appearance alone; some cases require a larger door component.
Should I test the microwave after replacing the handle?
Do not perform an improvised heating or leakage test. Have a qualified servicer confirm that the door closes correctly, the latch/interlocks and sealing surfaces are intact, and the repair is suitable before returning the oven to use.
Read the exact guide
Official sources
- Appliance Part FinderMaytag · Maytag parts identification; exact model is required before selecting a handle or door component.
- Owner's ManualMaytag · Family-level Maytag microwave safety guidance; no specific model was assigned in the task.
- Contact UsMaytag · Maytag support route for an unidentified microwave model or unresolved door/handle problem.
- Door Will Not Close - Countertop MicrowaveMaytag · Use only for external door-closing observations that match a countertop microwave; it is not a model-specific handle repair procedure.
- Parts of a Microwave: Microwave Parts DiagramMaytag · Maytag brand overview; exact component identity and instructions remain model-specific.
Community feedback
Share a repair observation
Share a plain-text repair observation. Accepted observations are published automatically; this page may take a moment to update.