
On this page
Start here
Quick answer
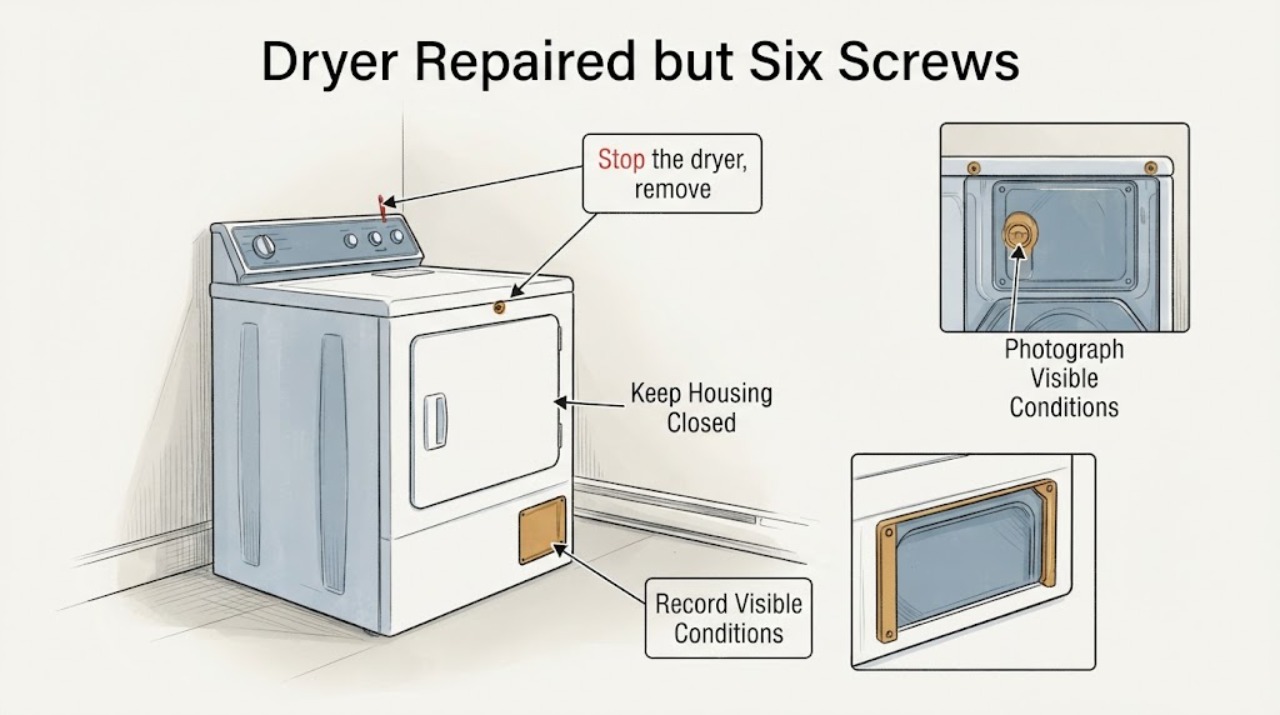
Do not run a Roper dryer after a wheel repair when six hex screws are left over and their locations are unknown. The exact report does not include a model number, so there is no safe way to say that the screws belong to a rear panel, drum support, wheel assembly, heater enclosure, grounding point, or a redundant hole. Disconnect power before any further inspection; if it is a gas dryer, close the accessible gas shutoff if the repair disturbed the gas connection or any gas odor is present. Find the model label inside the dryer door, use Roper’s model-specific Manuals & Guides search, and have the repair rechecked before operating. Do not put screws into guessed holes or substitute hardware.
Work through in order
Diagnostic checks
Use only checks that match the exact appliance or system and its official guide.
-
Check 1
Stop the dryer, remove the load, and disconnect its power before any further inspection. If it is a gas dryer and the repair touched the gas connection or there is any gas odor, do not restart it; close the accessible shutoff only if you can do so without moving the appliance and contact qualified service or the gas supplier as appropriate.
Expected result: The dryer is safely unpowered and stationary, and there is no gas odor; or the repair involved gas components, the dryer is direct-wired, or gas odor is present.
Next step: Keep the dryer out of service. For gas odor, leave the area and use the gas supplier/emergency guidance; for direct-wired or disturbed connections, arrange qualified service rather than opening or testing further.
Why this matters
Why: Roper safety guidance requires power disconnection before servicing and distinguishes power and gas configurations. Unknown screws combined with a disturbed gas connection or wiring cannot be evaluated by a run test.
-
Check 2
From the outside and with power isolated, photograph the dryer, door area, rear/side panels, wheel-repair area, and all six screws together. Do not remove another panel, spin the drum, reach into the cabinet, or place a screw in an empty hole to see whether it fits.
Expected result: A panel is visibly loose, a sharp edge or gap is present, a screw hole is visibly empty, the drum/door alignment changed, or the exterior appears intact but screw origin remains unknown.
Next step: Keep the photographs and hardware for the exact-model technician/manual review. Do not use a guessed hole, longer screw, self-tapping screw, glue, or tape as a substitute.
Why this matters
Why: A visible gap or loose panel can expose moving, hot, lint-bearing, or electrical areas. An intact exterior still does not prove that the six screws are redundant because the fastener location and function remain unknown.
-
Check 3
Open only the dryer door far enough to read the model/serial label on the upper-left front panel, as shown by Roper, and record the complete model number before searching for assembly instructions.
Expected result: A complete model number is readable, or the label is missing, unreadable, or different from the assumed Roper family.
Next step: If the model is readable, use the model-specific Roper manual and service route. If it is not, arrange service with photos and the removed hardware; do not continue disassembly from a similar-looking dryer.
Why this matters
Why: Roper’s Manuals & Guides search is model-driven, and a generic Roper dryer drawing cannot establish the correct screw count, panel sequence, screw length, or wheel assembly for an unnamed dryer.
-
Check 4
Have the wheel repair and reassembly checked against the exact model documentation or by a factory-authorized Roper technician. Give the technician the model/serial, what was replaced, where each screw was removed from if remembered, the six screw dimensions/condition, and any change in sound, heat, vibration, belt tracking, or drying.
Expected result: The exact documentation or technician accounts for every fastener and confirms the cabinet, drum support, guards, electrical parts, venting and gas/electrical connections are restored, or any fastener remains unaccounted for.
Next step: Operate only after all required parts and panels are confirmed installed. If any screw remains unexplained, keep the dryer off and have the reassembly corrected rather than treating the leftovers as harmless.
Why this matters
Why: Roper Owner Support directs owners to model manuals, authorized service and parts; its parts page recommends factory-certified parts. A screw count cannot establish safe reassembly without the model and assembly context.
Use your observations
Decision map
Find the observation that best matches what you see, then follow the next safe action.
-
PATH 01Next step
What you see
A panel, guard, drum support, door, belt path, wiring cover, or grounding point is loose or visibly incomplete after the wheel repair.
Do this next
Keep power disconnected and arrange an exact-model or factory-authorized reassembly check. Do not insert screws by appearance.
Why this path and its safety boundary
Why it matters: The remaining screws may be part of a safety, moving, hot, or electrical assembly; the dryer is not ready for a test cycle.
-
PATH 02Next step
What you see
The model label is readable and the Roper Manuals & Guides search returns the matching owner or installation documentation.
Do this next
Follow only the documented model procedure or give it to a qualified technician. Account for all six screws before operation.
Why this path and its safety boundary
Why it matters: The exact model can constrain which panels and fasteners are applicable, but the guide must actually identify the relevant assembly; a similar model is not a substitute.
-
PATH 03Next step
What you see
The label is unreadable or no matching model document is available.
Do this next
Keep the dryer off, retain the screws and photos, and request factory-authorized service. Do not borrow a screw map from another Roper, Whirlpool-family or visually similar dryer.
Why this path and its safety boundary
Why it matters: The core mechanical claim remains unscoped: there is no evidence for where the six screws belong or whether the wheel repair restored every guard and support.
-
PATH 04Next step
What you see
The dryer is gas, the gas connection was disturbed, gas odor is present, the dryer is direct-wired, or the breaker/fuse trips after the repair.
Do this next
Do not restart or open the appliance. Leave the area for gas odor and contact the gas supplier/emergency service as appropriate; otherwise use a qualified appliance technician/electrician.
Why this path and its safety boundary
Why it matters: This is a gas/electrical safety escalation, not a missing-fastener troubleshooting step.
Helpful context
Understand the symptom
Why six leftover screws cannot be classified by count
The report identifies the dryer and wheel repair but not the model or the screw locations. Dryer cabinet layouts and fastener lengths vary, and a screw can secure a panel, a moving-part support, a guard, or an electrical/grounding-related assembly. A dryer that still sounds normal after reassembly does not prove that every required fastener is present. Treat the leftover hardware as an incomplete reassembly until the exact model documentation or a qualified technician accounts for it.
Use the exact Roper record before touching the cabinet again
Roper’s official Manuals & Guides page says to enter the model number and places a dryer’s model label inside the door on the upper left of the front panel. Its Owner Support page offers model manuals, factory-authorized Roper technicians and replacement-parts support. That is the appropriate route for identifying the correct fastener map; the generic family name is not enough.
When checks do not resolve it
Need a professional?
Arrange factory-authorized Roper or qualified appliance service before operating when screws remain after reassembly, the model is unknown, a panel/guard is loose, the drum/belt alignment changed, a breaker trips, or any gas connection was disturbed. Provide the model/serial, photos, repair history and all six screws.
Common questions
FAQ
Can I run the Roper dryer if it sounds fine but six screws are left over?
Do not. A normal sound does not prove that fasteners for a panel, guard, drum support, or electrical enclosure are present. Disconnect power, identify the exact model, and have the reassembly checked before operation.
Can I put the six screws back into the empty holes that look right?
No. Screw location, length and function are model-specific, and a guessed screw can damage wiring, moving parts or sheet metal. Use the exact Roper documentation or a qualified technician.
Where do I find the Roper dryer model number?
Roper’s Manuals & Guides page says the dryer model label is inside the door on the upper left-hand side of the front panel. Record the complete model before searching for instructions or parts.
Read the exact guide
Official sources
- Owner’s ManualRoper / Whirlpool Corporation · Opened the official Roper/Whirlpool owner manual PDF. It is a generic Roper dryer guide rather than an exact model for this task, so it is used only for safety boundaries: disconnect power before servicing, do not service beyond understood manufacturer instructions, and restore parts/panels before operation. It is not used for screw placement.
- Manuals & GuidesRoper Appliances · Opened Roper’s official manuals page. It requires the model number and states that dryer labels are inside the door on the upper left-hand side of the front panel. It is used to route the unnamed dryer to exact documentation, not to infer screw positions.
- Owner SupportRoper Appliances · Opened Roper’s official Owner Support page. It provides factory-authorized Roper technicians, model manuals and replacement-parts support. It does not publish a screw map for this unnamed dryer.
- Repaired Roper Dryer, But 6 Screws Left OverReddit r/appliancerepair · Opened the exact Reddit post. It establishes a nearly 14-year-old Roper dryer, wheel repair, six leftover hex screws, cramped utility-room context and no model number. Community guesses are not treated as evidence for screw location, component failure or safe operation.
- Replacement PartsRoper Appliances · Opened Roper’s official parts page. It says to use factory-certified parts designed and tested for the Roper appliance; it is used to reject guessed replacement hardware, not to identify the six screws.
Community feedback
Share a repair observation
Share a plain-text repair observation. Accepted observations are published automatically; this page may take a moment to update.