
On this page
Start here
Quick answer
A toaster that will not work usually needs a simple power, latch, control, or jam check. Confirm the grounded outlet and plug, make sure the bread lifter can latch, and inspect for a jam only after unplugging and cooling. Never reach into a plugged-in toaster; a damaged cord, repeated trip, burning odor, or failed control requires service.
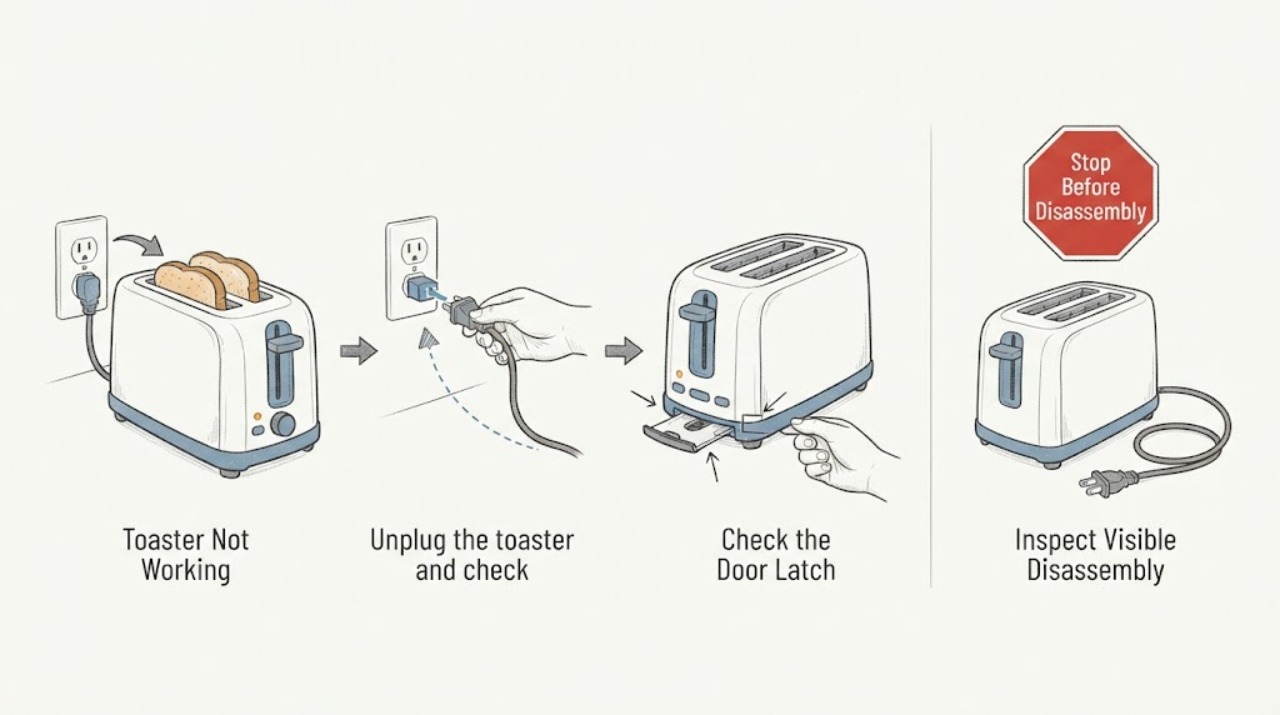
Work through in order
Diagnostic checks
Use only checks that match the exact appliance or system and its official guide.
-
Check 1
Unplug the toaster and check for smoke, burning odor, a hot or damaged cord/plug, melted housing, or a foreign object wedged in a slot.
Expected result: A safety hazard or jam is present.
Next step: Keep it unplugged; if a jam is cool and accessible, follow the manual using a wooden utensil, otherwise arrange service.
Stop if: Never insert a hand, knife, fork, or metal tool into a plugged-in toaster.
Why this matters
Why: The toaster must remain out of service until the hazard is removed or repaired.
-
Check 2
Plug the cool, undamaged toaster directly into a known-good grounded outlet and see whether the bread lifter latches down.
Expected result: The lifter will not latch, or it latches only at another outlet.
Next step: Have a dead outlet or breaker checked; do not continue using a damaged cord or loose plug.
Stop if: Do not use an adapter or extension cord for this test.
Why this matters
Why: No latch with no power points to outlet/cord/control supply; a latch restored at another outlet points to the household circuit.
-
Check 3
With power disconnected, empty the crumb tray and look for oversized bread or crumbs preventing the lifter or carriage from moving freely.
Expected result: The tray is packed, or food is wedged in a slot; otherwise the carriage moves freely.
Next step: Let the toaster cool fully, clear only accessible debris as directed, then make one supervised test.
Stop if: Stop if the carriage, slot, or casing is bent or requires disassembly.
Why this matters
Why: Debris or an oversized item can block the mechanism and trigger automatic shutoff.
-
Check 4
Set the shade and bread/bagel selector for the food, lower the lifter, and observe whether heating begins and the cycle completes.
Expected result: The cycle starts and cancels normally, or the lifter/control fails after power and jam checks.
Next step: Use the correct selector setting, or stop and contact technical service for recurring failure.
Stop if: Stop immediately for smoke, sparks, burning odor, or repeated automatic shutoff.
Why this matters
Why: Normal cycling indicates a setting or input issue; repeated control failure suggests an internal mechanism or electrical fault.
Use your observations
Decision map
Find the observation that best matches what you see, then follow the next safe action.
-
PATH 01Next step
What you see
The lifter will not latch and the outlet has no power
Do this next
Restore or repair the circuit through a qualified person and retest only with an undamaged toaster.
Why this path and its safety boundary
Why it matters: A supply or household-circuit problem is more likely than a toaster mechanism problem.
-
PATH 02Next step
What you see
The outlet works but the lifter will not latch or the toaster shuts off with no accessible jam
Do this next
Unplug it and arrange technical service; do not bypass the latch.
Why this path and its safety boundary
Why it matters: The latch, sensor, or internal control may be faulty.
-
PATH 03Next step
What you see
A food item is wedged and the toaster stopped automatically
Do this next
Unplug, allow to cool, and remove only with a wooden utensil if accessible; otherwise call service.
Why this path and its safety boundary
Why it matters: The manual treats this as a jam and automatic shutoff condition.
Helpful context
Understand the symptom
How to read the result
A toaster that will not work usually needs a simple power, latch, control, or jam check. Confirm the grounded outlet and plug, make sure the bread lifter can latch, and inspect for a jam only after unplugging and cooling. Never reach into a plugged-in toaster; a damaged cord, repeated trip, burning odor, or failed control requires service.
When checks do not resolve it
Need a professional?
Call technical service for a damaged cord/plug, smoke or sparks, a latch that fails with a known-good outlet, or a recurring shutoff after accessible jams are cleared.
Common questions
FAQ
Why will the bread lifter not stay down?
Hamilton Beach says it will not latch when the toaster is unplugged or during a power outage; check the outlet before suspecting the toaster.
Can I shake or probe a jammed toaster?
No. Unplug first and allow it to cool; the manual specifies careful removal with a wooden utensil when the item is accessible.
Read the exact guide
Official sources
- 840125700 Commercial Toaster ManualHamilton Beach · toaster power, latch, jam and safety checks
Community feedback
Share a repair observation
Share a plain-text repair observation. Accepted observations are published automatically; this page may take a moment to update.