
On this page
Start here
Quick answer
There is no single fault to identify from “what could be the problem with my 2-slice toaster” without a symptom. First unplug it if there is smoke, a jam, a damaged cord, scorching or a hot plug. Otherwise, identify whether it does not power or latch, pops up before toasting, produces toast that is too light or dark, or toasts unevenly. GE's official toaster troubleshooting uses the plug, fully depressed lever, browning setting, Frozen selection, crumb tray and safe jam removal as the first external checks. If the cord or body is damaged, or the problem remains after the model's safe checks, stop using it and use the manufacturer's service path rather than opening the toaster.
Before you begin
Safety first
- Do not insert metal utensils, bypass the lever or interlock, operate without the crumb tray, open the casing, bend heating elements, test exposed wiring, or continue using a damaged or smoking toaster. Unplug and allow it to cool before any accessible cleaning or jam check.
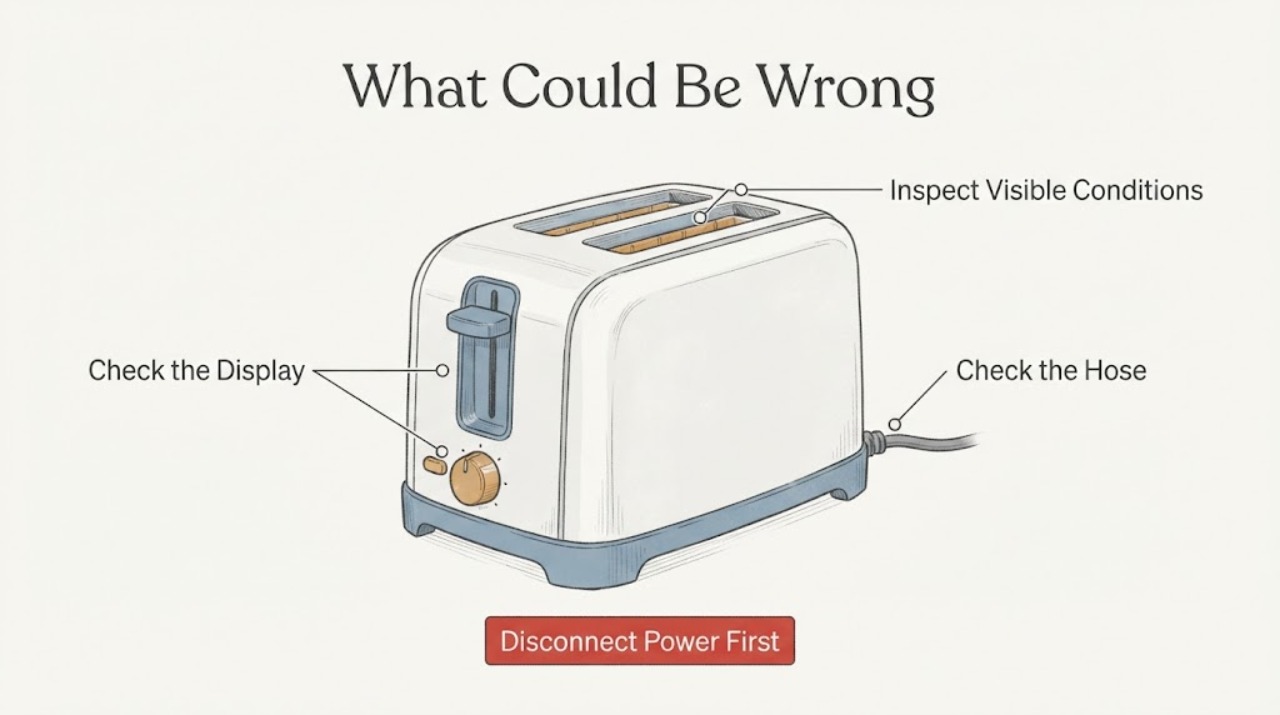
Work through in order
Diagnostic checks
Use only checks that match the exact appliance or system and its official guide.
-
Check 1
If the toaster is smoking, sparking, scorching, unusually hot, has a damaged cord or plug, or has food wedged in a slot, stop the cycle with the cancel control if it is safe to do so, unplug it, and let it cool completely. Do not insert a knife, fork or other metal object and do not turn it over while plugged in.
Expected result: There is smoke, a damaged electrical part, a hot or discolored plug, a jam, or no visible hazard after the toaster is unplugged and cool.
Next step: For smoke, scorching, liquid exposure, cord/plug damage or a fault that returns after cooling, keep the toaster unplugged and contact the manufacturer or a qualified small-appliance service center. For a cooled jam, continue only with the nonmetal removal guidance in the exact manual; if it will not release without force, stop and request service.
Stop if: Stop permanently until service if the cord, plug or housing is damaged, the appliance sparks, or a burning smell or smoke returns.
Why this matters
Why: Smoke, physical damage and a jam create a fire, burn or shock risk; they are not evidence that a user-replaceable heater or latch should be fitted. GE directs service-center replacement for a damaged cord, and Breville says to stop using a damaged appliance.
-
Check 2
For a toaster that appears dead or whose lever will not stay down, inspect the plug and outlet from outside the appliance. Confirm the plug is fully inserted and the outlet is live using a normal household check; then, only when the toaster is intact and the manual permits it, press the lever fully down with no oversized or jammed food in the slots.
Expected result: The outlet or plug is not supplying power, the lever will not latch even with a sound power connection, or the cycle starts and the elements heat.
Next step: Correct only the external power connection and follow the exact model manual. If power is present but the lever still will not latch, or the toaster does not heat, unplug it and arrange manufacturer service rather than opening the casing.
Why this matters
Why: A loose plug or unavailable power can prevent operation. A lever that will not latch with confirmed power can indicate a model-specific interlock, sensor or mechanical fault, but the symptom alone does not identify which internal part failed.
-
Check 3
If the bread rises almost immediately without toasting, observe whether the lever was pressed all the way down and whether the food is correctly sized for the slots. Do not force the carriage down or use an oversized slice to hold it in place.
Expected result: The lever was not fully depressed, the bread is too large or wedged, or the lever is fully depressed with correctly sized bread and the toaster still releases immediately.
Next step: Use correctly sized bread and the normal lever motion once. If the carriage still releases immediately, unplug the toaster and use the exact model support path; do not bypass the interlock or hold the lever down manually.
Why this matters
Why: GE lists an incompletely depressed lever as a first check for immediate pop-up. Oversized or jammed food can also interfere with the carriage; continued immediate release after those checks is not enough to name a latch or sensor part.
-
Check 4
For toast that is too light or too dark, record the shade setting and whether Frozen, Bagel or another food mode is selected. Make one controlled adjustment within the toaster's labeled controls, using bread that fits normally in the slot.
Expected result: Changing the shade or correcting the food mode changes the result, or one side remains unheated or the result remains abnormal at different settings.
Next step: Keep the setting that matches the food and follow the model manual. If one side remains cold, the toaster smells burnt, or the browning is erratic at every setting, unplug it and arrange service rather than opening the slots or bending the elements.
Why this matters
Why: GE says shade selection and an active Frozen setting can explain light or dark toast. Persistent one-sided heating or abnormal results across settings is a model-specific service symptom, not proof of a particular element or control failure.
-
Check 5
If toast is uneven, check whether the slice is centered and whether the control is in the intended bread mode rather than a Bagel or similar one-sided mode. With the toaster unplugged and cool, empty the crumb tray and remove only loose, accessible crumbs according to the exact manual; do not scrape the heating elements.
Expected result: The wrong food mode or a full crumb tray explains the result, or the slice is correctly positioned and the toaster still heats unevenly, smokes or leaves an element visibly damaged.
Next step: Correct the mode and clean the removable tray only after unplugging and cooling. If uneven heating persists or there is visible damage, stop using the toaster and contact the manufacturer or a qualified service center.
Why this matters
Why: A food-mode selection can intentionally change which sides heat, while accumulated crumbs can contribute to smoke or a fire hazard. Persistent one-sided heat or visible element damage needs model-specific diagnosis.
-
Check 6
Write down the brand, full model number, exact symptom, when it begins, whether both slots behave the same way, whether the plug or outlet gets hot, and whether the toaster was recently cleaned or exposed to liquid. Compare that record with the model-specific manual before requesting parts.
Expected result: The problem is repeatable and limited to one documented symptom, or it changes between slots, loads, modes and power conditions.
Next step: Use the exact model support page or manual and provide the symptom record to service. Do not order a generic internal part or open the housing based only on the broad question.
Why this matters
Why: This information distinguishes a documented external setting or use condition from a persistent appliance fault. A generic two-slice label does not establish compatibility for a carriage, heater, control or cord part.
Use your observations
Decision map
Find the observation that best matches what you see, then follow the next safe action.
-
PATH 01Next step
What you see
The toaster smokes, sparks, has a damaged cord or plug, is scorched, or a burning smell returns.
Do this next
Unplug it if safe, keep it out of use and arrange manufacturer or qualified service. Do not open it or replace an internal part from the symptom alone.
Why this path and its safety boundary
Why it matters: This is a safety stop, not a normal setting issue or a reason to keep testing the toaster.
-
PATH 02Next step
What you see
The toaster does not operate or the lever will not stay down, but the plug, outlet and housing appear intact.
Do this next
Check the plug and press the lever fully down once with correctly sized food. If it still will not start, unplug it and use model-specific service.
Why this path and its safety boundary
Why it matters: Power connection and the lever's normal start condition are the first external checks; a persistent failure still does not identify an internal component.
-
PATH 03Next step
What you see
The bread pops up immediately, but the lever was fully depressed and the bread is not oversized or jammed.
Do this next
Stop using the toaster and ask the manufacturer or a qualified service center to identify the model-specific fault.
Why this path and its safety boundary
Why it matters: The basic user checks did not resolve the carriage behavior; forcing or bypassing the mechanism could create a fire or shock hazard.
-
PATH 04Next step
What you see
Toast changes normally after the shade or food-mode setting is corrected.
Do this next
Use the documented setting and continue to monitor for smoke, damage or repeatable abnormal heating.
Why this path and its safety boundary
Why it matters: The observed issue is consistent with a control setting rather than proof of a failed internal part.
-
PATH 05Next step
What you see
One side remains cold, the toaster continues to heat unevenly, or the problem returns after safe external checks.
Do this next
Unplug the toaster and provide the exact model and symptom record to the manufacturer's support or a qualified service center. Do not continue test cycles or disassemble the case.
Why this path and its safety boundary
Why it matters: The fault is persistent and cannot be safely narrowed to a specific heater, control or carriage part from this unspecified topic.
Helpful context
Understand the symptom
Why the symptom matters
A two-slot toaster is a general appliance description, not a fault diagnosis. The same question can mean no power, a carriage that will not latch, an early pop-up, uneven browning, a jam, smoke, or a damaged cord. The first check should therefore identify what the toaster actually does and record the brand and model. GE's official support separates those symptoms instead of assigning one universal failed part.
Safety before any check
Use only external checks with the toaster unplugged and cool when handling crumbs or a jam. Breville warns against inserting a knife or other metal utensil, dislodging food while the toaster is plugged in, operating without the crumb tray, or continuing to use a damaged appliance. Smoke, a damaged cord or plug, scorching, liquid exposure or repeated tripping is a stop condition; do not remove the cover to look for a heater, latch or control fault.
When checks do not resolve it
Need a professional?
Contact the manufacturer or qualified small-appliance service when the toaster has smoke, sparks, scorching, a damaged cord or plug, repeated immediate pop-up after the external checks, persistent one-sided heating, a jam that cannot be removed without force, or any repeatable fault with no model-specific user procedure.
Safety scope: Do not insert metal utensils, bypass the lever or interlock, operate without the crumb tray, open the casing, bend heating elements, test exposed wiring, or continue using a damaged or smoking toaster. Unplug and allow it to cool before any accessible cleaning or jam check.
Have this ready
- Provide the brand, full model number, exact symptom, slot affected, shade or food mode, outlet/plug observations, whether the lever latches, whether smoke or heat is present, and whether the crumb tray or slots were recently cleaned.
Common questions
FAQ
Why does a 2-slice toaster pop up without toasting?
First confirm that the lever was pushed fully down and that the bread fits the slots. GE lists those as external checks for immediate pop-up. If the lever still releases immediately with suitable bread and a sound power connection, unplug the toaster and request model-specific service rather than holding the lever down or bypassing its mechanism.
What should I do if one side of my toaster does not toast?
Check that the food-mode control is set for ordinary bread rather than a mode intended to heat only one side, and try the labeled setting once with the toaster intact. Persistent one-sided heating is not enough to identify a heater or control part; unplug the appliance and use the exact model's service path.
Can I use a knife to remove bread stuck in a toaster?
No. Unplug the toaster, allow it to cool completely and follow the exact manual's nonmetal removal procedure. GE and Breville both warn against metal objects; if the food will not release without force, keep the toaster unplugged and request service.
Read the exact guide
Official sources
- 2 & 4 Slice Toaster Ovens - TroubleshootingGE Appliances · Opened official GE troubleshooting page whose body explicitly addresses GE Appliance Toasters and covers family-level external checks; it does not establish a model-specific internal part diagnosis for an unspecified toaster.
- ToastersGE Appliances · Opened official GE toaster page explicitly listing 2-slice models and linking general cleaning and troubleshooting guidance; used only for broad toaster identity and external support direction.
- BTA735 Toaster Instruction ManualBreville · Opened official Breville toaster manual used for general safety boundaries only. It is not treated as proof of compatibility, fault meaning or part fit for an unspecified toaster.
Community feedback
Share a repair observation
Share a plain-text repair observation. Accepted observations are published automatically; this page may take a moment to update.