
On this page
Start here
Quick answer
A Whirlpool dehumidifier that is not draining may be stopping on a full or misaligned bucket, or a continuous-drain hose may be kinked, too high, blocked, or poorly sealed. Whirlpool directs owners to the exact model manual, so confirm whether the unit uses bucket collection, gravity drainage, or a pump before changing the setup.
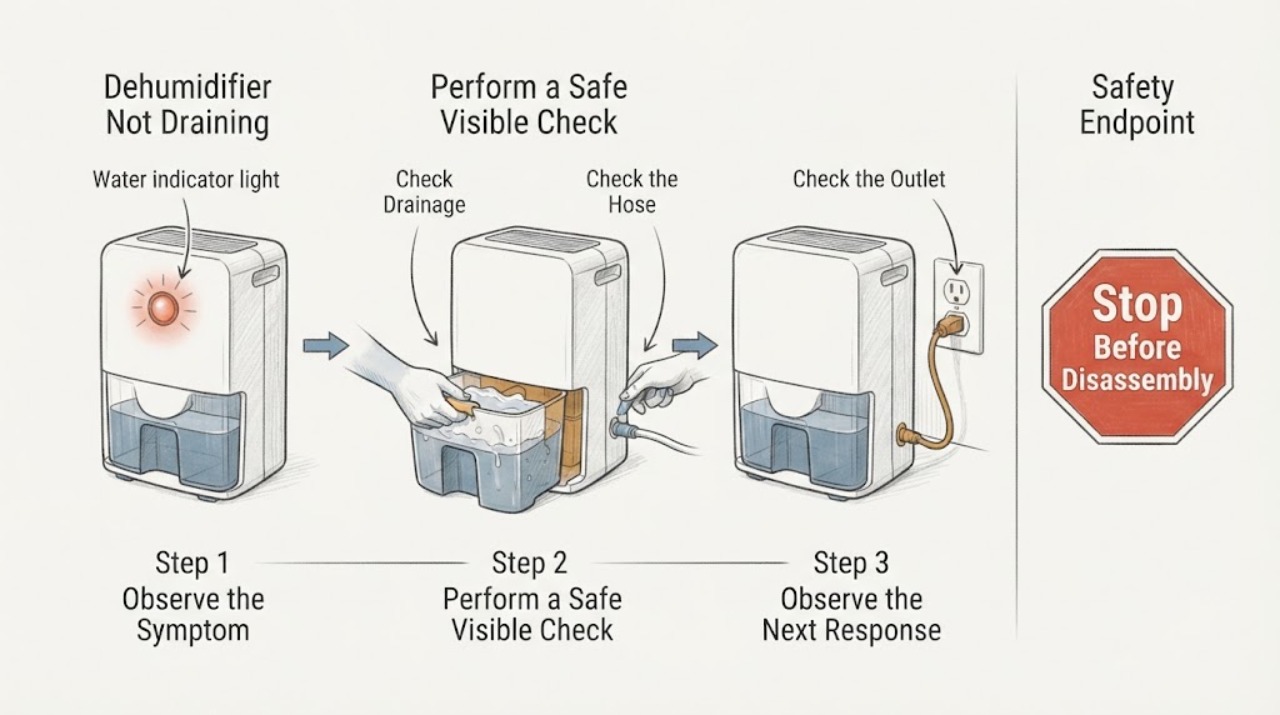
Work through in order
Diagnostic checks
Use only checks that match the exact appliance or system and its official guide.
-
Check 1
Identify whether the machine is set to collect water in its bucket or use continuous drainage, then turn it off before handling the bucket or hose.
Expected result: The bucket is full, not seated, or the unit is configured for a hose that is disconnected or blocked.
Next step: Empty and reseat the bucket, or follow the exact model manual before changing the drain configuration.
Why this matters
Why: A full or misaligned bucket can stop collection; a hose configuration needs a clear, correctly sealed path.
-
Check 2
Inspect the accessible drain hose, adapter, plug, and receiving drain for kinks, pinches, loose joints, blockage, or an outlet above the unit’s permitted level.
Expected result: The hose is kinked, the outlet is too high, the adapter or plug is loose, or the drain path is clear.
Next step: Correct only the accessible hose routing and fit described in the model manual, then test once.
Why this matters
Why: Gravity drainage needs an open downward path; a poor seal or raised outlet sends water back to the bucket or floor.
-
Check 3
Check that the dehumidifier is level and that the drain outlet is not obstructed by the cabinet, wall, or debris.
Expected result: The unit rocks or the outlet is blocked, or placement and outlet are clear.
Next step: Move or level the unit only as the manual permits and keep the hose below the outlet.
Why this matters
Why: Uneven placement or an obstructed outlet can prevent condensate from leaving through the intended path.
-
Check 4
Look for water on the floor, a cracked hose or adapter, repeated full-bucket shutoff, or a pump that does not activate where fitted.
Expected result: A leak or repeated shutoff remains after bucket and hose checks, or the unit does not drain at all.
Next step: Stop operation to prevent water damage and arrange Whirlpool service with the model and drain setup.
Why this matters
Why: A damaged drain component, sensor, pump, or internal restriction is more likely than a simple routing issue.
Use your observations
Decision map
Find the observation that best matches what you see, then follow the next safe action.
-
PATH 01Next step
What you see
Water drains after the bucket is reseated or the accessible hose path is corrected.
Do this next
Monitor the next collection cycle and keep the drain route below the outlet.
Why this path and its safety boundary
Why it matters: A collection or installation condition is more likely than an internal drain failure.
-
PATH 02Next step
What you see
The bucket is correctly seated and the hose is open, low, and undamaged, but water still returns to the bucket or leaks.
Do this next
Stop using the dehumidifier and arrange model-matched service.
Why this path and its safety boundary
Why it matters: A sensor, pump, adapter, or internal drain fault is more likely.
-
PATH 03Next step
What you see
Water reaches electrical parts, the cabinet is damaged, or the unit repeatedly shuts down with a full-bucket indication.
Do this next
Disconnect power when safe and obtain qualified service before using it again.
Why this path and its safety boundary
Why it matters: The issue is outside safe user troubleshooting.
Helpful context
Understand the symptom
What to check first
A Whirlpool dehumidifier that is not draining may be stopping on a full or misaligned bucket, or a continuous-drain hose may be kinked, too high, blocked, or poorly sealed. Whirlpool directs owners to the exact model manual, so confirm whether the unit uses bucket collection, gravity drainage, or a pump before changing the setup. Record the exact model and symptom pattern before ordering a part. A user check should change the next decision; it should not be used to infer an unverified component.
When checks do not resolve it
Need a professional?
Arrange Whirlpool service when the bucket and model-approved hose path are correct but drainage still fails, when a pump or sensor is involved, or when water leakage cannot be contained.
Common questions
FAQ
Can I route the drain hose uphill to reach a distant drain?
Do not assume so. Whirlpool’s dehumidifier literature requires the drainage arrangement and hose height specified by the model manual; an uphill or kinked route can return water to the bucket.
Why does a dehumidifier stop even when the hose is attached?
The bucket may be full or misaligned, the float may be active, or the hose path may be blocked or too high. Check the model’s bucket and continuous-drain instructions.
Read the exact guide
Official sources
- Whirlpool Manuals & LiteratureWhirlpool Corporation · Whirlpool Manuals & Literature is official manufacturer material; model-specific details remain limited to the named product or manual.
- Whirlpool Dehumidifier Operating InstructionsWhirlpool Corporation · Whirlpool Dehumidifier Operating Instructions is official manufacturer material; model-specific details remain limited to the named product or manual.
Community feedback
Share a repair observation
Share a plain-text repair observation. Accepted observations are published automatically; this page may take a moment to update.