
On this page
Start here
Quick answer
Start by documenting the crack from stable ground and deciding whether it is a superficial finish mark, a crack through the panel, impact damage, or part of a moisture or movement pattern. Inspect nearby joints, corners, openings, and the interior side of the wall without climbing, prying, cutting, or removing siding. A small isolated surface defect may be repairable with a material-specific product after a siding professional confirms the finish, but a through-crack, loose or displaced panel, repeated widening, water staining, or damage around a window, corner, or penetration needs a qualified siding or exterior-envelope assessment. Do not cut fiber-cement board or disturb it in a way that creates dust.
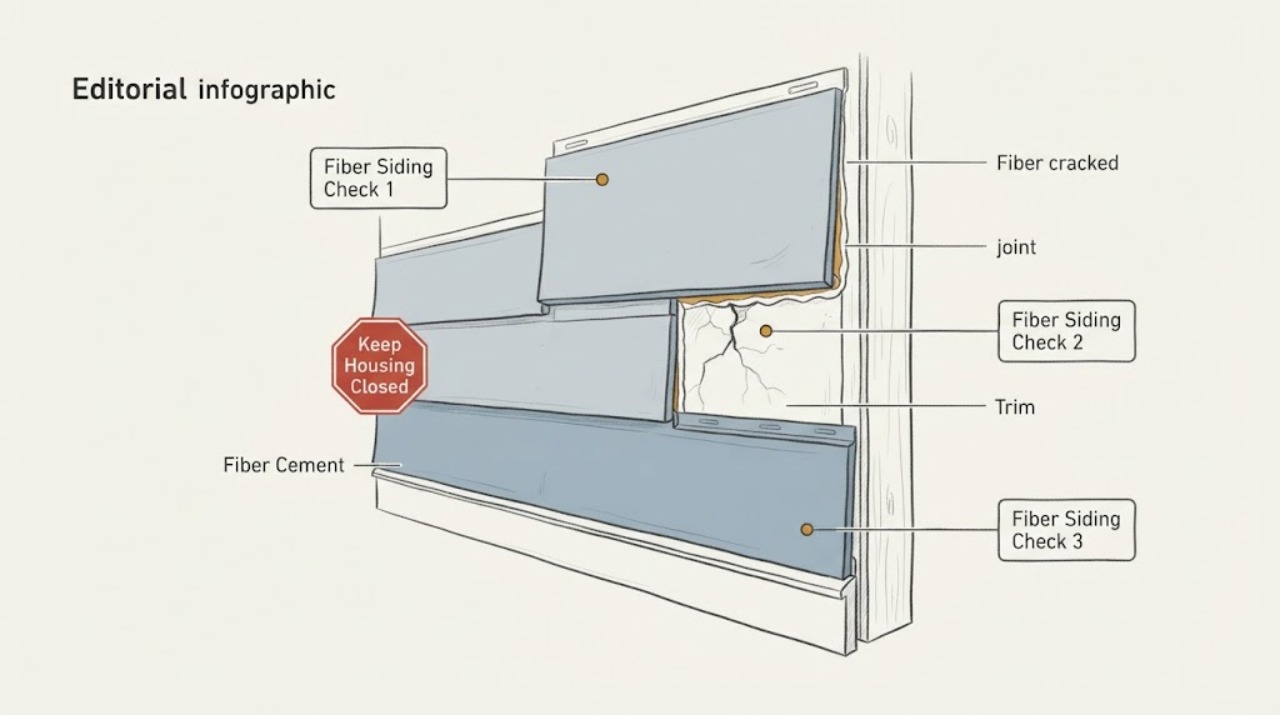
Work through in order
Diagnostic checks
Use only checks that match the exact appliance or system and its official guide.
-
Check 1
From stable ground, photograph the crack with the full wall and panel edges visible, then take a closer photo without touching or scraping the siding. Note whether the line is hairline or open, follows the panel face or edge, crosses the panel, or has a chip or displaced fragment.
Expected result: A fine isolated line with no displaced material may be a finish-level defect. An opening through the panel, a missing fragment, a step in the panel surface, or a crack that reaches an edge is more consistent with panel or joint damage.
Next step: Record the panel location and send the photos to a siding professional. Do not fill, sand, drill, cut, or pry the crack while its depth and material system are unknown.
Stop if: Stop if the panel is loose, hanging, sharp, bulged, or reachable only by a ladder or elevated access.
Why this matters
Why: The pattern helps a siding professional decide whether to assess a finish repair, a panel, a joint, or the supporting wall; it does not prove the crack is safe to patch.
-
Check 2
Inspect the wall from the ground and the room immediately behind the cracked area for water stains, dampness, musty odor, soft interior finish, recurring condensation, or a change after rain; do not open the wall or remove siding.
Expected result: A dry crack with no interior or adjacent exterior moisture signs may be isolated impact or finish damage. Staining, dampness, odor, swelling, or a crack that returns or widens after wet weather suggests water entry or movement that needs investigation beyond the visible panel.
Next step: Photograph the interior and exterior locations together, note the weather and timing, and ask a qualified siding or building-envelope professional to assess the area.
Stop if: Stop if the interior finish is wet near electrical equipment, the wall is soft or bulging, or mold or widespread water damage is visible.
Why this matters
Why: The siding surface is part of a wall weather system. A crack paired with moisture should not be treated as a cosmetic repair until the water path and surrounding layers are assessed.
-
Check 3
From stable ground, compare the crack with nearby joints, corner boards, window and door trim, caulk lines, and panel ends that are visible without elevated access. Look for open joints, failed caulk, shifted edges, or a repeated line across several panels.
Expected result: A crack that follows a joint or failed caulk line points the professional toward a connection or weather-sealing detail. Similar cracks on multiple panels, a shifted corner, or gaps around an opening suggest movement, installation, impact, or moisture conditions affecting more than one piece.
Next step: Mark the locations on a simple elevation sketch and include all related gaps or failed sealant in the service request. Do not apply new caulk over a wet, moving, or unidentified joint.
Stop if: Stop if a joint or opening is above safe reach, the siding is moving, or the wall detail cannot be observed without removing material.
Why this matters
Why: A single panel may not be the whole problem. The surrounding joints and openings can explain why water or movement is reaching the siding and may change the repair scope.
-
Check 4
Compare dated photographs after ordinary weather and note whether the crack, stain, gap, or panel alignment changes; do not create a test by spraying the wall or striking the siding.
Expected result: A stable isolated mark supports a scheduled material-specific assessment. A widening crack, new staining, repeated dampness, or changing panel alignment indicates an active or progressive condition that should be escalated promptly.
Next step: Send the timeline and photographs to a siding professional and ask whether the panel, joints, flashing, or wall moisture-control layer needs inspection.
Stop if: Stop monitoring and seek prompt service if the crack widens, a piece becomes loose, water enters, or the wall shows movement.
Why this matters
Why: Change over time is more useful than a one-time guess, but waiting is not a repair strategy when water or structural movement is evident.
Use your observations
Decision map
Find the observation that best matches what you see, then follow the next safe action.
-
PATH 01Next step
What you see
The crack is isolated, superficial-looking, dry, and stable with no displaced panel or surrounding gap
Do this next
Ask a siding professional whether a finish-compatible patch or touch-up is appropriate for the specific product.
-
PATH 02Next step
What you see
Moisture, staining, failed joints, or repeated widening accompanies the crack
Do this next
Prioritize a siding or building-envelope inspection to identify and stop the water or movement cause before cosmetic work.
-
PATH 03Next step
What you see
Repair would require reaching the siding from a ladder, cutting fiber-cement, or removing a panel
Do this next
Stop self-work and use a qualified siding professional with the required access and dust controls.
Helpful context
Understand the symptom
The crack pattern changes the decision
Fiber-cement siding can show a small finish defect, a panel fracture, a joint or caulk failure, impact damage, or movement related to the wall and its moisture-control details. A photo of one line is not enough to identify the cause. Note whether the crack crosses the panel, follows an edge or joint, has displaced material, or appears with swelling, staining, or an opening behind it.
Keep the inspection observational
Stay on stable ground and use normal-access interior views. Do not use a ladder to reach siding, pull a panel loose, drill or cut fiber-cement, sand its surface, or remove a section. Disturbing cement-based siding can create dust, and exterior repairs may affect the weather-resistant barrier or flashing behind the panel.
Safety boundary
Stop conditions
- Do not climb a ladder or roof, pull siding loose, cut or drill fiber-cement, sand the surface, or remove a panel as a user check.
- Stop if the crack is paired with water entry, a loose or displaced panel, a soft or bulging wall, mold, or damage near electrical equipment.
- Do not apply caulk, patch, or touch-up paint until the product, crack depth, moisture condition, and surrounding joint or flashing detail are identified.
Only after diagnosis
Potential parts
- Exterior caulk
Only consider this category if a siding professional identifies a failed joint or trim seal as the cause and confirms the correct product for the siding system.
Match the sealant to the siding, paint or finish, joint movement, and manufacturer requirements; do not cover a moving or wet joint. - Siding touch-up paint
Only consider this after a professional confirms the defect is a stable, dry finish-level mark rather than a cracked or displaced panel.
Use a finish-compatible color and system only after the surface is sound and dry; paint cannot restore a fractured panel or stop water entry.
When checks do not resolve it
Need a professional?
Call a qualified siding or exterior-envelope professional when the crack crosses a panel, has displaced material, widens, repeats across panels, follows a failed joint, appears after impact or wind, or is associated with water staining or movement. Provide full-wall and close photographs, the location, timing, weather, interior observations, and any product or installation records.
Have this ready
- Provide the wall elevation and panel location, crack photos, whether the line is open or displaced, nearby joints and openings, interior moisture signs, weather or impact history, and the siding product information if available.
Common questions
FAQ
Is a hairline crack in fiber-cement siding always serious?
Not necessarily. A small stable surface mark may be a finish-level defect, but a line that crosses the panel, opens at an edge, widens, or appears with moisture or movement needs professional assessment before patching.
Can I cut out and replace the cracked siding myself?
Do not treat cutting or panel removal as a user check. Fiber-cement cutting can create respirable silica dust, and removal can disturb the weather-resistant barrier or flashing. Have a qualified siding professional assess and handle the work.
Should I caulk over a crack in fiber-cement siding?
Only after the product, crack depth, moisture condition, and joint detail are identified. Caulk may be relevant to a failed joint, but it cannot repair a fractured panel or stop an underlying water or movement problem.
Read the exact guide
Official sources
- Frequently Asked QuestionsJames Hardie · Official manufacturer guidance used only as a product-specific example that small cracks, chips, and dents may have a repair path and that edge caulk condition matters; other products may require different methods.
- Repairing Walls & Floors: How To's for the Handy HomeownerU.S. Department of Energy, Energy Efficiency and Renewable Energy · Official DOE homeowner guidance used as background that cracked or damaged fiber-cement siding can have material-specific repair or replacement paths, while the article limits the reader to observation and professional scope.
- 1926.1153 - Respirable crystalline silicaOccupational Safety and Health Administration · Official OSHA standard used for the safety boundary that cutting fiber-cement board can generate respirable silica dust and requires controls for covered work; it is not a DIY cutting guide.
Community feedback
Share a repair observation
Share a plain-text repair observation. Accepted observations are published automatically; this page may take a moment to update.