
Repair service
Siding Guides
Siding repair, maintenance, and exterior care.
Published siding guides
Choose the guide that best matches the service and problem you are seeing.
-
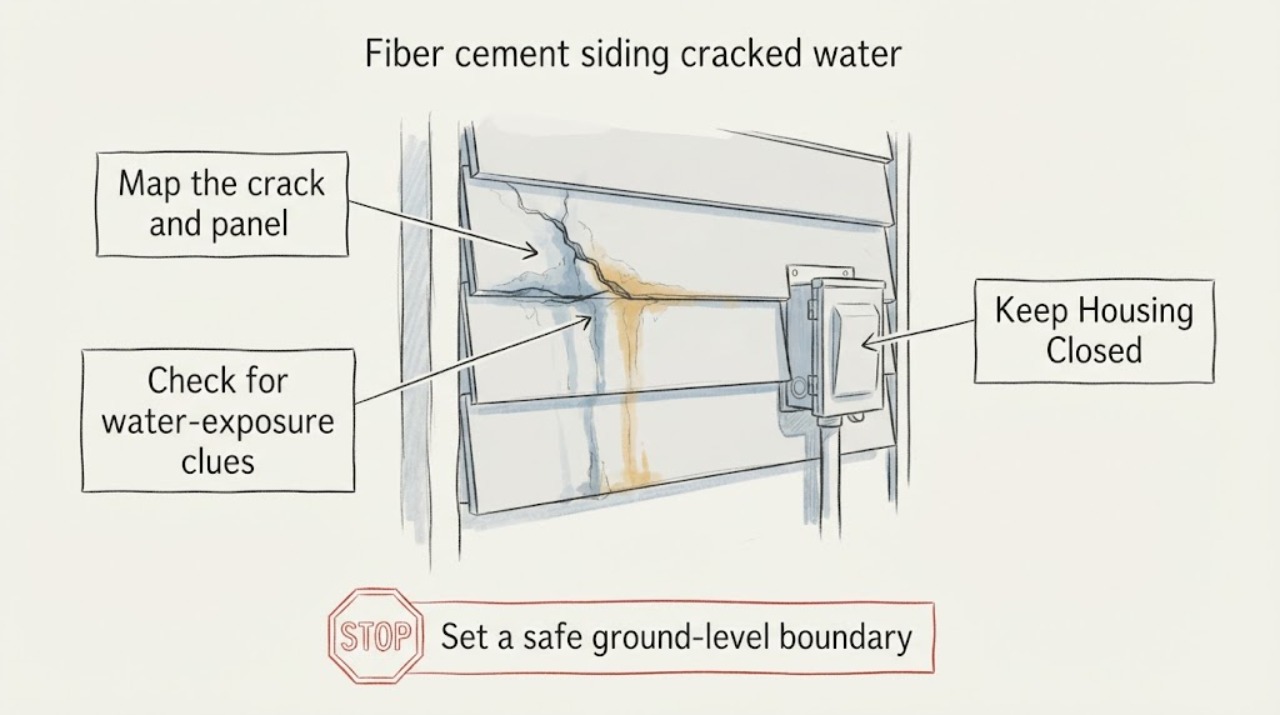
Fiber cement siding cracked water exposure: What to Check and What to Do Next
Keep water away from a cracked fiber-cement siding panel and inspect only from a safe, ground-level position. Record whether the crack is a small surface chip or extends through the panel, whether edges are swollen or soft, and whether caulk or flashing has failed nearby.
-
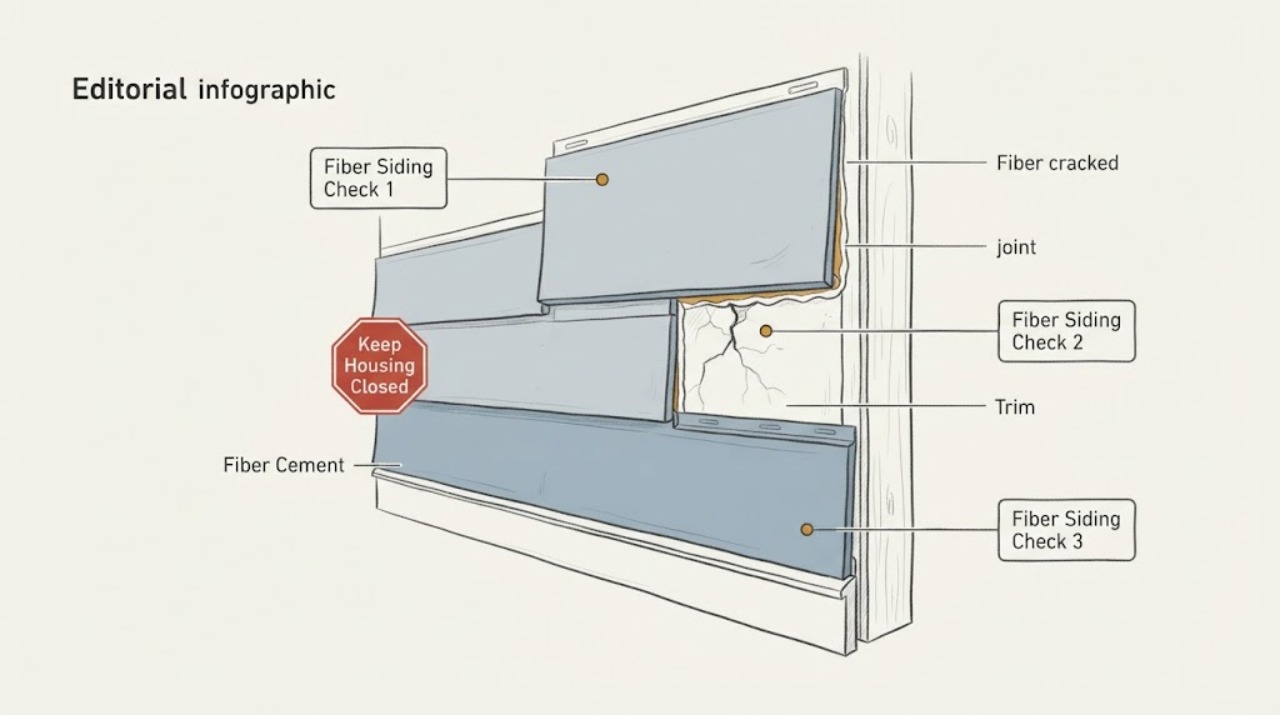
Fiber cement siding cracked: What to Check and What to Do Next
Start by documenting the crack from stable ground and deciding whether it is a superficial finish mark, a crack through the panel, impact damage, or part of a moisture or movement pattern. Inspect nearby joints, corners, openings, and the interior side of the wall without climbing, prying, cutting, or removing siding.
-
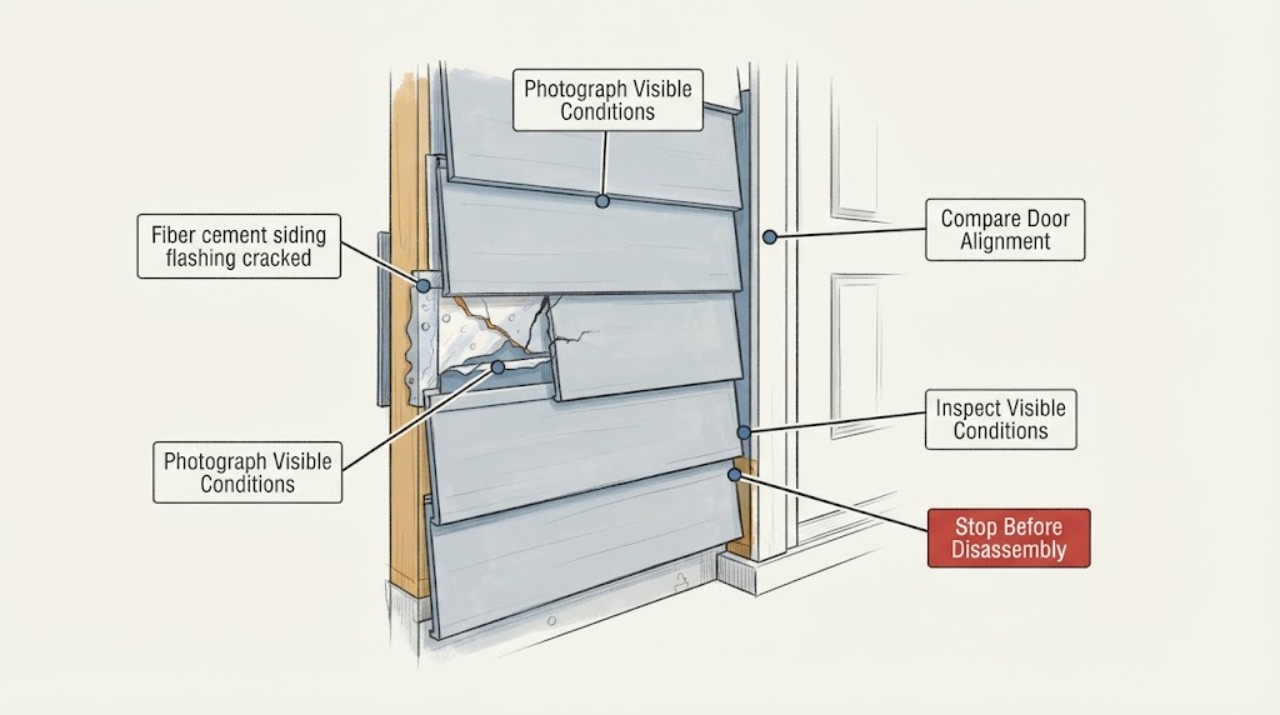
Fiber cement siding flashing cracked: What to Check and What to Do Next
A crack in flashing behind or beside fiber cement siding is a water-management concern, not just a cosmetic gap. From the ground or a safe indoor position, document where the crack is, whether the siding or flashing appears displaced, whether water staining or dampness is visible, and whether the condition followed wind or heavy rain.
-
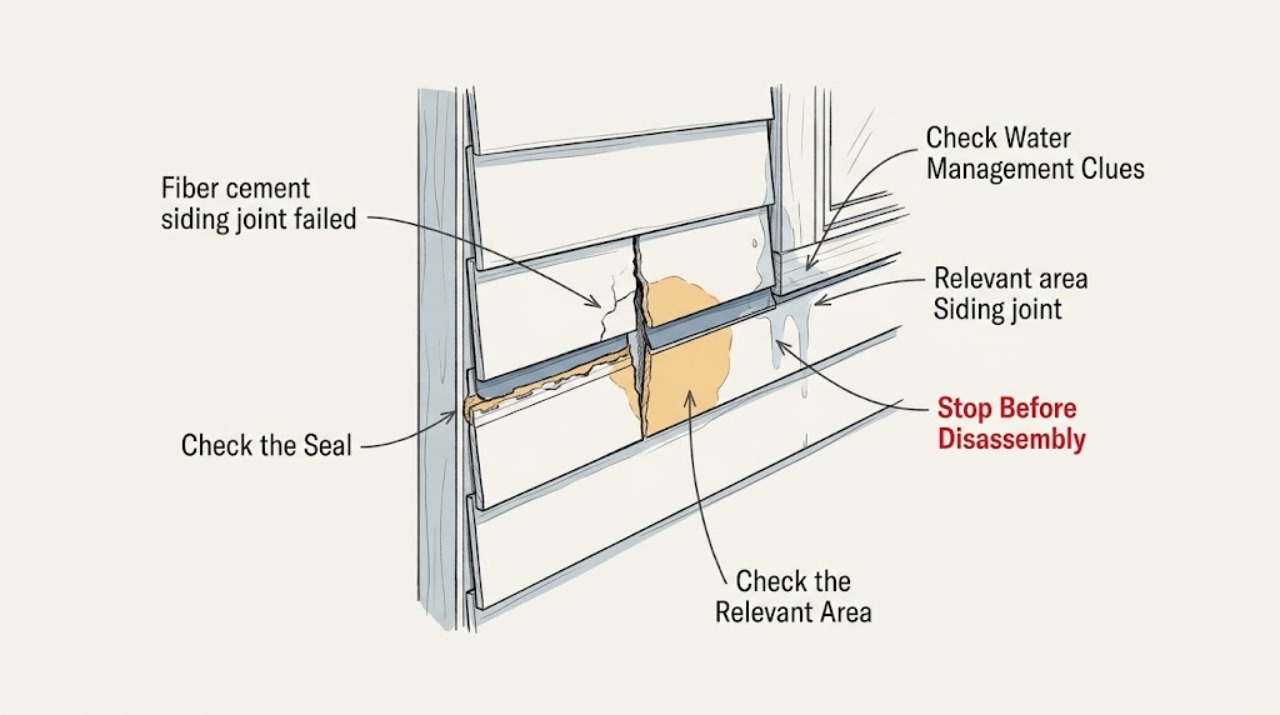
Fiber cement siding joint failed: What to Check and What to Do Next
Do not assume a failed fiber-cement siding joint should simply be filled with caulk. First identify what kind of joint it is—such as a lap-siding butt joint, a trim or opening transition, or a panel/control joint—and inspect it from a safe ground-level position.
-
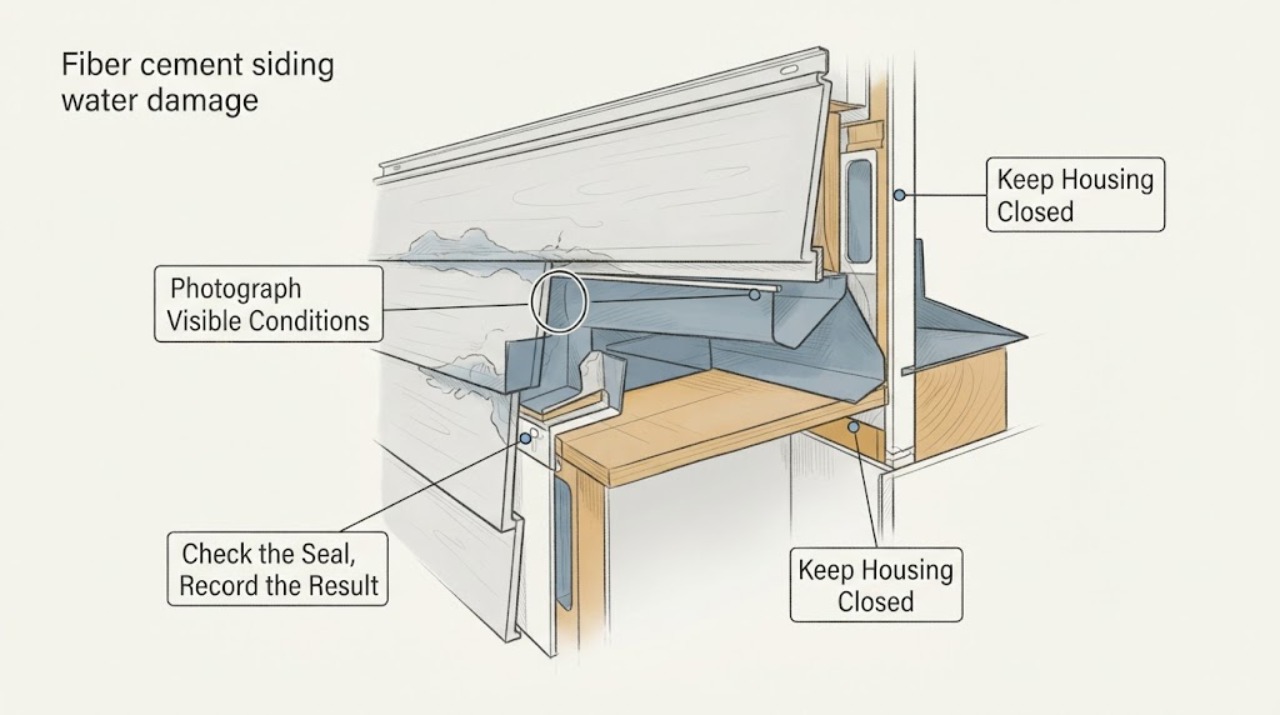
Fiber cement siding water damage: What to Check and What to Do Next
Do not cut, remove, or climb to investigate fiber-cement siding water damage. From the ground and from inside the affected room, photograph finish changes, open or failed joints, staining, dampness, and the path from the exterior wall to the interior.
-
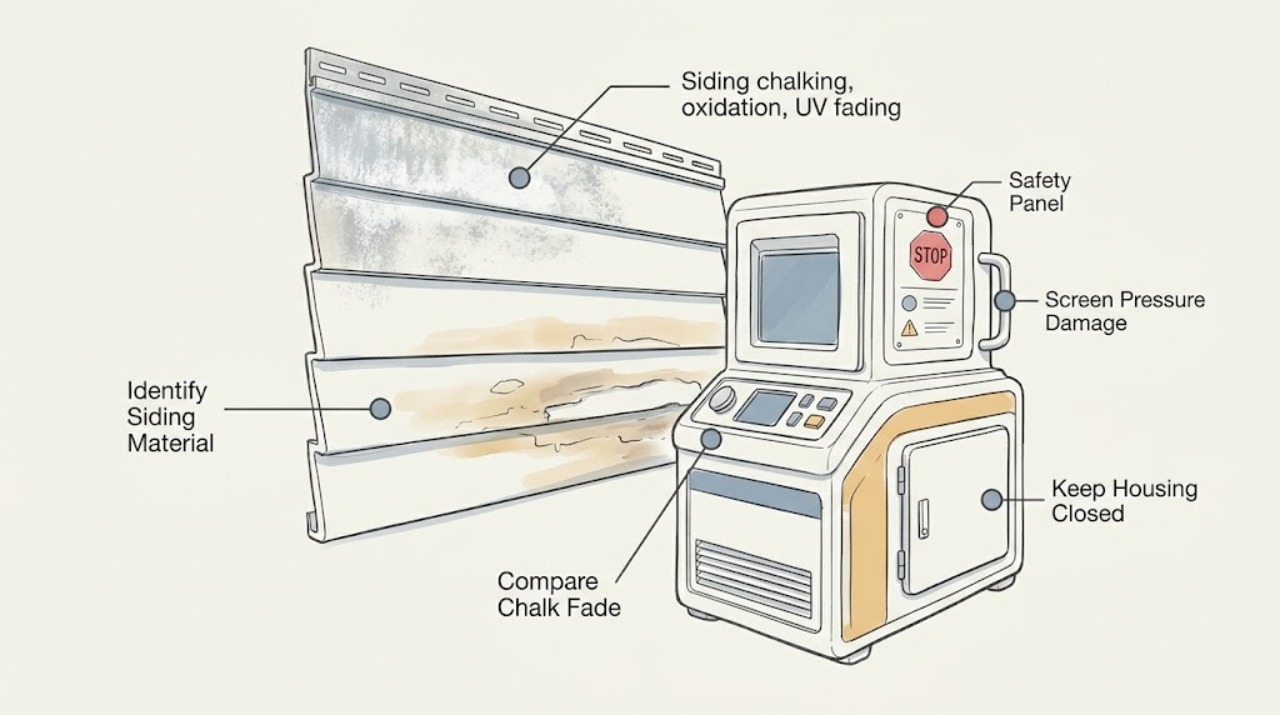
Siding chalking, oxidation, UV fading, or pressure-washer damage: What to check next
A pale, powdery film on siding can be ordinary surface chalking from weather exposure, but peeling, cracking, exposed substrate, warped panels, or water behind the siding points to coating or installation damage. Pressure washing can create a separate problem: manufacturers warn that high pressure may damage the finish, discolor the surface, or drive water behind panels.
-
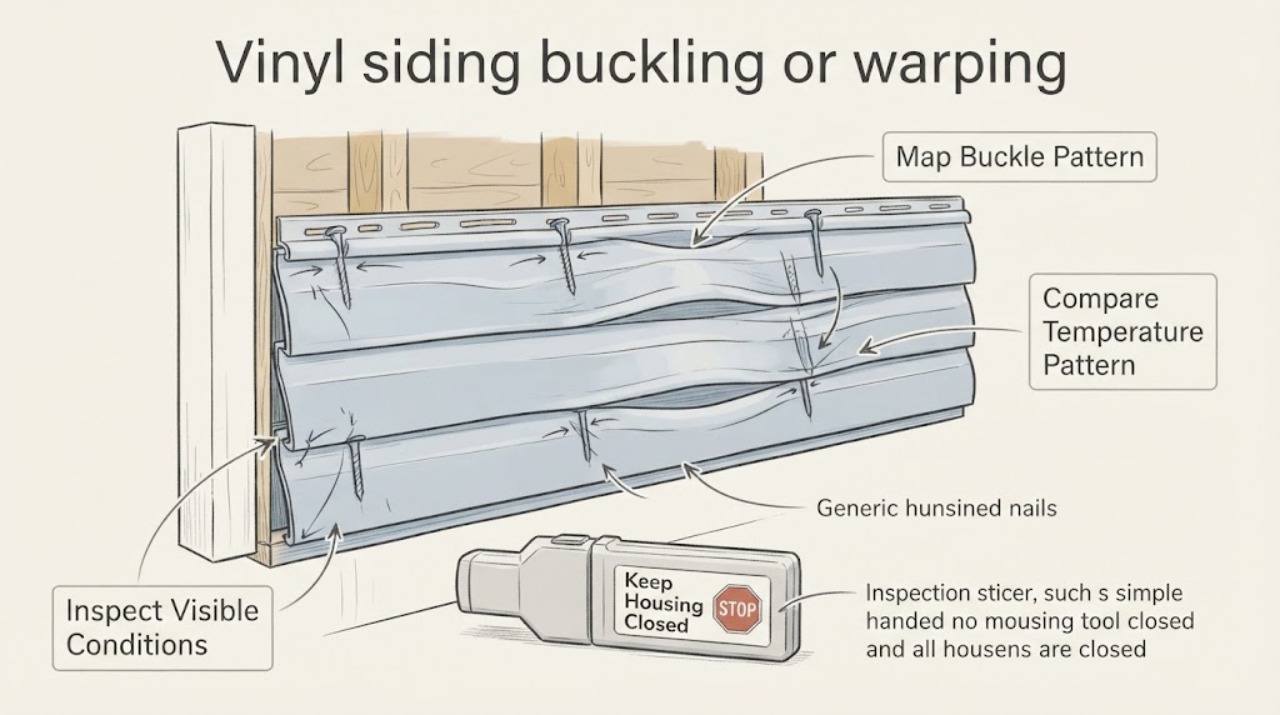
Vinyl siding buckling or warping: Check overdriven nails and thermal movement safely
Vinyl siding that buckles or warps is often a movement and installation-detail problem, not a panel that should simply be nailed flatter. From the ground or another stable, non-elevated position, map where the bowing occurs, compare it with seams, corners, windows, doors, and temperature or sun exposure, and look for visible fasteners that are tight against the nail hem, off-center in slots, face-nailed, or pressed into trim.
-
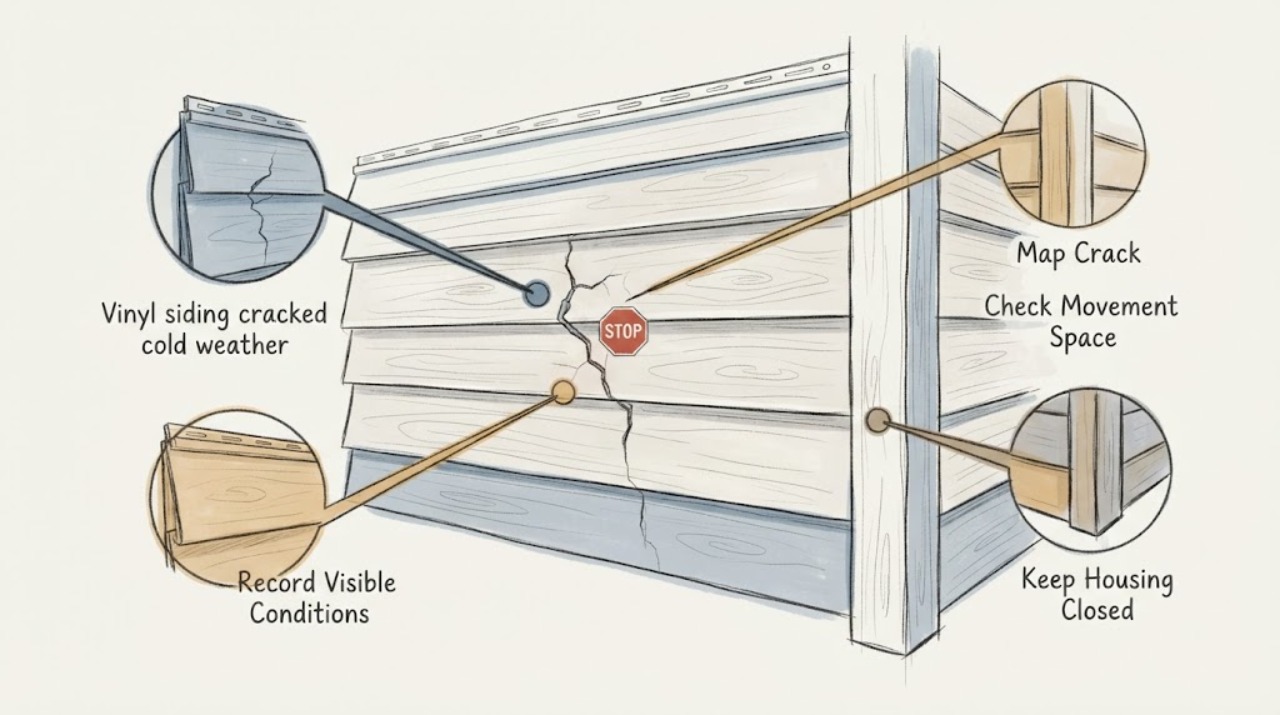
Vinyl siding cracked cold weather crack: What to Check and What to Do Next
A crack that appears in cold weather can reflect impact, restricted panel movement, installation clearance, or brittle material. From stable ground, photograph the crack, nearby joints, trim, and water-management details without pulling the panel, climbing, or cutting. Arrange siding assessment for spreading cracks, exposed wall areas, recurring damage, or any access requiring a ladder.
-
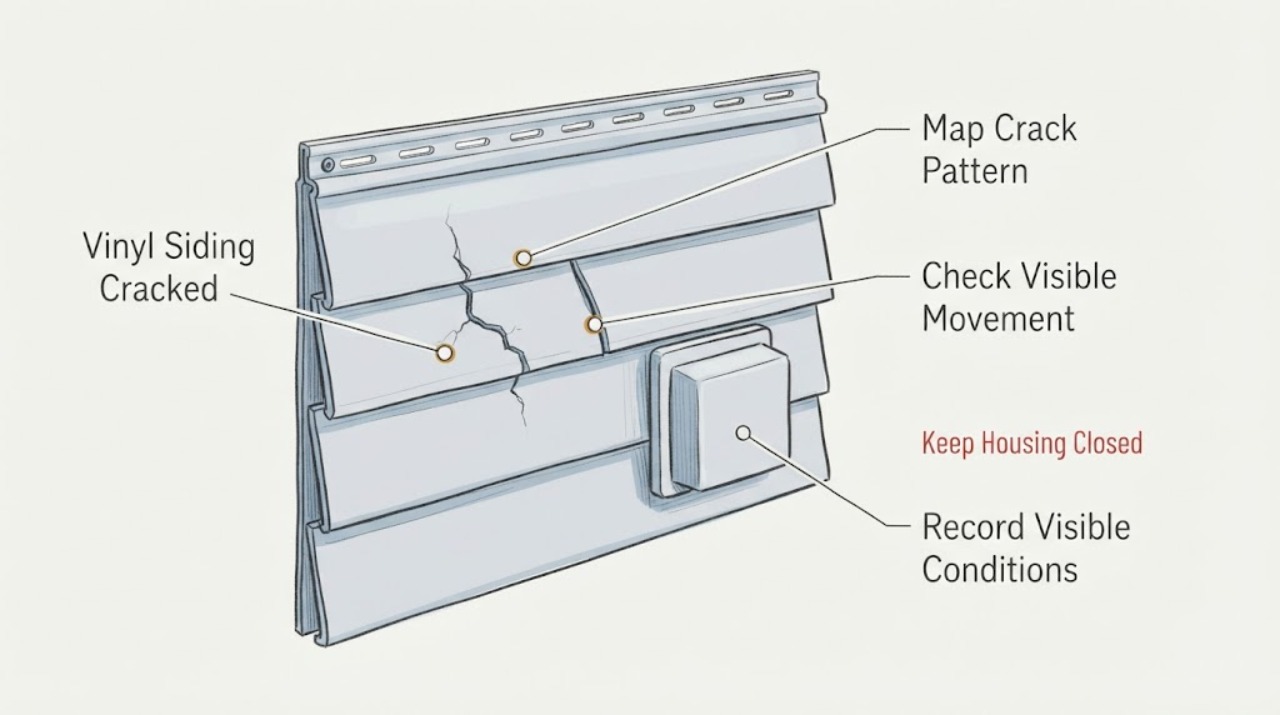
Vinyl siding cracked: What to Check and What to Do Next
Treat a cracked vinyl siding panel as an exterior-cladding condition to document, not as a reason to climb, pry, cut, or open the wall. From ground level, record the crack's location and pattern, whether one panel or many are affected, visible gaps or movement, moisture or exposed insulation, and any recent storm or impact.
-
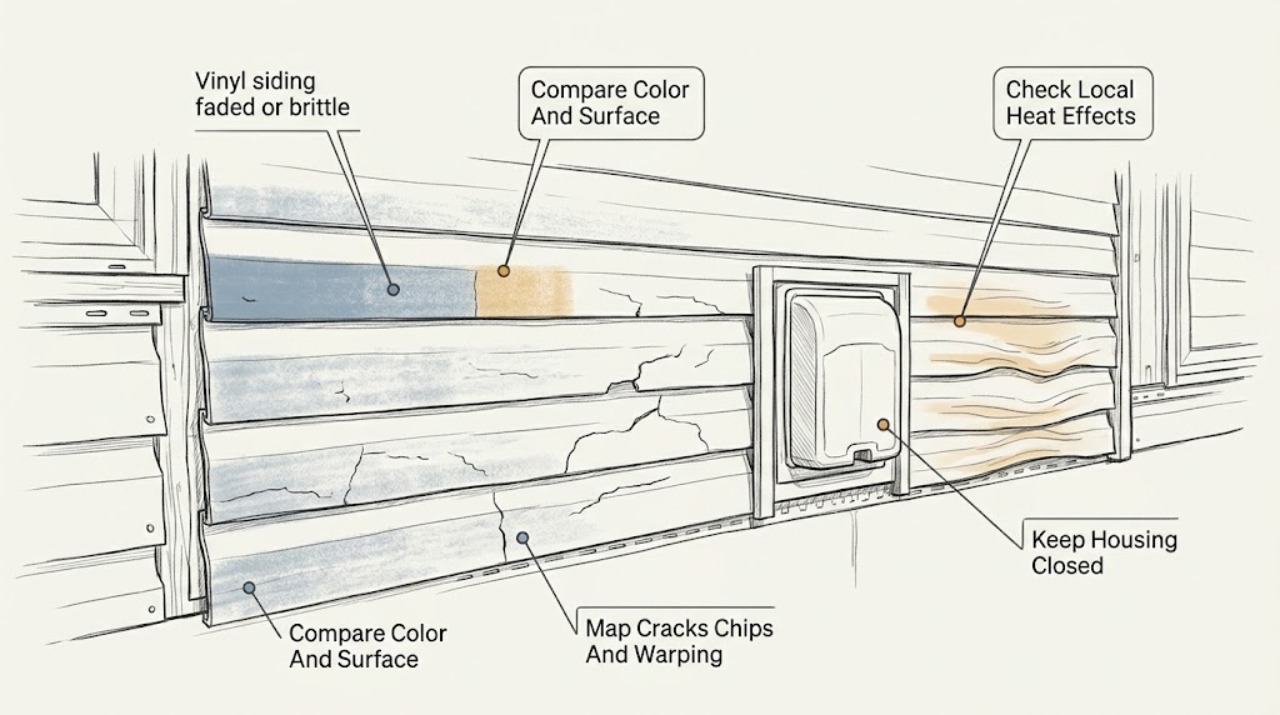
Vinyl siding faded or brittle: What to Check and What to Do Next
Start by separating an appearance change from material or installation damage. From the ground or a safe window, photograph the affected elevation and compare it with shaded and adjacent areas.
-
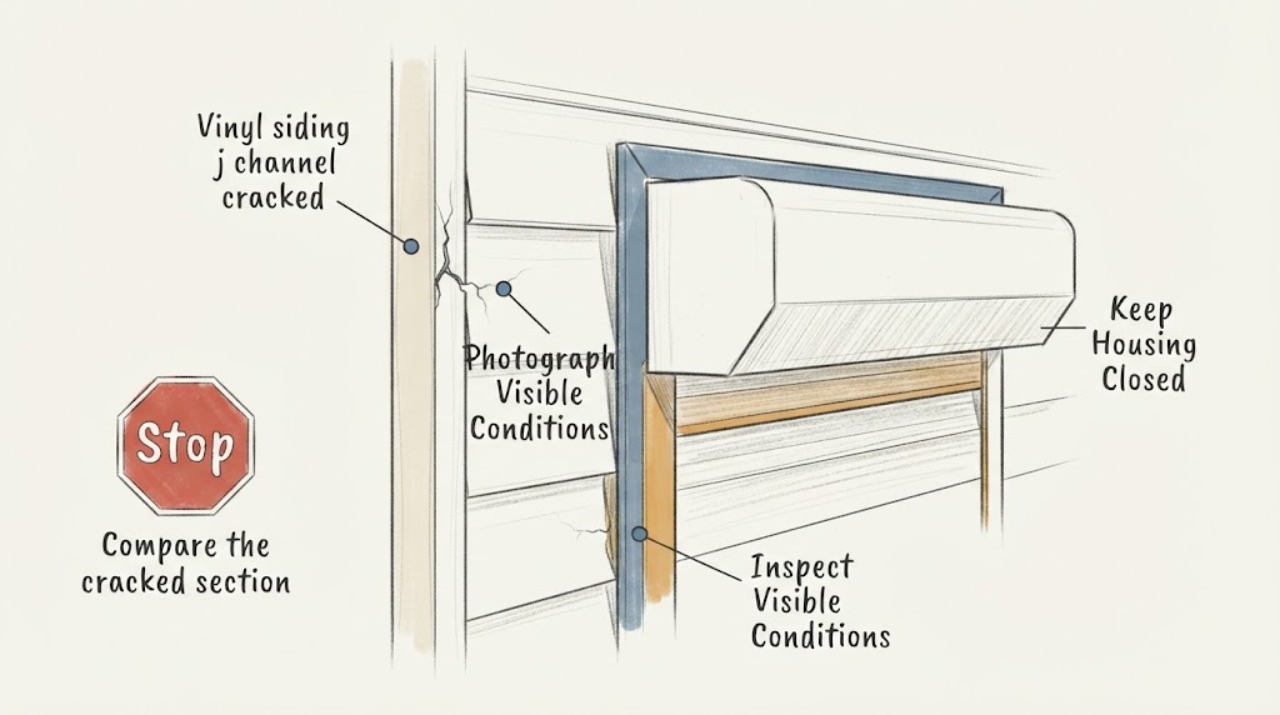
Vinyl siding j channel cracked: What to Check and What to Do Next
A cracked vinyl-siding J-channel can be isolated trim damage, but it can also leave a joint, window, door, roof intersection, or wall drainage detail exposed. Do not climb, remove siding, open the wall, force the channel, or follow an installation procedure from an elevated position.
-
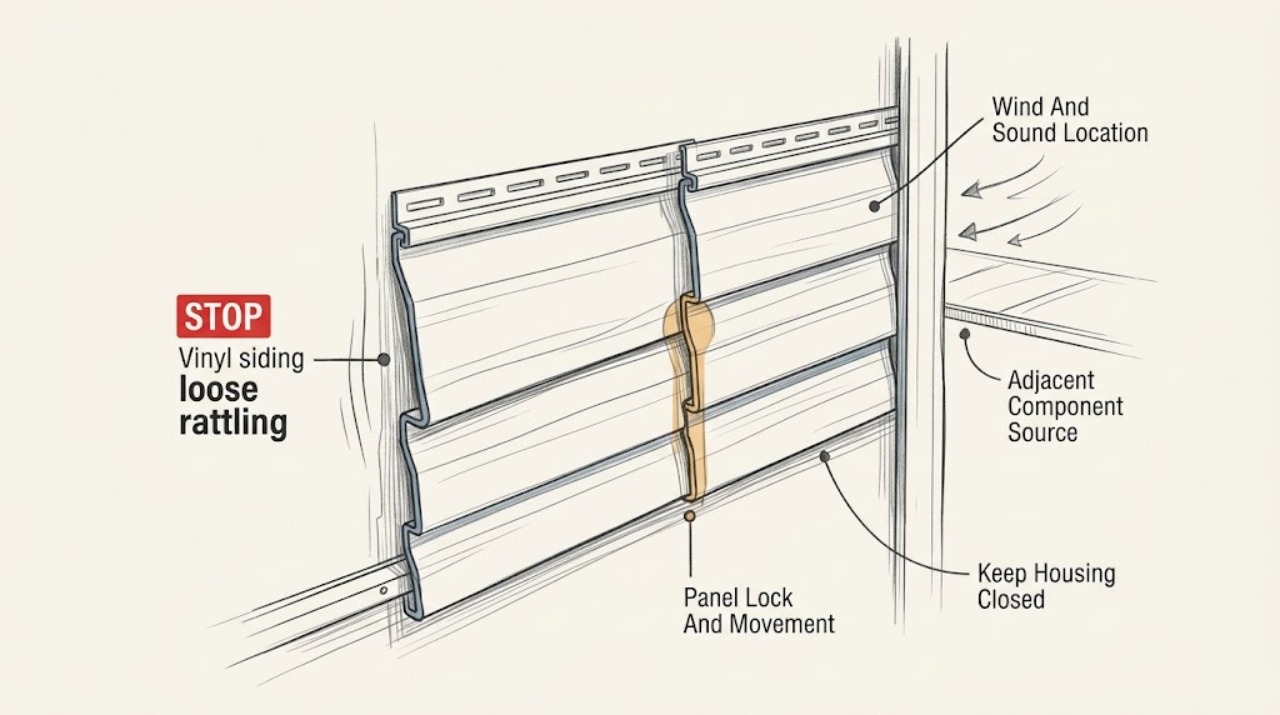
Vinyl siding loose rattling: What to Check and What to Do Next
For vinyl siding that rattles, start from the ground by recording wind direction and approximate strength, the exact sound location, and whether the noise follows gusts, sun or temperature changes, or calm weather. Visually note panel sliding, an unlocked lower edge, bowing, or lifted ends, then compare trim, soffit, fascia, gutter, downspout, shutter, and fixture movement.
-
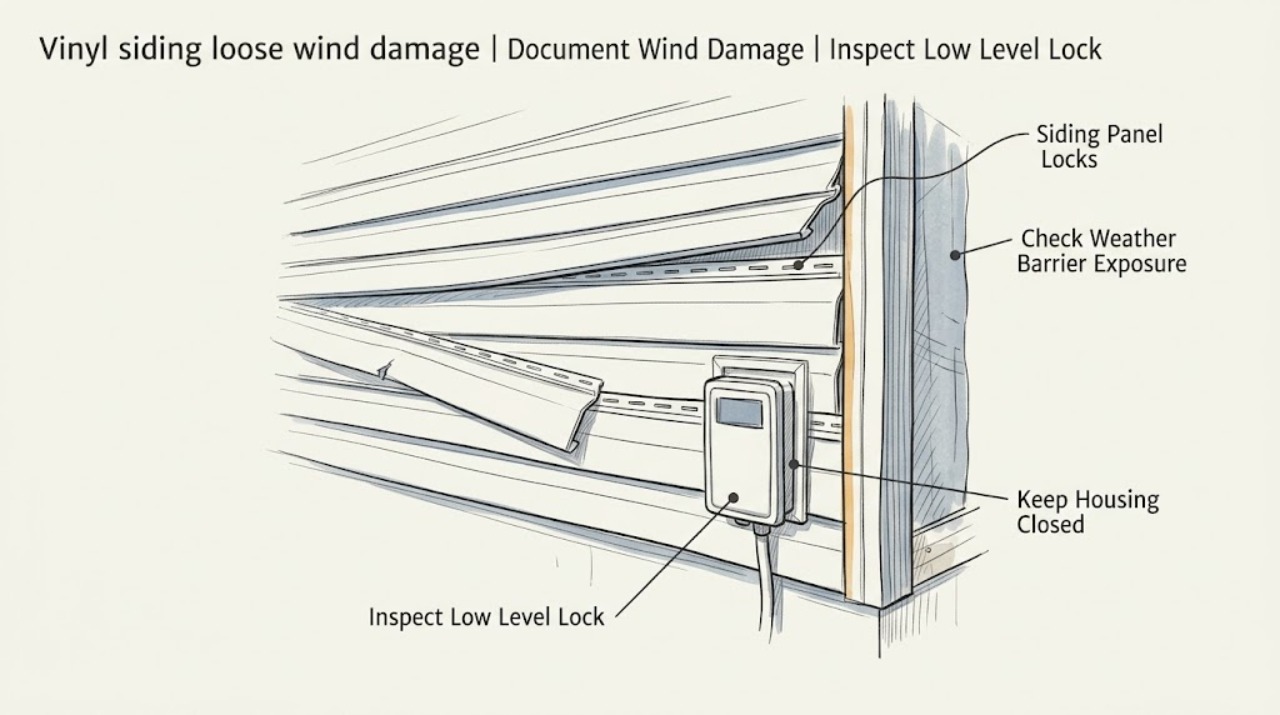
Vinyl siding loose wind damage: What to Check and What to Do Next
After strong wind, loose vinyl siding can mean that a panel has disengaged from its lock, a trim or corner connection has moved, fasteners no longer hold correctly, or the underlying wall or weather barrier has been damaged. Start from the ground after the wind has subsided and photograph the exact panel, direction of movement, missing or cracked pieces, exposed underlayment, and any water entry.
-
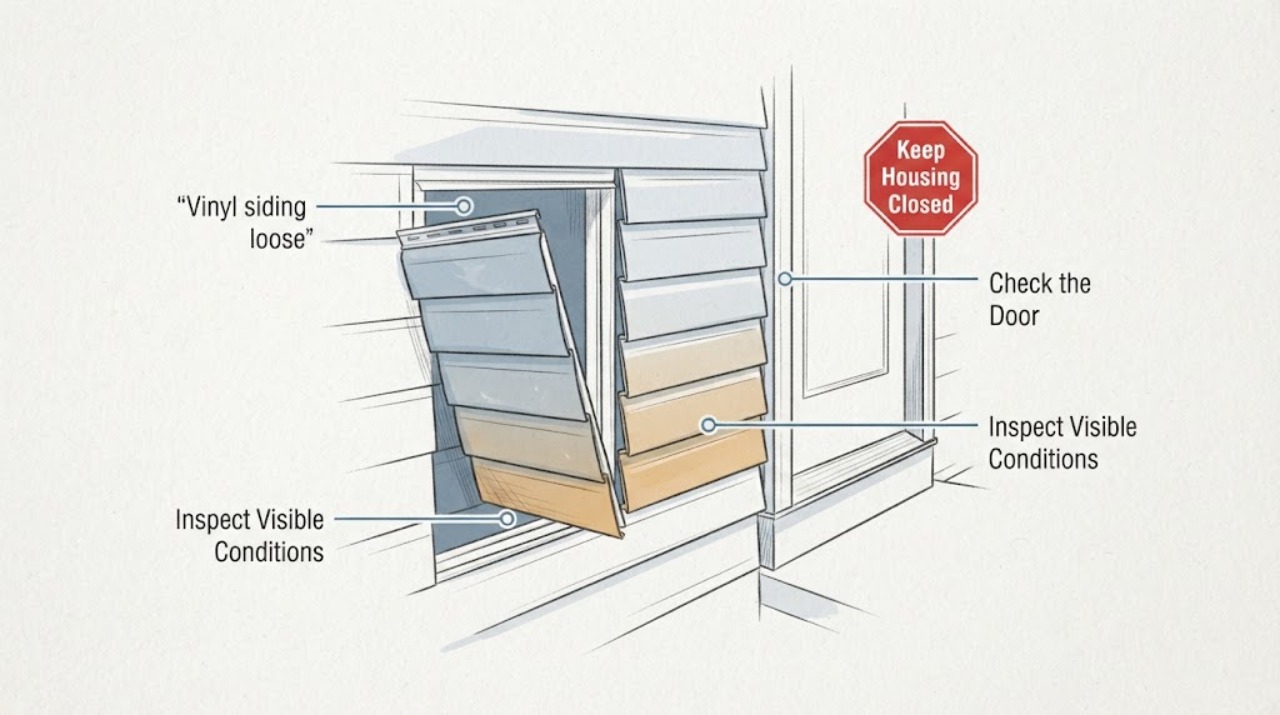
Vinyl siding loose: What to Check and What to Do Next
A loose vinyl-siding panel should be assessed from a safe ground-level or window view and then referred to a siding professional, especially if it moves in ordinary wind, has a visible gap near a window or door, has fallen pieces, or is associated with dampness. Record the location and visible pattern without touching the panel.
-
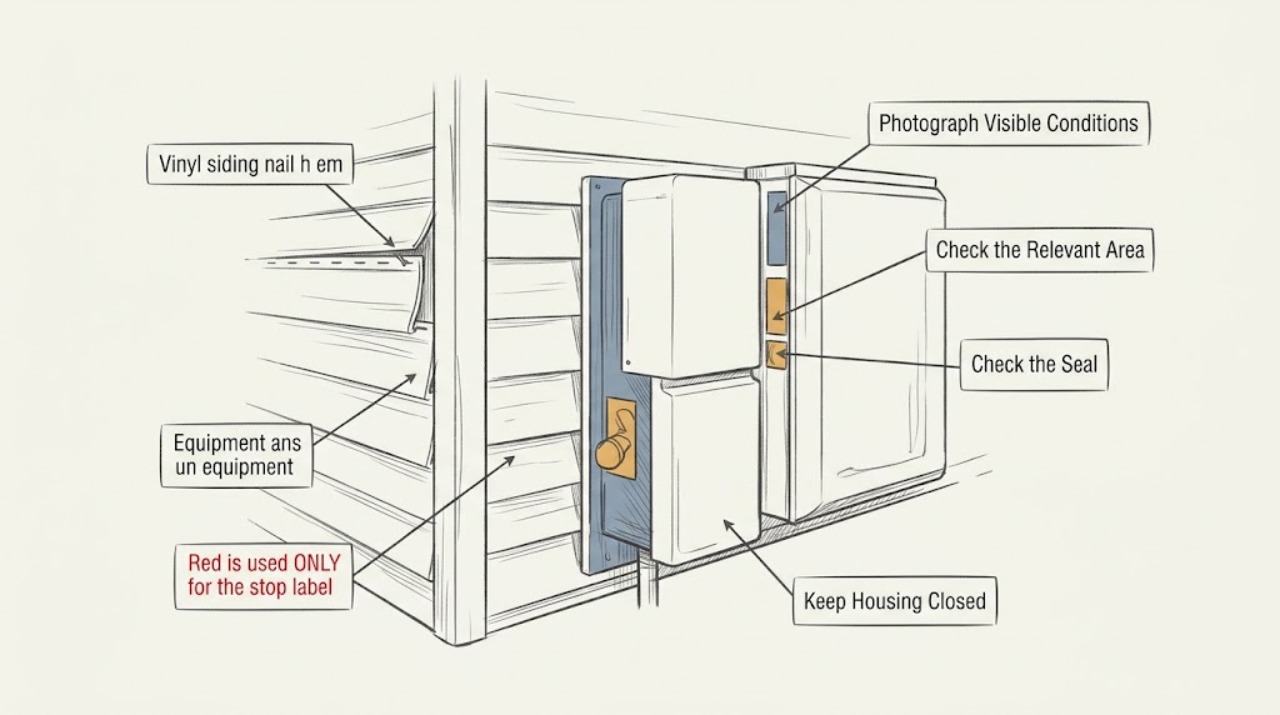
Vinyl siding nail h em loose: What to Check and What to Do Next
Treat a loose vinyl siding nail h em as a ground-level observation and storm-damage triage issue, not as a reason to fasten the panel tight. The label appears to mean the nailing hem or flange, where the panel's slots and fasteners are located.
-
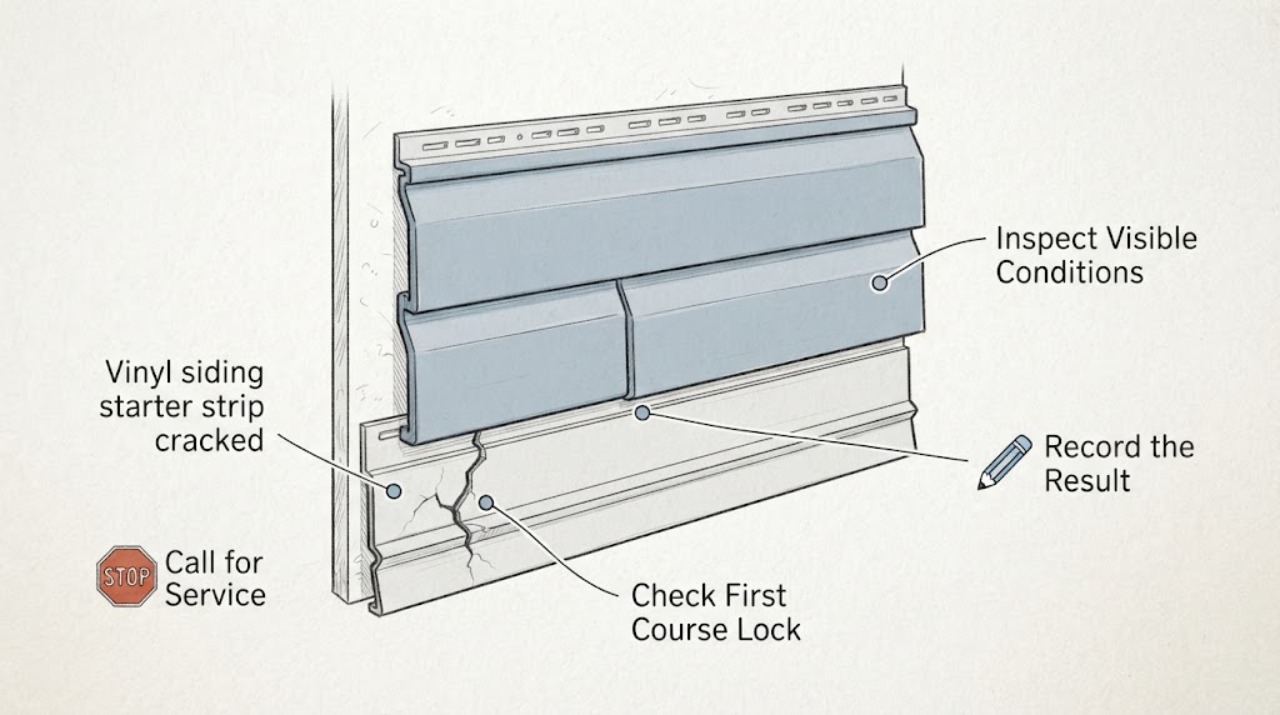
Vinyl siding starter strip cracked: What to Check and What to Do Next
A cracked vinyl siding starter strip is a concern because it supports and locks the first course while helping the lower wall shed incidental moisture. From stable ground, check whether the bottom edge is still locked, level, and attached, and look for buckling, gaps, damp staining, insects, or loose pieces.
-
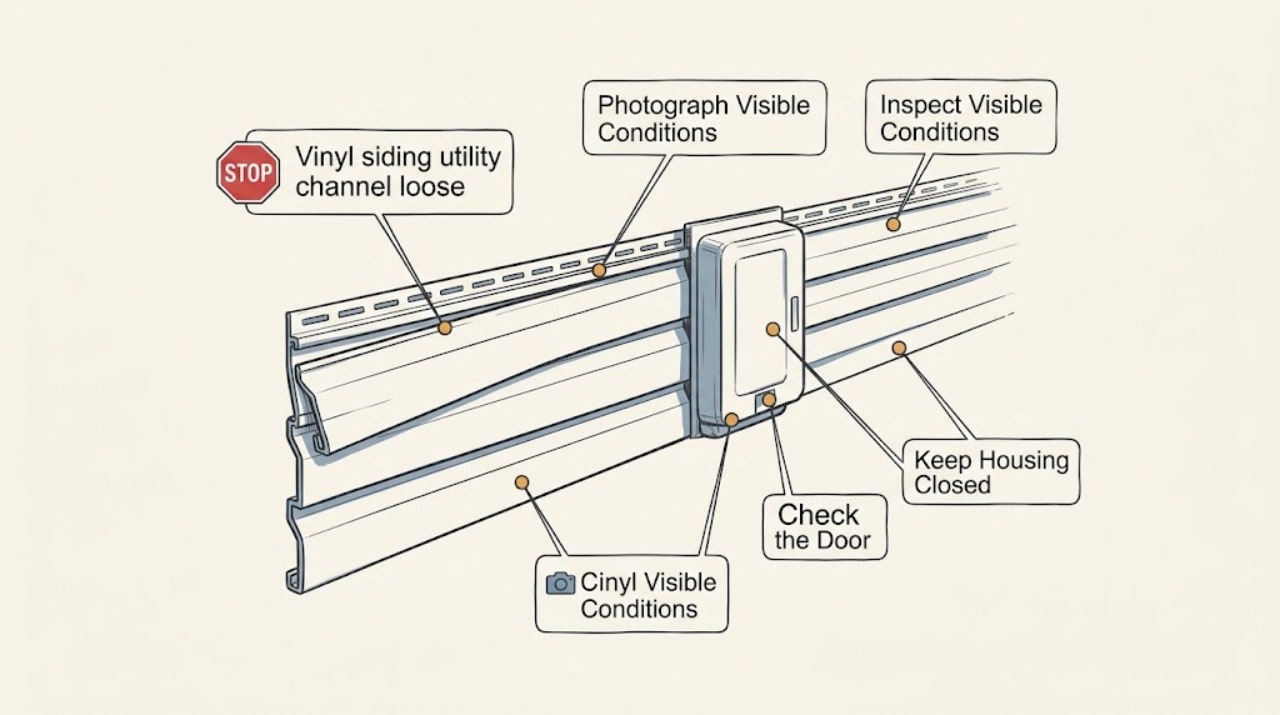
Vinyl siding utility channel loose: What to Check and What to Do Next
Treat a loose vinyl siding utility channel as a siding-system and water-management issue, not as a reason to drive a fastener tight or force the channel back into place. From stable ground or a safely accessible window, document whether the channel is separating, bowing, cracked, open at a joint, or allowing the cut siding edge to move, and compare it with adjacent trim.
-
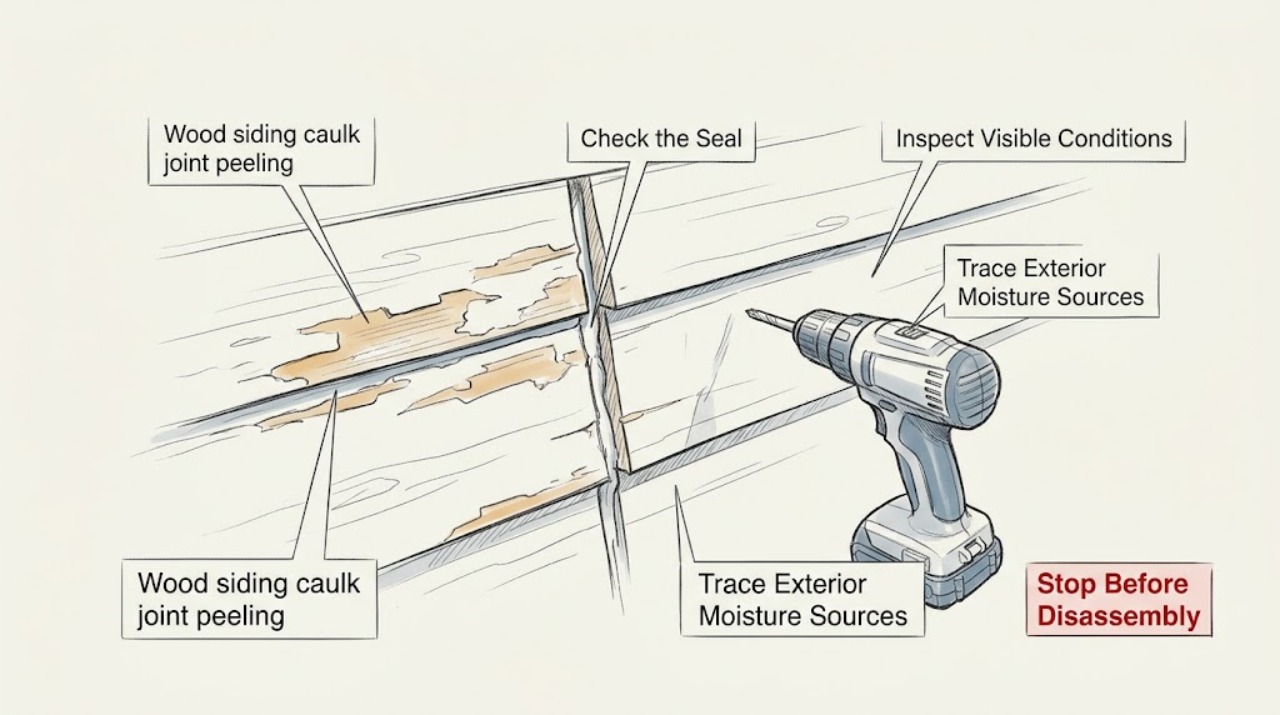
Wood siding caulk joint peeling paint: What to Check and What to Do Next
Peeling paint at a wood-siding caulk joint usually means the joint, paint bond, wood condition, or moisture path needs to be assessed before anything is recoated. From safe ground-level or interior viewpoints, document whether the joint is cracked or open, whether the wood is swollen or soft-looking, and whether rain, a roof or window detail, a gutter, sprinkler, or indoor moisture could be reaching the area.
-
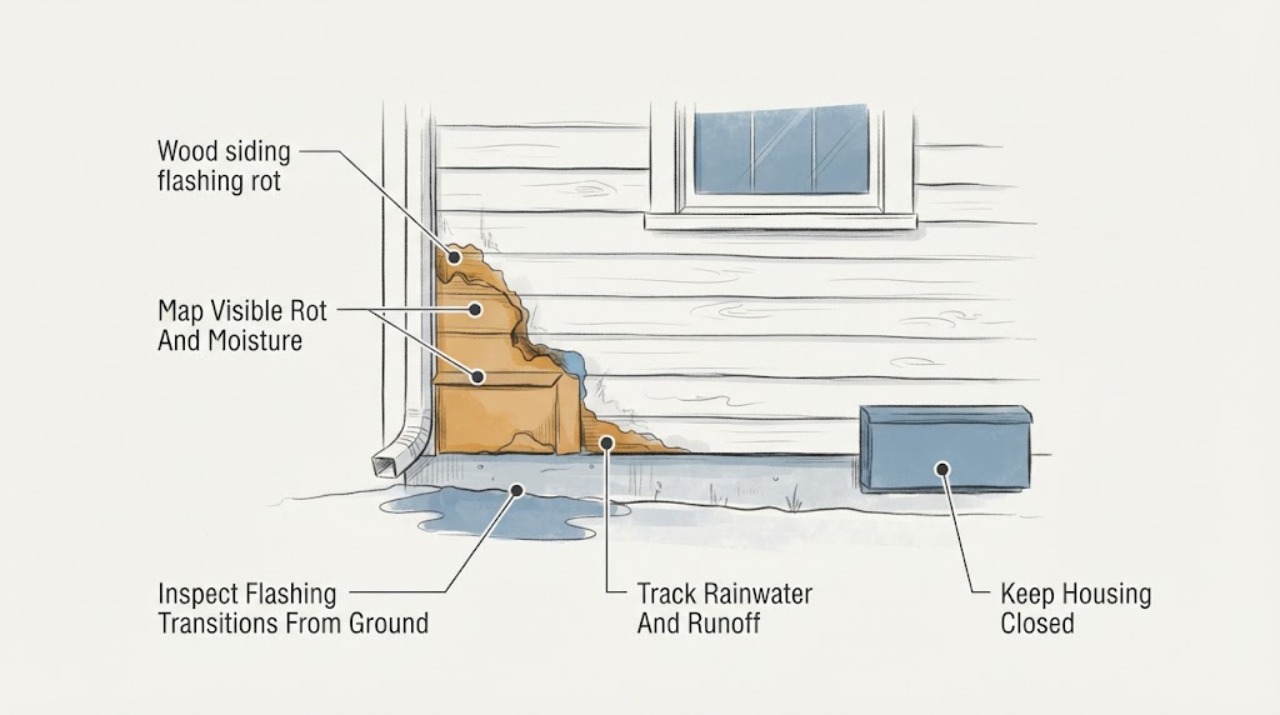
Wood siding flashing rot: What to Check and What to Do Next
Treat rot at wood siding and flashing as a water-management problem, not a surface-filler problem. From ground level or another safe accessible position, photograph peeling paint, staining, swelling, soft-looking wood, missing or displaced flashing, failed-looking joints, and where water appears after rain; also check for interior dampness near the same wall.
-
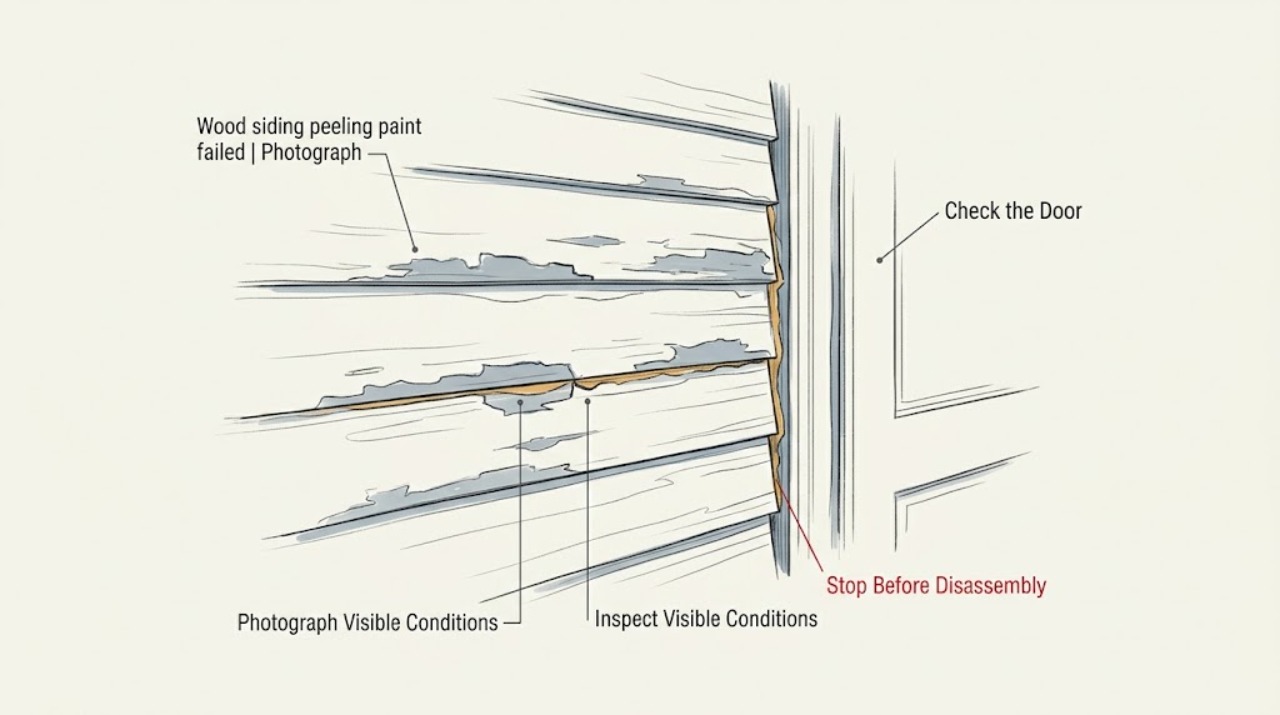
Wood siding peeling paint failed caulk: What to Check and What to Do Next
Peeling paint on wood siding with failed caulk should begin with a ground-level seam and moisture assessment, not another coat of paint. From stable ground, photograph failed joints around windows, doors, trim, corners, penetrations, and board ends; note cracked or missing caulk, gaps, soft or swollen wood, staining, and whether the damage follows rain or roof and gutter runoff.
-
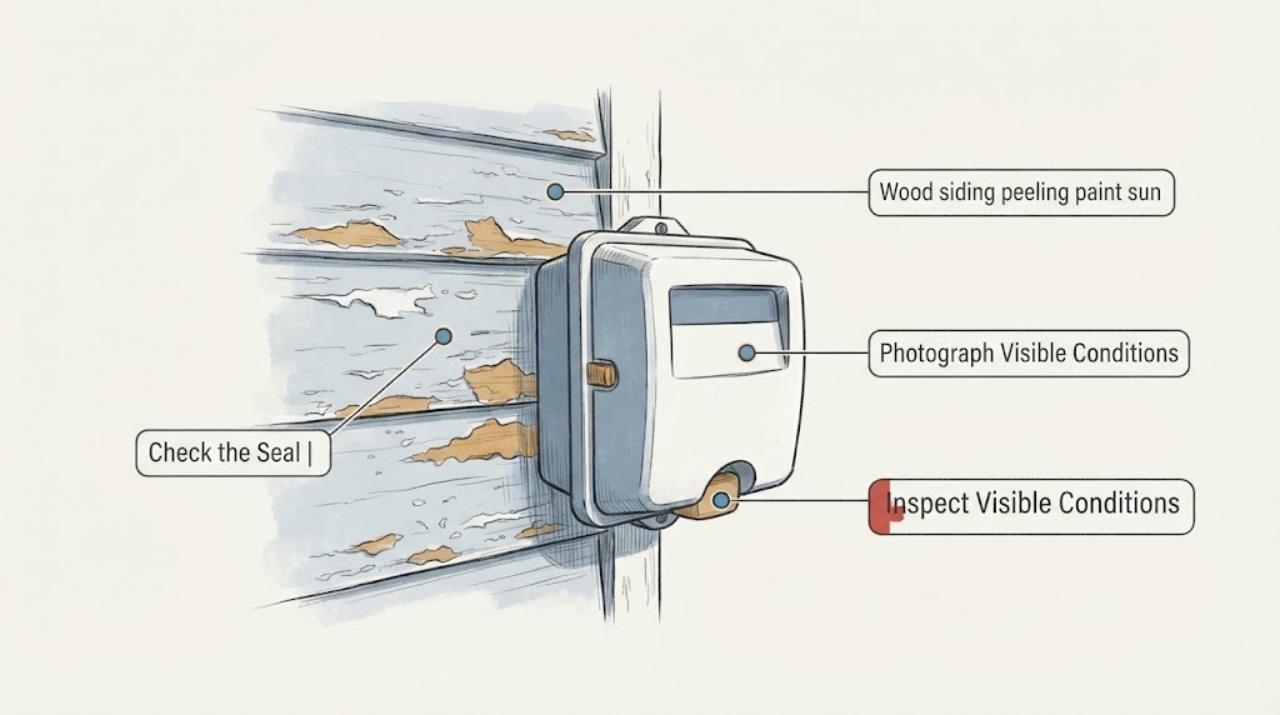
Wood siding peeling paint sun exposure: What to Check and What to Do Next
Sun-exposed wood siding can fade and weather faster, but peeling paint is not proof that sunlight is the only cause. Map the peeling by elevation and board location, then inspect from the ground for moisture entry at gutters, flashing, roof edges, joints, penetrations, and nearby vegetation.
-
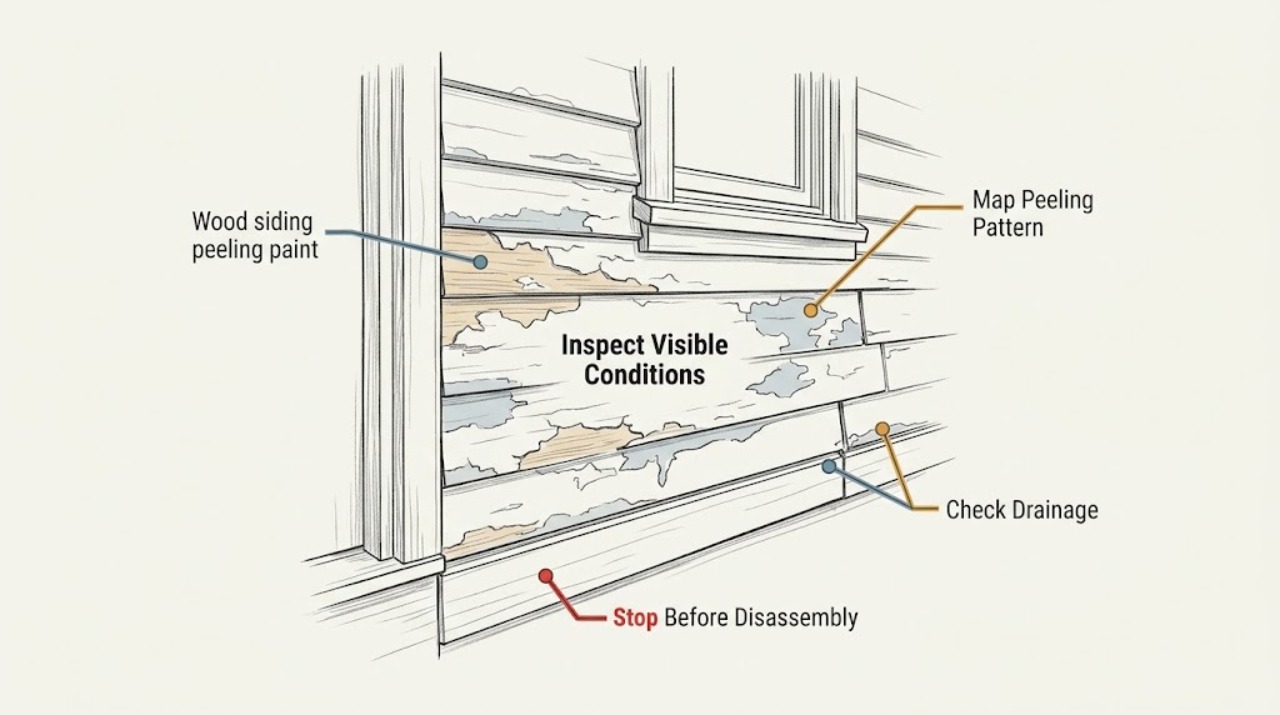
Wood siding peeling paint: What to Check and What to Do Next
Start with a ground-level or window view and document the pattern before disturbing the coating. Peeling concentrated below windows, at joints, near trim, under eaves, or beside downspouts makes moisture or drainage a priority; sun-facing or broad, age-related peeling may also involve exposure or prior preparation.
-
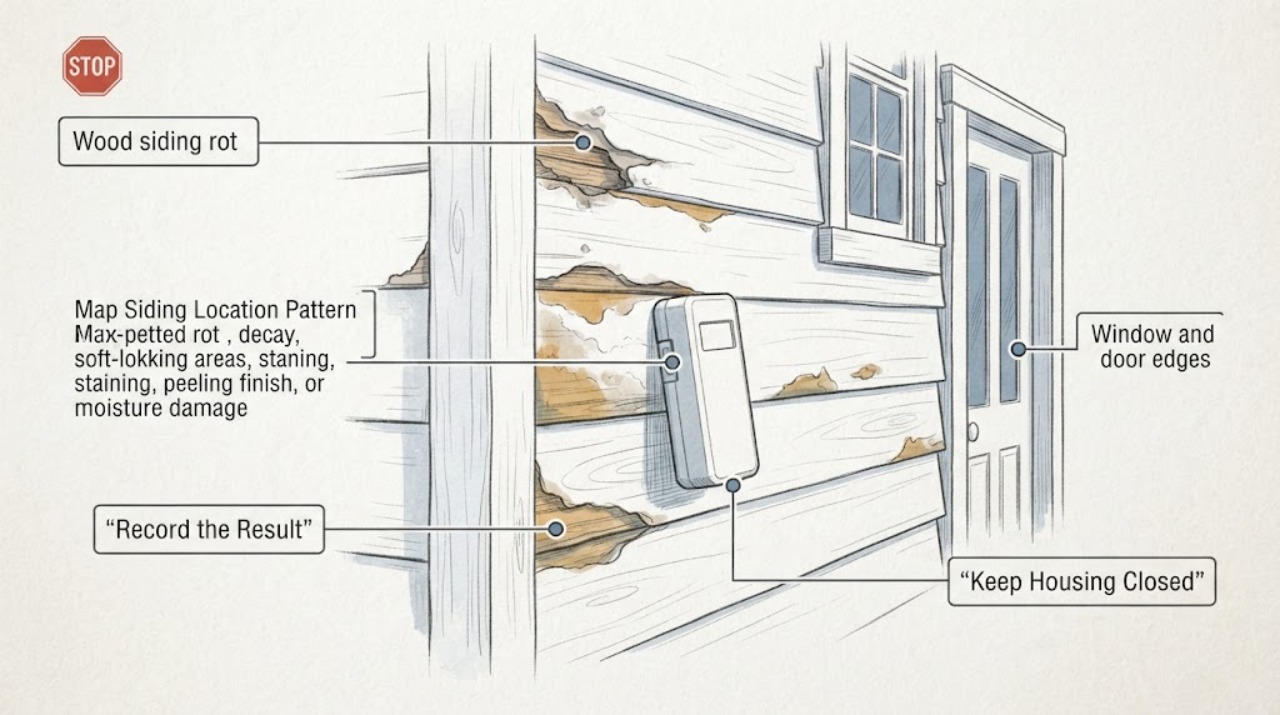
Wood siding rot: What to Check and What to Do Next
Treat suspected wood-siding rot as a moisture and exterior-envelope problem, not just a cosmetic patch. From the ground or a safe window view, record the affected location, discoloration or peeling pattern, visible gaps or distortion, nearby gutters/downspouts and roof or window transitions, and any interior stain or musty odor.
-
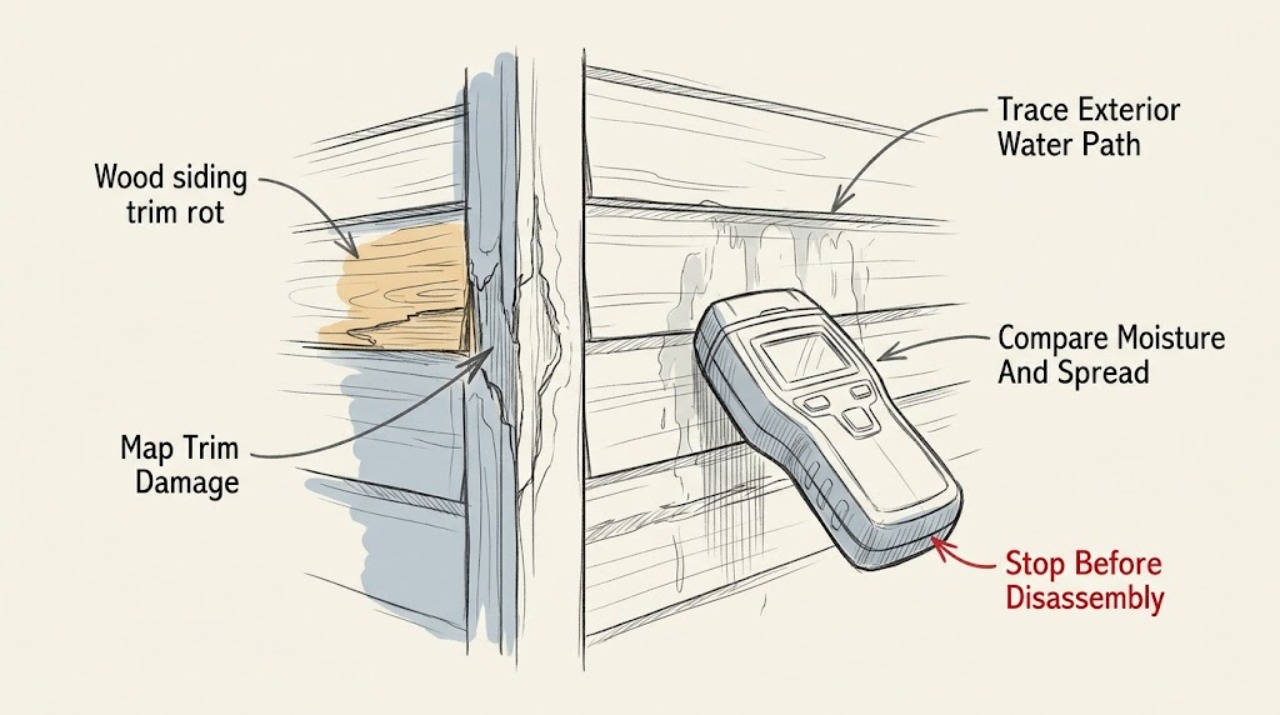
Wood siding trim rot: What to Check and What to Do Next
Rot in wood siding trim is usually a moisture-path problem, not just a bad patch of paint. From a stable position, photograph the trim and look for peeling finish, swelling, open joints, soft or crumbly wood, staining, and water coming from above or around an opening.