
On this page
Start here
Quick answer
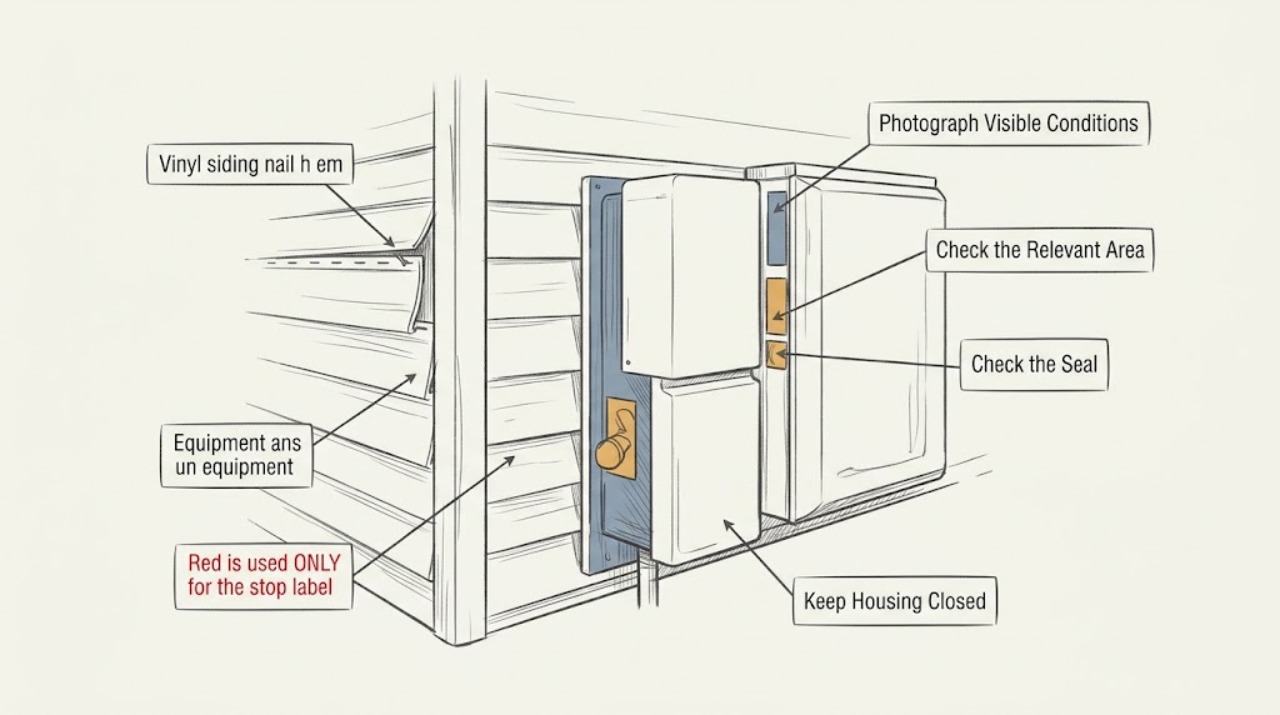
Treat a loose vinyl siding nail h em as a ground-level observation and storm-damage triage issue, not as a reason to fasten the panel tight. The label appears to mean the nailing hem or flange, where the panel's slots and fasteners are located. From the ground or a safe window, document how many panels move, whether the panel is still engaged with the course below, whether the hem or slots are cracked, and whether the sheathing or water-resistive layer is exposed. Do not climb, pull on the panel, face-nail it, or block the movement vinyl needs for temperature changes. Arrange professional siding repair for high work, broad or storm-related looseness, visible water entry, exposed sheathing, or any cracked or distorted panel.
Work through in order
Diagnostic checks
Use only checks that match the exact appliance or system and its official guide.
-
Check 1
From ground level or a safely accessible window, photograph the suspected nail h em area without climbing, reaching, pulling, or pressing on the siding.
Expected result: Record the wall elevation, the affected course, the approximate number of panels, and whether the panel appears to sit out of line, lift at an edge, or remain aligned with its neighbors.
Next step: Keep the photos and mark the location for the service visit; compare only visually with adjacent panels and do not attempt to push the panel back into place.
Stop if: Stop the inspection if safe ground-level visibility is not possible, if the panel could fall, or if weather, debris, or unstable ground creates a hazard.
Why this matters
Why: One localized panel may point to a panel or fastening detail, while several displaced courses or a whole elevation after wind suggests broader movement or storm damage.
-
Check 2
Use zoomed photographs to inspect the visible nailing hem or flange, panel edge, and nearby joint or trim channel from a safe distance.
Expected result: Look for a cracked or torn slot, a bent hem, a missing-looking fastener, an open lock between courses, a pulled edge, or a gap at a receiver; do not touch or enlarge any opening.
Next step: Send the clearest image and the panel location to a siding professional, noting that the component label is being retained as nail h em even though the visible feature may be the nailing hem.
Stop if: Stop if inspection would require a ladder, panel removal, prying, drilling, cutting, or any attempt to expose the wall.
Why this matters
Why: A visible crack, torn hem, or unlocked edge makes a simple loose-fastener assumption unsafe. A clean-looking face does not rule out concealed damage behind the panel.
-
Check 3
Check the same area from the ground after recent wind or rain, without handling the panel or applying sealant over the joint.
Expected result: Note whether the looseness is new, whether rain marks or active water appear below the section, and whether sheathing, flashing, or a water-resistive layer is visibly exposed.
Next step: Keep the area dry when practical, avoid directing a hose at it, and provide the weather timing and images to the service provider.
Stop if: Stop and isolate the area if water is entering the wall, the panel or trim is hanging, or the wall surface appears unstable.
Why this matters
Why: New movement with wind, water entry, or exposed layers raises the priority for professional enclosure repair; a long-standing visual gap still needs assessment if it is spreading or allowing water behind the siding.
-
Check 4
Compare the affected panel’s apparent movement and alignment with the nearest intact course and with corners, windows, doors, and trim, using only a safe visual line of sight.
Expected result: Record whether the issue ends at a joint or trim channel, spans across a seam, repeats at several openings, or is accompanied by rippling or buckling.
Next step: Give the pattern, orientation, and comparison photos to a professional who can evaluate the panel and the wall assembly under the applicable product guidance.
Stop if: Do not climb or begin a full installation procedure; stop when the pattern cannot be judged from a safe position.
Why this matters
Why: A pattern at channels or multiple locations can indicate movement or installation detail rather than one loose nail. Rippling or buckling may also be consistent with movement being restricted, so fastening the panel tight is not a safe diagnosis.
-
Check 5
Record access and scope information for the repair request: wall height, safe ground access, recent storm exposure, visible damage, and whether any sheathing or interior finish is affected.
Expected result: Distinguish one reachable low panel from high, multi-course, or inaccessible work, and note any interior dampness or staining without opening the wall.
Next step: Request an on-site evaluation and share the photos, exact wall location, timing, and the no-touch observations rather than trying to select a generic repair part.
Stop if: Stop all inspection if a high panel, exposed substrate, active leak, unstable material, or electrical/utility obstruction would be involved.
Why this matters
Why: Height, broad scope, storm damage, or possible water intrusion changes the job from a limited observation to professional siding and possibly wall-envelope assessment.
Use your observations
Decision map
Find the observation that best matches what you see, then follow the next safe action.
-
PATH 01Safety boundary
What you see
The panel is high, cannot be viewed safely, is hanging, or the wall area is exposed after wind or impact.
Do this next
Keep people clear and arrange professional siding repair; provide ground-level photos and storm timing.
Why this path and its safety boundary
Safety stop: Do not use a ladder, climb, pull, or try to secure the panel with improvised fasteners.
-
PATH 02Safety boundary
What you see
A small low section looks loose but has no visible crack, water entry, or exposed layer.
Do this next
Leave it undisturbed, document the apparent movement and neighboring alignment, and have a professional confirm the fastening and lock condition.
Why this path and its safety boundary
Safety stop: Do not nail the hem tight or block the panel’s normal side-to-side movement.
-
PATH 03Safety boundary
What you see
The hem or slot is cracked, the panel lock is open, or the issue repeats across multiple courses or trim locations.
Do this next
Treat the issue as a repair assessment rather than a single-fastener fix and schedule a siding professional.
Why this path and its safety boundary
Safety stop: Stop before prying, removing panels, cutting, drilling, or following a complete installation procedure.
-
PATH 04Safety boundary
What you see
Rain marks, active water, interior dampness, exposed sheathing, or wall deterioration is visible.
Do this next
Protect the area from further exposure when safe and request prompt siding or building-envelope evaluation.
Why this path and its safety boundary
Safety stop: Do not cover the evidence with sealant or continue testing with a hose.
Helpful context
Understand the symptom
The task label says nail h em; in ordinary siding terminology, that points to the nailing hem or flange rather than a separate universal part. A loose panel can reflect a displaced fastener, a damaged slot or hem, a panel that is no longer locked to the course below, movement at a joint or trim channel, or a problem behind the siding. A ground-level view cannot safely establish which one is responsible.
Vinyl siding is designed to accommodate normal side-to-side movement as temperatures change. The Vinyl Siding Institute guidance warns against forcing panels tight or driving a fastener tightly against the nail hem, because restricting movement can distort or buckle the panel. That is why a quick-looking nail fix can create a second defect.
Start with distance, lighting, and a camera zoom rather than a ladder or hands-on test. Compare the suspected section with adjacent courses and record the location, weather timing, and any visible gap or exposed layer. Keep the observation limited to what can be seen safely from the ground or from inside a window.
If the hem, panel lock, trim receiver, or wall substrate cannot be assessed without height or removal, stop at the evidence you have. A siding professional can determine whether the panel, fastening pattern, trim, or underlying wall needs attention without turning an uncertain observation into a concealed-condition claim.
Only after diagnosis
Potential parts
- vinyl-siding-repair-kit
Consider this category only after an on-site assessment confirms a compatible panel or hem repair is appropriate for the documented damage.
Confirm the siding profile, color, age, panel condition, and manufacturer guidance; a generic kit may not match the existing lock or finish. - exterior-caulk
Consider sealant only when a qualified repair plan identifies a joint where sealant is appropriate; it is not a substitute for a loose hem, open lock, or damaged wall layer.
Confirm the product’s compatibility and the exact joint with the siding or building-envelope professional; do not seal receiving channels or overlap joints indiscriminately.
When checks do not resolve it
Need a professional?
Call a qualified siding or building-envelope professional for any high or inaccessible section, storm-related or widespread looseness, cracked hem or panel lock, exposed sheathing, active water entry, interior dampness, hanging material, or uncertainty about the wall behind the vinyl. Provide the exact wall location, ground-level photos, weather timing, affected scope, visible nailing-hem or joint damage, and any interior signs. Do not use a ladder, force the panel, drive a tight fastener, face-nail, cut, drill, remove siding, or follow a full installation procedure as a user diagnostic.
Common questions
FAQ
What does nail h em mean on this siding issue?
It appears to refer to the siding nailing hem or flange, the area with the fastening slots. The label is retained as supplied, but the visible cause could also involve the panel lock, trim, fastener, or wall behind it.
Should I drive the loose nail tight against the siding?
No. Vinyl siding needs room for normal movement as temperature changes, and fastening it tightly can distort or buckle it. A professional should confirm the fastener and panel condition first.
Can I push the panel back into place from the ground?
Do not push, pull, pry, or climb to reach it. Photograph the condition from a safe position and arrange repair if the panel is loose, cracked, open at a lock, or exposed to weather.
When is loose vinyl siding urgent?
Prompt service is appropriate when the looseness follows a storm, spans multiple panels, exposes the wall, allows water entry, leaves material hanging, or is accompanied by interior dampness or an unstable surface.
Read the exact guide
Official sources
- Quick Tips for Installing Vinyl SidingVinyl Siding Institute · Used as a concise cross-check for free panel movement, nailing-slot treatment, and avoiding face-nailing through siding.
- Vinyl Siding Installation ManualVinyl Siding Institute · Used for the explanation that vinyl panels should move freely, fasteners should not restrict the nailing hem, and product-specific instructions can vary.
Community feedback
Share a repair observation
Share a plain-text repair observation. Accepted observations are published automatically; this page may take a moment to update.