
On this page
Start here
Quick answer
An Admiral washing-machine smell is usually a moisture or laundry-residue problem, but the odor location and whether water drains normally determine the next check. Empty the washer, note whether the smell is musty, sour, sewage-like, chemical, or burning, and inspect only accessible surfaces for residue or standing water. Follow the exact Admiral model manual for an empty washer-cleaning cycle; use only one approved cleaner at a time, never mix bleach with another chemical, and leave the lid or door open afterward. If the odor returns after a correct cleaning cycle, comes from the drain, or is accompanied by smoke, burning, chemical fumes, a leak, abnormal heat, or unsafe operation, stop using the washer and arrange qualified appliance service.
Before you begin
Safety first
- This article covers ordinary observation, accessible wiping, and a model-approved empty cleaning cycle only. Do not perform electrical, plumbing, pump, hose, seal, cabinet, or other concealed repair work as a user test.
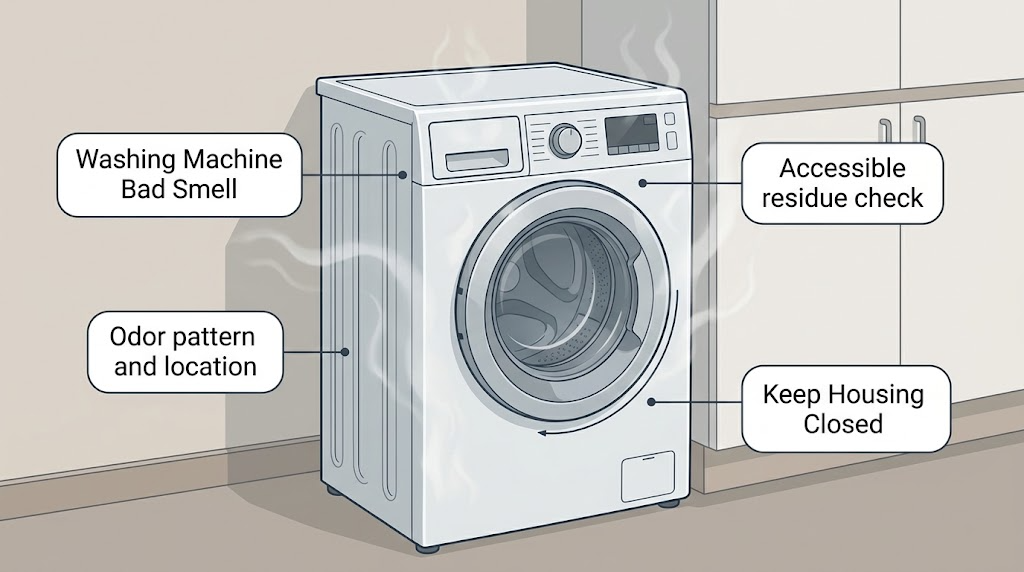
Work through in order
Diagnostic checks
Use only checks that match the exact appliance or system and its official guide.
-
Check 1
With the Admiral washer empty and stopped, identify when the odor is strongest and where it seems to originate: basket or tub, dispenser, lid or door seal area, drain area, or surrounding laundry space. Do not reach into a moving basket or remove panels.
Expected result: Record whether the odor is musty or sour, sewage-like, chemical or solvent-like, burning, or only present on damp clothes; note whether it is strongest after the washer sits, during draining, or immediately after a cycle.
Next step: Use the matching branch below and continue only with low-risk visual checks; stop using the washer for burning, solvent-like, smoke, or abnormal-heat symptoms.
Stop if: Stop for smoke, sparks, burning odor, solvent or fuel fumes, a hot cabinet, active leaking water, exposed wiring, or unexpected movement.
Why this matters
Why: A musty or sour smell supports a residue-and-moisture path, a sewage-like smell makes the drain path relevant, and a chemical or burning smell is not a routine-cleaning problem. Odor location alone does not identify a failed part.
-
Check 2
From ordinary standing access, inspect the basket, lid or door area, dispenser, and any visible soft seal or agitator surfaces. Wipe only accessible residue with a damp cloth when the washer is stopped; do not force a cap, pry a seal, or open a cabinet or service panel.
Expected result: Look for slimy film, detergent or softener deposits, lint, dark staining, trapped debris, pooled water, or a visibly damaged seal; also record when the area looks clean and dry.
Next step: Photograph the finding, clean only what the model manual permits, and proceed to the model-approved empty cleaning-cycle check if the odor is routine mustiness or sourness.
Stop if: Do not scrape, use sharp tools, dismantle the agitator or dispenser, touch wiring, or reach below the basket or seal.
Why this matters
Why: Visible residue or trapped debris makes cleaning and drying the first path. A clean visible surface does not rule out residue inside the tub, pump, hose, or drain path and does not prove a component failure.
-
Check 3
Read the exact Admiral use-and-care instructions and, if they authorize it, run the washer empty on its Clean Washer cycle or specified alternative using the approved washing-machine cleaner or liquid chlorine bleach exactly as directed. Never combine cleaners, add detergent unless the manual explicitly requires it, or put a cleaner tablet in a dispenser when the instructions say to place it in the basket.
Expected result: After the complete cycle and any manual-directed rinse, note whether the odor is gone, reduced, unchanged, or stronger; note whether the cycle completed normally and whether water drained fully.
Next step: Leave the lid or door open to dry when safe, do not repeat chemicals beyond the manual's schedule, and use the persistent-odor or drain branch if the symptom remains.
Stop if: Stop the cycle and keep clear for smoke, burning or chemical odor, abnormal heat, leaking water, unusual operation, or a control fault; do not add another product to counteract the first one.
Why this matters
Why: Improvement after a complete approved cleaning cycle supports residue or moisture buildup. An unchanged or quickly returning smell, incomplete cycle, or retained water shifts the issue toward a hidden residue, drain, installation, or component assessment rather than repeated chemical experiments.
-
Check 4
During a normal, supervised drain or rinse-and-spin observation, watch from a dry, safe position for water remaining in the basket, slow draining, a drain-area odor, gurgling, overflow, or water returning after the cycle. Do not remove the drain hose, open a pump cover, or reach into standing water.
Expected result: Record complete drainage with no drain odor versus retained water, slow flow, sewage-like odor, gurgling, overflow, or water that returns after the washer stops.
Next step: Stop repeated testing, keep the area dry, and provide the timing and photos to qualified appliance or plumbing service when drainage is abnormal.
Stop if: Stop for overflow, water near electrical equipment, sewage contamination, slipping risk, or any access that requires moving the washer or opening a panel.
Why this matters
Why: Normal drainage makes a blocked or poorly draining path less likely but does not clear hidden residue. Retained or returning water, sewage-like odor, gurgling, or overflow makes the drain hose, standpipe, pump, or household drain a professional inspection path.
-
Check 5
Review the recent laundry routine: detergent type and measured amount, frequent cold-only cycles, loads left sitting, and whether the lid or door is left open between uses when safe. Change only routine settings allowed by the manual and garment labels, then observe whether the smell returns on later loads.
Expected result: Note whether the odor follows excess detergent, fabric softener, cold-only use, delayed unloading, a damp closed washer, or no identifiable routine; note whether prompt unloading and ventilation reduce it.
Next step: Keep the washer ventilated, remove finished loads promptly, follow the detergent and manual instructions, and arrange service when the odor persists or returns despite the corrected routine.
Stop if: Do not compensate with extra detergent, unapproved chemicals, repeated hot cycles that conflict with the manual, or any disassembly.
Why this matters
Why: A clear routine correlation supports residue or moisture management, while no improvement after correct dosing, prompt unloading, ventilation, and an approved cleaning cycle points toward a concealed or drain-related cause.
Use your observations
Decision map
Find the observation that best matches what you see, then follow the next safe action.
-
PATH 01Next step
What you see
The odor is musty or sour, visible residue or dampness is present, drainage is normal, and the odor improves after the model-approved empty cleaning cycle.
Do this next
Maintain the manual's cleaning interval, use the correct measured HE detergent, remove loads promptly, and leave the lid or door open to dry when safe.
Why this path and its safety boundary
Why it matters: Residue and moisture management is the leading supported path, but improvement does not prove that all hidden surfaces are clean.
-
PATH 02Next step
What you see
The odor is unchanged or quickly returns after a complete model-approved cleaning cycle and a reasonable drying and ventilation period.
Do this next
Stop repeated cleaner experiments and arrange qualified appliance repair assessment, providing the odor pattern, cycle result, model information, and photos.
Why this path and its safety boundary
Why it matters: Hidden tub, pump, hose, dispenser, seal, drain, or installation conditions remain possible; the smell alone cannot select a replacement part.
-
PATH 03Next step
What you see
Water remains, drains slowly, returns after the cycle, overflows, gurgles, or produces a sewage-like smell.
Do this next
Stop use and request qualified appliance or plumbing assessment; do not move the washer, remove hoses, open a pump cover, or test with added water.
Why this path and its safety boundary
Why it matters: The drain path or household plumbing becomes a priority, and continued cycles could spread water or contamination.
-
PATH 04Next step
What you see
The smell is burning, electrical, fuel-like, or strongly chemical, or there is smoke, abnormal heat, a leak, sparking, or unexpected operation.
Do this next
Stop using the washer, keep people away, and arrange qualified appliance or electrical assessment. Disconnect power only if the path and plug are dry and safe to reach; otherwise keep clear.
Why this path and its safety boundary
Why it matters: This is a safety or equipment-fault condition, not a washer-cleaning task.
-
PATH 05Next step
What you see
The model manual is unavailable, the control labels do not identify a cleaning method, or the required access would involve disassembly, moving the washer, standing water, or energized parts.
Do this next
Keep the washer empty and ventilated when safe, locate the exact model information, and ask qualified appliance service to confirm the approved cleaning and inspection path.
Why this path and its safety boundary
Why it matters: A generic cleaning recipe would risk using the wrong chemical or procedure for this Admiral model.
Helpful context
Understand the symptom
The smell is a clue, not a failed-part diagnosis
Detergent, fabric-softener, soil, and moisture can accumulate in the basket, tub, dispenser, hoses, or drain path. A musty or sour odor often points toward damp residue; a sewage-like odor makes the drain path or standpipe worth checking; a burning or solvent-like odor is a stop condition. The visible basket can look clean while residue remains in less visible areas, so do not infer a failed pump or seal from smell alone.
Use the Admiral manual before choosing a cleaning cycle
Admiral washers have varied controls and designs. Whirlpool's support material identifies Admiral within its brand support context, while its washer-care guidance repeatedly defers to the model's use-and-care instructions for the cleaning method. If the control panel has no Clean Washer cycle, do not guess at a substitute: use the cycle and cleaner procedure specified for that model.
Drying and detergent habits prevent recurrence
After a wash, remove the load promptly and leave the lid or door open when the washer is safe to ventilate. Use the required HE detergent and the amount stated by its instructions and by the washer manual; excess detergent can leave residue. A monthly or roughly 30-cycle cleaning interval is a general maintenance reference, not permission to override a model-specific instruction.
Safety boundary
Stop conditions
- Do not mix bleach, washer cleaner, vinegar, detergent, or other chemicals; use only the single product and method authorized by the exact model manual.
- Do not open panels, reach below the basket or seal, remove hoses, open a pump cover, force an agitator or dispenser, or move the washer as a smell test.
- Stop for smoke, sparks, burning or fuel-like odor, strong chemical fumes, abnormal heat, unexpected movement, active leaking, overflow, sewage contamination, or water near electrical equipment.
- Do not keep running cycles when drainage is abnormal or the odor returns after a complete approved cleaning cycle.
When checks do not resolve it
Need a professional?
Arrange qualified appliance repair when the smell persists or returns after a complete model-approved cleaning cycle and drying period, when drainage is abnormal, or when inspection would require disassembly or moving the washer. Use qualified electrical or plumbing help when the odor or observation points outside ordinary washer care. Provide the exact model, odor description, location, timing, cleaning method used, cycle result, drainage observations, and photos.
Safety scope: This article covers ordinary observation, accessible wiping, and a model-approved empty cleaning cycle only. Do not perform electrical, plumbing, pump, hose, seal, cabinet, or other concealed repair work as a user test.
Common questions
FAQ
Why does my Admiral washer smell musty even when the basket looks clean?
Residue and moisture can remain in less visible areas such as the tub, dispenser, pump, hoses, seal, or drain path. Inspect accessible surfaces, run only the model-approved empty cleaning procedure, and arrange service if the smell persists or returns.
Can I pour bleach and washer cleaner together to remove the smell?
No. Use only the single product and method authorized by the exact Admiral model manual. Do not mix bleach, washer cleaner, vinegar, detergent, or other chemicals.
What if the odor smells like sewage?
Observe whether water remains, drains slowly, returns, gurgles, or overflows. Stop repeated cycles and arrange qualified appliance or plumbing assessment; do not remove hoses or open a pump cover as a test.
When is a bad smell an emergency rather than a cleaning issue?
Stop using the washer for smoke, sparks, burning or fuel-like odor, strong chemical fumes, abnormal heat, active leaking, overflow, unexpected movement, or water near electrical equipment. Keep clear and arrange qualified assessment.
Read the exact guide
Official sources
- How to clean a washing machine: A 6-step guideWhirlpool · Official general washer-care guidance used for accessible residue checks, cleaning-cycle precautions, ventilation, prompt unloading, and the requirement to consult the owner's manual.
- Removing Odors from the Interior of a Washer - Product Help | WhirlpoolWhirlpool · Official Whirlpool guidance for washer odor prevention and cleaning; Admiral controls and approved products can vary by model, so the exact Admiral use-and-care guide controls.
- Canada | Whirlpool CorporationWhirlpool Corporation · Official corporate history used only to explain why Whirlpool washer-care guidance may be relevant background for North American Admiral support; it does not establish a universal Admiral model procedure.
Community feedback
Share a repair observation
Share a plain-text repair observation. Accepted observations are published automatically; this page may take a moment to update.