
On this page
Start here
Quick answer
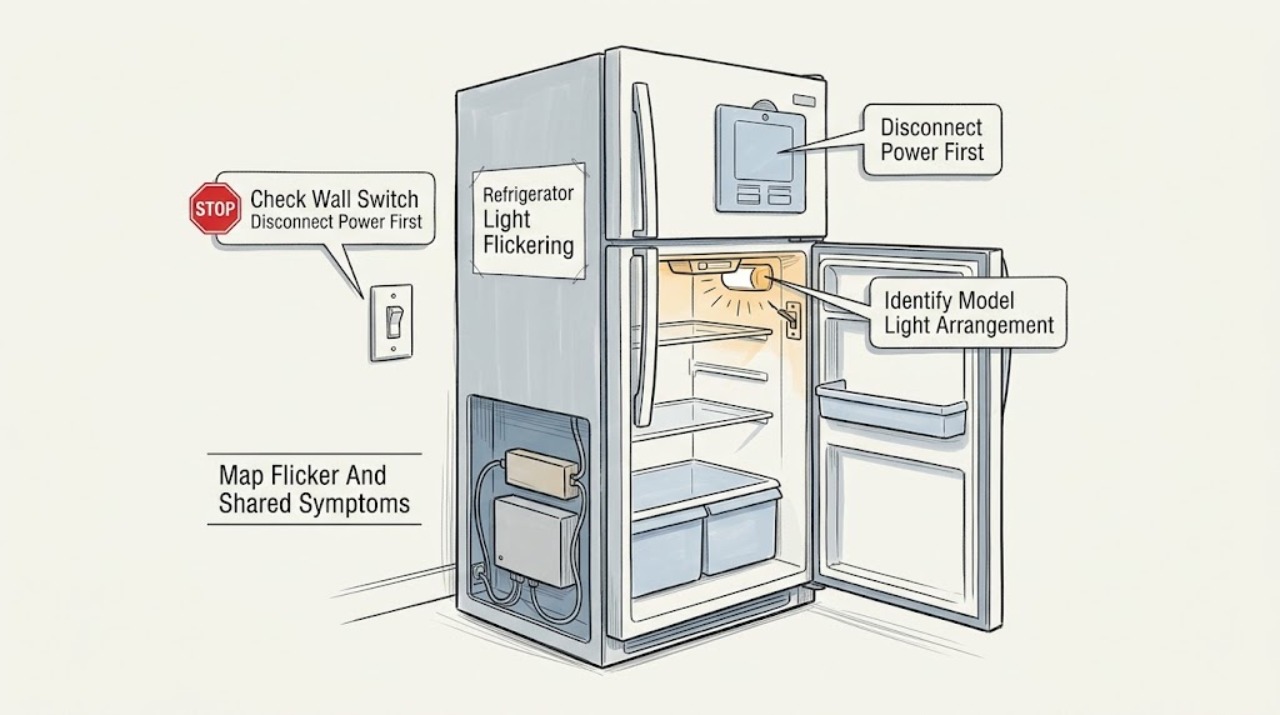
If a Danby refrigerator light flickers, first note whether it flickers only as the door reaches a particular position or whether the display, compressor, cooling, or other lights also reset. Danby uses different refrigerator light arrangements: some manuals describe an interior LED that turns on with the door and off when it closes, some use a manual light switch, and some permit a model-specific LED-strip replacement only after unplugging. With the refrigerator dry and safely disconnected, check only that the door is not obstructed, the visible gasket and switch area are clean, and any user-accessible lamp cover or LED component is seated as the exact model manual shows. A flicker that follows door movement points toward the door switch, alignment, or accessible light connection; a flicker shared by the display or other equipment points toward supply or control symptoms. Do not probe the socket, open a control or LED module, bypass a door switch, or perform a live test. If the light keeps flickering, the housing is damaged, cooling or controls are affected, or the source is internal wiring or a sealed LED module, leave the refrigerator in service only if it is otherwise safe and arrange qualified Danby service.
Before you begin
Safety first
- The user may observe timing, remove visible door obstructions, clean and dry an accessible gasket area, verify a dry plug and breaker from a safe position, and perform only an exact-manual light step that is explicitly user-accessible after unplugging. Qualified service must handle sealed LED modules, door switches, drivers, control boards, wiring, receptacle diagnosis, live testing, and any panel or door disassembly.
Work through in order
Diagnostic checks
Use only checks that match the exact appliance or system and its official guide.
-
Check 1
From a dry position, open and close the refrigerator door normally and observe the interior light without touching the switch or lamp. Note whether the flicker follows a particular door angle, occurs only while the door is moving, continues with the door fully open, or coincides with a display reset, compressor interruption, or another light changing.
Expected result: The flicker is door-position dependent, continuous with the door open, limited to the interior light, or accompanied by other power or cooling symptoms.
Next step: Follow the matching visible check below. If other functions reset, the cord or outlet is damaged, or the flicker is accompanied by sparking or burning odor, stop using the refrigerator and arrange qualified service.
Stop if: Do not repeatedly swing the door, hold the door switch down, or operate a flickering appliance with electrical warning signs.
Why this matters
Why: Door-position timing makes the door switch, alignment, or local light connection more likely; a continuous light-only flicker suggests the light module or its local supply. Shared resets or cooling interruptions broaden the issue to supply, control, or wiring and are not an LED-only diagnosis.
-
Check 2
With the refrigerator unplugged only when the plug and area are dry and safely reachable, inspect the visible door edge, gasket, and switch area for food residue, a loose package, or an obstruction that prevents the door from reaching its normal closed position. Clean the sealing area with a soft damp cloth and dry it as the exact manual permits. Do not remove the switch or change hinge alignment.
Expected result: The door is held open, the switch is visibly dirty or misaligned, the gasket does not contact the cabinet, or the door and switch area are clean and the flicker remains.
Next step: Remove only an obvious obstruction and dry the accessible sealing area. If the door still does not close or the flicker returns with a clean, unobstructed door, arrange service rather than removing a switch or hinge.
Stop if: Do not pry the door switch, tape it down, remove the gasket, or adjust hinges while the appliance is connected.
Why this matters
Why: A door that does not reach its normal position can repeatedly actuate a door-operated light or leave the switch at an unstable point. A clean, correctly closing door with a continuing flicker makes the light module, connector, or control path more likely.
-
Check 3
Use the exact model manual to identify whether the refrigerator has a door-operated LED, a manual light switch, an incandescent lamp, or an accessible LED strip. If the manual expressly allows a user-accessible light replacement, unplug the refrigerator first from a dry, safe position, wait for the lamp to cool, and inspect only the cover, connector, or lamp specified there. Do not generalize a DFF100/DFF123 LED-strip procedure to another Danby model.
Expected result: The model manual identifies a removable lamp or LED strip, a manual switch, a sealed/non-user-serviceable LED, or no matching light procedure is available.
Next step: Correct only the model-documented, unplugged, accessible seating or replacement step once. If the light still flickers, the cover or connector is damaged, or the manual routes replacement to service, leave it disconnected and contact Danby service.
Stop if: Do not probe contacts, substitute a lamp or LED strip, splice wires, or open a sealed light module.
Why this matters
Why: A clearly documented removable light may have a loose seating or failed element, while a manual switch or sealed module follows a different repair path. No matching procedure means the light should be treated as internal rather than improvised.
-
Check 4
From a safe position, note whether the refrigerator display, temperature controls, compressor operation, or other lights in the room dim or reset at the same time as the interior light. Check only for a fully inserted, dry plug and an obviously tripped household breaker; do not open the receptacle or perform electrical measurements.
Expected result: Only the interior light flickers, the display or cooling also resets, the breaker trips, the cord or plug is damaged, or the wider power symptoms are absent.
Next step: If the supply is safe and only the light is affected, use the model-specific light branch. If other functions are affected, leave the refrigerator off and arrange qualified appliance or electrical service.
Stop if: Do not reset a tripping breaker repeatedly, use an extension cord to bypass the issue, or touch a wet or warm plug or outlet.
Why this matters
Why: An isolated light symptom keeps the local lamp, switch, connector, or light-control path in focus. Shared resets or a tripping breaker suggest a supply, cord, control, or wiring problem that cannot be safely separated by changing the lamp.
-
Check 5
If the light continues to flicker after the documented accessible check, or if the light housing, switch, connector, control, or wiring is not user-accessible, stop troubleshooting. Record the model, whether the door position changes the flicker, whether the display or cooling changes, and whether any breaker or safety symptom occurred. Use Danby's model-specific support and service route.
Expected result: The flicker persists, the light is sealed, the housing or connector is damaged, the door switch is unreliable, or the refrigerator has shared power/cooling symptoms.
Next step: Leave the unit disconnected if electrically unsafe and arrange qualified Danby service. If refrigeration remains stable and there is no hazard, service is still appropriate for a persistent flicker or damaged light assembly.
Stop if: Do not remove control covers, disassemble the door or LED assembly, bypass the switch, or perform live electrical tests.
Why this matters
Why: The fault may involve an internal LED driver, door switch, control board, harness, or household supply. The symptom does not identify a safe part or authorize a live test.
Use your observations
Decision map
Find the observation that best matches what you see, then follow the next safe action.
-
PATH 01Safety boundary
What you see
The light flickers only while the door moves or when it is nearly closed, and the display and cooling remain stable.
Do this next
Remove only a visible door obstruction and clean/dry the accessible gasket area. If the timing persists, arrange service for the switch, alignment, or light path.
Why this path and its safety boundary
Why it matters: A door-operated switch, door alignment, gasket obstruction, or local light connection is more likely than a whole-appliance supply failure. Danby documents door-controlled lighting on some models but not all.
Safety stop: Do not hold the switch closed or adjust hinges or wiring yourself.
-
PATH 02Safety boundary
What you see
The interior light flickers with the door fully open, while cooling, display, and household power appear normal.
Do this next
Use the exact manual to determine whether an unplugged, accessible light step is allowed. If there is no matching procedure or the flicker remains, arrange Danby service.
Why this path and its safety boundary
Why it matters: A light strip, lamp, driver, connector, or local light-control path is more likely. On some Danby models, a burned-out LED does not affect refrigeration, but the correct replacement/access rule is model-specific.
Safety stop: Do not substitute parts, probe contacts, or open a sealed LED module.
-
PATH 03Safety boundary
What you see
The light flicker occurs with a display reset, compressor interruption, other room-light changes, a tripped breaker, or a damaged cord/plug.
Do this next
Stop use, isolate power only from a dry safe position, and arrange qualified appliance or electrical service. Provide the timing and any display/cooling changes.
Why this path and its safety boundary
Why it matters: The problem may involve household supply, cord, control, or internal wiring rather than the interior LED alone. A lamp replacement cannot safely diagnose those symptoms.
Safety stop: Do not reset a tripping breaker repeatedly or perform outlet, board, or live wiring tests.
-
PATH 04Safety boundary
What you see
The exact model uses a manual light switch, a sealed LED, or a procedure that routes light replacement to certified service, or the available manual does not match the appliance.
Do this next
Leave the light assembly closed and arrange model-specific Danby service. The refrigerator may continue cooling on some models when the light is failed, but a persistent flicker still warrants inspection.
Why this path and its safety boundary
Why it matters: The light arrangement is not interchangeable across Danby refrigerators. An unsupported procedure could damage the housing or expose energized contacts.
Safety stop: Do not apply a different model's LED-strip or lamp instructions.
Helpful context
Understand the symptom
A flicker is a timing clue
Watch the light without touching the housing. Does it flicker only while the door is moving, when the door is almost closed, or continuously while the door is open? Does the display dim, the compressor stop, or another appliance on the same circuit change at the same time? Danby refrigerators are not uniform: one official manual describes a door-operated interior LED, another has a manually operated switch, and some models use a replaceable LED strip. Record the complete model number before selecting a check or part.
Keep the light and power boundary intact
Do not test a wet or energized light socket, hold a door switch closed, insert a tool into a light port, or remove the rear control cover. If the cord, plug, outlet, light housing, or nearby floor is wet, isolate power only from a safe, dry position. Danby manuals instruct unplugging before cleaning or light work, and at least one current manual routes a failed interior LED to a certified service technician. Stop immediately for burning odor, smoke, sparking, a damaged cord, repeated breaker trips, or cooling and control symptoms.
The light can fail without stopping refrigeration
Danby's DAR110 manual states that refrigerator operation is not affected if its interior LED has burned out. That does not make a flickering light harmless: a loose or failing light module can be separate from cooling, while a flicker accompanied by display resets, compressor interruptions, or other electrical behavior suggests a broader supply or control symptom. Treat those as different branches and do not infer a particular board, wire, or switch from the light alone.
Safety boundary
Stop conditions
- Stop immediately for sparking, smoke, burning odor, a damaged or wet cord/plug/outlet, repeated breaker trips, or water near the light or electrical area.
- Unplug only from a dry, safe position before any model-authorized light or cleaning step; otherwise isolate the circuit safely and keep clear.
- Do not bypass the door switch, hold it closed, probe contacts, splice wiring, remove control covers, or perform live voltage tests.
- Do not apply another Danby model's light replacement or indicator procedure, and do not order an LED, lamp, driver, switch, or board from the symptom alone.
- If the flicker accompanies display, compressor, cooling, or wider household power changes, treat it as an electrical/control service issue rather than an LED-only fault.
Only after diagnosis
Potential parts
- model-specific interior LED strip or lamp
Consider only if the exact manual identifies a user-accessible light component and the symptom remains isolated to that light after the documented unplugged inspection; a flicker can instead be a switch, connector, driver, or supply issue.
Confirm the complete Danby model and approved light type; do not substitute a strip or lamp from another refrigerator. - door switch or door-actuation component
Consider only after service confirms that flicker follows door position and the door, gasket, and visible switch area are correctly aligned and clean.
The switch and access vary by model; never bypass it or order a part from timing alone. - LED driver, light housing, or connector
Consider only after qualified diagnosis confirms a local light-path fault when the exact-model light is seated and the wider power and cooling functions are stable.
Internal light modules and connectors may be sealed or model-specific and can require panel access; professional diagnosis is required. - control board or power wiring component
Consider only when the light flicker accompanies display, compressor, cooling, breaker, or other shared-power symptoms and service confirms a control or wiring fault.
Do not infer or replace a board or harness from a flicker; confirm exact model fit and electrical diagnosis through qualified service.
When checks do not resolve it
Need a professional?
Arrange qualified Danby service for a persistent flicker after the exact model's accessible check, a sealed or damaged LED/light housing, an unreliable door switch, display or cooling interruptions, a damaged cord or plug, sparking, burning odor, a tripped breaker, or any work involving internal LED drivers, controls, wiring, or live electrical diagnosis. A burned-out light may not stop cooling on some models, but a flicker should not be ignored when it is recurring or accompanied by other electrical symptoms.
Safety scope: The user may observe timing, remove visible door obstructions, clean and dry an accessible gasket area, verify a dry plug and breaker from a safe position, and perform only an exact-manual light step that is explicitly user-accessible after unplugging. Qualified service must handle sealed LED modules, door switches, drivers, control boards, wiring, receptacle diagnosis, live testing, and any panel or door disassembly.
Common questions
FAQ
Why does my Danby refrigerator light flicker when I move the door?
If the flicker follows a particular door angle while the display and cooling remain stable, a door-operated switch, door alignment, gasket obstruction, or local light connection is more likely. Remove only a visible obstruction and clean/dry the gasket area. If the timing persists, arrange service rather than holding the switch closed or adjusting the hinge.
Can a Danby refrigerator keep cooling if its interior light flickers or fails?
On the DAR110 family, Danby says refrigerator function is not affected when the interior LED has burned out. That does not explain a recurring flicker or cover an electrical warning: if the display, compressor, cooling, or household power changes too, stop and arrange service.
Can I replace the LED light in a Danby refrigerator?
Only if the exact Danby manual explicitly provides an accessible replacement procedure. The DFF100/DFF123 manual gives a model-specific unplugged LED-strip procedure, while the DAR110 manual routes a burned-out LED to certified service. Do not apply one model's instructions or light type to another refrigerator.
What if the display flickers along with the Danby refrigerator light?
A shared display reset, compressor interruption, breaker trip, or room-light change broadens the issue beyond the interior LED to a supply, cord, control, or wiring symptom. Do not replace the lamp to test that theory. Isolate power safely and arrange qualified appliance or electrical service.
Should I test the Danby refrigerator light socket with a meter?
No. Do not probe a socket, open the control cover, bypass the door switch, or perform a live test. Use only an exact-manual, unplugged light step that is explicitly user-accessible; internal LED drivers, wiring, controls, and supply diagnosis belong to qualified service.
Read the exact guide
Official sources
- OWNER'S MANUALDanby · Used as evidence that Danby refrigerator controls and interior-light arrangements differ by model; its control-panel and fault indicators must not be generalized to an unidentified refrigerator.
- REFRIGERATORDanby · Model-family evidence that the interior LED is door-operated, that a burned-out light does not affect refrigerator function, and that cleaning and door/gasket conditions are model-specific. It does not establish a universal flicker or switch repair.
- Product ManualsDanby Appliances - USA · Supports retrieving the correct owner manual by model number before selecting an interior-light or control procedure; the page itself does not define a universal flicker repair.
- OWNER'S MANUALDanby · Model-family evidence for a documented unplugged LED-strip procedure, temperature controls, door/gasket conditions, and the boundary against sharp tools or unverified parts. It is not a universal Danby light procedure.
Community feedback
Share a repair observation
Share a plain-text repair observation. Accepted observations are published automatically; this page may take a moment to update.