
On this page
Start here
Quick answer
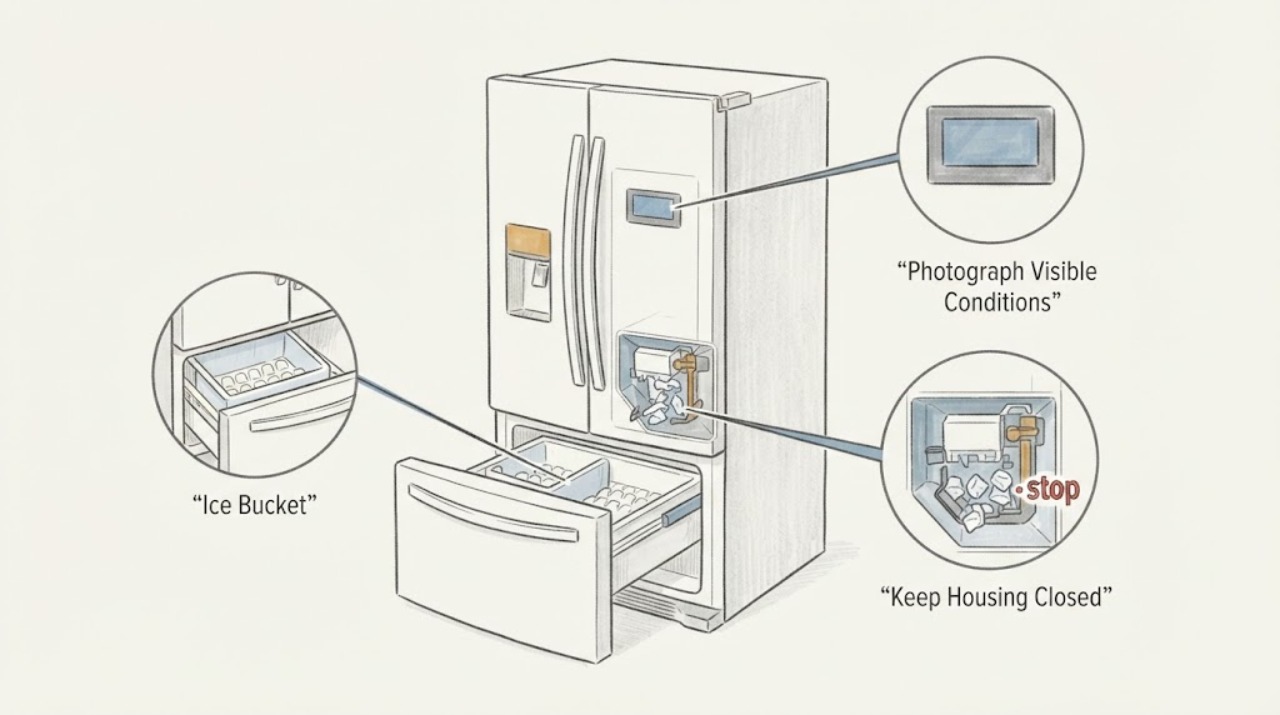
Do not identify a large plastic piece by shape alone or snap it back into the ice maker. For the Electrolux FPFU19F8WF7, save the piece, photograph it beside the ice bin and the visible ice-maker area, and stop using the ice maker until the piece's origin is confirmed. The opened Electrolux material identifies the FPFU19F8WF single-door freezer family and provides general ice-maker controls and startup guidance, but it does not identify this loose part or prove that the FPFU19F8WF7 suffix has a particular replacement piece. The exact Reddit report for this model contains guesses that the piece may relate to the ice-level sensing arm, but those comments are disputed and are not a parts identification. Use only the normal ice-maker off control shown in the matching manual; do not reach into a moving mechanism, force the arm or bin, glue the piece, or run a harvest test. If a visible component is cracked, the bin cannot seat normally, the ice maker continues making ice without a normal stop signal, or the piece's origin is not clear, keep ice making off and arrange Electrolux or qualified appliance service, especially because the freezer is new and may have an installation or warranty path.
Before you begin
Safety first
- Owner checks are limited to using the normal ice-maker off control, preserving the fragment, photographing the bin and visible mechanism, confirming the full model/serial, and checking ordinary bin fit without force. Do not reach into moving parts, rotate the ejector or level arm, force a stuck bin, glue or modify the plastic, remove panels, enter service mode, apply external power, or perform live electrical tests.
Work through in order
Diagnostic checks
Use only checks that match the exact appliance or system and its official guide.
-
Check 1
Stop the ice maker using only its normal control or signal-arm position shown in the matching Electrolux manual. Keep hands away from the mechanism, do not rotate or hold the arm, and do not run a forced harvest or dispensing test. Remove only loose ice from the bin if it can be done without touching the ice-maker mechanism; set the unidentified plastic piece aside in a clean container.
Expected result: The ice maker has a normal off control, the control or arm is broken or cannot be positioned normally, the bin is stuck, or the ice maker has already continued cycling after the piece appeared.
Next step: Keep ice making off and continue with photographs and external inspection. If the control, arm, bin, or mechanism is damaged or cannot be safely placed in its normal position, arrange qualified service without another cycle.
Stop if: Do not bypass the level signal, hold the arm down, rotate a gear or ejector, force a stuck bin, glue the fragment, or reach into a moving ice maker.
Why this matters
Why: Electrolux documents the normal on/off control and says the ice maker can stop when the bin is full. A loose component can affect the stop signal or another moving function, but the observation does not prove which part failed.
-
Check 2
Confirm the full rating-label identity and document the event before moving anything: record FPFU19F8WF7, serial information, market, whether the freezer is new or recently delivered, when the piece was found, and whether ice production or bin shutoff changed. Photograph all sides of the piece, the ice bin, the visible ice-maker housing, and any plainly visible matching break without removing panels.
Expected result: The piece is the only evidence; a visible crack or missing edge matches the ice maker or bin; the piece looks like packaging or a removable accessory; or no matching break can be seen from ordinary access.
Next step: Give the complete model, photos, fragment, and timeline to Electrolux or the installer/warranty provider. Keep the ice maker off while the piece's origin is unresolved.
Stop if: Do not remove the ice-maker cover, inner freezer panel, wiring, or bin guides to search for the missing attachment point.
Why this matters
Why: Electrolux's model-support path depends on the product identity, and the same-model public report shows why the part cannot be identified safely from a loose shape or a comment. A visible match can guide a service call but does not establish fit, function, or safe reattachment.
-
Check 3
With the freezer and mechanism stopped, inspect only the accessible bin and surrounding area: check whether the bin seats and removes normally, whether a loose fragment is mixed with ice, whether any visible ice-maker cover or level-control piece is cracked, and whether loose plastic or broken edges could enter the ice path. Do not force the bin, scrape ice with a tool, or touch the ejector or sensing mechanism.
Expected result: The bin seats normally and no matching damage is visible; the bin or a visible accessory is cracked; the ice-maker housing has a missing/broken area; or the piece cannot be matched from outside.
Next step: Discard ice that may have contacted the unknown fragment and leave the ice maker off. For a cracked bin, damaged visible part, abnormal fit, or unresolved origin, request model-specific diagnosis and replacement guidance.
Stop if: Do not chip, melt, drill, sand, glue, tape, or snap the plastic; do not reach behind the ice maker or remove an internal cover.
Why this matters
Why: A normal bin fit does not prove that an internal control piece is intact. A visible crack or missing piece makes continued ice production an avoidable risk, but the fragment still cannot be named without model-specific documentation or professional inspection.
-
Check 4
Compare the freezer's ordinary user controls and ice-maker status with the matching manual: identify whether the ice maker can be switched off, whether the bin is meant to sit fully rearward or in a defined position, and whether the freezer is cooling normally. Do not use a generic control sequence from another Electrolux or Frigidaire model and do not force a startup cycle to see whether it still makes ice.
Expected result: The manual matches FPFU19F8WF7 and documents the control/bin arrangement; only generic family information is available; the freezer is not cooling normally; or the ice maker has no normal off control accessible to the owner.
Next step: Use the exact manual or Electrolux support response for the suffix. If cooling, power, water, or control behavior is abnormal, address that broader service issue rather than repeatedly resetting the ice maker.
Stop if: Do not add an unapproved water connection, bypass a full-bin signal, enter service mode, apply external power, or test live wiring.
Why this matters
Why: Electrolux says ice-maker controls, water connection, startup time, and bin positioning are model/configuration dependent. The public family guidance cannot prove the function of an unidentified plastic part or authorize a forced test.
-
Check 5
If the freezer is new or recently installed, preserve the delivery and warranty context instead of treating the fragment as a normal adjustment. Keep the piece, packaging if available, purchase/delivery record, model label, and photographs together. Ask the installer or Electrolux service provider to identify the component from the exact model documentation and inspect the ice-maker assembly without the owner opening it.
Expected result: The piece appeared in a new appliance, damage is visible, packaging may have been left in the bin, or the timing and origin are unknown.
Next step: Request an exact-model service or warranty assessment and provide the fragment rather than ordering a generic ice-maker part. Keep ice production off until the provider confirms the assembly is safe.
Stop if: Do not discard the fragment before documentation, accept a guessed part number, or operate the ice maker merely to preserve a warranty claim.
Why this matters
Why: A new-appliance loose part can be an installation/transport or manufacturing issue, but the evidence does not assign responsibility or identify a replacement component. Keeping the fragment and documentation preserves a safer service and warranty decision.
Use your observations
Decision map
Find the observation that best matches what you see, then follow the next safe action.
-
PATH 01Next step
What you see
The piece is loose, its origin is unknown, or the ice maker's normal stop/level control may be affected, even though the freezer still cools normally.
Do this next
Leave ice making off, preserve the piece and photographs, and obtain exact-model Electrolux or qualified appliance identification before using the mechanism again.
Why this path and its safety boundary
Why it matters: The freezer symptom is not ordinary no-ice troubleshooting. A loose part can be an accessory or a broken moving/control piece, and appearance alone cannot distinguish them.
-
PATH 02Next step
What you see
The bin is cracked, cannot seat normally, a visible ice-maker component has a matching break, or loose plastic could enter the ice path.
Do this next
Discard potentially contacted ice, keep the ice maker off, and arrange model-specific service or warranty assessment for the bin/ice-maker assembly.
Why this path and its safety boundary
Why it matters: This is a physical damage and food-contact concern, not a setting issue. The visible match can justify service but does not justify gluing, clipping, or reinstalling the part by guesswork.
-
PATH 03Next step
What you see
The piece is clearly packaging or a removable bin accessory, the bin and visible mechanism are intact, and the exact manual confirms the ice maker can be safely kept off until startup or installation is complete.
Do this next
Keep the piece out of the ice path, follow the exact manual's installation/startup instructions, and contact Electrolux if the part is not explicitly identified or ice production/control behavior is abnormal.
Why this path and its safety boundary
Why it matters: The piece is less likely to be a broken internal control, but a visual assumption is still not a fitment confirmation. The model manual, not a generic family diagram, decides whether an accessory belongs in the bin.
-
PATH 04Next step
What you see
The freezer is not cooling, the ice maker continues cycling without a normal stop signal, the bin fills unexpectedly, the control does not respond, or a water leak/electrical warning is present.
Do this next
Stop using the ice maker and arrange qualified Electrolux appliance service; isolate water/power only from a safe dry position when needed. Escalate urgently for uncontrolled water, smoke, arcing, burning odor, or a damaged cord.
Why this path and its safety boundary
Why it matters: The loose part may be associated with a broader cooling, control, water, or mechanical fault. Repeated ice-maker resets cannot safely diagnose it.
-
PATH 05Next step
What you see
The piece cannot be matched from ordinary access, the exact suffix documentation is unavailable, or the only proposed identification comes from a photograph, a generic parts diagram, or a same-model community guess.
Do this next
Return the fragment and full model/serial details to Electrolux or a qualified appliance technician for identification. Keep ice making off rather than testing an unknown component.
Why this path and its safety boundary
Why it matters: The component identity remains unresolved. The exact Reddit thread includes an ice-level-arm hypothesis but no authoritative confirmation, so it cannot support a part number or a reattachment instruction.
Helpful context
Understand the symptom
A plastic fragment in an ice bucket is a physical-component identity problem, not ordinary no-ice troubleshooting. The part may be a removable bin accessory, a level-sensing or stop component, packaging/transport material, or a broken piece from the ice-maker assembly. A photograph or a similar-looking online part is not enough to distinguish those possibilities, so preserve the fragment and do not reattach it by trial and error.
Electrolux's opened warranty material names the FPFU19F8WF single-door freezer family, while the task supplies the full FPFU19F8WF7 identity. The available public Electrolux guidance is not a suffix-specific exploded diagram. Treat the suffix as the service identity to provide to Electrolux, but do not infer a part number, material, or exact mounting point from the family name.
Only after diagnosis
Potential parts
- ice-maker assembly or ice-level sensing component
Consider this class only if Electrolux or a qualified technician confirms that the fragment belongs to a broken ice-maker or level-control mechanism; the loose shape alone does not establish the part.
Confirm the exact FPFU19F8WF7 model, market, revision, and manufacturer fit information before any part decision. Do not use a generic family match.
When checks do not resolve it
Need a professional?
Contact Electrolux or a qualified appliance technician for any unidentified loose component, visible crack, abnormal bin fit, continued ice-maker cycling, unresolved model-specific identification, cooling/water/electrical symptom, or any inspection requiring internal access. For a new appliance, include the installer or warranty provider in the service path.
Safety scope: Owner checks are limited to using the normal ice-maker off control, preserving the fragment, photographing the bin and visible mechanism, confirming the full model/serial, and checking ordinary bin fit without force. Do not reach into moving parts, rotate the ejector or level arm, force a stuck bin, glue or modify the plastic, remove panels, enter service mode, apply external power, or perform live electrical tests.
Have this ready
- Provide FPFU19F8WF7, serial and market information, delivery/installation date, photographs of all sides of the fragment and ice bucket, any visible matching break, control/bin position, whether ice production changed, freezer cooling status, and the exact time the piece was found.
Common questions
FAQ
Can I identify the plastic piece by comparing it with a photo online?
No. A photo can help a technician, but it cannot distinguish packaging, a removable bin accessory, or a broken sensing/moving part. Preserve the piece and have the exact FPFU19F8WF7 documentation or a qualified provider identify it.
Can I keep using the Electrolux freezer if it still makes ice?
Keep the ice maker off until the piece's origin and the stop/level mechanism are confirmed. Continuing production could involve an unknown control or moving-part condition; the freezer's cooling function can be assessed separately without running the ice maker.
Is the piece definitely the ice-level arm?
It is not definite. A same-model Reddit reply proposed that explanation, but the thread contains conflicting guesses and no authoritative confirmation. Do not reattach, bend, glue, or bypass an arm based on that discussion.
What should I give Electrolux or the installer?
Give the full model and serial, market, delivery date, photos of the fragment and ice bin, any visible damage, the ice-maker control position, whether the bin seats normally, and whether ice production or freezer cooling changed. Keep the loose piece for inspection.
Read the exact guide
Official sources
- Refrigerators - How do I use my ice maker in my Top-Freezer refrigerator?Electrolux Owner Support · Official symptom-level Electrolux ice-maker guidance. It supports normal on/off and bin handling concepts, but is not a parts-identification document and is not claimed as suffix-specific to FPFU19F8WF7.
- How to Fix Ice Maker in Your Single-Door FreezerElectrolux Owner Support · Official Electrolux single-door freezer help page. It is relevant to the task's FPFU19F8WF7 identity and freezer/ice-maker scope, but the opened page contains no suffix-specific parts diagram and does not identify the loose plastic piece.
- Large plastic piece found in my new freezer's ice bucket?!Reddit r/appliancerepair · Exact Reddit post for the same reported Electrolux FPFU19F8WF7 model and loose plastic-in-ice-bucket symptom. Community replies are speculative and conflicting; they support the need for uncertainty and safe escalation, not component identification.
- Frigidaire Single Door Refrigerators and Single Door FreezersElectrolux / Frigidaire · Official Electrolux-hosted Frigidaire warranty document. It names the FPFU19F8WF single-door freezer family; the opened PDF does not print the task's FPFU19F8WF7 suffix, so it must not be used to infer suffix-specific coverage, part identity, or responsibility.
Community feedback
Share a repair observation
Share a plain-text repair observation. Accepted observations are published automatically; this page may take a moment to update.