
On this page
Start here
Quick answer
Start with the visible closure path: remove food, bins, ice, or frost that prevents the Frigidaire freezer door or lid from closing, then check that the unit is level and that the gasket is clean and continuous. Frigidaire says a non-sealing door can make temperature unstable, and its freezer guidance supports a gentle dollar-bill resistance check and warm soapy water on the gasket. A torn, cracked, warped, or poorly fitted gasket, a door or lid that is misaligned, or heavy frost needs the exact model manual or qualified service. Do not heat or reshape the gasket, force the door, remove hinges, or open the cabinet.
Before you begin
Safety first
- Limit this guide to visible obstruction, level/closure observation, accessible gasket cleaning, and the gentle seal check described by Frigidaire. Do not heat or reshape the gasket, force the door, use sharp tools on frost, remove hinges or panels, bypass a door switch, or open the refrigeration system.
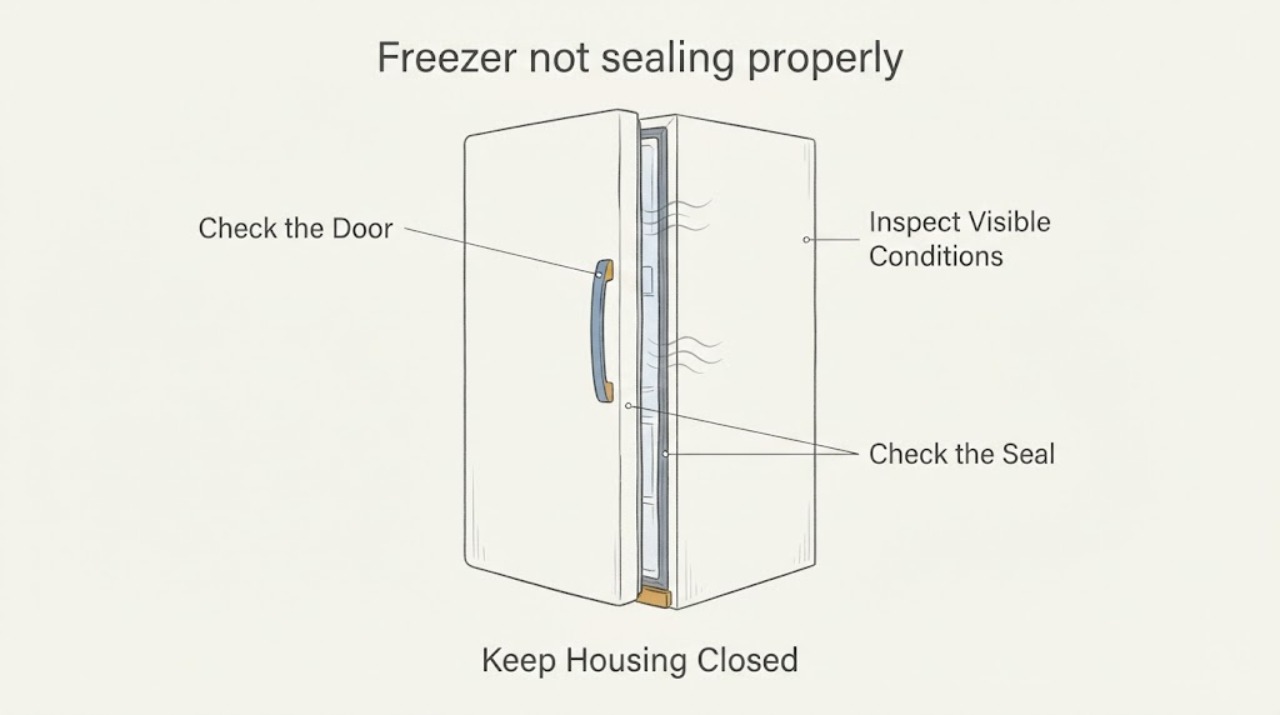
Work through in order
Diagnostic checks
Use only checks that match the exact appliance or system and its official guide.
-
Check 1
Open the freezer only as far as needed to inspect the closing path. Remove or reposition visible food packages, bins, ice, or other items that touch the door or lid, and check the door or lid edge for a visible frost ridge.
Expected result: The door or lid closes freely after an item or accessible frost is removed, or it still stops short or springs back.
Next step: Close the freezer gently and observe whether the gasket contacts continuously around the perimeter. Do not chip, pry, or heat frost and do not force the door.
Stop if: Continue to the gasket and level checks; arrange service if the door or lid cannot close without force.
Why this matters
Why: A change after clearing the path supports an obstruction at the closure edge. If it still will not close, the gasket, door/lid alignment, level, or frost condition remains unresolved; it does not prove a particular failed part.
-
Check 2
Inspect the gasket around the entire door or lid perimeter without removing it. Look for dirt, a tear, crack, deformation, a section pulled out of its channel, or a gap where it does not meet the cabinet.
Expected result: The gasket is visibly damaged or does not contact the cabinet in one area, or it looks intact and contacts all the way around.
Next step: Record the model from the appliance label and use its exact manual or qualified service for a gasket or alignment decision. Do not stretch, glue, heat, or substitute a generic gasket.
Stop if: Perform the low-risk seal check in the next action and continue to inspect level and frost.
Why this matters
Why: A local gap or damaged gasket supports an air-leak path, but the evidence cannot identify the correct replacement or whether the door itself is misaligned. A continuous visual contact makes an obvious gasket tear less likely but does not rule out a fit problem.
-
Check 3
After closing the door or lid normally, place a dollar bill across a suspected section of the gasket and pull gently, using the manufacturer-described check rather than forcing the seal.
Expected result: The bill has some resistance, or it slides out with no resistance or drops out at one or more sections.
Next step: If there is no resistance in a section, clean the gasket and repeat the check once. If it remains loose or the gasket is damaged, use the exact model manual or service for replacement/fit assessment.
Stop if: If the bill has resistance around the checked sections, continue with level, frost, and airflow observations rather than ordering a part based on the symptom alone.
Why this matters
Why: Frigidaire says some resistance is expected; a bill that comes out freely indicates that the seal is not as strong as it should be at that spot. This is a seal observation, not a diagnosis of the gasket, hinge, or cabinet.
-
Check 4
Clean the accessible gasket with warm soapy water and a soft cloth, then wipe away residue and dry it. Inspect the cabinet contact surface as well; do not spray into controls or electrical areas.
Expected result: Dirt or residue is removed and the gasket now contacts evenly, or the gap and poor closure remain.
Next step: Close the freezer normally and monitor for renewed frost or temperature alarms. Keep the gasket in its original position.
Stop if: Stop before removing the gasket or door hardware and arrange model-specific service.
Why this matters
Why: A better closure after cleaning supports contamination at the gasket contact. A persistent gap or distortion means cleaning did not resolve the underlying fit and does not justify heating or reshaping the seal.
-
Check 5
Check from outside that the freezer stands level and that the door or lid moves freely on its own path; also look for heavy frost or food blocking interior vents. Do not loosen hinges or take electrical measurements.
Expected result: The cabinet appears out of level, the door/lid is visibly skewed, heavy frost is pushing it away, or vents are blocked; alternatively, none of these is visible.
Next step: Clear only accessible food or debris and document the frost or alignment condition. Use the exact installation/use-and-care manual or qualified service for leveling, hinge, defrost, or door work.
Stop if: If the freezer still fails the seal check or develops frost/temperature problems, provide the model and observations to service rather than trying a generic part or repair.
Why this matters
Why: Level, frost, and airflow can affect closure and temperature, but the observation does not identify which internal or hardware adjustment is needed. No visible cause after these checks leaves a model-specific service question.
Use your observations
Decision map
Find the observation that best matches what you see, then follow the next safe action.
-
PATH 01Next step
What you see
A package, bin, ice buildup, or other visible obstruction prevents the door or lid from closing, and the closure improves after it is removed
Do this next
Keep the closing path clear and recheck the perimeter contact. Do not use sharp tools or heat to remove frost.
Why this path and its safety boundary
Why it matters: The observed change supports a closure-path obstruction rather than a confirmed failed gasket or hinge.
-
PATH 02Next step
What you see
The gasket is dirty and the dollar-bill check improves after warm-soapy-water cleaning
Do this next
Dry the gasket, close the freezer normally, and monitor for gaps, renewed frost, or temperature alarms; do not apply adhesive or reshape the gasket.
Why this path and its safety boundary
Why it matters: The accessible evidence supports residue at the gasket contact as a contributor to the poor seal.
-
PATH 03Next step
What you see
The bill slips freely or a visible tear, crack, distortion, or continuous gap remains after cleaning
Do this next
Use the exact model number with Frigidaire's manual/service path for a fit or replacement decision. Do not buy a generic gasket, heat it, stretch it, or remove the door.
Why this path and its safety boundary
Why it matters: The seal is not meeting the cabinet as Frigidaire describes, but the evidence does not determine whether the gasket or door/lid fit is responsible.
-
PATH 04Next step
What you see
The door or lid is visibly skewed, the freezer is out of level, or frost is pushing the closure away
Do this next
Clear only accessible obstruction, document the model and condition, and follow the exact installation/use-and-care manual or arrange qualified service.
Why this path and its safety boundary
Why it matters: A geometry or frost condition remains plausible, and a generic hinge or defrost procedure is not supported without the model.
-
PATH 05Next step
What you see
The freezer still does not seal after the visible path, gasket cleaning, and gentle seal checks, or the gasket/door requires removal or reshaping
Do this next
Stop user-level repair, protect food if temperature is rising, and provide the exact model and the observed gap, frost, alarm, or level condition to qualified service.
Why this path and its safety boundary
Why it matters: The supported external evidence is insufficient to select a part or internal repair, and continued use may lead to frost or unstable temperature.
Helpful context
Understand the symptom
A Frigidaire freezer that will not seal can have a simple obstruction, a dirty gasket, frost at the closure edge, or a door or lid that is no longer sitting squarely. “Not sealing” describes the observed condition; it does not identify a hinge, gasket, or other part. Begin with checks that do not require moving the door hardware or opening the appliance cabinet.
Because no model number was supplied, this guide stays at the family level. It can help you separate a visible closure problem from a damaged seal or a model-specific alignment/service issue. It does not select a replacement gasket or tell you to heat, stretch, reshape, or dismantle the seal.
When checks do not resolve it
Need a professional?
Use the exact model manual or qualified appliance service for gasket replacement, door/lid alignment, hinge work, heavy frost/defrost faults, or any persistent temperature problem.
Safety scope: Limit this guide to visible obstruction, level/closure observation, accessible gasket cleaning, and the gentle seal check described by Frigidaire. Do not heat or reshape the gasket, force the door, use sharp tools on frost, remove hinges or panels, bypass a door switch, or open the refrigeration system.
Common questions
FAQ
Does a freezer that will not seal prove that the gasket needs replacement?
No. Frigidaire also points to blocked doors, frost, airflow, and closure conditions. Inspect and clean the accessible gasket first; use the exact model manual or service before selecting a gasket or door part.
How can I check the Frigidaire freezer seal without taking the door apart?
Frigidaire describes closing a dollar bill in the gasket and pulling gently. Some resistance is expected; if it slides out freely, the seal is not as strong as it should be at that section. Clean the gasket and repeat once, then use model-specific service if the gap remains.
Can I heat or reshape the freezer gasket so it seals again?
This family-level evidence does not support heating, stretching, gluing, or reshaping the gasket. Those actions can damage the seal or change the door fit. Record the model and use its exact manual or qualified service for a damaged or poorly fitted gasket.
What if the gasket looks good but the freezer still has frost or a temperature alarm?
Check that the door closes freely, no food blocks vents, and the freezer is not visibly out of level. Frost can keep the door from shutting correctly. If the condition persists, stop before defrost, hinge, or panel work and arrange model-specific service.
Read the exact guide
Official sources
- Freezer - Not Freezing or Not CoolingFrigidaire · Family-level external checks for blocked closure, door seal, dollar-bill resistance, warm-soapy-water gasket cleaning, frost, and airflow; no model number supplied
- Refrigerators / Freezer - Frost Build UpFrigidaire · Family-level frost, gasket/door closure, ice-chute, and airflow observations; no model-specific defrost repair
- Freezers - How can I set my freezer to run less frequently, or for shorter intervals?Frigidaire · Family-level gasket cleanliness, wear, fit, and air-leak guidance; not a model-specific part or hinge procedure
- What does the alarm or ‘buzzer sound’ mean?Frigidaire · Family-level door closure, level, proper seal, and high-temperature alarm observations
- Freezer Runs Too MuchFrigidaire · Family-level relationship between a dirty or poorly fitting gasket, air leaks, and extended operation
Community feedback
Share a repair observation
Share a plain-text repair observation. Accepted observations are published automatically; this page may take a moment to update.