
On this page
Start here
Quick answer
If water added manually to the FFHB27507D7 ice-maker mold freezes but the ice maker does not fill by itself, treat that result as a clue, not proof of a bad water inlet valve. It suggests the freezer can freeze that water, but manual filling bypasses the automatic fill command, water-delivery path, and the maker's normal sensing/harvest sequence. First confirm the ice maker is enabled and the bin is seated, check that the freezer is cold and stable, and verify normal dispenser water flow, filter seating, and an un-kinked external line. Do not remove pressurized tubing, force the ejector or signal arm, enter a test mode, or replace a valve or ice-maker assembly from this result alone. If those external conditions are normal and automatic filling still fails, leave the mechanism intact and arrange model-specific service with the exact label and the manual-fill observation.
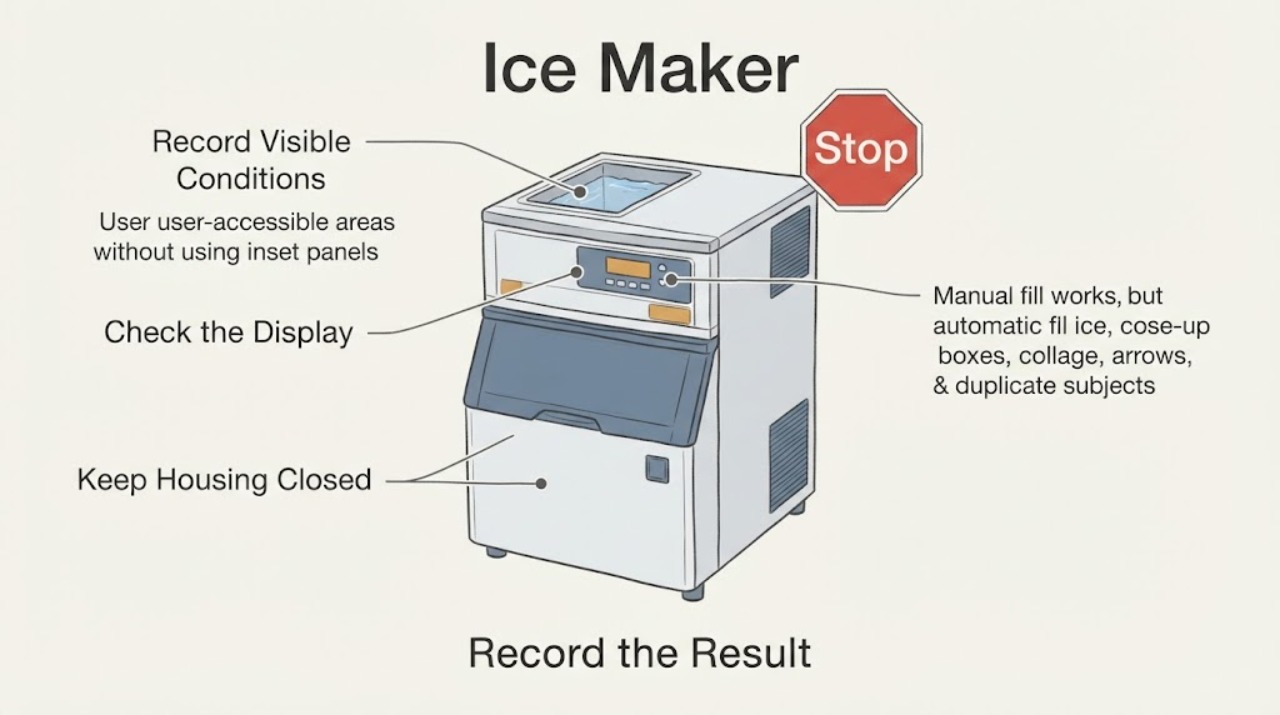
Work through in order
Diagnostic checks
Use only checks that match the exact appliance or system and its official guide.
-
Check 1
Record exactly what the manual-fill observation means: whether water was added to the ice-maker mold, whether it froze solid, whether the resulting cubes were ejected without help, and whether the mold later stayed empty. Do not repeat the fill, force the ejector, or reach into a moving ice maker just to confirm it.
Expected result: The manually added water froze and was later ejected, froze but remained in the mold, never froze fully, or the fill method and timing are uncertain.
Next step: Keep this result as a service note and continue with the external enablement, temperature, water-flow, and filter checks. If the mold is damaged, the ejector binds, or water leaks, stop handling the mechanism and arrange service.
Stop if: Do not add more water, rotate an ejector, jumper terminals, enter a forced cycle, or remove the ice-maker cover.
Why this matters
Why: Freezing after manual filling is evidence only about freezing conditions for that added water. Ejection or failure to eject adds a separate harvest observation; neither result proves that the automatic fill valve, wiring, sensor, or control is good or bad. A warm or unstable freezer keeps cooling as the first concern.
-
Check 2
Check the exact model manual or control panel for the ice maker's ON state. Confirm only that the bin is seated as designed and that any visible signal arm or on/off control is in the documented position; do not hold an arm down or bypass a bin or door sensor.
Expected result: The ice maker is off, the bin is absent or not seated, a signal arm is not in its documented ON position, or the control and bin appear correct.
Next step: Correct only an obvious setting or seating issue shown for the exact model, then allow a normal cycle. If the control will not stay on, the arm binds, or access requires a cover, leave it alone and request model-specific service.
Stop if: Do not force the bin, signal arm, tray, ejector, or any interlock, and do not remove a cover to start a manual cycle.
Why this matters
Why: An off state, full-bin sensing position, or poor bin seating can stop production without proving an internal failure. A correct external state only allows the cooling and water checks to continue; it does not validate the fill valve or maker motor.
-
Check 3
Check the freezer's displayed setting and actual condition without removing a panel: make sure the door closes, packages do not obstruct documented vents, and frost or warmth is not preventing stable freezing. If a temperature adjustment is permitted by the exact manual, make only that adjustment and record when it was made; do not repeatedly change settings.
Expected result: The freezer is warm, recently installed or recovering from a power interruption, has blocked airflow or a poor door seal, or is cold and stable while manual-fill ice freezes.
Next step: Correct only an accessible door or airflow obstruction and allow the stated stabilization period. If the freezer remains warm, frost-blocked, or cannot maintain temperature, stop the ice-maker diagnosis and arrange refrigerator service.
Stop if: Do not chip frost, apply direct heat, remove an evaporator/fan cover, or continue if there is burning odor, smoke, abnormal heat, or water near electrical parts.
Why this matters
Why: Frigidaire says a freezer that is set too warm can reduce ice production and that temperature may need about 24 hours to stabilize after installation or a change. A cold, stable freezer makes a general cooling explanation less likely, but it does not prove the automatic water path works.
-
Check 4
Check ordinary dispenser water flow without disconnecting the refrigerator. Note whether water is steady, slow, or absent; inspect only the visible supply line for a kink caused by the cabinet position; and check that the installed filter is seated, not visibly cracked or frozen, and not overdue under the exact model guidance.
Expected result: Dispenser water is slow or absent, the visible line is pinched, the filter is loose/overdue/damaged, or dispenser flow and the accessible line appear normal.
Next step: Correct only a visible line position or model-confirmed filter seating/replacement condition. Do not assume a filter from another Frigidaire model fits. If water remains restricted or a connection leaks, keep the appliance safe and arrange appliance or plumbing service.
Stop if: Do not loosen a water fitting, cut or reroute tubing, bypass the filter head, or inspect a pressurized connection with water near electrical parts.
Why this matters
Why: Frigidaire lists water connection, filter seating/condition, and a restricted line among the external causes of no ice. Normal dispenser flow makes a broad supply restriction less likely, but it does not prove that water reaches the ice-maker mold or that its automatic command is being issued.
-
Check 5
If the refrigerator or its filter was recently installed or disconnected, use Frigidaire's external prime-and-purge procedure at the water dispenser: hold a pitcher at the dispenser until water appears, flush as directed, discard the water, and repeat. Do not disconnect the ice-maker tube or open a valve to prove flow.
Expected result: The dispenser initially sputters or takes time to flow, water becomes steady after purging, or dispenser flow was already steady before the automatic ice failure.
Next step: After safe priming, leave the maker in its documented ON state and allow the normal cycle time without forced tests. If automatic filling remains absent despite stable cooling and water flow, arrange model-specific service.
Stop if: Do not continue if the line leaks, water reaches electrical parts, or the refrigerator needs a hose disconnection or internal access.
Why this matters
Why: Frigidaire documents that air in new plumbing can cause two or three empty ice-maker cycles and uneven initial dispenser flow. Clearing air makes an installation-related explanation less likely; it still does not establish that the automatic fill path or maker control is functioning.
-
Check 6
After the external checks, document one normal observation window rather than repeatedly forcing cycles: model/serial label, ice-maker ON state, bin position, freezer condition, dispenser-flow result, filter status, manual-fill result, any display message, and whether new cubes appear automatically. Do not use a service mode, live meter, jumper, or powered panel test.
Expected result: Automatic cubes begin after an external correction, or the mold remains empty despite an enabled maker, cold stable freezer, normal accessible water flow, and a correctly seated filter/bin.
Next step: Monitor a recovered maker without forcing it. For persistent no-fill, keep the mechanism intact and arrange qualified Frigidaire/appliance service with the complete model label and the recorded comparison; ask for diagnosis before authorizing a part.
Stop if: Do not remove panels, live-test terminals, manually harvest, bypass a sensor, substitute a valve, or order an internal part from the manual-fill result alone.
Why this matters
Why: Recovery after priming, cooling, or an external correction supports that condition as a contributor. Persistent automatic no-fill with manual freezing and normal external conditions makes an internal maker, fill path, sensor, wiring, or control issue more likely, but the observation cannot select one part.
Use your observations
Decision map
Find the observation that best matches what you see, then follow the next safe action.
-
PATH 01Next step
What you see
The freezer is warm or unstable, the door does not seal, airflow is blocked, or the unit has not had the documented stabilization time after installation or a temperature change.
Do this next
Correct only an accessible obstruction or door-closure issue and allow stabilization. If the compartment remains warm or frost-blocked, arrange refrigerator service before pursuing the maker.
Why this path and its safety boundary
Why it matters: Cooling conditions are a stronger first explanation than a proven automatic fill-valve fault; manual water freezing does not rule out an unstable freezer over time.
-
PATH 02Next step
What you see
The maker is off, the bin is not seated, or the model-specific arm/control is not in its documented ON state.
Do this next
Use the exact manual to correct only the external setting or seating, then allow a normal cycle. Stop if the control or arm binds or requires cover removal.
Why this path and its safety boundary
Why it matters: The control or full-bin state can suppress automatic production without establishing a mechanical or water-valve failure.
-
PATH 03Next step
What you see
Dispenser water is slow/absent, the visible line is kinked, the filter is not seated or is overdue/damaged, or the refrigerator was recently installed and the dispenser still contains air.
Do this next
Correct only the accessible line position or model-confirmed filter condition and prime/purge from the dispenser as directed. Do not disconnect pressurized tubing; escalate leaks or persistent restriction.
Why this path and its safety boundary
Why it matters: An external water-delivery restriction or air in new plumbing is more likely than a conclusion about the ice-maker assembly; Frigidaire links air to several initial empty cycles.
-
PATH 04Next step
What you see
The ice maker is enabled, the bin is seated, the freezer is cold and stable, dispenser water is steady, the accessible line and filter are correct, and manually added water freezes but automatic filling still does not occur.
Do this next
Keep the maker intact and arrange model-specific qualified service with the exact FFHB27507D7 label and the full observation record. Do not order or install a part before fit and diagnosis are confirmed.
Why this path and its safety boundary
Why it matters: The manual-fill result makes freezing conditions less likely as the sole explanation, while the remaining automatic fill/harvest/sensing path needs professional diagnosis. It does not identify a water inlet valve, ice-maker assembly, sensor, or control board by itself.
-
PATH 05Next step
What you see
A leak reaches the floor or electrical area, the ice-maker area is damaged or binding, there is burning odor/smoke/abnormal heat, or diagnosis would require a cover, forced cycle, live measurement, or pressurized water disconnection.
Do this next
Stop using the affected ice-maker function, isolate water or power only from a safe dry position when necessary, keep clear of smoke or fire, and arrange qualified appliance/plumbing/electrical service as appropriate.
Why this path and its safety boundary
Why it matters: The symptom has crossed the safe external-check boundary; continuing to test can create water, electrical, or moving-mechanism risk.
Helpful context
Understand the symptom
Manual water freezing and automatic ice making are not the same test. When a manually filled mold freezes, the freezer has demonstrated that it can freeze that added water under those conditions. The result does not show that the automatic fill command opened the inlet, that water reached the mold, or that the ice maker completed its normal harvest and refill sequence. Use it to choose the next observation, not to name a valve or order a replacement assembly.
The supplied identity is Frigidaire FFHB27507D7. Frigidaire's public support pages are family-level rather than a verified FFHB27507D7 service sheet, so confirm the complete model and serial label before using any model-specific control instruction or ordering a part. The steps below stay at the safe external boundary.
Keep the ice maker and refrigerator powered normally only for ordinary observation; do not deliberately cycle, jumper, or bypass the mechanism to reproduce the failure. Stop for a leak, water near electrical parts, burning odor, smoke, sparks, damaged wiring, or an appliance that cannot maintain a safe freezer temperature.
Common questions
FAQ
If water freezes when I add it manually, does that prove the water inlet valve is bad?
No. Manual filling bypasses the automatic fill command and water-delivery sequence. It is a clue that the added water froze under those conditions, not a component test. Check enablement, freezer stability, dispenser flow, filter, and the visible line before requesting model-specific service.
Should I force the ice maker to cycle or jump the test terminals?
No. Do not bypass an interlock, force an ejector, enter a test mode, open a cover, or make a live measurement. Keep the bin and maker intact and give the technician the manual-fill and automatic-fill comparison.
What should I check when the ice maker is on but does not fill automatically?
Confirm the bin is seated, the freezer is cold and stable, the dispenser has steady water, the filter is seated and appropriate for the exact model, and the visible supply line is not kinked. Do not disconnect pressurized tubing. If those checks are normal and automatic filling still fails, arrange service.
Read the exact guide
Official sources
- Refrigerators - What is the recommended temperature settings for my refrigerator?Frigidaire · Opened Frigidaire guidance for refrigerators; it supports the 24-hour stabilization boundary after installation and gives family-level settings, not an FFHB27507D7-specific fault or part conclusion.
- Refrigerators - What does it mean to ‘Prime the Water Supply System’ and why is it important for my refrigerator?Frigidaire · Opened Frigidaire guidance for refrigerators with water/ice systems; it supports a dispenser-based prime/purge after installation or water-line work, not a pressurized hose disconnection or FFHB27507D7 component diagnosis.
- What should I do if my ice maker is not making enough ice in my refrigerator?Frigidaire · Opened Frigidaire refrigerator guidance; it connects restricted water/filter conditions and a warm freezer with reduced production, without proving a particular FFHB27507D7 part.
- What should I do if the dispenser on my refrigerator is not dispensing water?Frigidaire · Opened Frigidaire refrigerator guidance; it supports external dispenser and filter observations but does not establish that the FFHB27507D7 ice-maker fill valve is faulty.
- Refrigerators - No IceFrigidaire · Opened Frigidaire guidance for refrigerators; it covers stabilization, water connection, filter condition, and service escalation, but does not identify an FFHB27507D7-specific failed part.
- Owner Center Resource LibraryFrigidaire · Opened official Frigidaire support library used to route the exact FFHB27507D7 label to matching manuals/support. The page is not an FFHB27507D7 service manual and does not verify a component or automatic-fill code.
- My refrigerator was just installed and the ice maker is not working, how do I fix it?Frigidaire · Opened Frigidaire guidance for refrigerators and multiple refrigerator types; it supports ON state, priming, initial empty cycles, and cooling time, not an FFHB27507D7-specific component diagnosis.
Community feedback
Share a repair observation
Share a plain-text repair observation. Accepted observations are published automatically; this page may take a moment to update.