
On this page
Start here
Quick answer
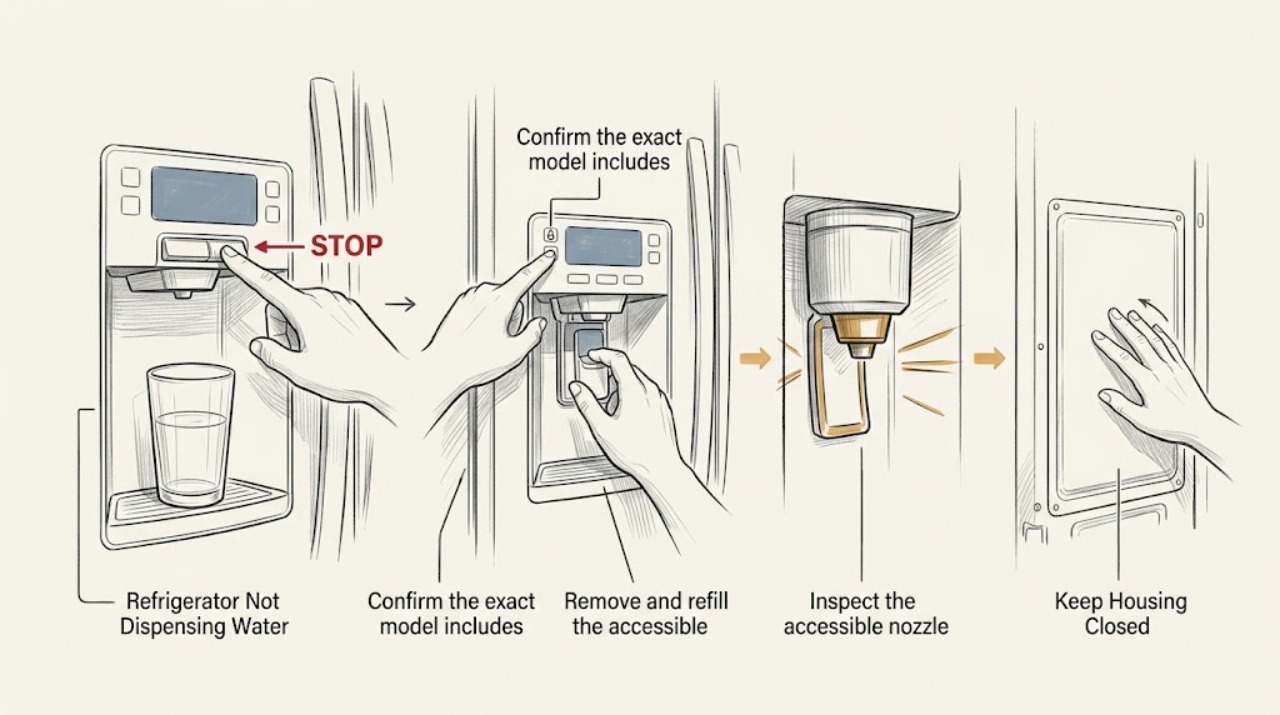
Confirm that the model has a water dispenser, the child lock is released, the cup is pressing the lever correctly, and the tank is filled, sealed, and fully seated. Inspect only the accessible nozzle and tray for scale or debris. Do not pour hot water into the tank or dismantle the valve; continuous flow, a damaged seal, or no response after the manual's checks needs Panasonic service.
Before you begin
Safety first
- Do not pour hot water into the tank, force the lever, bypass the child lock or valve, or open electrical/refrigeration panels.
Work through in order
Diagnostic checks
Use only checks that match the exact appliance or system and its official guide.
-
Check 1
Confirm the exact model includes a water dispenser, slide the child lock to the documented unlock position, and press the lever gently with a cup held straight.
Expected result: The lock was on, the cup/lever position was wrong, water flows, or there is still no response.
Next step: Use the exact manual's dispensing sequence once; do not force the lever.
Why this matters
Why: A lock or lever-position issue can prevent dispensing without a water-system fault; no response with correct operation shifts attention to tank/valve or service.
-
Check 2
Remove and refill the accessible water tank with suitable water, close its lid, and reinstall it until the valve and tank are fully seated as the manual illustrates.
Expected result: The tank was empty, the lid/seal was loose, the tank was not locked in place, or the tank is correctly seated.
Next step: Correct the accessible tank setup and test briefly; do not pour hot water or open the rear cabinet.
Why this matters
Why: An empty or incompletely seated tank cannot feed the dispenser; a seated tank with no flow suggests a valve, filter, or internal path issue.
-
Check 3
Inspect the accessible nozzle and drip tray for scale or foreign material, wipe spills with a soft cloth, and check whether water is being delivered slowly or continuously.
Expected result: Scale/debris is present, only a few drops remain after dispensing, or water continues without pressing the lever.
Next step: Clean the tray/nozzle only as the manual permits; stop and contact Panasonic promptly for continuous flow.
Why this matters
Why: Tray scale can require cleaning; a few nozzle drops can be normal, while continuous flow without an obstruction requires service.
-
Check 4
If the model uses a dispenser filter, inspect its accessible fit and replacement guidance; do not substitute an unverified part or bypass the valve.
Expected result: The filter is overdue/blocked, incorrectly seated, or the filter path appears normal.
Next step: Use only the exact manual or Panasonic parts guidance for a replacement; arrange service if flow remains absent.
Why this matters
Why: A restricted filter can reduce flow, but model compatibility and filter intervals are model-specific.
Use your observations
Decision map
Find the observation that best matches what you see, then follow the next safe action.
-
PATH 01Next step
What you see
The lock was engaged or the lever/cup position was incorrect
Do this next
Correct the documented position and perform one gentle test.
-
PATH 02Next step
What you see
The tank is empty, not sealed, or not fully seated
Do this next
Refill, seal, and seat it as the manual shows, then observe flow.
-
PATH 03Next step
What you see
The tank and controls are correct but there is no flow, damage, or continuous flow
Do this next
Stop forcing the dispenser and arrange Panasonic service with the model number and flow symptom.
Helpful context
Understand the symptom
Confirm this is a dispenser symptom
A refrigerator without the dispenser option cannot be diagnosed as a dispenser failure. If the model has a dispenser, separate no flow from a small tray drip or continuous flow, because each points to a different check.
When checks do not resolve it
Need a professional?
Arrange service for continuous water flow, a damaged tank/valve/seal, no response after correct lock/tank checks, a suspected internal blockage, or a dispenser model-specific fault.
Safety scope: Do not pour hot water into the tank, force the lever, bypass the child lock or valve, or open electrical/refrigeration panels.
Have this ready
- Provide the model number, dispenser/lock state, tank seating, filter status if applicable, nozzle/tray condition, and whether flow is absent, weak, or continuous.
Common questions
FAQ
Why does my Panasonic dispenser make a few drops after use?
The manual describes a few nozzle drops entering the tray as a normal possibility. Clean the tray and seek service if dripping continues with low humidity or water flows without pressing the lever.
Can I pour warm water into the dispenser tank to improve flow?
No. The Panasonic manual warns against hot water above its stated limit. Use suitable water and the exact tank/valve instructions for the model.
Read the exact guide
Official sources
- Panasonic Refrigerator Operating InstructionsPanasonic · Water-dispenser-equipped models NR-BX471G and NR-BX421G listed in the manual; use the exact manual for other models
- 377L 2-Door Bottom Freezer Fridge NR-BX421GPKPPanasonic · NR-BX421GPKP product page; do not assume features on another model
Community feedback
Share a repair observation
Share a plain-text repair observation. Accepted observations are published automatically; this page may take a moment to update.