
On this page
Start here
Quick answer
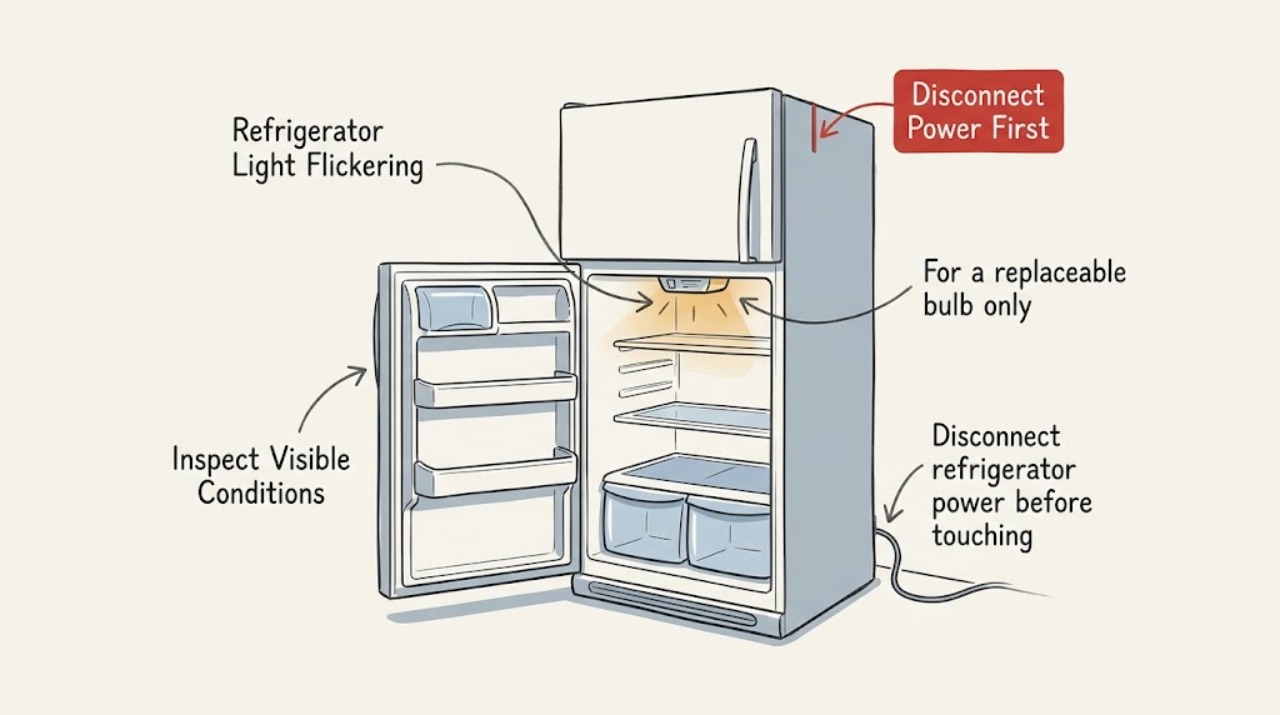
First determine whether the flicker is only one lamp or several lights, and whether it changes when the door moves. With power disconnected, inspect a replaceable bulb for looseness or damage and use only the type specified for that model. Newer Profile refrigerators may use LED assemblies that need service; stop immediately for heat, arcing, a burning smell, or a breaker trip.
Before you begin
Safety first
- Disconnect power before bulb work; do not open LED panels, access live wiring, bypass a door switch, or repeatedly reset a tripping breaker.
Work through in order
Diagnostic checks
Use only checks that match the exact appliance or system and its official guide.
-
Check 1
Observe the flicker with the door open and then move the door slowly toward closed, noting whether one lamp or several lamps flicker and whether the light changes at the door edge.
Expected result: Only one lamp flickers, several lamps flicker together, or the flicker changes with door position.
Next step: Continue only with the matching external check; arrange service for several lamps, heat, or arcing.
Why this matters
Why: One lamp suggests its bulb/socket or LED assembly; several lamps suggest a shared supply or control; door-position dependence suggests the switch or door alignment.
-
Check 2
Disconnect refrigerator power before touching a lamp, then check the model manual to determine whether the lamp is a replaceable incandescent bulb or an LED assembly.
Expected result: The manual identifies a replaceable bulb, or it identifies an LED panel/assembly.
Next step: For a replaceable bulb, use the exact manual-specified type; do not remove an LED panel.
Why this matters
Why: Bulb type and size vary by model, while LED boards and assemblies generally require authorized service.
-
Check 3
For a replaceable bulb only, inspect for a loose base, darkened glass, or visible damage and refit or replace it with power disconnected.
Expected result: The flicker stops with the correctly specified bulb, or it continues with a sound bulb.
Next step: Stop replacing bulbs and arrange service if the flicker continues or the socket is damaged.
Why this matters
Why: A failed or loose bulb can cause a single-light flicker; continued flicker points to the socket, switch, wiring, or control.
-
Check 4
Check whether the refrigerator's other electrical functions remain stable and whether the house outlet or breaker shows any interruption, without repeatedly resetting a breaker.
Expected result: Only the lamp flickers, or the display/compressor also loses power or the breaker trips.
Next step: Leave power off for heat, smell, arcing, or recurring trips and call an electrician or appliance technician.
Why this matters
Why: A light-only symptom is localized; wider interruptions indicate a supply or appliance electrical fault.
Use your observations
Decision map
Find the observation that best matches what you see, then follow the next safe action.
-
PATH 01Next step
What you see
One replaceable bulb flickers and the symptom stops after a correctly specified bulb is fitted with power off.
Do this next
Monitor the light; arrange service if the new bulb flickers or the socket is damaged.
Why this path and its safety boundary
Why it matters: The original bulb was the likely failure point.
-
PATH 02Next step
What you see
Multiple interior lights flicker together, or the symptom follows door movement despite a sound bulb.
Do this next
Do not open the control area; arrange appliance service.
Why this path and its safety boundary
Why it matters: A shared control, door switch, alignment, or wiring problem is more likely.
-
PATH 03Next step
What you see
The model uses an LED assembly, or flickering is accompanied by heat, arcing, smoke, or a breaker trip.
Do this next
Disconnect power if safe and arrange authorized appliance or electrical service.
Why this path and its safety boundary
Why it matters: The problem exceeds a safe bulb replacement and may be an electrical fault.
Helpful context
Understand the symptom
Do not assume every light uses a bulb
GE Appliances uses both replaceable incandescent bulbs and LED light assemblies across refrigerator models. The model manual determines which applies, so the safe first distinction is bulb versus LED assembly, not a guessed wattage.
Only after diagnosis
Potential parts
- refrigerator interior light bulb
Only relevant when the model manual identifies a replaceable bulb and inspection finds a failed or loose bulb.
Confirm the exact model, bulb type, size, and rating before ordering.
When checks do not resolve it
Need a professional?
Arrange service for an LED assembly, continued flicker after the correct bulb, a damaged socket or switch, multiple lamps flickering, or any electrical warning sign.
Safety scope: Disconnect power before bulb work; do not open LED panels, access live wiring, bypass a door switch, or repeatedly reset a tripping breaker.
Have this ready
- Provide the model, lamp location, bulb/LED type, whether door movement changes the flicker, and any heat, odor, arcing, or breaker behavior.
Common questions
FAQ
Can I replace a flickering Profile refrigerator LED?
GE Appliances says LED light assemblies in many refrigerators require an authorized service technician; check the model manual before removing anything.
Can I use any bulb if the refrigerator light flickers?
No. GE Appliances says bulb type, wattage, and size vary by model; disconnect power and follow the model-specific instructions.
Read the exact guide
Official sources
- Refrigerator - Interior LED LightingGE Appliances (GE Profile) · GE Profile refrigerator LED lighting and authorized replacement guidance
- Refrigerator - Selecting Appropriate Light BulbsGE Appliances (GE Profile) · GE Profile refrigerator bulb type, rating, power-disconnect, and LED distinction
Community feedback
Share a repair observation
Share a plain-text repair observation. Accepted observations are published automatically; this page may take a moment to update.