
On this page
Start here
Quick answer
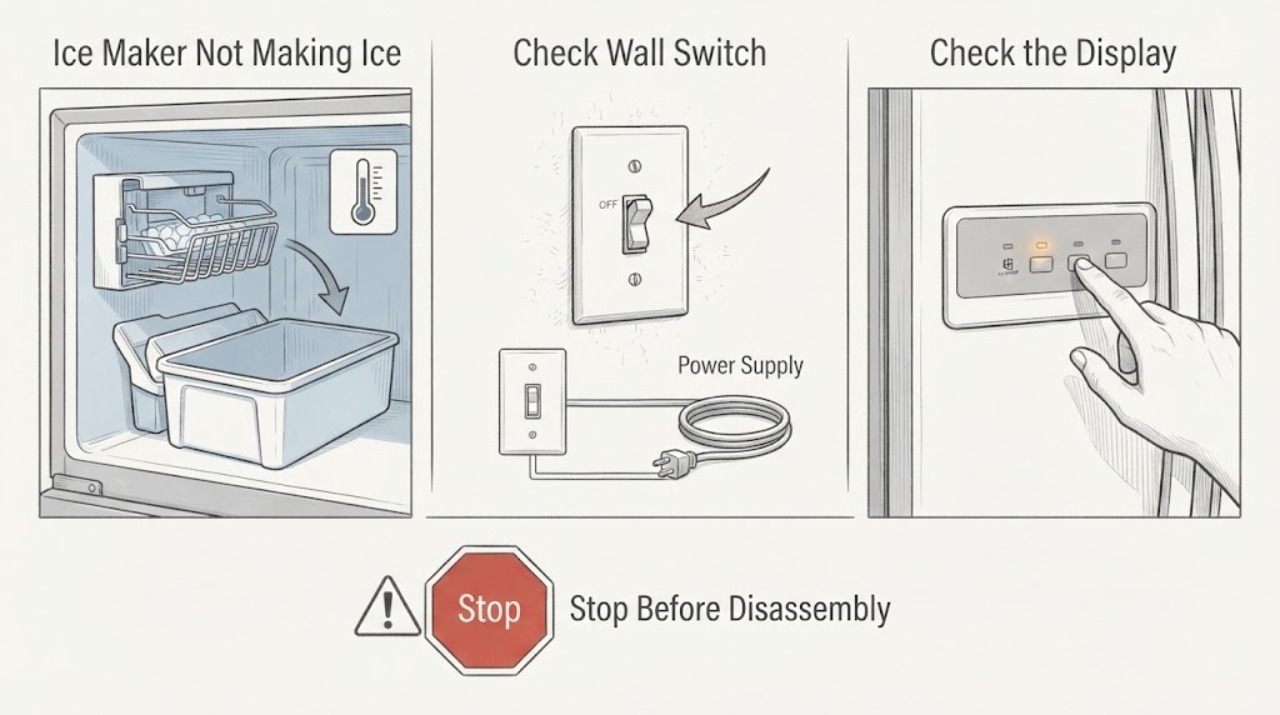
For a Whirlpool ice maker that is not making ice, confirm the ice maker is on, the freezer is cold enough for the model, and the water valve and line provide water. If a filter was recently changed, reseat it and check for leaks or reduced flow; replace it only when the model's instructions and filter condition support that step. Reset only as the Whirlpool manual or Product Help directs. If water and temperature are normal but the ice maker still does not produce ice, stop forcing cycles and arrange Whirlpool service.
Work through in order
Diagnostic checks
Use only checks that match the exact appliance or system and its official guide.
-
Check 1
Determine whether there are no cubes, small or hollow cubes, or cubes in the bin that will not dispense. Check the ice-maker control or switch and place it in the model manual's on position.
Expected result: The control was off, the bin contains ice, or the ice maker has never produced a cube.
Next step: Follow the matching dispenser or production path and do not force the mechanism.
Stop if: Do not bypass the control or reach into a moving ice maker.
Why this matters
Why: An off control or dispenser fault is different from a water-fill or harvest fault; a full bin means production is occurring.
-
Check 2
Check the freezer temperature using the model's control guidance and note whether the freezer is warmer than usual. Make only the model-approved adjustment and wait the stated interval before judging ice production.
Expected result: The freezer is warm, or temperature and airflow are normal.
Next step: Address the freezer-temperature issue through its own manual, then recheck ice production.
Stop if: Move perishable food to safe cold storage if the freezer is warming significantly.
Why this matters
Why: Whirlpool says a freezer that is too warm can reduce or stop ice production; normal cooling makes temperature a less likely cause.
-
Check 3
Verify the refrigerator water valve is fully open and inspect the accessible water line for kinks or compression behind the cabinet. Do not push the refrigerator farther back while inspecting.
Expected result: The valve is closed, the line is kinked, or water flow at the dispenser is slow or absent; alternatively, water flow is normal.
Next step: Correct only the accessible valve or line condition; use a plumber or service for an inaccessible leak or restriction.
Stop if: Do not disconnect a pressurized line or pull a built-in refrigerator by its tubing.
Why this matters
Why: A restricted supply can prevent the ice maker from filling. Normal flow makes a basic supply restriction less likely.
-
Check 4
If the filter was recently replaced or the water flow is reduced, remove and reinstall it so it locks and seals according to the model manual. If it is due for replacement, use the exact model filter; inspect for leakage after restoring water.
Expected result: Flow improves after the filter is seated or replaced, or flow remains poor and the filter housing leaks or will not lock.
Next step: Allow the next normal ice cycle after a successful filter check; arrange service for a leak or housing fault.
Stop if: Do not operate with a leaking filter housing or use a filter by appearance alone.
Why this matters
Why: Whirlpool identifies a misinstalled or clogged filter as a cause of reduced flow, low ice production, and leaks. Persistent poor flow or a damaged housing needs service.
-
Check 5
Use the exact manual's reset method only after the control, temperature, supply, and filter checks. Observe one normal cycle rather than repeatedly unplugging or cycling the ice maker.
Expected result: Production resumes after a documented reset, or the ice maker remains inactive with normal cooling and water flow.
Next step: Stop repeated resets and request Whirlpool model-specific service with the observations.
Stop if: Do not remove covers or test live components.
Why this matters
Why: A reset can clear a minor control state, but persistent no-ice with normal inputs points toward the ice-maker, fill valve, or control path.
Use your observations
Decision map
Find the observation that best matches what you see, then follow the next safe action.
-
PATH 01Next step
What you see
The bin contains ice but the dispenser does not deliver it.
Do this next
Use the model's dispenser troubleshooting path rather than replacing the ice maker.
Why this path and its safety boundary
Why it matters: The ice maker is producing, so the symptom is in dispensing or a bin/chute condition.
-
PATH 02Next step
What you see
The ice maker is on but the freezer is warm or water is absent at the dispenser.
Do this next
Correct the model-approved temperature, valve, line, or filter issue and allow a normal cycle.
Why this path and its safety boundary
Why it matters: Freezer temperature or water delivery is more likely than an internal ice-maker motor fault.
-
PATH 03Next step
What you see
Cooling, water flow, filter seating, and the ice-maker control are normal, but no ice appears after the normal cycle.
Do this next
Stop forced resets and schedule Whirlpool service with the model and recorded observations.
Why this path and its safety boundary
Why it matters: The ice-maker mechanism, inlet valve, fill path, or control may need diagnosis.
-
PATH 04Next step
What you see
The filter housing leaks, the line is damaged, or the freezer condition threatens food safety.
Do this next
Turn off the ice maker, close the accessible water valve if needed, protect food, and arrange qualified service.
Why this path and its safety boundary
Why it matters: The issue has crossed the safe user-check boundary.
Helpful context
Understand the symptom
Identify production versus dispensing
First check whether the ice maker produces cubes that fail to dump, or produces no cubes at all. Whirlpool treats those as different symptoms. A full bin with a failed dispenser needs a dispenser check; an empty mold needs the on/off, freezer, water, and filter checks below.
Use the exact refrigerator manual
Whirlpool refrigerators have different ice-maker controls, reset procedures, and filter housings. Record the model number and use the model manual before removing a filter or attempting a reset.
Only after diagnosis
Potential parts
Only when the exact model filter is identified and flow or filter-age symptoms support replacement.
When checks do not resolve it
Need a professional?
Provide the exact model number, whether the freezer is cold, whether water dispenses, valve and line observations, filter history, and whether the bin contains any cubes.
Common questions
FAQ
How long should I wait after resetting a Whirlpool ice maker?
Use the exact model instructions. Whirlpool Product Help says to wait a few hours after its documented one-minute power reset before checking production; do not keep cycling the unit.
Can a water filter stop ice production?
Yes. Whirlpool says a clogged or improperly installed filter can reduce water flow to the ice maker. Check that it is locked and sealed, and replace it only with the filter specified for the model.
Read the exact guide
Official sources
- Not Making Ice - Refrigerator | Whirlpool Product HelpWhirlpool Corporation · Whirlpool refrigerator ice-maker production, reset, filter, water-line, and service checks
- Not Making Ice - Side by Side Refrigerator | Whirlpool Product HelpWhirlpool Corporation · Whirlpool refrigerator temperature, water pressure, water-line, filter, and ice-maker distinctions across a side-by-side configuration
- Ice Maker Not Working - Troubleshooting | Whirlpool Product HelpWhirlpool Corporation · Whirlpool refrigerator ice-maker causes including water supply, freezer temperature, control state, filter, and model manual use
Community feedback
Share a repair observation
Share a plain-text repair observation. Accepted observations are published automatically; this page may take a moment to update.