
On this page
Start here
Quick answer
First separate uneven cooking caused by the recipe setup from a true GE oven fault. Fully preheat, use the rack position and pan type in the model's cooking guide, leave room for heat to circulate, and avoid repeatedly opening the door. GE notes that oven heat normally cycles above and below the set temperature, so a single thermometer reading is not proof of failure; a consistent pattern on a simple, repeatable bake test is more useful. If the same area repeatedly overcooks or undercooks after the setup checks, inspect the door gasket for damage and arrange service rather than opening the appliance or replacing a control or heating part on guesswork.
Before you begin
Safety first
- A qualified technician should distinguish cookware and airflow effects from door-seal, temperature-sensing, heating-system, or control faults before selecting any part.
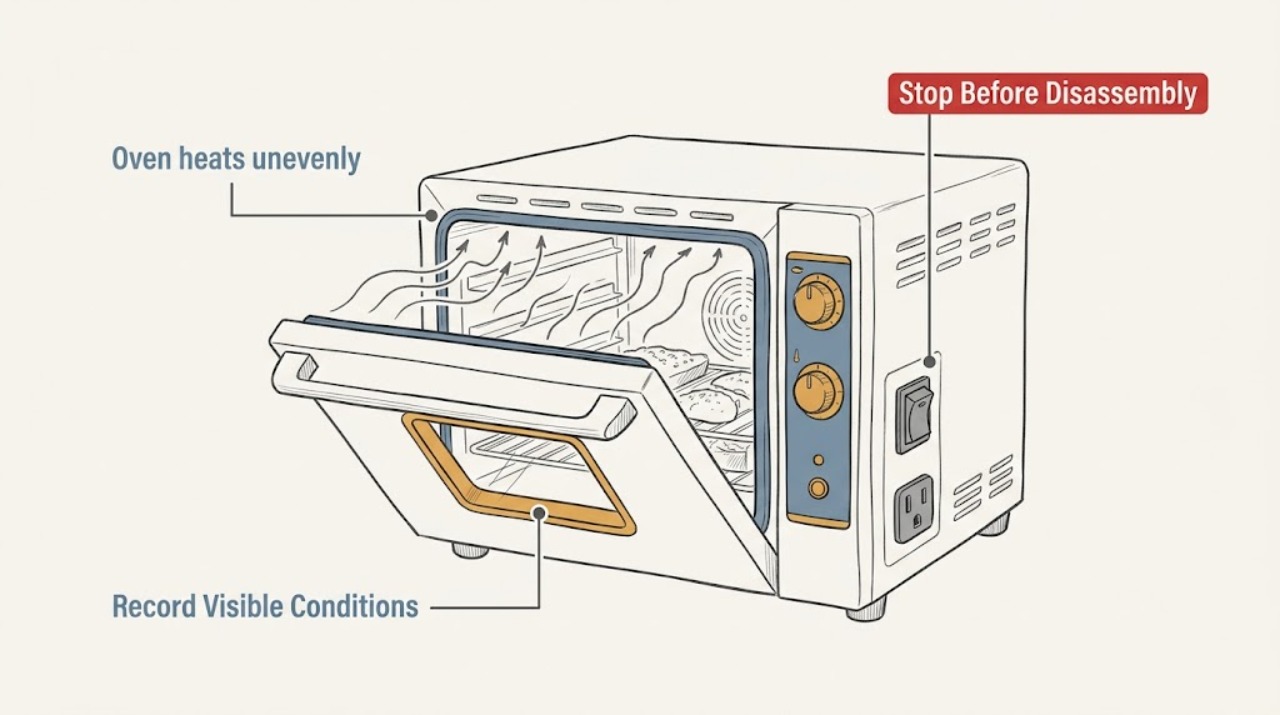
Work through in order
Diagnostic checks
Use only checks that match the exact appliance or system and its official guide.
-
Check 1
Run the same recipe again only after the GE preheat signal or the exact model's preheat guidance indicates the oven is ready, and record the mode, rack position, pan material, and door openings.
Expected result: The result improves when the oven is fully preheated and the door stays closed, or the problem changes with rack or pan setup.
Next step: Keep the successful rack, pan, and preheat procedure, and continue to the airflow check if one region still consistently differs.
Why this matters
Why: The earlier result was more likely affected by setup, heat loss, or normal cycling than by a fixed hot or cold zone in the oven.
-
Check 2
Inspect the loaded oven without removing panels: center pans on the rack, keep space between pans and the oven walls, avoid covering a full shelf with foil or a liner, and use the rack position specified in the GE cooking guide.
Expected result: A pan is crowded, too close to a wall or heating area, a full shelf is covered, or the rack is reversed or in an unsuitable position.
Next step: Correct the placement using the model guide and repeat a comparable bake. If the same side or rack position remains wrong with clear airflow, continue to the repeatable test and service checks.
Why this matters
Why: Blocked or uneven airflow and pan placement can create browning differences that look like a heating defect.
-
Check 3
Use a consistent batch of canned biscuits or another repeatable package-directed bake, placing the pieces evenly on one pan and noting which positions brown first or remain underdone.
Expected result: The same positions repeatedly differ even with the same pan, rack, preheat, spacing, and minimal door opening.
Next step: Stop changing multiple variables at once, save the result as evidence, and arrange GE appliance service if the pattern persists. Do not remove covers or attempt live electrical checks.
Why this matters
Why: A repeatable location-based pattern is more suggestive of heat distribution, temperature sensing, door heat loss, or a heating-system issue than a one-off recipe or pan effect.
-
Check 4
If using a convection mode, compare the mode and displayed setting with the GE owner's manual, and note whether the uneven result occurs only in convection or also in conventional baking.
Expected result: The problem occurs only in convection, or the control indicates an automatic recipe-conversion feature that was not accounted for.
Next step: Use the exact model manual's convection instructions and repeat the recipe once. If both modes show the same location-based problem, proceed to service rather than recalibrating blindly.
Why this matters
Why: GE says some convection models use a conversion feature and circulate hot air differently; a mode or conversion mismatch can change cooking results without a failed oven.
-
Check 5
With the oven cool, visually check that the door closes normally and the gasket has no obvious tear, gap, or scorching; do not pry on the gasket, remove the door, or open the appliance body.
Expected result: The gasket is torn or visibly damaged, the door does not close as expected, or scorching appears on the oven face.
Next step: Keep the oven out of service for the affected cooking task and arrange qualified GE appliance service for gasket or door diagnosis. If the gasket looks intact but the repeatable pattern remains, service should evaluate temperature control and heating components.
Why this matters
Why: GE says a damaged gasket can allow heat to escape and that major leakage signs require service; a door-seal issue can make one area cook differently.
Use your observations
Decision map
Find the observation that best matches what you see, then follow the next safe action.
-
PATH 01Next step
What you see
Uneven results improve after full preheating, correct rack placement, adequate pan spacing, and fewer door openings.
Do this next
Keep the model-specific rack and pan procedure, and do not recalibrate the oven for a single inconsistent bake. Recheck only if the same pattern returns under the controlled setup.
-
PATH 02Next step
What you see
A repeatable biscuit or package-directed bake shows the same locations over- or under-cooking despite controlled placement and preheat.
Do this next
Document the mode, rack, pan, and result, then arrange qualified GE appliance service. Avoid disassembly or unverified part replacement.
-
PATH 03Next step
What you see
Only convection results are uneven and the model has an automatic conversion setting or a different circulation method.
Do this next
Follow the exact model manual for convection conversion and compare once with conventional baking. Escalate if the same location pattern appears in both modes.
-
PATH 04Next step
What you see
The door gasket is torn, the door does not close normally, scorching is visible, or the oven still heats unevenly after the controlled checks.
Do this next
Stop troubleshooting inside the appliance and arrange qualified service. Do not remove covers, perform live electrical checks, or select a replacement part without model-specific diagnosis.
Helpful context
Understand the symptom
What uneven heating usually means
Food that is darker on one side, underdone in the center, or finished at different times does not automatically mean the oven hardware is bad. GE points to preheat status, rack position, pan material and size, clearance around the pan, door openings, and blocked heat circulation as common influences. Normal cycling also means the air temperature is not perfectly static. Look for a repeatable pattern before escalating to parts or service.
Use the model guide before changing settings
GE cooking guides can specify rack positions and whether a convection mode changes how a recipe should be set. Record the mode and rack used, then compare the result with the guide for the exact model. Do not cover an entire shelf with foil, block the rear or side clearance, or use a pan whose size or finish changes the browning pattern without accounting for it.
Only after diagnosis
Potential parts
- oven door gasket
Consider this category only if visual inspection or qualified service confirms a torn or poorly sealing gasket is causing heat loss.
Confirm the complete GE model number and official fit information before ordering; a normal door gap is not proof that the gasket needs replacement. - bake heating element for electric models
Consider this category only for an electric GE oven after qualified diagnosis identifies a failed bake element as the source of a repeatable heating pattern.
This category does not apply to every GE oven; verify the model's fuel type and official fit information before ordering or installing.
When checks do not resolve it
Need a professional?
Arrange qualified GE appliance service when the same location-based uneven result persists after full preheat, model-correct rack and pan placement, clear airflow, minimal door openings, and a repeatable bake test; also call when the gasket is torn, the door does not close normally, scorching appears, or the oven has a suspected heating or control fault. Do not remove covers, work on live wiring, or replace a heating component based only on browning differences.
Safety scope: A qualified technician should distinguish cookware and airflow effects from door-seal, temperature-sensing, heating-system, or control faults before selecting any part.
Common questions
FAQ
Why does my GE oven heat unevenly even though it reaches the set temperature?
GE ovens cycle above and below the set temperature by design. Uneven results can also come from incomplete preheating, rack or pan placement, blocked airflow, dark or oversized pans, frequent door openings, or heat loss at the gasket. A repeatable bake test helps separate those causes from a hardware fault.
How can I check whether the uneven baking is a setup problem?
Fully preheat, use the model guide's rack position, center one pan with room around it, avoid covering the shelf, and keep the door closed as much as possible. Repeat a package-directed biscuit bake and record whether the same positions still differ.
Could convection mode make my GE oven seem uneven?
Yes. GE says convection circulates hot air differently and some models use an automatic recipe-conversion feature. Check the exact model manual and compare one controlled bake in the appropriate mode before assuming a component has failed.
When does uneven heating mean the GE oven needs service?
Arrange service when the same location-based pattern persists after controlled setup checks, or when the door gasket is torn, the door does not close normally, scorching appears, or a heating or temperature-control fault is suspected. Do not replace a part based only on browning differences.
Read the exact guide
Official sources
- Range & Wall Oven - Oven Temperature Is Not CorrectGE Appliances · GE guidance on normal cycling, preheating, bake tests, cookware, airflow, door heat loss, and heating elements
- Range & Wall Oven - Optimal Baking PerformanceGE Appliances · GE guidance on preheat, cookware, rack position, door openings, and temperature checks
- Range & Wall Oven - Oven Temperature Incorrect with Convection CookingGE Appliances · GE guidance on convection circulation and automatic recipe conversion
- Range & Wall Oven - Oven Gasket Not Sealing ProperlyGE Appliances · GE guidance on normal door airflow, gasket damage, and service boundaries
- Range & Wall Oven - Common Biscuit and Cookie Baking Problems and SolutionsGE Appliances · GE examples of pan, rack, airflow, preheat, door-opening, and temperature causes of uneven browning
Community feedback
Share a repair observation
Share a plain-text repair observation. Accepted observations are published automatically; this page may take a moment to update.