
On this page
Start here
Quick answer
First separate a pan or rack-layout issue from an oven fault: use the rack position in the exact Maytag owner's manual, fully preheat with the door closed, and bake one tray with food spaced in a single layer. Maytag notes that pan material, rack position, clearance, leveling, and incomplete preheat can all change browning. If the same side or area is still hotter or cooler after a controlled one-rack test, the entire cavity runs too hot or too cool, or preheat is abnormal, leave the oven off and arrange qualified service. Calibration is model-specific; do not use live electrical tests, remove panels, touch elements, block vents with foil, or choose a replacement part before the cause is confirmed.
Before you begin
Safety first
- This article covers normal cycle selection, model-manual rack placement, spacing food, complete preheat, and cold visual observation. A technician must handle live electrical testing, panels, wiring, elements, sensors, controls, fan assemblies, anti-tip or structural work, and gasket or door replacement.
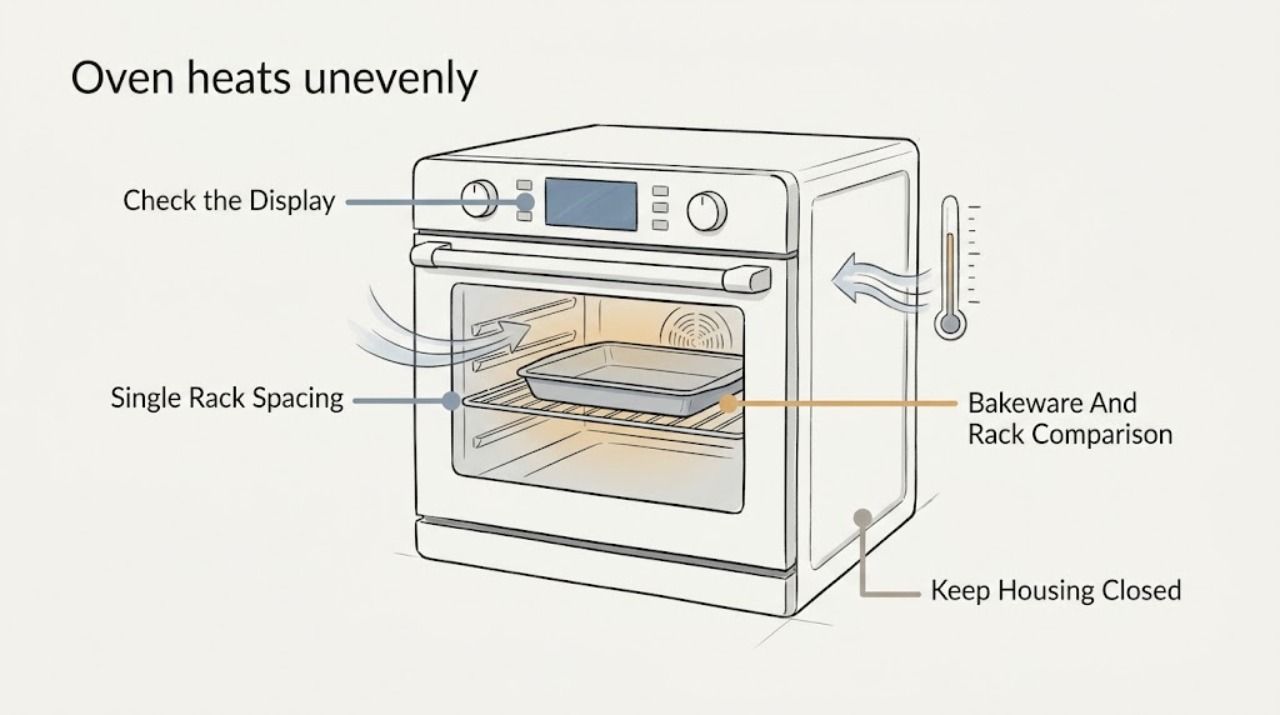
Work through in order
Diagnostic checks
Use only checks that match the exact appliance or system and its official guide.
-
Check 1
With the oven empty, select the ordinary bake cycle specified by the recipe and allow the Maytag oven to complete its preheat indication. Record the mode and whether the door stayed closed until the food was placed inside.
Expected result: Preheat completes normally, takes unusually long or never signals ready, or the door was opened repeatedly before cooking was assessed.
Next step: If preheat is normal, continue to the single-rack test. If it is abnormal, stop repeated cooking tests and use the model manual or arrange service.
Stop if: Stop for smoke, sparking, burning odor, runaway heat, an exposed wire, or a visibly damaged element; do not open panels or touch hot parts.
Why this matters
Why: A closed-door, complete preheat makes the remaining comparison meaningful. Slow or incomplete preheat points toward power, sensing, heat-loss, or control concerns; early door opening can disturb cycling and mimic uneven heating.
-
Check 2
Use one rack in the position recommended by the exact Maytag manual. Place one tray in a single layer, use the recipe's recommended pan size, and leave clear space between the pan and the oven walls.
Expected result: Browning becomes more even with one tray and clearance, or the same side or area remains different.
Next step: Keep the improved layout for ordinary baking. If the fixed pattern remains, document its location and arrange qualified service rather than ordering a part.
Stop if: Do not cover the rack or oven floor with foil, block vents, or continue if the door is damaged or cannot seal normally.
Why this matters
Why: Improvement points toward crowding, bakeware, rack position, or airflow. A stable hot or cool area under a controlled layout points toward a distribution, heating, sensing, or power issue.
-
Check 3
Compare the same recipe with the manual's recommended rack position and the intended bakeware material. If more than one rack is needed, distribute the racks and pans evenly and keep pans from touching each other or the oven walls.
Expected result: Only a particular pan or rack arrangement creates the unevenness, or the same pattern occurs with different suitable bakeware and rack arrangements.
Next step: Use the pan and rack arrangement that the exact Maytag manual and recipe support. Arrange service if the one-rack result remains uneven despite clearances.
Stop if: Do not guess rack positions from another model and do not move a rack while it carries hot cookware.
Why this matters
Why: A change tied to pan material or placement makes heat absorption, rack position, and airflow more likely. A pattern unchanged by those variables deserves an appliance diagnosis.
-
Check 4
With the oven cold, check whether the rack sits level and whether a freestanding range appears level side-to-side and front-to-back using a standard level placed on the rack. Follow the owner's manual for any leveling adjustment.
Expected result: The rack or appliance is visibly or measurably out of level, or both are level while food still browns unevenly.
Next step: Correct only an ordinary rack position or a manual-directed leveling issue. If the appliance would need moving, anti-tip hardware handling, or structural adjustment, use qualified service.
Stop if: Do not pull out a range, defeat an anti-tip device, or adjust hot racks; obtain help for a heavy appliance.
Why this matters
Why: A tilted rack or range can redistribute batter and change the apparent browning pattern. If the rack and appliance are level, leveling is less likely to explain a fixed hot zone.
-
Check 5
If the symptom is that the entire oven runs too hot or too cool rather than one fixed zone, use Maytag's controlled bake-performance guidance only as written for the exact model. Record the mode, rack, pan, preheat result, and whether food finishes evenly within the recipe's stated range.
Expected result: A controlled test is evenly browned but a little fast or slow overall, or it is uneven or outside the expected result despite correct setup.
Next step: Use calibration only when the exact owner's manual supports it, and make no generic adjustment. Arrange service when the controlled result remains abnormal or calibration does not resolve it.
Stop if: Do not perform live electrical tests, bypass safety controls, or repeatedly adjust calibration to compensate for a fixed hot zone.
Why this matters
Why: A whole-cavity timing difference may be an expectation or calibration issue. Continued unevenness under the controlled test shifts concern to sensing, heating, power, or another service diagnosis; Maytag says not to rely on an oven thermometer for this cycling system.
-
Check 6
Turn the oven off and let it cool fully. Visually inspect the door gasket, door-to-frame contact, visible vent area, cavity floor, and accessible heating elements for a tear, gap, obstruction, scorching, or obvious damage.
Expected result: The seal and door contact look even, a loose obstruction is visible, the gasket or door is damaged, a vent is blocked, or an element is visibly damaged.
Next step: Remove only a plainly loose, cool obstruction. Leave the oven off and arrange qualified service for gasket or door damage, scorching, smoke staining, a damaged element, or any condition requiring disassembly.
Stop if: Do not pull or modify the gasket, touch elements, remove panels, scrape wiring, or operate the oven with visible damage.
Why this matters
Why: An intact cold seal and clear vent make heat loss less likely. A damaged seal, uneven door, blocked vent, scorching, or damaged element can cause abnormal heating and moves the problem to a service boundary.
Use your observations
Decision map
Find the observation that best matches what you see, then follow the next safe action.
-
PATH 01Safety boundary
What you see
Unevenness improves with complete preheat, one rack, correct bakeware, more clearance, or the manual's rack position.
Do this next
Keep the validated layout and follow the model manual for multi-rack baking. Seek service only if a controlled one-rack test still shows a repeatable hot or cool area.
Why this path and its safety boundary
Why it matters: Bakeware, food placement, rack position, or airflow is more likely than a fixed failed component.
Safety stop: Do not block vents or keep baking if the door seal or heating parts are damaged.
-
PATH 02Safety boundary
What you see
The same side, front, rear, rack area, or pan region is different after a closed-door preheat and a correctly spaced one-rack test.
Do this next
Stop repeated cooking tests and arrange qualified service with the mode, rack position, pan, preheat behavior, and location of the difference documented.
Why this path and its safety boundary
Why it matters: Cavity heat distribution, an element, sensor, power supply, or control issue is more likely than a recipe-layout issue.
Safety stop: Do not remove panels, test live voltage, touch elements, or select a replacement component before diagnosis.
-
PATH 03Safety boundary
What you see
The whole oven consistently cooks too fast or too slowly, while the controlled bake remains spatially even and the oven has no visible damage.
Do this next
Use Maytag's exact owner's manual calibration method only if its bake-performance guidance supports it; otherwise arrange service.
Why this path and its safety boundary
Why it matters: A model-specific calibration or temperature-sensing issue is more likely than a fixed hot spot.
Safety stop: Do not use a generic calibration sequence, repeatedly change settings, or rely on a consumer thermometer as proof of a repair.
-
PATH 04Safety boundary
What you see
The rack or range is not level, the door does not contact evenly, the gasket is torn or displaced, the vent is blocked, or an element is visibly damaged.
Do this next
Follow only ordinary rack or model-manual checks; leave the oven off and arrange service for door, gasket, element, vent, anti-tip, or structural work.
Why this path and its safety boundary
Why it matters: Leveling, heat loss, airflow obstruction, or a structural/heating-component fault is more likely and is not safely solved by recipe changes.
Safety stop: Do not move a heavy range alone, defeat anti-tip hardware, modify the gasket, or touch an element or wiring.
Helpful context
Understand the symptom
Uneven browning can start with the setup
A Maytag oven can produce different results when a dark or shiny pan absorbs or reflects heat differently, food is crowded, pans touch the walls, racks are in the wrong position, the range is not level, or the door is opened during heating. Maytag says hot air must circulate and that a single rack is best for most baked goods. Control those variables before treating one recipe result as proof of a failed component.
Use one repeatable test
Record the mode, rack position, pan material, food spacing, preheat indication, and location of the unevenness. Preheat completely and place the food in promptly with the door closed. A result that improves when spacing or rack position changes points toward layout or airflow. A repeatable hot or cool area under the same controlled setup is more useful evidence for a service technician.
Do not guess at calibration
Maytag says calibration is model-specific and provides a bake-performance test for selected ranges and ovens. Its guidance also warns that oven elements cycle on and off, so a consumer thermometer may not give a useful diagnosis. If the whole cavity is consistently too hot or too cool after the setup is controlled, use only the exact owner's manual procedure or arrange service; a fixed side-to-side pattern is not solved by a generic temperature adjustment.
Safety boundary
Stop conditions
- Turn the oven off and arrange qualified service for smoke, sparking, burning odor, runaway heat, exposed wiring, or a visibly damaged heating element.
- Do not touch heating elements, wiring, terminals, fan assemblies, or internal panels; live electrical diagnosis and component replacement require a qualified technician.
- Do not operate with a torn or detached gasket, uneven or damaged door, scorching, smoke staining, blocked vent, or a door that cannot close and seal normally.
- Do not cover the oven floor or an entire rack with foil, force a rack, move a hot rack with cookware, or use Self Clean as a diagnostic workaround.
- Calibration and rack instructions are model-specific. Follow the exact Maytag owner's manual and stop when its procedure does not resolve the symptom.
Only after diagnosis
Potential parts
- Maytag oven temperature sensor
Consider this category only when a technician confirms that the exact model's sensor or wiring is inaccurate or faulty after a controlled bake-performance check.
Confirm the exact Maytag model, sensor design, connector, and manufacturer's fit information before ordering. - Maytag oven bake or broil heating element
Consider this category only when a technician confirms that a damaged or non-operating element explains the persistent uneven or incomplete heating pattern.
Confirm the exact model, element position, mounting, electrical rating, and manufacturer's fit information before ordering; do not test or replace it while energized. - Maytag oven door gasket
Consider this category only when a technician confirms that the exact model's gasket is torn, detached, worn, or unable to seal evenly and is causing heat loss.
Confirm the exact Maytag model, gasket profile, mounting method, and manufacturer's fit information before ordering. - Maytag oven control or relay assembly
Consider this category only when a technician rules out layout, power, sensor, and element causes and confirms a control or relay fault for the exact model.
Confirm the exact Maytag model, control revision, connectors, and manufacturer's fit information before ordering; internal control work is professional service.
When checks do not resolve it
Need a professional?
Safety scope: This article covers normal cycle selection, model-manual rack placement, spacing food, complete preheat, and cold visual observation. A technician must handle live electrical testing, panels, wiring, elements, sensors, controls, fan assemblies, anti-tip or structural work, and gasket or door replacement.
Common questions
FAQ
Why is my Maytag oven heating unevenly?
Start with leveling, complete preheat, bakeware, rack position, pan clearance, and airflow. If the same area stays hotter or cooler with one correctly spaced tray after a closed-door preheat, an element, sensor, power, seal, or control issue becomes more likely and needs service.
How can I check uneven browning without taking my Maytag oven apart?
Use the exact manual's rack position, one tray and one layer of food, suitable bakeware, clear space around the pan, and a complete preheat. Record which area differs. Do not remove panels, test live voltage, touch elements, or cover the oven floor or rack with foil.
Can a rack or range that is not level cause uneven baking?
Yes. Maytag says an appliance should be level and racks should be installed and kept level. Check only while the oven is cold and follow the exact owner's manual; moving a heavy range or handling anti-tip hardware is a service boundary.
Should I calibrate my Maytag oven when food cooks unevenly?
Calibration is aimed at a whole-cavity temperature that is consistently too hot or too cool, not a fixed side-to-side hot spot. Use Maytag's controlled bake-performance guidance and only the exact model manual before making an adjustment; arrange service if unevenness persists.
When should I call for Maytag oven service?
Arrange service when a controlled one-rack test remains uneven, preheat is abnormal, the door or gasket is damaged, the rack or range needs structural leveling, an element or wiring is damaged, or the next check would require panels or live electrical testing. Stop immediately for smoke, sparking, burning odor, or runaway heat.
Read the exact guide
Official sources
- How to Correct Uneven Baking or BrowningMaytag · Official Maytag guidance for ranges and wall ovens; exact rack instructions remain model-specific.
- Racks Not LevelMaytag · Official Maytag range guidance; moving or leveling a heavy appliance may require qualified help.
- How to Evaluate if Temperature Calibration is NeededMaytag · Official Maytag procedure; the model manual controls any subsequent calibration.
- Uneven browning - Wall OvenMaytag · Official Maytag wall-oven guidance; the exact model manual controls rack positions.
- Oven Temperature Incorrect (Too Hot or Too Cold)Maytag · Official Maytag owner guidance; control and calibration methods vary by model.
Community feedback
Share a repair observation
Share a plain-text repair observation. Accepted observations are published automatically; this page may take a moment to update.