
On this page
Start here
Quick answer
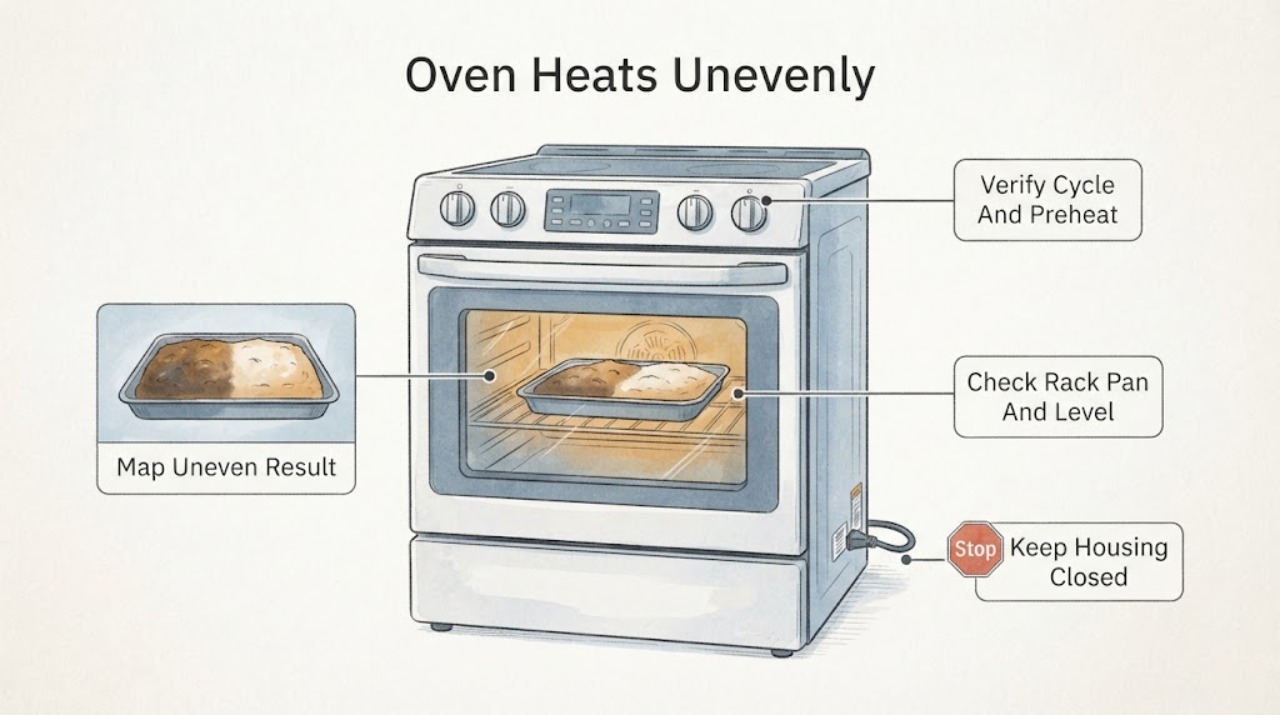
An oven that heats unevenly may have an uneven cooking setup rather than a failed part. First record whether the result is different top-to-bottom, left-to-right, or only on one rack; then use the correct cycle, allow the Whirlpool oven to fully preheat, keep the door closed, and use the rack and bakeware guidance for the food. Whirlpool also recommends a controlled bake-performance test when you suspect the oven temperature is inaccurate, and says calibration is model-specific. If the same side or rack remains consistently over- or under-browned after those checks, or if an element, fan, sensor, control, door seal, smoke, sparking, or gas odor is involved, stop experimenting and arrange qualified appliance service.
Before you begin
Safety first
- This article covers safe observation, setup correction, and the manufacturer's controlled bake test only. Qualified service must handle internal heating, sensing, airflow, door, gas, electrical, and control diagnosis.
Work through in order
Diagnostic checks
Use only checks that match the exact appliance or system and its official guide.
-
Check 1
Let the oven cool enough to inspect safely, then record the food, selected cycle, rack position, pan type, pan location, and the exact pattern: top versus bottom, left versus right, front versus back, or one item versus the whole tray.
Expected result: The same area is repeatedly darker or paler across comparable bakes, only one pan or recipe behaves differently, or the result changes when the rack or pan position changes.
Next step: Keep this symptom record and continue with one controlled setup change at a time. Stop and arrange service for smoke, sparking, a gas odor, a door that will not close, or any unsafe heating behavior.
Stop if: Do not touch hot surfaces or reach into a hot cavity to compare areas or move a rack.
Why this matters
Why: A repeatable cavity-side pattern keeps airflow, heating, sensing, door sealing, and service-related causes in consideration. A result that follows the pan, recipe, or rack setup makes bakeware, positioning, and cycle technique more likely than a failed oven part.
-
Check 2
For a repeat test, select the cycle specified by the recipe and the owner's manual, allow the Whirlpool oven to complete its preheat indication, and place the food only after preheating; keep the door closed and use the light to check progress.
Expected result: The result becomes more even after complete preheating and a closed door, remains uneven despite the same procedure, or the oven never indicates a completed preheat.
Next step: Repeat only under the documented cycle and preheat conditions, then move to rack and bakeware checks. Arrange appliance service if preheat is abnormal, the result remains repeatably uneven, or the oven produces smoke or an unusual smell.
Stop if: Do not open the door repeatedly, override a control fault, or continue a test with smoke, flame, sparking, or a gas odor.
Why this matters
Why: Improvement points to heat loss or a setup issue rather than proving a component repair. Persistent uneven results or failure to complete preheat keeps a heating, sensing, control, or airflow fault in consideration.
-
Check 3
With the oven and food cool enough to handle, center the pan on the recommended rack, leave the clearances called for by the recipe and manual, and compare the result using the same pan material; verify from outside that the appliance is level rather than tilting the range yourself.
Expected result: A lower or middle rack improves the bottom, a different pan changes browning, the pan was crowded or off-center, or no safe setup change affects the same hot or cool area.
Next step: Keep the setup that matches the recipe and model instructions and document the before-and-after result. Request service for a persistent cavity pattern or a visibly unlevel installation that requires moving or rebuilding the appliance.
Stop if: Do not lift, tilt, remove, or rewire the range or wall oven, and do not place a rack where it prevents the door from closing.
Why this matters
Why: Whirlpool identifies rack position, bakeware surface, pan placement, and appliance level as contributors to browning and batter distribution. No change with a consistent setup makes an appliance-related problem more plausible, but does not identify a part.
-
Check 4
When the oven is cool and off, look for foil, a full-rack liner, an oven-floor liner, heavy soil, oversized cookware, or stored material blocking an accessible vent or air path; remove only loose items that the owner's manual says may be removed.
Expected result: A liner or item was blocking the rack or floor, the cavity is clear, or the suspected obstruction cannot be reached without removing panels or trim.
Next step: Restore the cavity to the manual's arrangement and repeat the controlled bake only if there is no safety symptom. Stop and arrange service if the obstruction is internal, the fan is abnormal, or the oven remains uneven.
Stop if: Do not remove panels, reach around energized parts, run a self-cleaning cycle to diagnose heating, or use foil to shield a hot spot unless the manual specifically permits the method for that model.
Why this matters
Why: Whirlpool warns that covering an entire rack or the oven bottom can block airflow, while heavy soil, a blocked path, or an inaccessible obstruction can affect performance. A clear accessible cavity does not rule out an internal airflow or component fault.
-
Check 5
If there is no smoke, gas odor, visible damage, or abnormal control behavior, perform Whirlpool's bake-performance test using the exact food, sheet, spacing, rack position, complete preheat, and package time range described in its guidance; do not use an oven thermometer as a substitute for the procedure.
Expected result: The test food is done and evenly browned within the package time range, is uniformly too light or too dark, or is unevenly browned in a repeatable location.
Next step: Save the test setup and result. If calibration is indicated, consult the exact owner's manual; if the pattern is localized, persistent, or unsafe, stop tests and arrange qualified appliance service.
Stop if: Do not perform the test with a damaged door, active gas odor, smoke, sparking, uncontrolled flame, or an oven that cannot hold a safe cycle.
Why this matters
Why: Even results support normal overall baking under that setup. Uniformly early or late results may justify checking model-specific calibration. A repeatable localized difference points beyond a simple overall calibration and needs service assessment of heating, airflow, sensing, door, or controls.
-
Check 6
Use the model number to read the Whirlpool owner's manual and identify whether that oven permits temperature calibration; if it does, follow only the documented control sequence and make one modest adjustment at a time before repeating the same bake-performance test.
Expected result: The manual documents calibration and the test showed an overall temperature bias, or the manual does not provide the procedure, the oven is not a model with that feature, or the localized uneven pattern remains after an allowed adjustment.
Next step: Record the original and adjusted setting and test result. Arrange service for persistent uneven heating, repeated calibration drift, failed preheat, abnormal fan or element behavior, or any electrical, smoke, flame, or gas symptom.
Stop if: Do not guess a calibration sequence, repeatedly offset the setting, access live wiring, remove an element or sensor, or bypass a control or safety device.
Why this matters
Why: A documented overall bias may be suitable for model-specific calibration. Missing instructions, a non-calibration issue, or a persistent localized hot or cold area means calibration is not an established fix and a technician must assess the appliance.
Use your observations
Decision map
Find the observation that best matches what you see, then follow the next safe action.
-
PATH 01Safety boundary
What you see
The uneven result follows the pan, recipe, rack position, door openings, or incomplete preheat and improves when the setup is corrected.
Do this next
Keep the corrected setup and follow the owner's manual and recipe instructions. Reassess only if the same uneven pattern returns under a controlled setup.
Why this path and its safety boundary
Why it matters: Bakeware, placement, heat loss, cycle selection, or preheating is more likely than a failed Whirlpool oven component.
Safety stop: Stop if the oven cannot complete preheat or shows smoke, sparking, flame, or a gas odor.
-
PATH 02Safety boundary
What you see
The controlled bake test is generally even but consistently early, late, too dark, or too light across the food, without a fixed hot or cold location.
Do this next
Check the exact Whirlpool model manual for its calibration procedure and repeat the same controlled test after any allowed adjustment. Use service when calibration is unavailable, drifts, or does not correct the result.
Why this path and its safety boundary
Why it matters: An overall temperature setting or calibration issue is more likely than a localized airflow or element hot spot.
Safety stop: Do not use repeated offsets or an unverified procedure as a substitute for diagnosis.
-
PATH 03Safety boundary
What you see
The same side, rack area, or food position is over- or under-cooked after complete preheat, a closed door, correct rack and pan setup, and a repeatable bake test.
Do this next
Stop repeated bake tests and arrange qualified appliance service. Provide the recipe, cycle, rack, pan, preheat behavior, photos, and the consistent location of the difference.
Why this path and its safety boundary
Why it matters: A localized heating, airflow, sensing, door-seal, or control problem is more likely; overall calibration alone is unlikely to correct a fixed hot spot.
Safety stop: Do not remove the back panel, heating element, temperature sensor, fan, or door parts as a user test.
-
PATH 04Safety boundary
What you see
A full-rack or oven-floor liner, oversized item, heavy soil, blocked accessible vent, or abnormal fan behavior is found.
Do this next
Remove only loose items permitted by the manual, restore the cavity arrangement, and reassess once under safe conditions. Request service if the fan or internal path remains abnormal.
Why this path and its safety boundary
Why it matters: The obstruction or airflow condition can affect cooking distribution, but an internal or inaccessible restriction is not a user repair.
Safety stop: Do not remove panels or use foil as a heat shield unless the exact manual explicitly allows it.
-
PATH 05Safety boundary
What you see
The oven produces smoke, sparking, uncontrolled flame, a gas odor, visible damage, a door that will not close, or heating behavior that cannot be controlled.
Do this next
Turn controls off if it is safe, leave the area for a gas or fire hazard, and obtain the appropriate emergency or qualified appliance help from a safe location. Keep the oven out of use until assessed.
Why this path and its safety boundary
Why it matters: This is a safety and service condition, not a browning experiment; the cause may involve gas, electrical, mechanical, or control components.
Safety stop: Do not continue cooking, relight or investigate a gas appliance, or touch damaged wiring or hot parts.
Helpful context
Understand the symptom
Separate food setup from an oven fault
Uneven browning is not the same as an oven cavity having one permanently cold area. A dark pan, an insulated pan, a crowded rack, an off-center pan, an unlevel appliance, a selected cycle, or opening the door can change the result. Whirlpool also notes that heating elements cycle on and off, so a brief visual check of an element is not a reliable temperature diagnosis. Look for a repeatable pattern across the same recipe and position before considering a part.
Use a controlled test before calibration
Whirlpool's bake-performance procedure uses identical biscuits spaced on a sheet, a middle rack, complete preheating, and the package's baking-time range. The result is considered useful when the biscuits are done and evenly browned within that range. That test evaluates overall baking behavior; it does not prove which component is responsible for a hot or cold spot.
Calibration is not a cure for every hot spot
Calibration changes the oven's overall temperature setting on select models; it cannot correct a pan that is shading part of the cavity, a blocked air path, a damaged element, a circulation problem, or a door that does not close correctly. Use only the exact owner's manual procedure after a controlled test, and arrange service when the uneven pattern remains or the oven shows a safety symptom.
Safety boundary
Stop conditions
- Stop using the oven for smoke, sparking, uncontrolled flame, gas odor, damaged wiring or glass, a door that will not close, or heating that cannot be controlled.
- Do not use an oven thermometer as a substitute for the manufacturer's bake-performance procedure, and do not repeatedly adjust calibration to chase a localized hot spot.
- Do not remove panels, heating elements, sensors, fans, door parts, or live wiring as a user test; arrange qualified appliance service instead.
- Do not cover the oven floor or an entire rack with foil, block vents, or use a heat shield unless the exact owner's manual permits the arrangement.
- Do not run repeated bake tests when the oven has an unsafe symptom or when the result remains persistently uneven after a controlled setup.
Only after diagnosis
Potential parts
- oven temperature sensor
Consider this category only after a qualified diagnosis finds a repeatable temperature or sensing fault rather than a setup, rack, bakeware, or overall calibration issue.
Confirm the exact Whirlpool model, sensor design, connector, and manufacturer's fit information before ordering; do not remove or test the sensor as a user experiment. - oven bake or broil heating element
Consider this category only when qualified service identifies an element that is damaged, not heating as designed, or contributing to a repeatable localized pattern.
Confirm oven configuration and exact model fitment; do not inspect energized wiring or replace an element without qualified service. - oven convection fan or airflow component
Consider this category only when the exact Whirlpool model has the relevant airflow system and qualified diagnosis confirms abnormal fan operation or an internal airflow fault.
Verify the model, cycle, fan assembly, and service procedure; do not reach into or remove fan parts while the oven is connected or hot.
When checks do not resolve it
Need a professional?
Arrange qualified Whirlpool appliance service when the same cavity area remains over- or under-cooked after complete preheating, correct cycle, closed-door use, suitable rack and bakeware, and a controlled bake test; when calibration is unavailable or does not help; or when preheat, fan, element, door, sensing, or control behavior is abnormal. Stop use immediately for smoke, sparking, an uncontrolled flame, gas odor, visible damage, or a door that cannot close safely.
Safety scope: This article covers safe observation, setup correction, and the manufacturer's controlled bake test only. Qualified service must handle internal heating, sensing, airflow, door, gas, electrical, and control diagnosis.
Common questions
FAQ
Why does my Whirlpool oven brown one side more than the other?
First check pan placement, rack position, bakeware, complete preheating, door openings, and whether the appliance is level. If the same side remains different under a controlled setup, arrange service because the pattern may involve airflow, heating, sensing, the door, or controls.
Can an oven that heats unevenly just need calibration?
Calibration may help an overall result that is consistently early, late, too dark, or too light, but it is unlikely to correct a fixed hot or cold spot. Use Whirlpool's controlled bake-performance test and only the exact model manual before making an allowed adjustment.
Should I use an oven thermometer to check uneven heating?
Whirlpool's poor-baking guidance says not to use a thermometer to measure oven temperature because heating elements cycle. Use the manufacturer's bake-performance procedure and record the location and pattern of the result instead.
Can foil fix a hot spot in my Whirlpool oven?
Do not cover the oven floor or an entire rack with foil to shield a hot spot. Whirlpool warns that this can block airflow. Correct the rack and bakeware arrangement according to the manual, and obtain service for a persistent localized difference.
When is uneven oven heating unsafe?
Stop using the oven for smoke, sparking, an uncontrolled flame, a gas odor, visible damage, a door that will not close, or heating that cannot be controlled. Leave a gas or fire hazard from a safe location and obtain the appropriate emergency or qualified appliance help.
Read the exact guide
Official sources
- Oven Calibrated - Too Cold - Electric RangeWhirlpool Product Help · Official Whirlpool Product Help guidance for a Whirlpool electric range with poor temperature results; used for general setup boundaries while deferring exact calibration steps to the installed model's manual.
- How to Evaluate if Temperature Calibration is NeededWhirlpool Product Help · Official Whirlpool Product Help procedure for evaluating baking temperature and calibration; used to distinguish overall temperature bias from a localized uneven-heating pattern.
- Poor Baking Results - RangeWhirlpool Product Help · Official Whirlpool Product Help guidance for poor range baking results; used to explain normal cycling and why a single temperature reading does not establish a failed part.
- How to Correct Uneven Baking or BrowningWhirlpool Product Help · Official Whirlpool Product Help guidance for uneven baking and browning across Whirlpool cooking appliances; used for safe setup checks and symptom interpretation, not for identifying an internal failed part.
Community feedback
Share a repair observation
Share a plain-text repair observation. Accepted observations are published automatically; this page may take a moment to update.