
On this page
Start here
Quick answer
Crumbling or powdery grout is a symptom, not proof of one particular failure. An isolated dry joint may reflect the original grout or curing conditions, while a repeated line, perimeter joint, damp area, or changing tile can point to movement or moisture. First map where the grout is failing, look for water clues, observe whether the tile surface stays stable during ordinary use, and record whether the pattern is progressing. Keep the area clean and dry, but do not patch the joints until the likely cause and the compatible repair have been checked.
Work through in order
Diagnostic checks
Use only checks that match the exact appliance or system and its official guide.
-
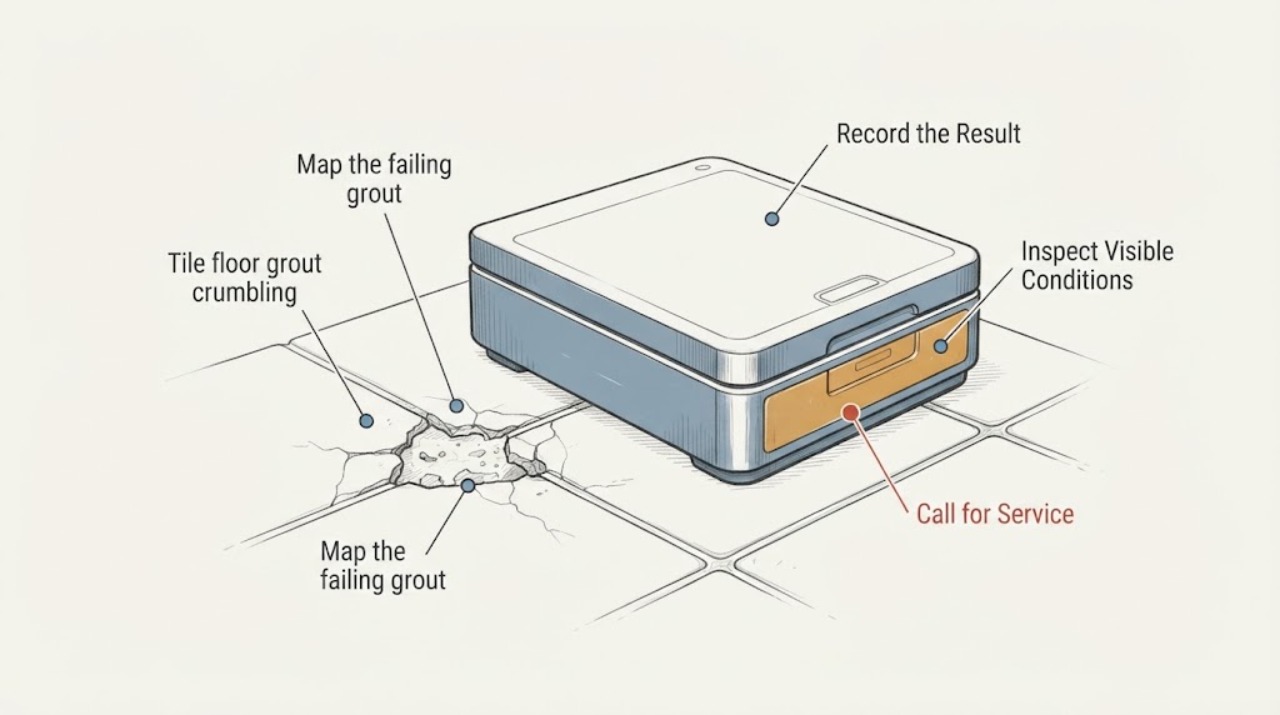
Map the failing grout
With the floor dry and viewed from a stable standing position, photograph and mark the locations where grout is powdery, missing, recessed, or visibly split. Compare isolated joints with joints that form a line, perimeter, doorway, or change of plane. Do not disturb the joint to make the condition easier to see.
Expected result: Record whether the problem is one or two short joints, many joints across a room, a repeated straight path, or a boundary around a tile field. Also note any chipped tile edge or raised tile edge visible without handling it.
Next step: Keep the photos and room map for a flooring professional. Continue to the moisture and movement observations before choosing a grout product.
Stop if: Stop the inspection if the floor edge is sharp, unstable, wet enough to slip, or creating a trip hazard; restrict access and request professional service.
Why this matters
Why: A localized patch can be a limited grout or curing issue, while a repeated line or boundary pattern makes movement or a joint detail more relevant. A chipped or raised tile changes the job from a simple appearance concern to a flooring assessment.
-
Look for moisture clues
Visually check the affected joints, nearby walls, thresholds, fixtures, and cabinets for discoloration, chalky residue, dampness, peeling finish, or a musty odor. Note any recent spill, plumbing leak, cleaning event, or recurring condensation. Do not add water to the floor as a test or open concealed surfaces.
Expected result: Write down whether the area is currently dry, whether the clue is confined to a wet-use edge, and whether it returns after the source area is used. A chalky or white crystalline deposit can be efflorescence, but appearance alone cannot identify the source.
Next step: If there is an active leak, contaminated water, persistent dampness, or mold-like growth, stop cosmetic work and contact an appropriate flooring, plumbing, or water-damage professional. Otherwise, continue by observing tile stability and progression.
Stop if: Stop and keep people away if water is spreading, sewage or other contaminated water is involved, the odor is strong, or a concealed leak is suspected.
Why this matters
Why: EPA identifies moisture as the controlling condition for indoor mold growth and lists bathroom tile and grout among common damp locations. A damp or recurring pattern means a source and drying plan should be addressed before cosmetic joint work; a dry floor with no history keeps installation and movement causes in the assessment.
-
Observe tile stability without forcing it
From a safe standing position, look across the tile faces and joints for lippage, a raised corner, a widening gap, a tile that appears out of plane, or movement noticed during ordinary walking. Do not deliberately rock, pry, lift, or press hard on a tile.
Expected result: Record whether the tile surface looks even and remains quiet during normal use, or whether a tile shifts, clicks, separates, or has a visible edge or gap. Note whether the grout loss is beside that tile or follows several tiles.
Next step: Send the location map and photos to a qualified flooring professional and describe any movement exactly as observed. Do not try to stabilize the tile or fill the joint as a substitute for assessment.
Stop if: Stop using the area if a tile rocks, rises, cracks, or presents a trip or cut hazard; isolate the area and arrange service.
Why this matters
Why: A stable-looking tile supports a limited grout assessment but does not prove the installation is sound. Visible shift, separation, or a repeated gap makes bond, movement, or moisture assessment more important than selecting a filler.
-
Track progression and triggers
Take a dated photo from the same angle and record when the crumbling was first noticed, whether it follows seasonal changes or a recent installation, and whether it worsens after cleaning, rain, plumbing use, or ordinary traffic. Keep the log descriptive rather than assigning a cause.
Expected result: A stable small spot with no new loss is different from joints that continue to powder, spread to adjacent tiles, or recur after a surface patch. Note any new tile crack, odor, dampness, or edge change.
Next step: Provide the log, photos, tile material if known, joint width if readily visible, and any product or installation records to the service provider. Recheck only from a safe, dry position.
Stop if: Stop monitoring and request service if the affected area expands quickly, tiles crack or shift, water returns, or the surface becomes unsafe.
Why this matters
Why: Progression or a repeatable trigger raises the priority of finding the underlying moisture or movement condition. A stable, dry, isolated area can be reviewed for a compatible local grout repair after the joint type and tile condition are confirmed.
Use your observations
Decision map
Find the observation that best matches what you see, then follow the next safe action.
-
PATH 01Safety boundary
What you see
Only a small, isolated area is affected; the floor is dry, the tile looks stable, and the log shows no progression.
Do this next
Ask a flooring professional to confirm the grout type, joint condition, and cause before selecting a compatible grout-repair material. Follow the product instructions and allow the area to dry and cure as specified.
Why this path and its safety boundary
Safety stop: If the joint opens again, adjacent joints begin to fail, or a tile changes position, stop cosmetic repair and return to a flooring assessment.
-
PATH 02Safety boundary
What you see
Failure follows a long line, room perimeter, doorway, transition, or other boundary, or the tile visibly moves or separates.
Do this next
Have a qualified tile or flooring professional inspect the installation and movement-joint details. Provide the pattern map and dated photos; do not assume a filler can accommodate the observed movement.
Why this path and its safety boundary
Safety stop: Keep traffic off any shifting, raised, cracked, or sharp area until it has been assessed.
-
PATH 03Safety boundary
What you see
There is dampness, recurring condensation, a musty odor, chalky residue, a recent leak, or mold-like growth near the grout.
Do this next
Address the water source and drying plan with the appropriate professional before cosmetic joint work. EPA guidance emphasizes fixing the moisture problem and drying affected materials; surface appearance alone is not a moisture diagnosis.
Why this path and its safety boundary
Safety stop: Do not disturb suspected mold or contaminated water. Leave the area and obtain qualified water-damage or remediation help when the water is not clean or the extent is uncertain.
-
PATH 04Safety boundary
What you see
The grout is rapidly disappearing, the floor is becoming a trip or cut hazard, or tile cracking is spreading.
Do this next
Restrict access, photograph the condition from a safe location, and request prompt flooring service. If water is actively entering, also contact the relevant leak or plumbing professional.
Why this path and its safety boundary
Safety stop: Do not continue normal traffic or attempt a cosmetic patch over an unsafe or actively worsening area.
Helpful context
Understand the symptom
What the pattern can tell you
A few missing or powdery joints in an otherwise stable, dry floor are a different starting point from grout loss that follows a doorway, wall edge, change of plane, or a long straight line. A chalky deposit, damp odor, recent leak, or repeated return after cleaning deserves attention before a cosmetic repair. These observations narrow the next professional assessment; they do not establish a hidden substrate or structural cause.
Keep the inspection low risk
Use normal lighting or a flashlight while standing on a stable, dry surface. Photograph the floor from above, note the room and nearby fixtures, and avoid deliberately flexing a tile, disturbing a joint, or creating debris. If the area is wet, contaminated, sharp, or a trip hazard, keep people away and arrange professional help.
Only after diagnosis
Potential parts
- grout-repair
Only consider a grout-repair material after the area is dry and stable, the joint type is identified, and a professional has ruled out an active moisture or movement issue.
Match the grout family, joint width, tile material, color, and wet-or-dry use area; follow the selected product label and do not assume one mix fits every installation. - tile-sealant
Consider a sealer only after sound grout has cured, the surface is dry, and the tile and grout manufacturer or flooring professional confirms that sealing is appropriate.
Sealer does not repair missing grout or correct an active leak or movement condition. Confirm the tile finish and grout type before application. - tile-repair-kit
Only consider a tile-repair kit when the tile itself has a small cosmetic chip and the surrounding tile is stable after the grout cause has been assessed.
Match the kit to the ceramic or porcelain finish and color; it is not a substitute for service when tile is loose, shifting, cracked through, or exposed to recurring moisture.
When checks do not resolve it
Need a professional?
Call a qualified flooring or tile professional when grout loss is widespread or recurring, follows a boundary, is accompanied by tile movement or cracking, or appears with dampness, odor, or a leak. Use a water-damage or plumbing professional when the water source or contamination is involved.
Have this ready
- Provide the room and affected-joint map, dated photos, moisture or leak history, installation or product records if available, and a description of any tile movement, odor, or progression. Do not send personal contact details in the article.
Common questions
FAQ
Can I just patch the crumbling grout now?
Not before checking the pattern, moisture clues, tile stability, and progression. A local repair may be reasonable only after the area is dry and stable and the grout and joint type are confirmed. Repeated loss, movement, or dampness needs assessment first.
Why does grout crumble around a doorway or along the floor edge?
A boundary or transition can experience different movement from the field of tile, and moisture can also concentrate near wet areas or edges. That pattern is a reason to document the location and ask a flooring professional to review the joint detail rather than treating it as an ordinary isolated patch.
Will a tile sealer stop grout from crumbling?
A sealer is not a repair for missing grout and cannot correct an active leak, recurring dampness, or movement. Consider it only after sound grout is dry and cured and the tile or grout manufacturer or flooring professional confirms it is suitable.
Read the exact guide
Official sources
- Durock™ Brand Uncoupling MatUSG · Supports the general distinction between tile assemblies and lateral substrate movement; it is not a diagnosis of this floor or a recommendation to install this product.
- Frequently Asked QuestionsCUSTOM Building Products · Supports movement, flexible substrates, joint changes, efflorescence, and grout curing as possibilities to evaluate; product-specific installation instructions still control.
- Mold Course Chapter 1: Introduction to MoldsU.S. Environmental Protection Agency · Supports treating dampness, recurring odor, and water history as reasons to address moisture before cosmetic work; it does not identify the cause of a particular grout failure.
Community feedback
Share a repair observation
Share a plain-text repair observation. Accepted observations are published automatically; this page may take a moment to update.