
On this page
Start here
Quick answer
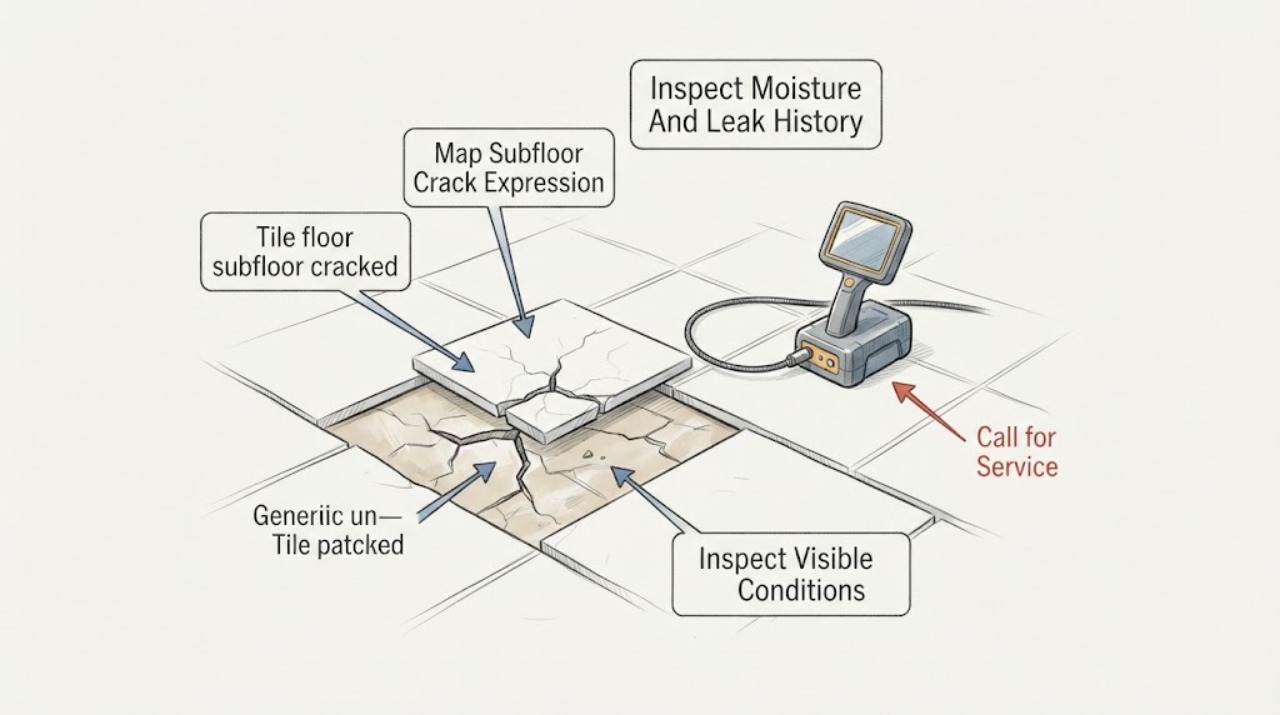
A suspected cracked subfloor should be treated as a possible movement or moisture problem, not as a surface defect to cover. From a safe standing position, document whether the crack appears through grout, tile, or a transition; look for uneven or moving-looking tile surfaces without pressing or prying; and check for moisture, stains, or a history of leaks. A crack that crosses several joints, returns after repair, accompanies lippage or a soft area, or follows a subfloor or structural line needs a flooring professional to assess the layers before any tile work. Do not demolish the floor, cut tile, drill, or regrout as a cure.
Before you begin
Safety first
- Do not demolish the floor, cut or grind tile, drill, pry or lift tiles, probe concealed layers, apply a test load, flood the area, mix chemicals, or regrout as a cure before the suspected subfloor condition is assessed.
Work through in order
Diagnostic checks
Use only checks that match the exact appliance or system and its official guide.
-
Check 1
In good light, photograph the line and compare it with grout joints, tile faces, doorways, and transitions without scraping, probing, or removing material.
Expected result: Record whether the line stays in one grout joint, continues across tile faces, crosses several joints, branches, or follows a straight building or room boundary.
Next step: Mark the room location on the photos and continue with visual displacement and moisture observations before selecting any repair product.
Stop if: Stop if tile pieces are sharp, loose, lifting, or creating a trip hazard.
Why this matters
Why: A line that crosses tile or multiple joints is more concerning for movement or a crack transferred from a lower layer than an isolated grout fissure. The visible path still does not prove which layer is cracked.
-
Check 2
View the affected floor from a low angle and compare the tile plane, grout width, and adjacent transitions with nearby unaffected areas; do not press, bounce, rock, or pry the tiles.
Expected result: Look for raised edges, lippage, a tile that appears displaced, changing joint width, a gap at a transition, or a visible soft-looking or sagging finish.
Next step: Photograph the direction and extent of the irregularity and request a flooring professional to assess the tile, underlayment, and subfloor as a system.
Stop if: Stop traffic over the area if flooring flexes during ordinary use, a tile lifts, or the surface could cause a fall.
Why this matters
Why: Visible displacement or a soft-looking area supports a movement or support problem beneath the tile and makes a surface patch inappropriate. A flat-looking field narrows the possibilities but does not rule out a concealed subfloor crack.
-
Check 3
From a dry standing position, inspect visible grout, baseboards, nearby fixtures, and the room below if safely accessible for staining, dampness, musty odor, or prior leak history; do not add water to test the floor.
Expected result: Note whether the crack is near a bathroom or kitchen fixture, exterior wall, doorway, or area with recurring spills, and whether discoloration or odor is present.
Next step: Prevent further wetting when safe, document the source and timing, and involve flooring or plumbing service as the observations indicate.
Stop if: Stop for standing water, soft or collapsing flooring, visible mold, sewage, or moisture near electrical equipment.
Why this matters
Why: Moisture can change wood-based subfloor materials or damage the tile assembly and may be the cause rather than a consequence of cracking. A dry appearance does not exclude concealed moisture.
-
Check 4
Record whether the crack is near a room perimeter, corner, control or movement joint, change of plane, doorway, heavy fixed item, or a line that may correspond to a subfloor seam, without moving furniture or applying a test load.
Expected result: Compare the location with the room geometry and note whether nearby tiles show the same line, whether the area receives concentrated normal loads, or whether the pattern follows a transition.
Next step: Provide the location map and any installation or remodeling history to a flooring professional; leave heavy items and flooring undisturbed.
Stop if: Stop if the crack coincides with a significant height change, unstable furniture, or a surface that can no longer support normal walking safely.
Why this matters
Why: A repeated line at a boundary or seam can reflect movement accommodation or substrate behavior. Concentration near a load or transition helps a professional target the assessment but does not justify structural certainty from appearance alone.
-
Check 5
Take dated photographs from the same position during normal dry use and compare them without deliberately wetting, heating, loading, or flexing the floor.
Expected result: Determine whether the line stays unchanged, widens, branches, spreads to adjacent tile, returns after prior regrouting, or changes after weather or building movement.
Next step: Bring the dated record and any prior repair or leak history to the flooring professional and avoid cosmetic repair until the suspected subfloor condition is understood.
Stop if: Stop normal use if the crack accelerates, tiles lift, water appears, or the floor becomes unsafe.
Why this matters
Why: Growth or recurrence supports an unresolved substrate, moisture, or movement issue. A stable line may still need professional evaluation if it is through tile, near a support line, or paired with displacement.
Use your observations
Decision map
Find the observation that best matches what you see, then follow the next safe action.
-
PATH 01Safety boundary
What you see
The line appears confined to one grout joint, with no displacement, moisture, soft area, or trip hazard.
Do this next
Photograph and monitor it, then ask a flooring professional whether the surface condition can be repaired after the substrate is assessed.
Why this path and its safety boundary
Safety stop: Do not assume the subfloor is sound if the line spreads, recurs, or crosses the tile.
-
PATH 02Safety boundary
What you see
The crack crosses tile faces or several grout joints, or follows a repeating straight line.
Do this next
Arrange a flooring professional assessment of the tile layer, underlayment, subfloor or slab, and movement history before repair.
Why this path and its safety boundary
Safety stop: Do not demolish, cut, grind, pry, or lift tile to investigate.
-
PATH 03Safety boundary
What you see
Lippage, displacement, a soft-looking area, flex during ordinary use, or a height change accompanies the crack.
Do this next
Limit traffic and request prompt professional flooring assessment; the surface may not be safely supported.
Why this path and its safety boundary
Safety stop: Isolate the area for a trip or fall hazard and do not apply a cosmetic patch.
-
PATH 04Safety boundary
What you see
The crack occurs with dampness, staining, musty odor, a fixture leak, or a history of wetting.
Do this next
Prevent further wetting when safe and arrange flooring or plumbing evaluation before any tile or grout repair.
Why this path and its safety boundary
Safety stop: Stop for standing water, soft flooring, visible mold, sewage, or moisture near electrical equipment.
-
PATH 05Safety boundary
What you see
The line widens, branches, spreads, or returns after previous regrouting or patching.
Do this next
Treat it as an unresolved substrate or movement condition and request a cause-first inspection.
Why this path and its safety boundary
Safety stop: Stop using the area if the floor becomes unstable or unsafe.
Helpful context
Understand the symptom
Why a subfloor crack can appear in tile
Tile is a relatively rigid finish over underlayment and a subfloor or slab. Movement, settlement, moisture-related changes, loading, inadequate support, or a crack in the substrate can transfer stress upward into grout or tile. LATICRETE explains that substrate cracks and movement can transfer to the tile layer, while its membrane guidance emphasizes that crack-isolation choices depend on site conditions and professional assessment. A visible line alone cannot identify which layer is cracked.
Observe without opening the floor
Use light, photographs, and normal walking observation from a stable position. Do not scratch the joint, press down to make it move, pry or lift a tile, cut or grind, drill, remove flooring, flood the area, or mix repair chemicals. Until the cause is known, keep the area dry and limit traffic if the surface is loose, sharp, or unsafe.
Only after diagnosis
Potential parts
- tile repair kit
Consider this category only if a professional confirms a localized cosmetic tile defect with a stable subfloor and no active movement or moisture.
Match the material to the tile type, surface finish, and color; a kit does not repair a cracked subfloor or unstable tile assembly. - grout repair
Consider this category only after the cause is confirmed as a stable grout-only condition rather than a crack transferred from the subfloor.
Confirm grout type, joint width, tile material, movement-joint location, and substrate condition before selecting any material. - tile leveling tool
Consider this category only within a professional tile replacement plan when alignment needs are confirmed after the subfloor and underlayment are stable.
Tool suitability depends on tile size, layout, substrate preparation, and installation system; it cannot correct an active subfloor crack.
When checks do not resolve it
Need a professional?
Have this ready
- Provide dated photos, the crack path, tile and grout observations, room or transition location, moisture and weather history, installation or remodeling history, and any previous repair attempts.
Common questions
FAQ
How can I tell whether the subfloor is cracked beneath tile?
You usually cannot confirm the hidden layer without professional assessment. A crack across multiple joints or tile, displacement, flex, or recurrence can support concern, but do not pry or remove tile as a home test.
Can I just regrout a crack that might be in the subfloor?
Not before checking movement, moisture, tile displacement, and the substrate. Regrouting over an active subfloor problem can fail again and conceal useful evidence.
Does an anti-fracture membrane fix an existing cracked subfloor?
A membrane may be part of a professional tile-system plan, but suitability depends on the substrate, crack behavior, materials, and installation requirements. It is not a reason to skip assessment or begin demolition.
When should I stop walking on the tile floor?
Limit traffic when tiles lift, the floor flexes or feels soft, sharp edges appear, water is present, the crack becomes a trip hazard, or the surface seems unstable. Arrange professional flooring service.
Read the exact guide
Official sources
- Cement Grout Troubleshooting Guide (TDS 201)LATICRETE International · General cement-grout troubleshooting context; the article does not assume a specific LATICRETE product or installation.
- Uncoupling & Anti-Fracture MembranesLATICRETE International · General manufacturer explanation used to distinguish a subfloor or slab crack from a surface-only defect; no product suitability is assumed.
- Cement GroutsLATICRETE International · General manufacturer planning guidance used to support a cause-first evaluation; no specific product or installation is assumed.
Community feedback
Share a repair observation
Share a plain-text repair observation. Accepted observations are published automatically; this page may take a moment to update.