
Repair service
Flooring Guides
Flooring installation, repair, and maintenance.
Published flooring guides
Choose the guide that best matches the service and problem you are seeing.
-
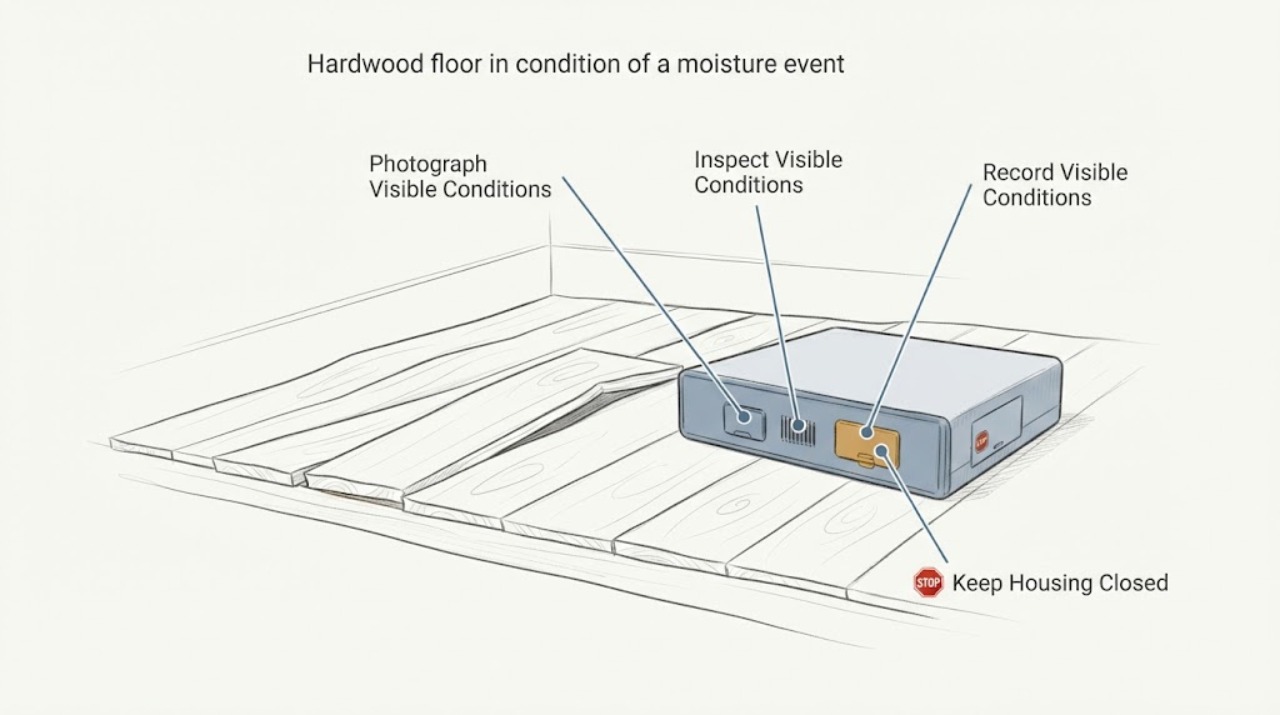
Hardwood floor buckling moisture event: What to Check and What to Do Next
Treat buckled hardwood after a moisture event as a water-source and flooring-system problem, not a board-pressing or quick-patch job. Keep people and heavy loads off the raised area, document the pattern and the suspected source from a safe position, and arrange a qualified flooring or water-damage assessment.
-
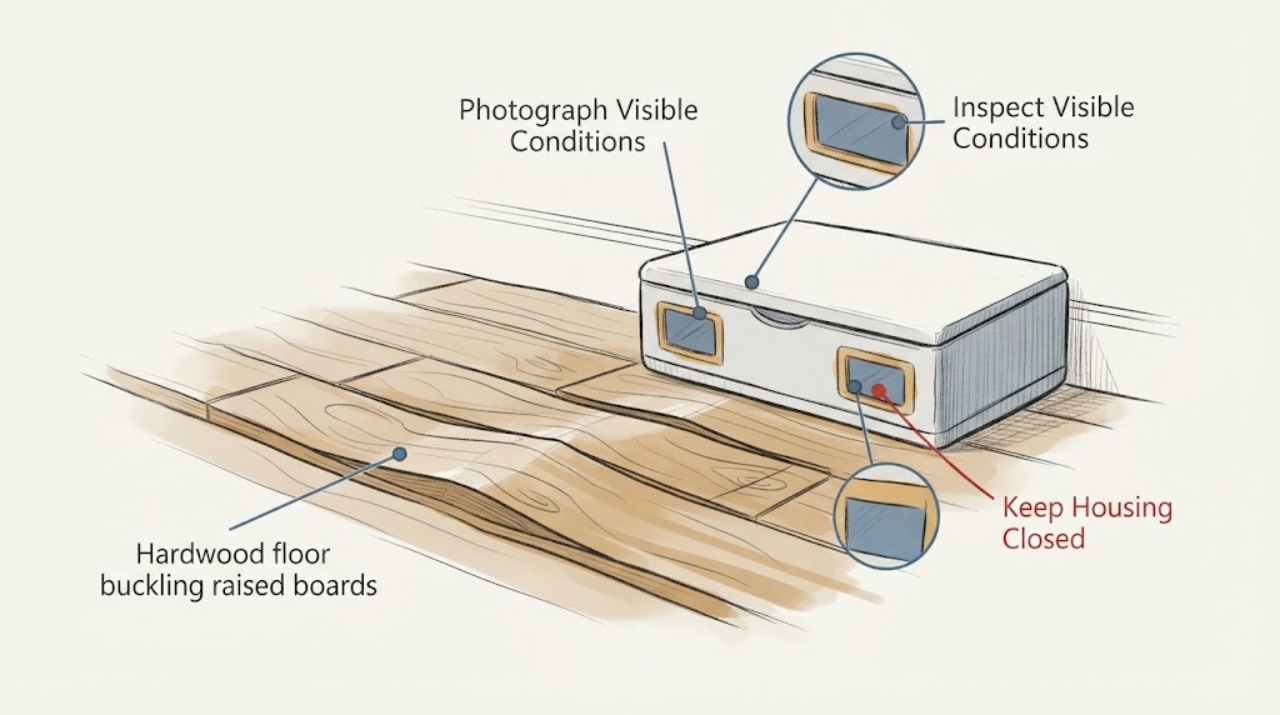
Hardwood floor buckling raised boards: What to Check and What to Do Next
Raised hardwood boards usually mean the floor has responded to moisture or has lost room to move, but the hump does not identify the source or whether the subfloor is affected. Keep people and heavy loads off the raised area, photograph the pattern, look for active water and safe ground-level evidence, and arrange a qualified flooring or water-damage assessment.
-
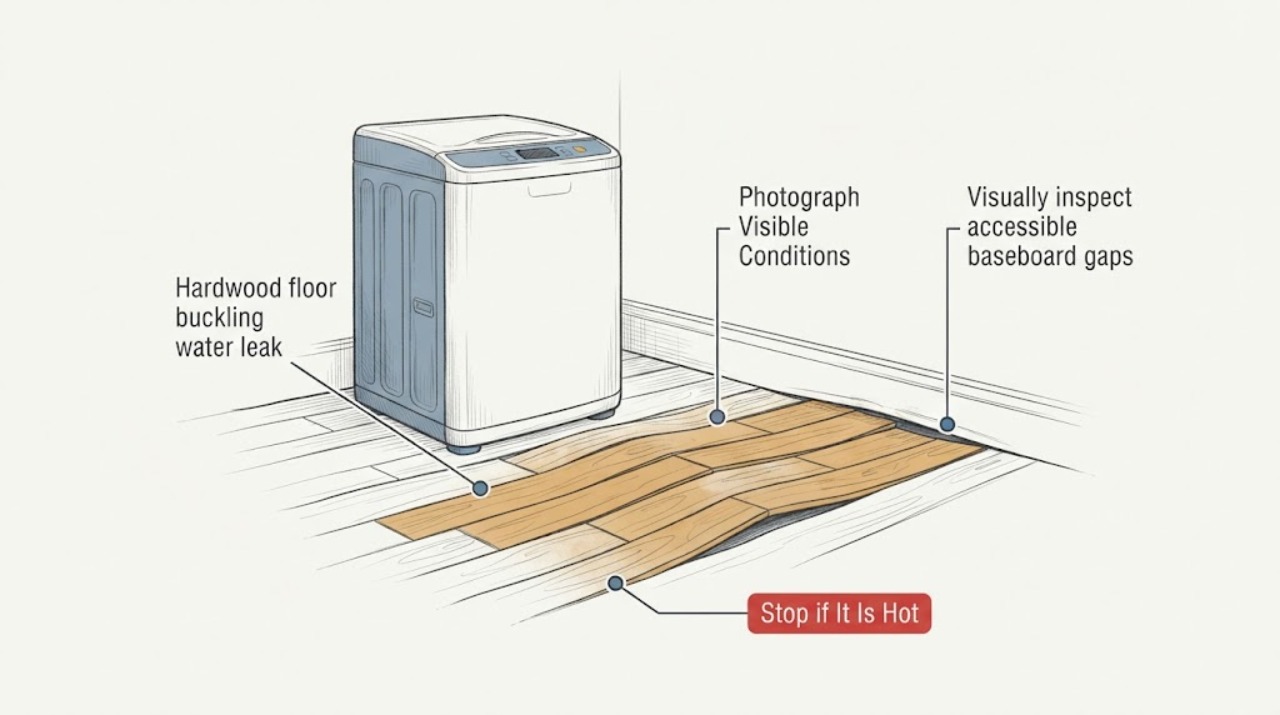
Hardwood floor buckling water leak: What to Check and What to Do Next
Treat hardwood-floor buckling after a water leak as a moisture-damage assessment, not a simple board-level patch. From a safe dry area, document the leak source, standing water, affected room, board movement, finish damage, and any musty odor or visible mold.
-
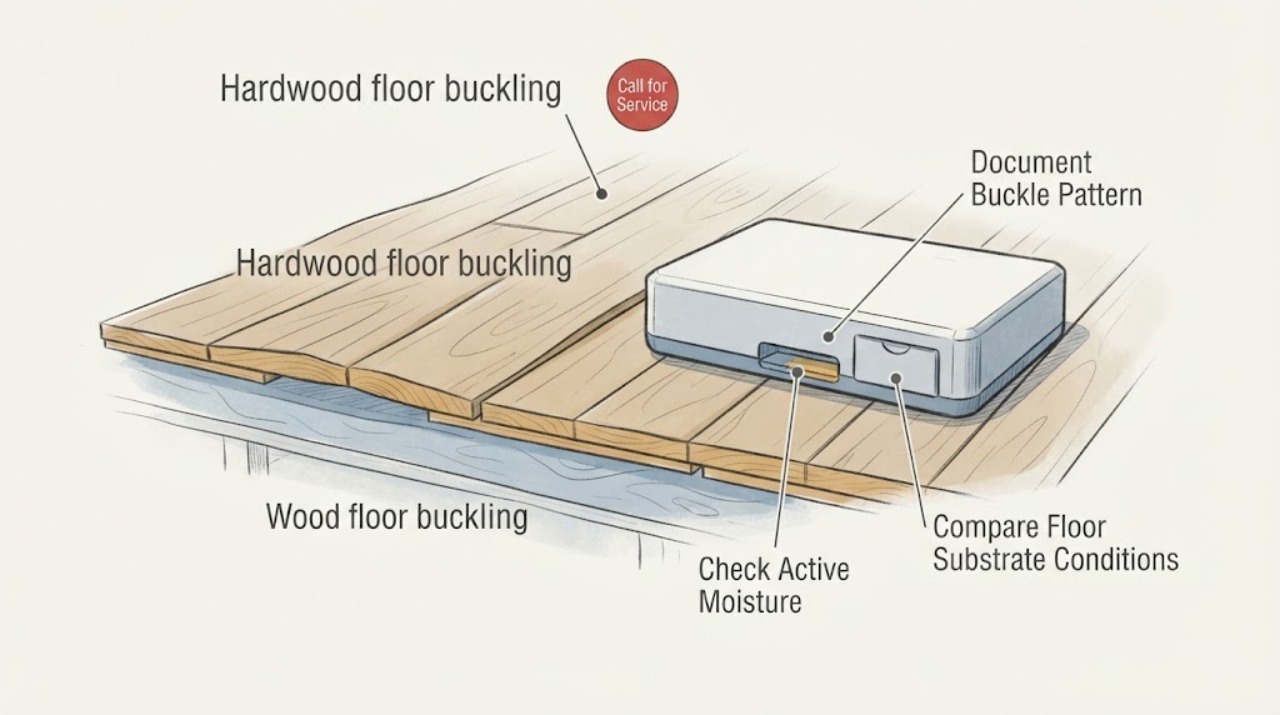
Hardwood floor buckling: What to Check and What to Do Next
Buckled hardwood is usually a moisture and movement problem, not a surface blemish to force flat. Stop adding water, avoid walking on raised boards, and document when the change began and where it is spreading.
-
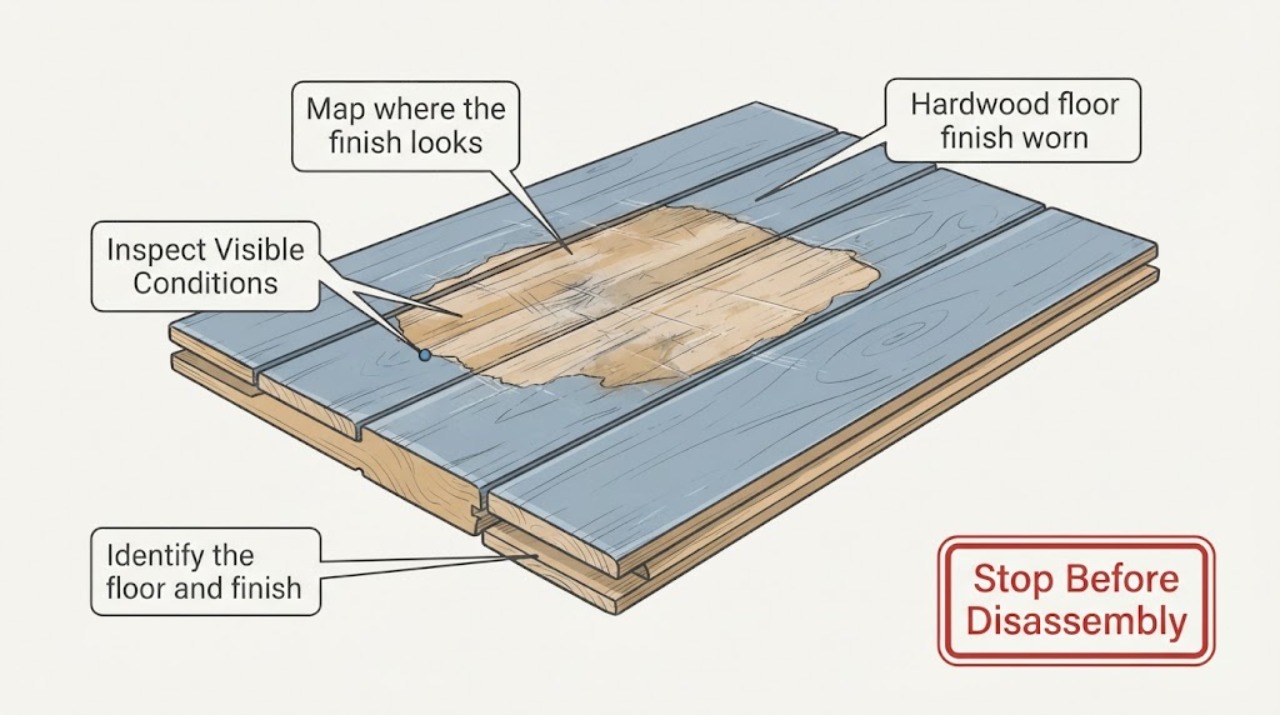
Hardwood floor finish worn: What to Check and What to Do Next
First determine whether the problem is only surface-finish wear or whether the wood itself has been exposed or damaged. From a safe standing position, photograph the sheen and scratch pattern, look for bare or gray-looking wood, dark staining, cupping, raised edges, soft spots, gaps, or moisture near the floor, and identify whether the floor is factory-finished, site-finished, solid, or engineered from the flooring records.
-
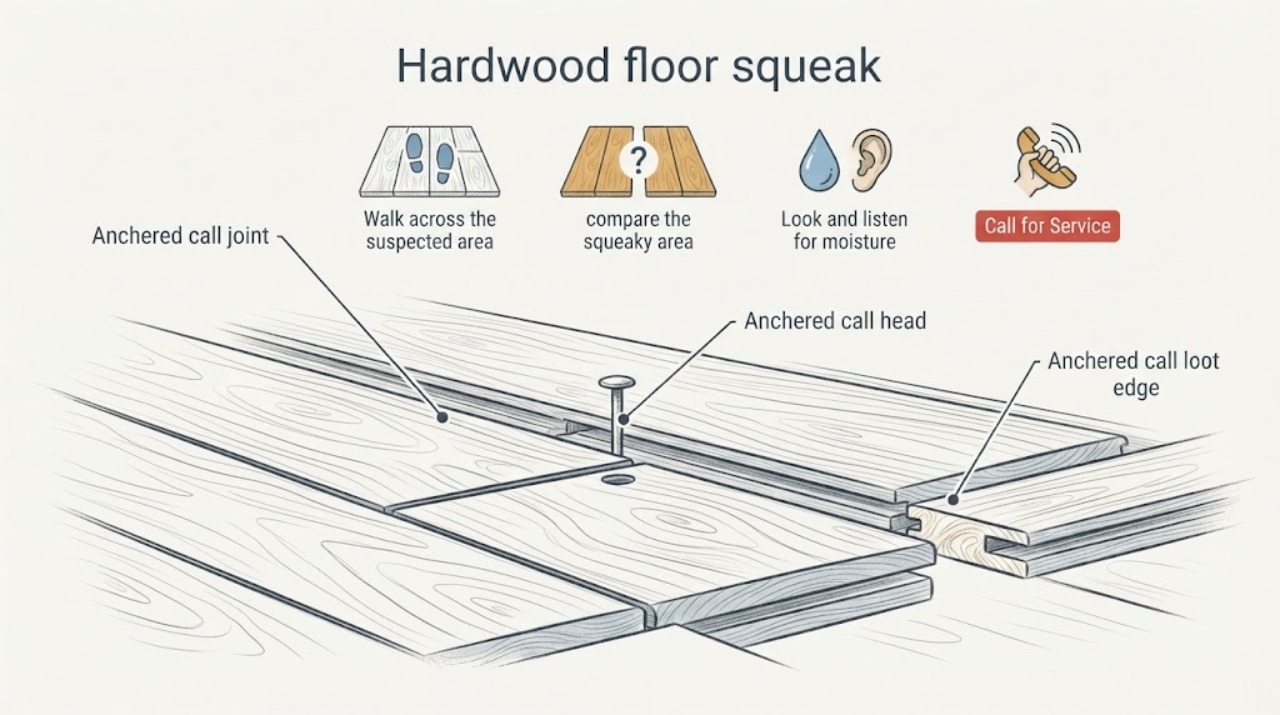
Hardwood floor squeak: What to Check and What to Do Next
Map the squeak before attempting any repair: walk the area normally and listen for the exact board, seam, threshold, stair, or room where the sound occurs; note whether the floor feels firm, moves, looks swollen or cupped, or shows moisture evidence. A squeak often reflects relative movement between the floor or subfloor and a fastener, but moisture, loose transitions, or a hidden subfloor or structural condition can look similar.
-
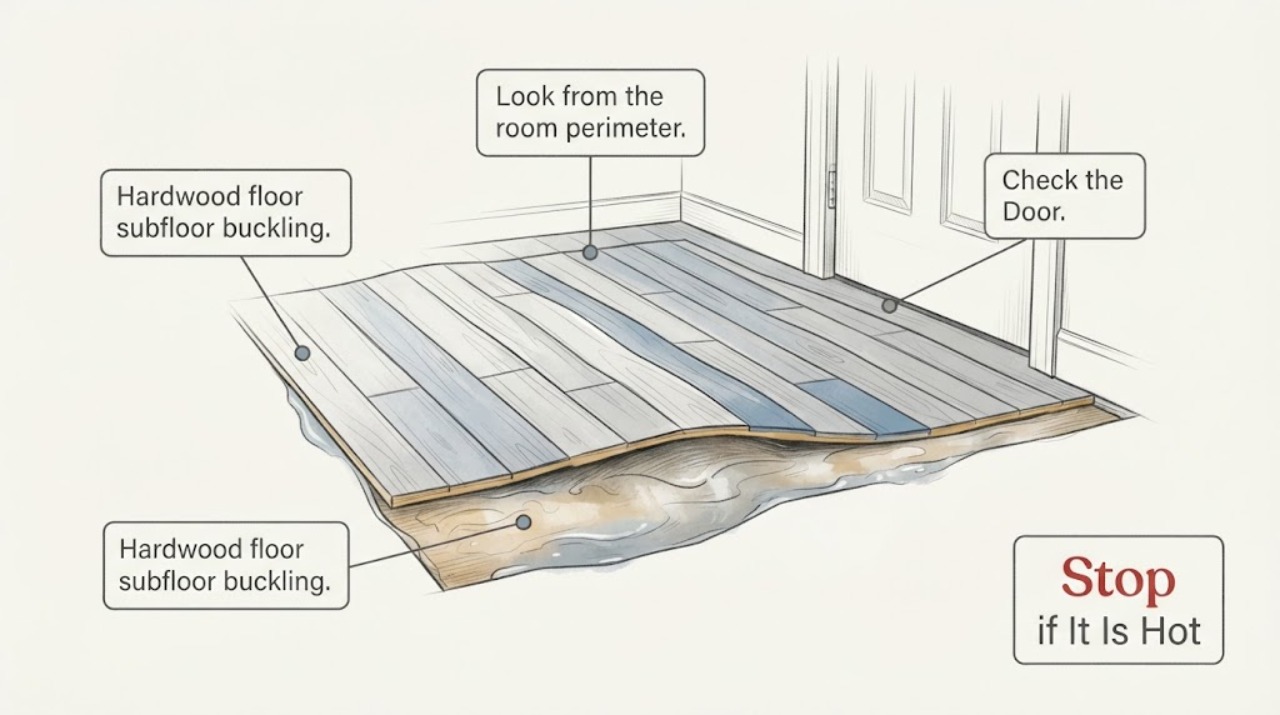
Hardwood floor subfloor buckling: What to Check and What to Do Next
Do not pry up, cut, drill, or lift the hardwood floor to inspect a suspected subfloor problem. From a safe standing position, document the shape and extent of the buckling, visible water or moisture clues, whether it reaches walls or neighboring rooms, and whether it is changing or creating a trip hazard.
-
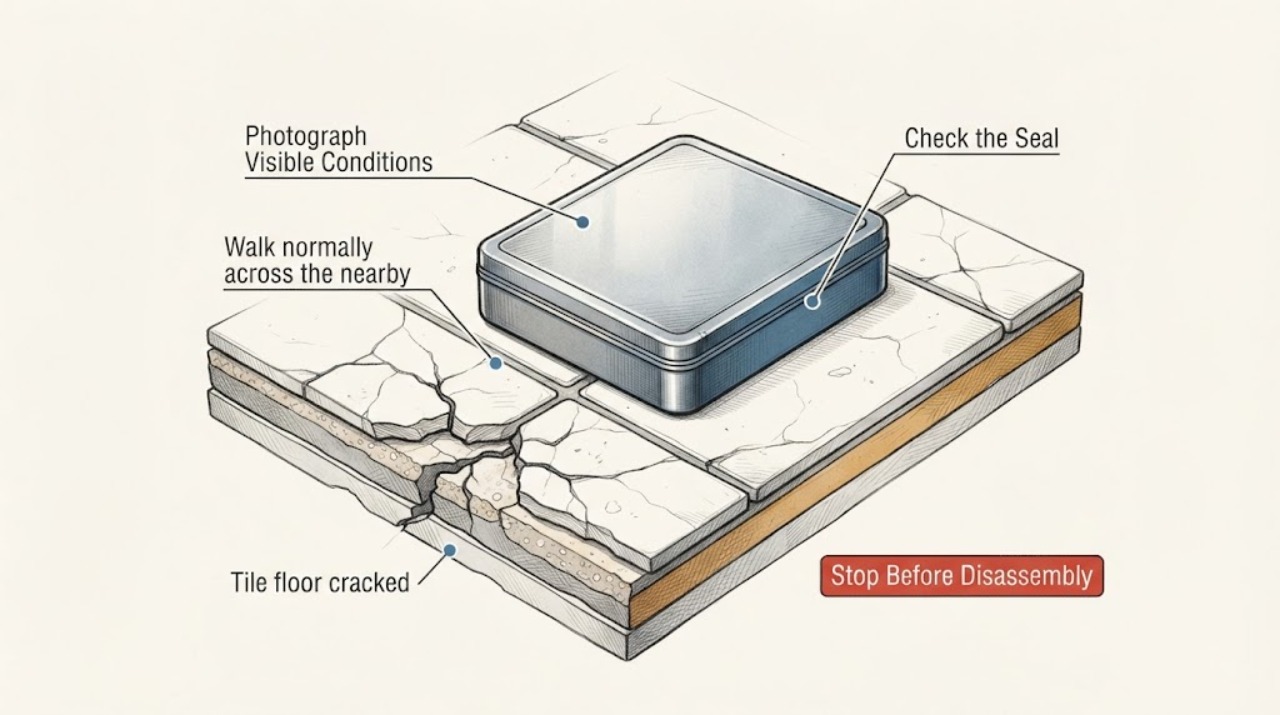
Tile floor cracked: What to Check and What to Do Next
Start with a safe visual record rather than filling or removing the tile. Map whether the crack is inside one tile, follows grout, continues across several tiles, or is accompanied by edge height, moisture, or movement changes.
-
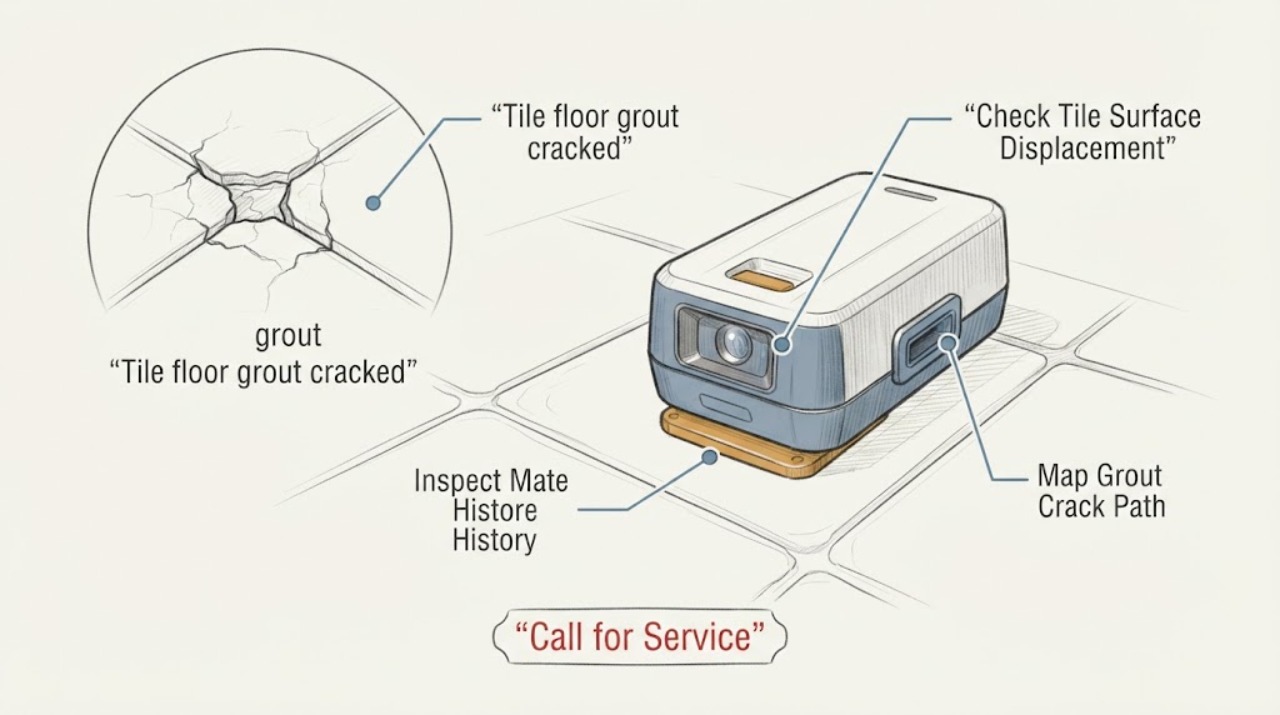
Tile floor grout cracked: What to Check and What to Do Next
Do not assume cracked grout is only a cosmetic defect. First map whether the crack stays inside the grout joint or continues through the tile, note whether tiles look raised or displaced, and check for nearby moisture or a repeating movement pattern.
-
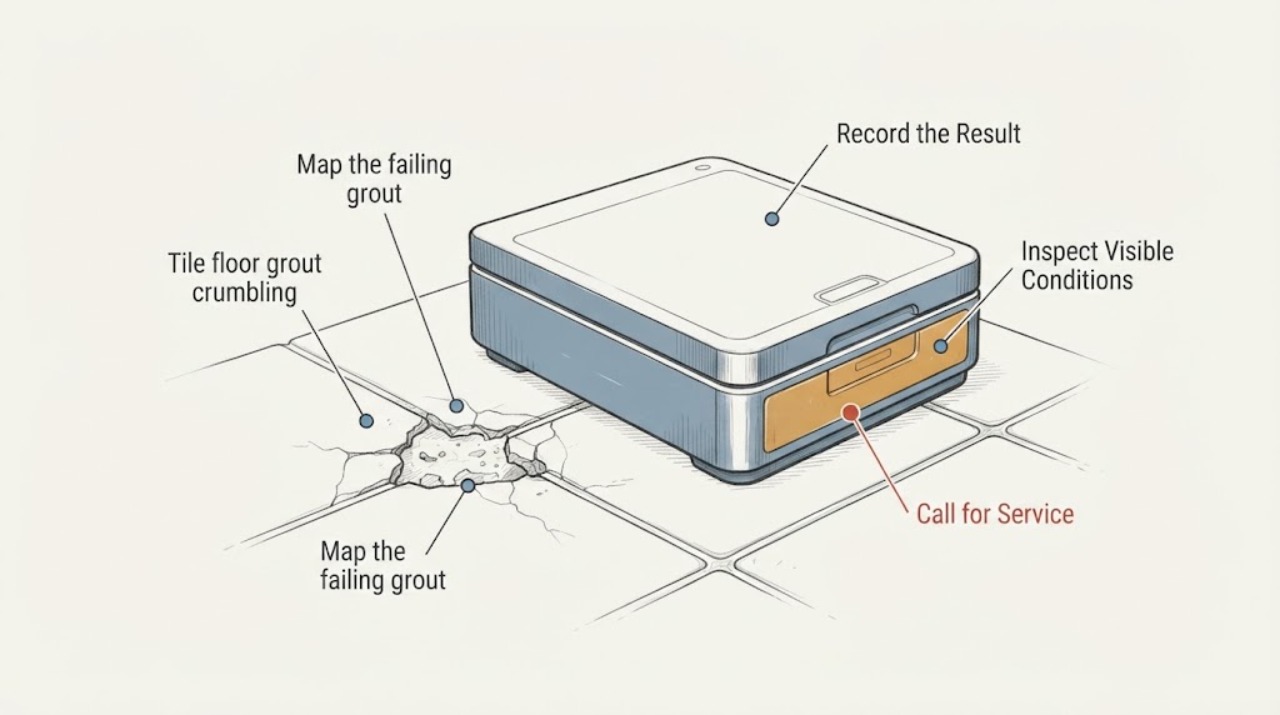
Tile floor grout crumbling: What to Check and What to Do Next
Crumbling or powdery grout is a symptom, not proof of one particular failure. An isolated dry joint may reflect the original grout or curing conditions, while a repeated line, perimeter joint, damp area, or changing tile can point to movement or moisture.
-
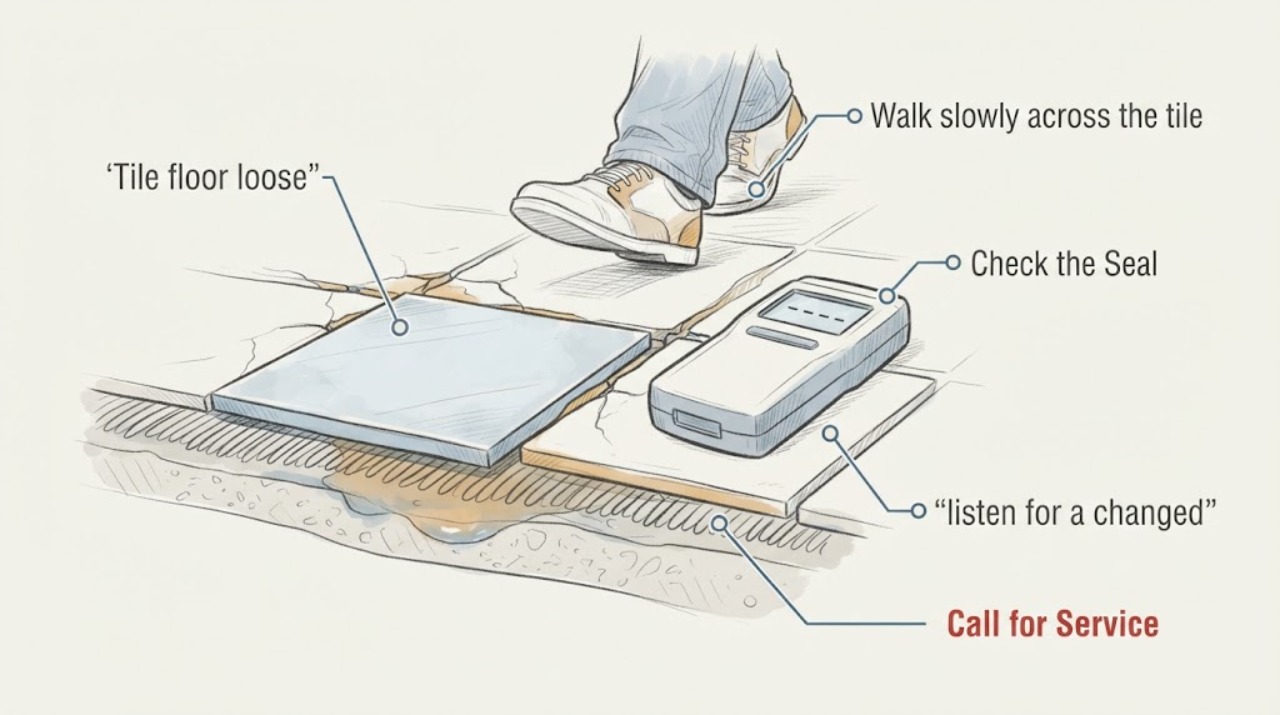
Tile floor loose: What to Check and What to Do Next
Treat a tile that moves, clicks, sounds different, or has opening grout as an inspection issue rather than a quick grout patch. From a safe standing position, compare the sound and feel with nearby tiles during ordinary walking, inspect grout and edges, and document whether the pattern is isolated, clustered, or near a wet area.
-
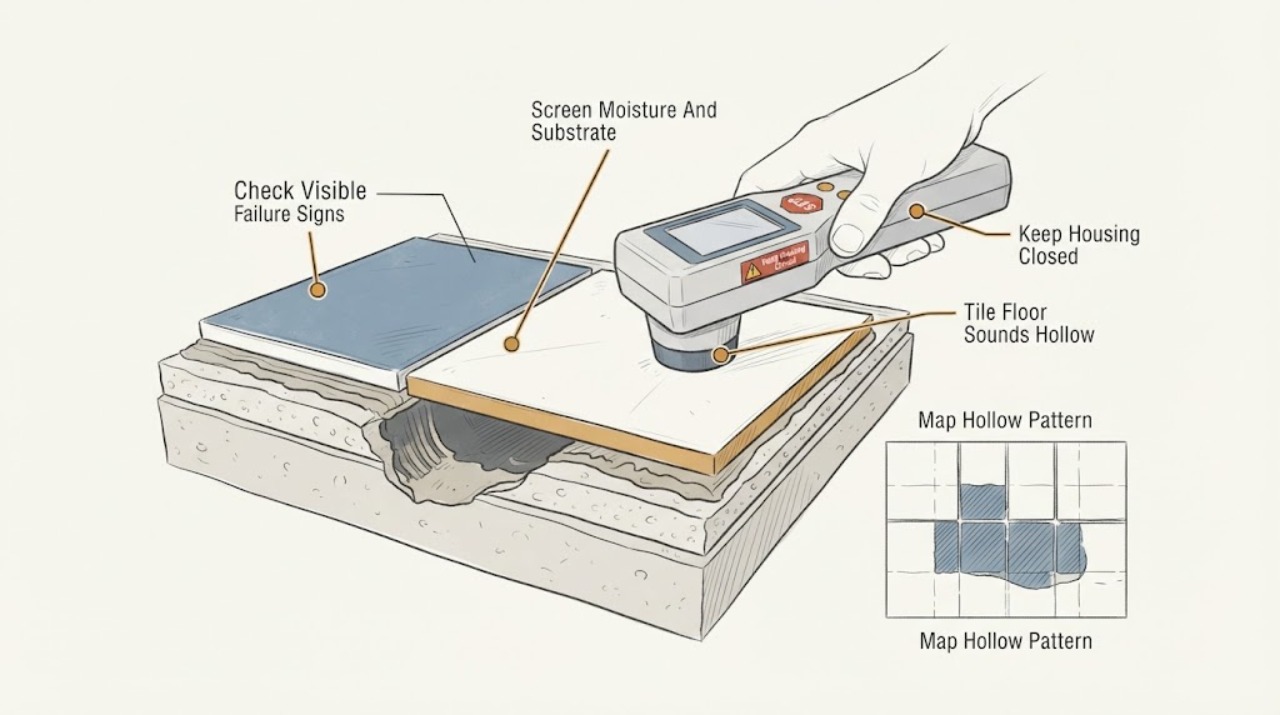
Tile Floor Sounds Hollow: Debonded Thinset or Coverage Void?
A hollow sound when a tile floor is tapped does not by itself prove that the tile is loose, debonded, or about to fail. An acoustic void can occur in a bonded assembly, while poor thin-set coverage, substrate movement or deflection, contamination, moisture damage, movement-joint problems, or a bond failure can also produce a hollow area.
-
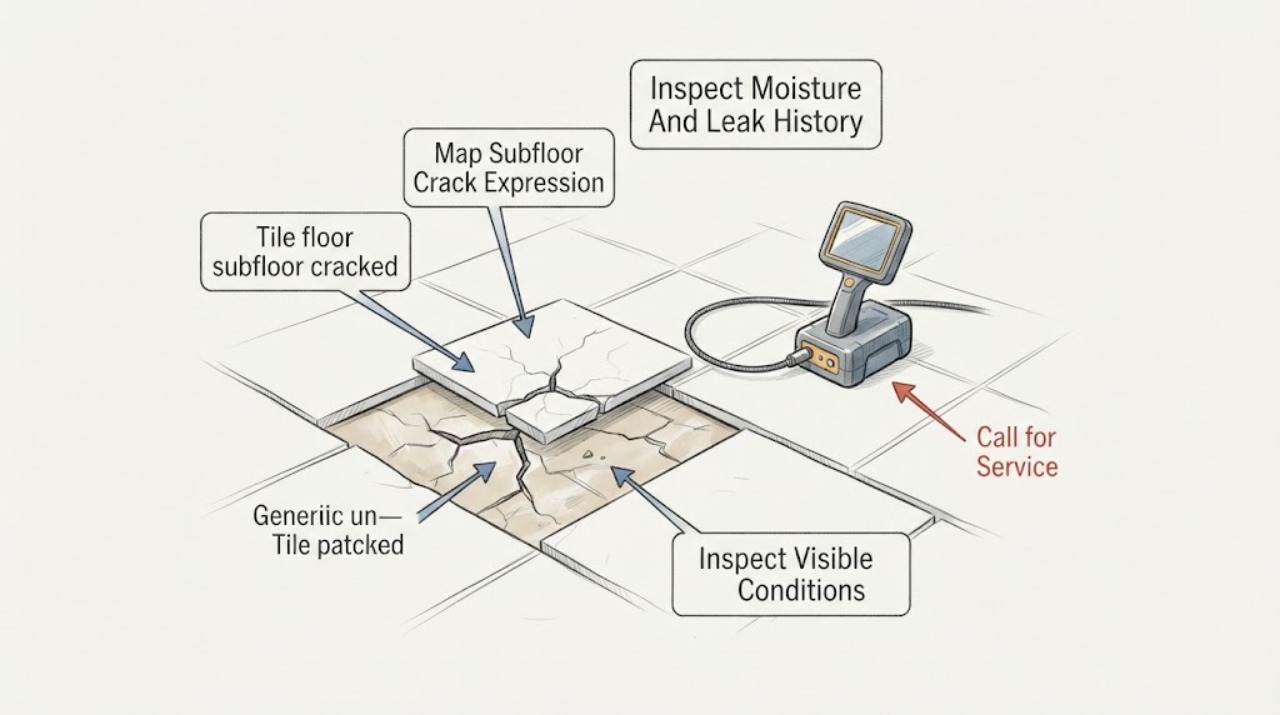
Tile floor subfloor cracked: What to Check and What to Do Next
A suspected cracked subfloor should be treated as a possible movement or moisture problem, not as a surface defect to cover. From a safe standing position, document whether the crack appears through grout, tile, or a transition; look for uneven or moving-looking tile surfaces without pressing or prying; and check for moisture, stains, or a history of leaks.
-
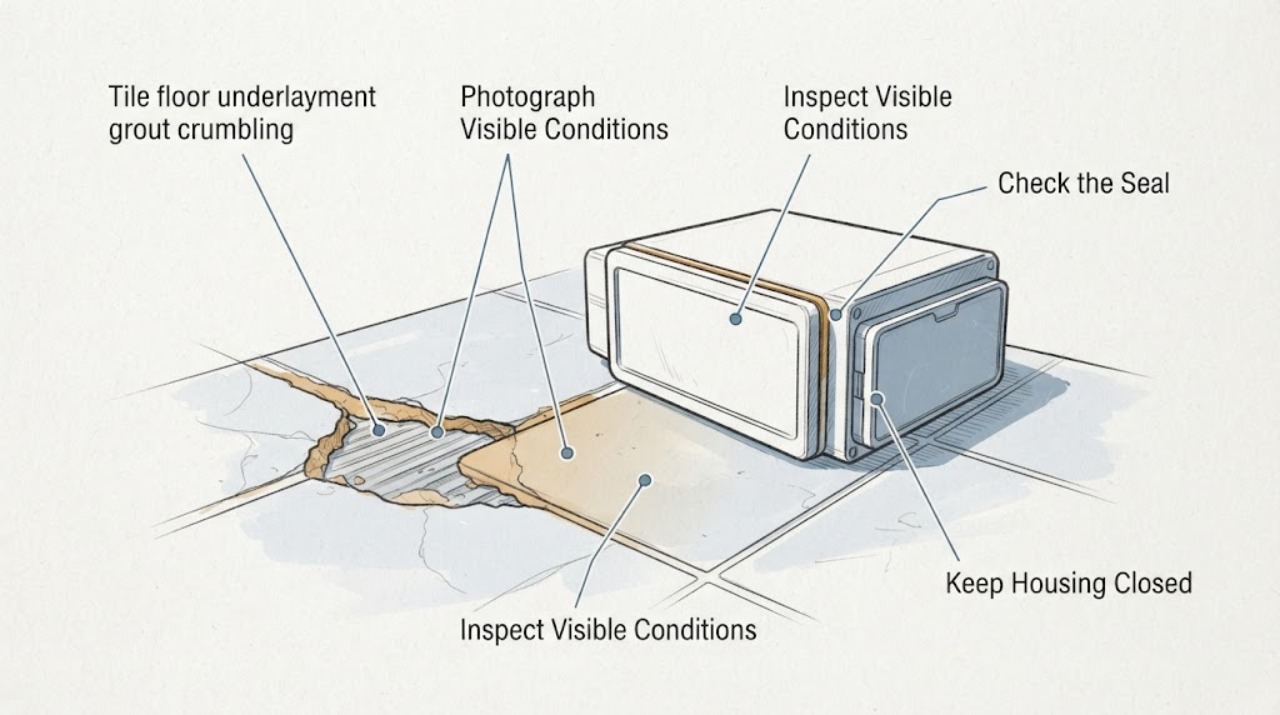
Tile floor underlayment grout crumbling: What to Check and What to Do Next
Do not assume that replacing visible grout will solve a tile-floor underlayment problem. Record whether crumbling is isolated or repeated across many joints, whether tiles move or sound hollow during normal careful use, and whether there are moisture clues, cracked tiles, height changes, or a trip hazard.
-
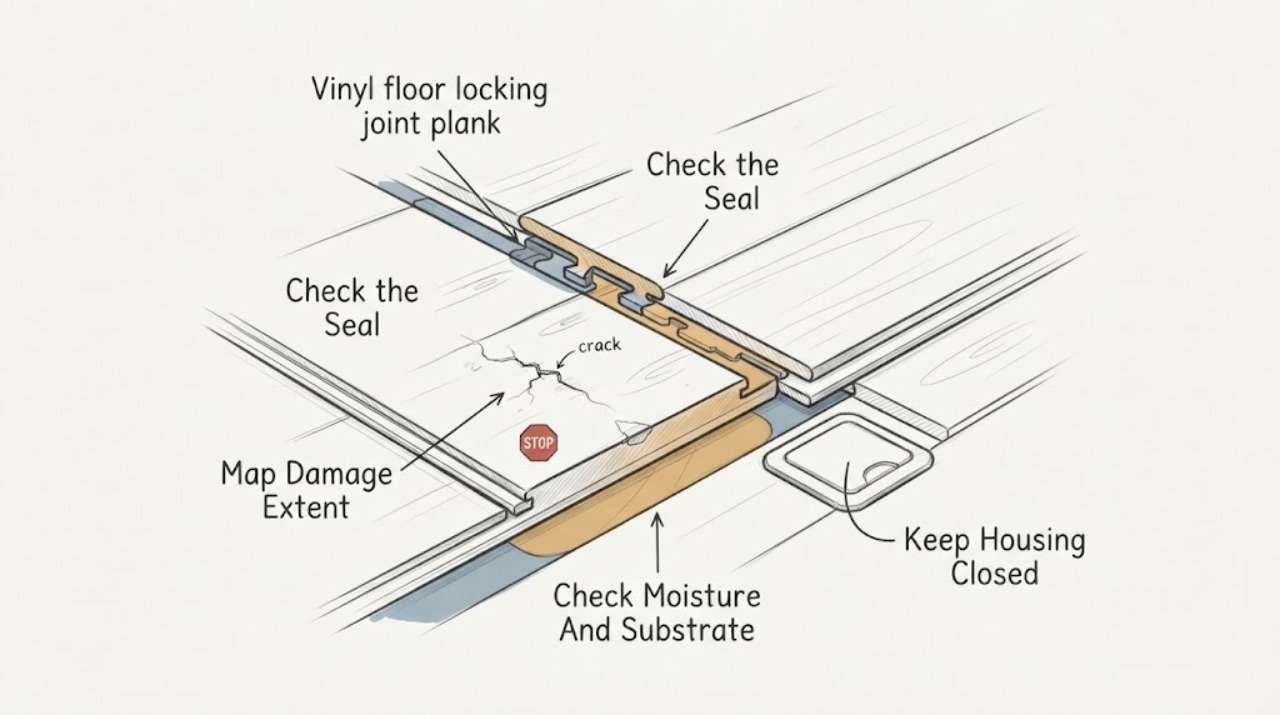
Vinyl floor locking joint plank damaged: What to Check and What to Do Next
First determine whether the damage is only a surface scratch or chip, or whether the vinyl plank's locking joint has opened, lifted, or lost its interlock. From a standing position, document the gap and raised lip, count whether one plank or a row is affected, and look for nearby moisture, a wavy or uneven floor, tight perimeter edges, or a raised trip edge.
-
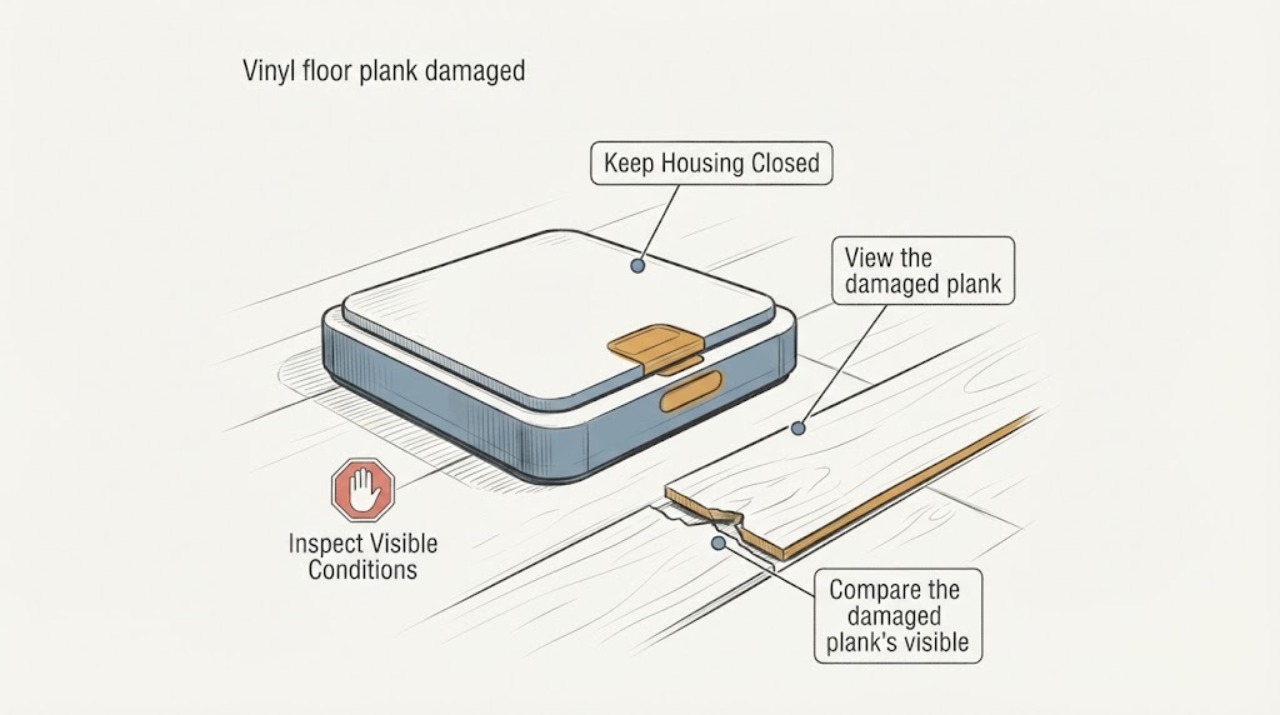
Vinyl floor plank damaged: What to Check and What to Do Next
First classify the damage visually: a surface scratch or scuff is a different decision from a cracked, chipped, separated, raised, or soft plank. Record the location, edge and joint condition, nearby moisture history, and whether adjacent planks are changing.
-
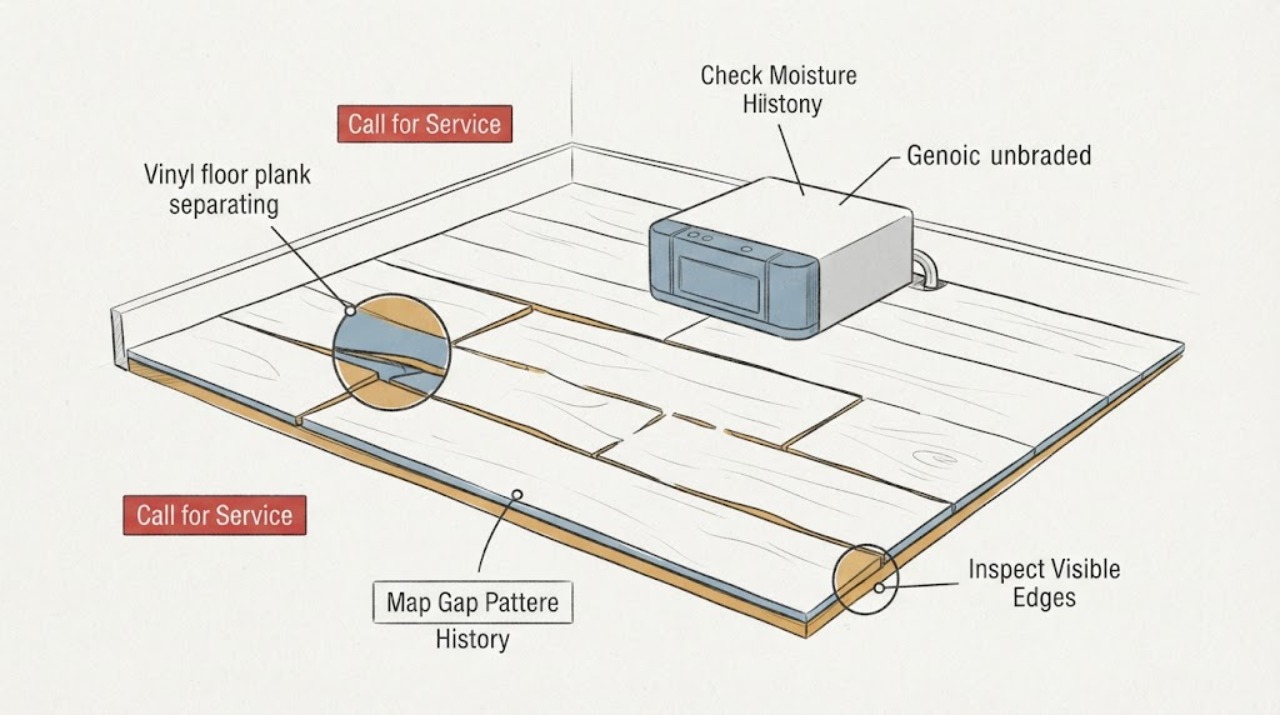
Vinyl floor plank separating: What to Check and What to Do Next
Do not pry, tap, pull, cut, heat, glue, or remove the separating vinyl planks. First photograph the gaps from above and record whether they are at end joints, long edges, a room perimeter, or a doorway; then look for moisture, temperature change, a heavy fixed object, edge pressure, or a floor area that feels uneven without lifting or probing the floor.
-
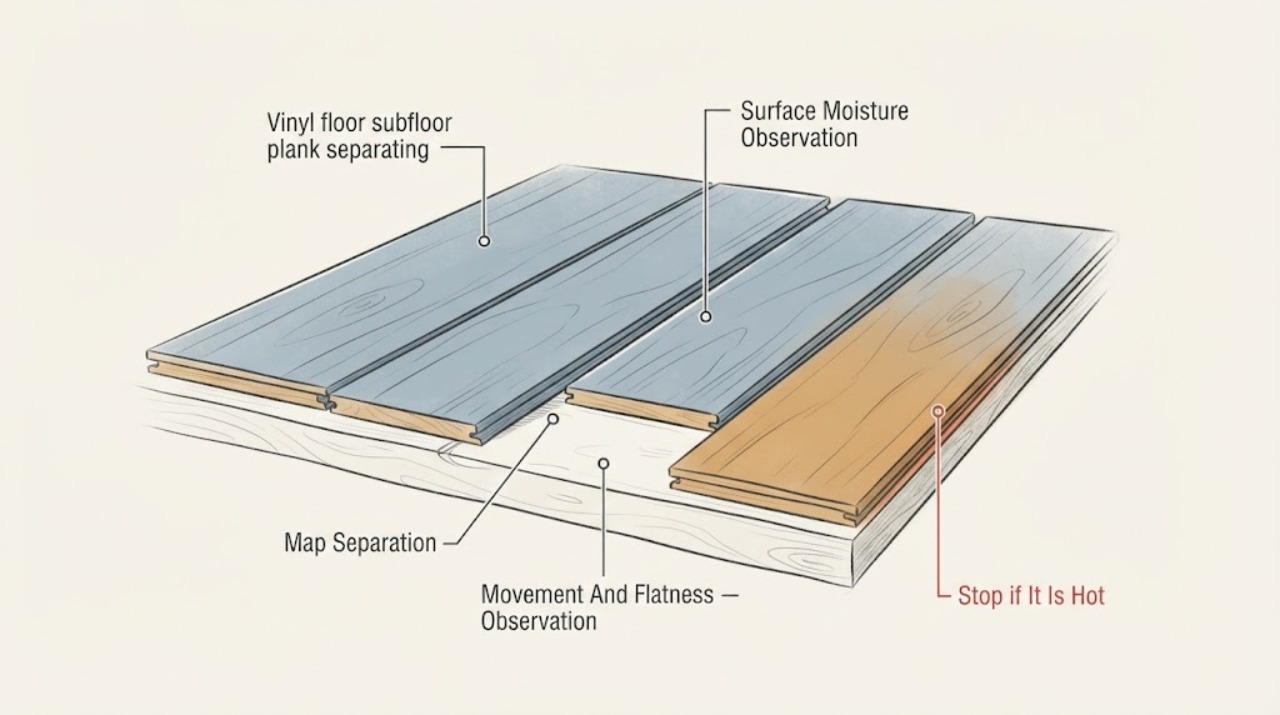
Vinyl floor subfloor plank separating: What to Check and What to Do Next
When vinyl planks are separating, first document the seam pattern and check for visible moisture, movement, swelling, or a soft area without prying up the floor. A separating seam can come from subfloor unevenness or movement, moisture affecting the substrate, an installation-specific expansion or edge issue, or a damaged click/adhesive joint.
-
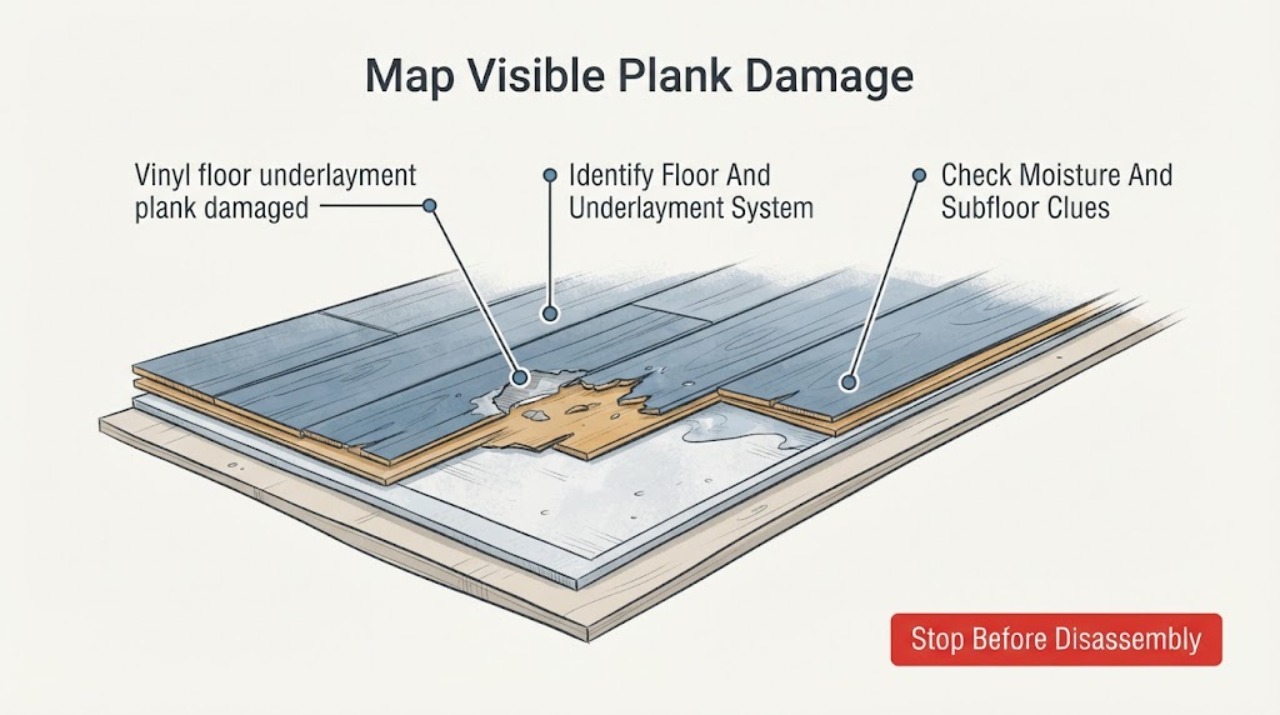
Vinyl floor underlayment plank damaged: What to Check and What to Do Next
When a vinyl plank is damaged and the underlayment may also be involved, first determine whether the problem is limited to the visible plank or reflects moisture, a soft or uneven substrate, a failed locking edge, or an incompatible added underlayment. Photograph the pattern, identify the flooring and installation method from records or an unused carton, and check for dampness, movement, gaps, or damage spreading beyond one plank.
-
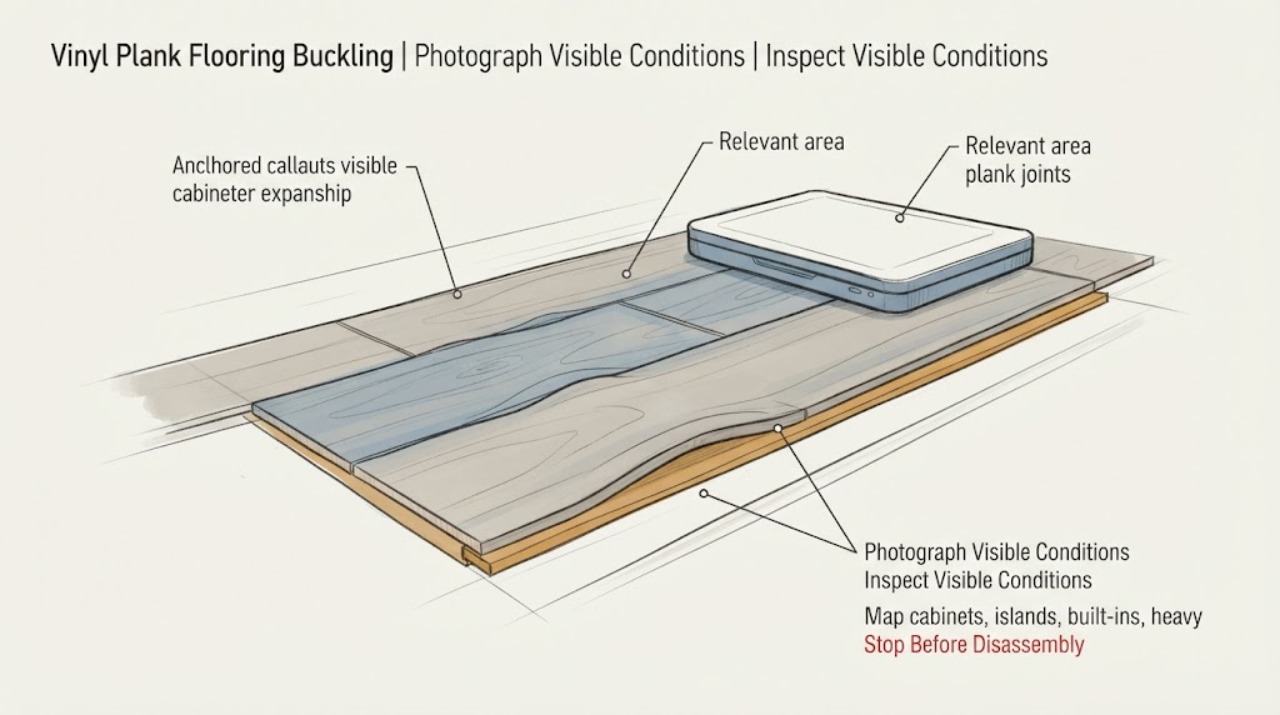
Vinyl Plank Flooring Buckling: Check Expansion Gaps, Fixed Objects, and Temperature
Peaking or buckling in vinyl plank flooring usually means a floating floor has run out of room to move as conditions change, often because an edge, threshold, door frame, or fixed object is pinning it. Temperature or acclimation problems and an uneven or damp subfloor can add to the movement.