
On this page
Start here
Quick answer
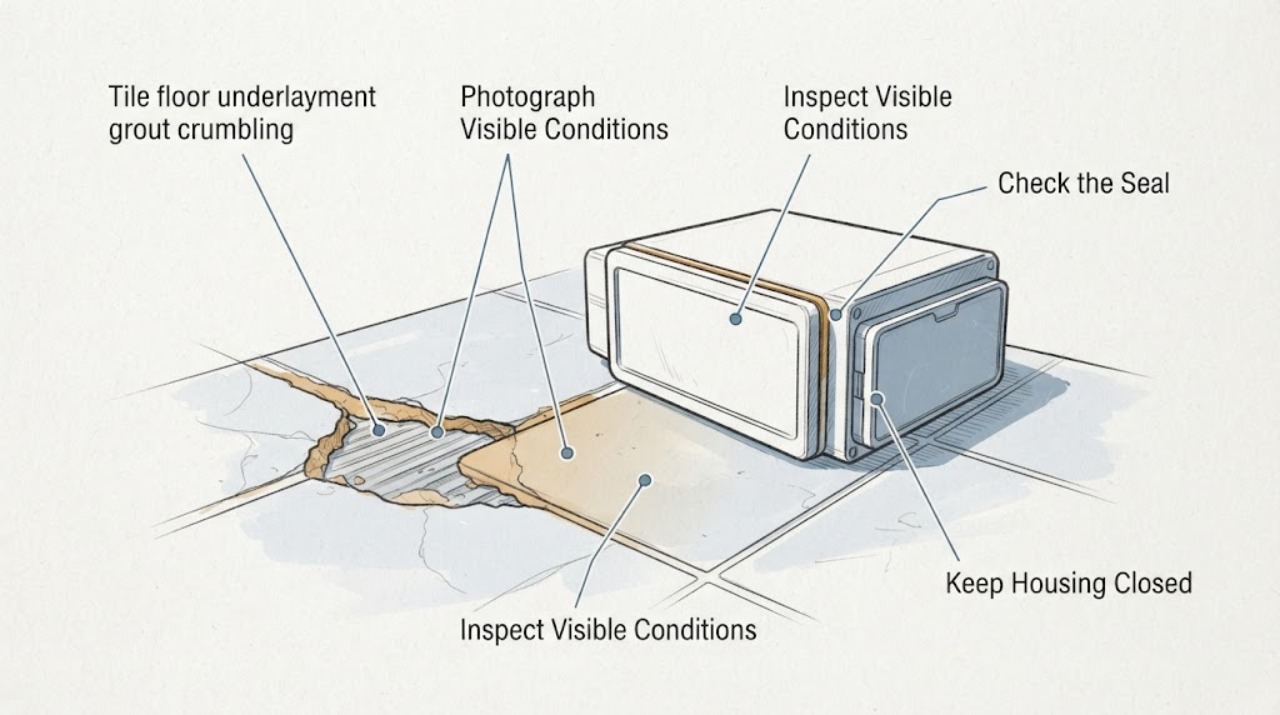
Do not assume that replacing visible grout will solve a tile-floor underlayment problem. Record whether crumbling is isolated or repeated across many joints, whether tiles move or sound hollow during normal careful use, and whether there are moisture clues, cracked tiles, height changes, or a trip hazard. Tile Council of North America guidance links recurring grout failure to substrate movement, moisture-related deterioration, bonding, and installation conditions, which cannot be confirmed by scraping or lifting tiles. Keep the area dry, mark or isolate an unsafe spot, and arrange a flooring professional assessment when multiple lines fail, tiles move, or water or substrate damage is suspected.
Work through in order
Diagnostic checks
Use only checks that match the exact appliance or system and its official guide.
-
Check 1
From a stable standing position, map every crumbling grout joint with photographs and a simple floor sketch without digging into the joints or lifting any tile.
Expected result: Record an isolated short section, several parallel lines, joints around a perimeter or doorway, a broad field pattern, missing grout, or crumbling that is spreading over time.
Next step: Date the photos, mark the affected area, and provide the pattern to a flooring professional before any grout repair is selected.
Stop if: Stop walking over the area if a tile shifts, the joint opens, the surface breaks away, or the floor creates a trip hazard.
Why this matters
Why: An isolated defect may be a local grout condition, while repeated or spreading lines raise concern about movement, joint design, bonding, moisture, or the underlayment/substrate system.
-
Check 2
Where the floor is dry and stable, use normal careful walking to observe the tile field without jumping, striking, rocking tiles, or applying deliberate force.
Expected result: Note visible movement, a change in height, rocking under ordinary steps, a hollow-sounding section if it is noticed without deliberate impact, or no movement; do not treat sound alone as proof of a loose tile.
Next step: Keep traffic off a moving or uneven section, photograph the boundaries, and request an on-site floor assessment rather than trying to rebond or stabilize it.
Stop if: Stop immediately for rocking, sudden cracking, tenting, a sharp edge, a sinking sensation, or any risk of falling.
Why this matters
Why: Movement or height change suggests that the tile or supporting layers may not be stable. TCNA notes that hollow sound can have several meanings and that movement in a wood subfloor can cause grout to break away.
-
Check 3
Inspect visible moisture clues around the crumbling joints from a normal standing position without probing grout, removing baseboards, or opening the floor or wall.
Expected result: Record dampness, darkened grout, efflorescence, staining, musty odor, water near a fixture or exterior wall, recent spills or leaks, or no visible moisture sign.
Next step: Stop adding water, document the location and timing, control an accessible source only if it is safe and already known, and request flooring or plumbing evaluation as appropriate.
Stop if: Stop for active leakage, contaminated water, soft flooring, mold concerns, or water near electrical equipment and seek prompt professional help.
Why this matters
Why: Moisture can contribute to substrate or bonding deterioration, but a visible damp area does not identify the source or the extent hidden below the tile.
-
Check 4
Compare the crumbling area with nearby tiles and transitions from a safe position, looking for cracked tile, tenting, displaced edges, widened joints, or a change at walls, cabinets, fixtures, and doorways without moving those items.
Expected result: Record whether the damage follows a straight line, a perimeter, a wet area, a transition, or no obvious boundary; note any crack or height difference visible from above.
Next step: Add the boundary to the sketch and tell the flooring professional what changed first and whether the pattern crosses rooms or transitions.
Stop if: Do not move fixtures or cabinets, lift a tile, widen a joint, or continue if the floor is unstable or the boundary is associated with active water damage.
Why this matters
Why: A line or boundary can correspond to a movement joint, transition, fixture edge, or concealed condition, while tile cracks and tenting increase the need for professional evaluation of the supporting layers.
-
Check 5
Create a safe handoff record with the floor location, joint pattern, movement or sound observations, moisture history, tile and grout appearance, timeline, photos, and any temporary trip-control measure placed without attaching anything to the tile.
Expected result: Separate visible facts from unknown conditions such as underlayment type, adhesive coverage, subfloor deflection, fasteners, joint depth, and concealed moisture.
Next step: Request professional assessment and keep traffic restricted until the cause and safe repair scope are known.
Stop if: Do not remove flooring, cut or grind tile, scrape deeply, inject material, perform demolition, or apply a cosmetic layer over an unstable or wet area.
Why this matters
Why: This record helps a flooring professional decide whether the scope is compatible grout repair, movement-joint correction, tile-system investigation, moisture correction, or broader floor work.
Use your observations
Decision map
Find the observation that best matches what you see, then follow the next safe action.
-
PATH 01Next step
What you see
Crumbling is isolated, tiles are stable, no cracks or moisture signs are visible, and the floor is not a trip hazard.
Do this next
Document the area and ask a flooring professional whether a compatible localized grout repair is appropriate; do not assume the visible joint is the only issue.
-
PATH 02Next step
What you see
Several grout lines are crumbling, the damage is spreading, or the pattern follows a broad field or transition.
Do this next
Arrange an on-site flooring assessment for movement, underlayment, bonding, and joint conditions before replacing grout. Keep the area dry and avoid cosmetic regrouting as a first response.
-
PATH 03Next step
What you see
Tiles move, sound hollow with other instability signs, crack, tent, or have a changed height.
Do this next
Restrict traffic and request professional evaluation of the tile and supporting layers. Do not lift, pry, drill, or inject beneath the tile.
-
PATH 04Next step
What you see
Dampness, staining, efflorescence, musty odor, or a recent leak is associated with the crumbling joints.
Do this next
Request prompt flooring and, if needed, plumbing or water-entry assessment. Do not seal over the joint or remove flooring to chase the source.
-
PATH 05Next step
What you see
The floor has an active leak, soft area, suspected mold, contaminated water, major trip hazard, or electrical exposure.
Do this next
Keep people away, control water or power only when safely accessible, and seek prompt professional restoration or repair. Do not disturb the floor or wet electrical equipment.
Helpful context
Understand the symptom
Why repeated grout loss matters
Grout can crumble because of several causes, including movement in the substrate, weak or improperly cured grout, insufficient bonding, and moisture-related deterioration. The Tile Council of North America says a field inspection may be needed because the same surface symptom can have different causes. A small, stable cosmetic defect is a different decision from a floor that moves, has many failing joints, or shows water damage.
Observe without opening the floor
Keep the tile layer intact while gathering evidence. Use photographs, a simple floor sketch, normal careful walking only where the surface is stable, and visible moisture clues. Do not pry tiles, drill, grind, scrape deep into joints, cut tile, remove flooring, or use a repair product to hide movement or an active leak.
Only after diagnosis
Potential parts
- grout-repair
Consider grout repair only when a professional confirms that the tile and underlayment are stable, the joint is suitable for repair, and the cause of repeated crumbling has been addressed.
Match grout type, joint width, tile material, color, moisture exposure, and movement-joint requirements; do not grout over an unstable or active wet condition. - tile-sealant
Consider a sealant only after the grout and supporting system are confirmed sound and the product is appropriate for the actual tile and grout; sealant cannot correct substrate movement or water entry.
Confirm tile, grout, porosity, cure, cleaning, and moisture conditions with the product maker or flooring professional before application. - tile-repair-kit
Consider a repair kit only if a professional identifies a small, stable, non-structural surface repair and confirms that the kit suits the tile and grout.
Match tile type, finish, color, joint condition, and moisture exposure; do not use a kit to conceal movement, a hollow/loose field, or a wet underlayment.
When checks do not resolve it
Need a professional?
Request flooring service when grout crumbles along multiple lines, the pattern spreads, tiles move or crack, the floor tents or changes height, or underlayment/substrate movement is suspected. Request prompt plumbing or restoration help for active leaks, soft flooring, suspected mold, contaminated water, or electrical exposure.
Have this ready
- Provide the floor location, dated pattern photos and sketch, movement or sound observations, tile and grout condition, moisture clues, leak or spill history, transitions and fixture boundaries, timeline, and trip-control measures.
Common questions
FAQ
Does crumbling grout prove the underlayment has failed?
No. Movement, moisture, bonding, grout mixing, curing, and joint conditions can produce similar symptoms. Record the pattern and have the tile system assessed before selecting a repair.
Can I just regrout the crumbling joints?
Only after the tile and supporting layers are confirmed stable and the cause is understood. Regrouting over movement or moisture can hide the problem and may fail again.
What does a hollow sound mean?
A hollow sound alone does not prove that a tile is loose or about to fail. Treat movement, cracking, height changes, repeated grout loss, or moisture signs as stronger reasons for professional evaluation.
When should I keep people off the tile floor?
Restrict traffic for rocking or tented tiles, sudden cracks, uneven height, soft areas, active water, falling grout or tile pieces, or a clear trip hazard. Keep the area dry and request professional service.
Read the exact guide
Official sources
- Hollow/Loose TileTile Council of North America · General tile-floor guidance; a hollow sound alone does not establish failure and the actual assembly requires professional interpretation.
- Cracked/Loose GroutTile Council of North America · General ceramic and porcelain tile-system guidance; the installed floor, grout, substrate, and moisture conditions are site-specific.
Community feedback
Share a repair observation
Share a plain-text repair observation. Accepted observations are published automatically; this page may take a moment to update.