
On this page
Start here
Quick answer
First classify the damage visually: a surface scratch or scuff is a different decision from a cracked, chipped, separated, raised, or soft plank. Record the location, edge and joint condition, nearby moisture history, and whether adjacent planks are changing. Do not pry, remove, cut, probe, or open the floor. A vinyl plank can look intact while moisture or movement affects the substrate below, so a professional flooring assessment is the right next step when the floor feels soft, the damage is spreading, moisture is involved, or the correct product and installation system are unknown.
Work through in order
Diagnostic checks
Use only checks that match the exact appliance or system and its official guide.
-
Check 1
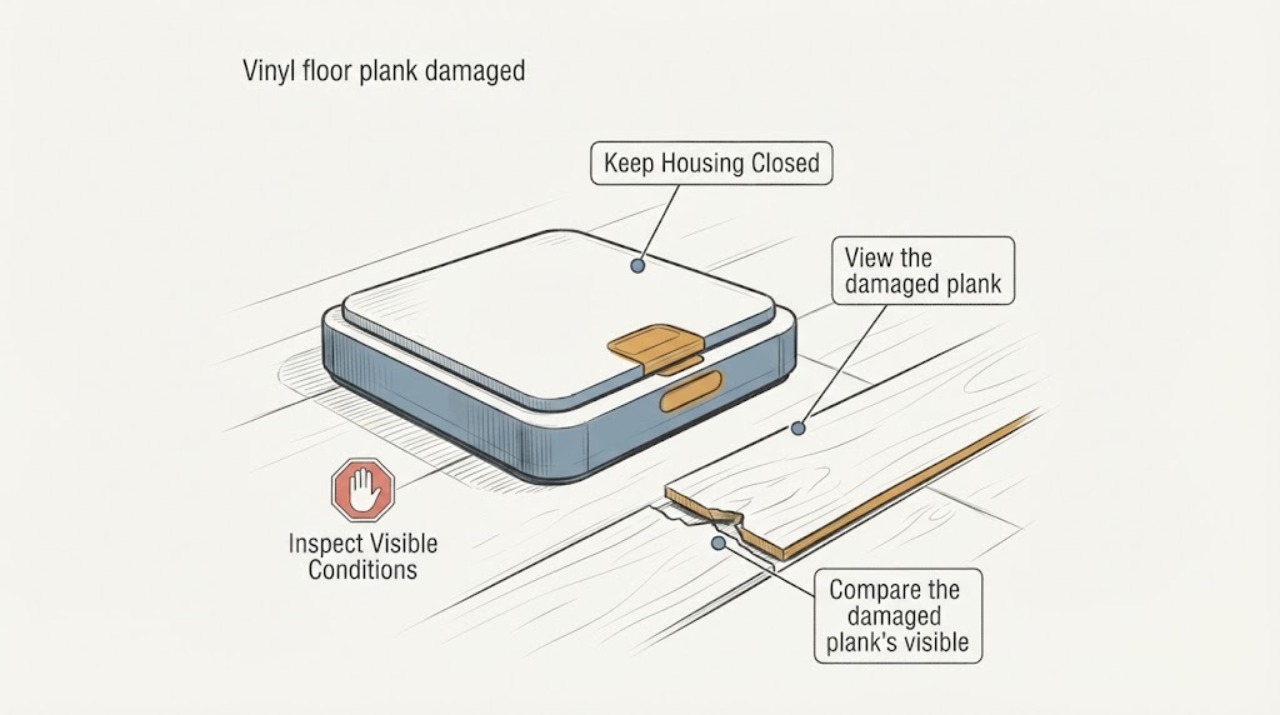
View the damaged plank in good light and classify the visible change without touching or trying to improve it.
Expected result: Record whether it is a surface scratch or scuff, a stain, a chip or crack, a split plank, a raised or curled edge, an open joint, or a missing or displaced piece.
Next step: Take an overview photo and a close photo from above, and note the room, wall, doorway, and approximate plank position.
Stop if: Stop if getting a closer view would require moving heavy furniture, scraping the surface, or disturbing a loose piece.
Why this matters
Why: A superficial appearance change may need product-specific care, while a crack, missing material, raised edge, or open joint may require plank or installation assessment; the appearance alone does not identify the cause.
-
Check 2
Compare the damaged plank's visible edges and seams with adjacent planks from a normal standing position.
Expected result: Note a tight unchanged seam, a widening gap, a lifted corner, a raised edge, a height difference, or damage that continues across more than one plank; do not pry or press the joint.
Next step: Photograph the pattern and identify nearby transitions, walls, cabinets, plumbing fixtures, or exterior doors for the flooring professional.
Stop if: Stop if the only way to compare the seam is to pull trim, lift a plank, insert a tool, or open the floor.
Why this matters
Why: A localized surface mark is different from joint separation or a change across several planks, which can involve movement, installation, impact, or moisture and needs a broader review.
-
Check 3
During ordinary walking, observe whether the area looks or feels different from the surrounding floor without deliberately pressing, probing, or repeatedly loading the plank.
Expected result: Record a normal firm surface, visible movement, a soft or uneven feel, a click or change underfoot, or no safe way to assess it; do not test by jumping or applying extra force.
Next step: Limit traffic over the area and tell the professional exactly where the change is felt and whether it is increasing.
Stop if: Stop walking on the area if it gives unexpectedly, feels unstable, or presents a trip hazard.
Why this matters
Why: A soft or changing area can indicate an installation or substrate issue, but it does not establish structural damage, mold, or the extent of a hidden condition.
-
Check 4
Review visible moisture evidence and recent history around the damaged area without opening the floor or disturbing finishes.
Expected result: Note a recent spill, appliance or plumbing leak, dampness, staining, discoloration, musty odor, or no moisture history; record whether the condition followed a single event or persisted.
Next step: Stop the known source through the appropriate service path when safe, keep the area dry, and share the timeline with the flooring professional.
Stop if: Stop if water is active, spreading, near electrical equipment, or entering from an unknown concealed source.
Why this matters
Why: Moisture near the damage raises the priority of checking the flooring assembly and source, because a water-resistant surface does not by itself establish a dry substrate; no visible moisture does not rule out a hidden source.
-
Check 5
Compare the damage pattern with its surroundings and history without moving furniture or altering the floor.
Expected result: Record one isolated plank, several adjacent planks, a path near a doorway or transition, a high-traffic strip, or a pattern that is visibly progressing over time.
Next step: Gather the installation date, product name or spare-plank details if available, photos, and any warranty or purchase records for the assessment.
Stop if: Stop if gathering history would require removing flooring, opening a wall, disturbing a suspected mold area, or making a destructive test.
Why this matters
Why: An isolated impact or wear mark may have a different repair path from a recurring pattern, a transition issue, or damage that expands after moisture or movement; the pattern cannot by itself prove a manufacturing or structural fault.
Use your observations
Decision map
Find the observation that best matches what you see, then follow the next safe action.
-
PATH 01Next step
What you see
The change is a small surface scuff or stain with a firm, closed floor and no moisture history.
Do this next
Use only the flooring maker's compatible, nonabrasive care guidance and monitor the area; seek service if the surface worsens or the product is unknown.
-
PATH 02Next step
What you see
The plank is cracked, chipped, split, missing material, or has a separated joint.
Do this next
Request a flooring professional to identify the product and determine whether a compatible repair or plank replacement is appropriate; do not remove it yourself.
-
PATH 03Next step
What you see
The area is soft, uneven, moving, or changing across adjacent planks.
Do this next
Limit traffic and request a broader flooring and substrate assessment; do not infer the hidden extent or open the floor to investigate.
-
PATH 04Next step
What you see
Damage follows a leak, spill, flooding, or persistent dampness.
Do this next
Address the water source through the appropriate professional path, keep the area dry and safe, and ask the flooring professional to assess the assembly before any repair.
-
PATH 05Next step
What you see
Damage is concentrated at a doorway, wall edge, cabinet, or transition while the rest of the room appears unchanged.
Do this next
Have a professional inspect the transition and edge condition with the plank system; a transition accessory is not assumed to correct a damaged or wet substrate.
Helpful context
Understand the symptom
Vinyl plank damage can be cosmetic wear, a damaged wear layer, an impact chip or crack, a separated joint, a raised edge, or a symptom of movement or moisture below the flooring. Shaw's care guidance emphasizes prompt spill cleanup, nonabrasive products, and protection from heavy-object indentations. Armstrong's luxury-vinyl guidance makes an important distinction: the flooring material may resist water, but moisture or flooding can still affect the subfloor or substrate and cause the installation to fail.
This page is an evidence-gathering guide, not a plank-removal or flooring-installation manual. Keep the area dry and undisturbed, avoid harsh chemicals and aggressive cleaning, and do not assume a single damaged plank proves a structural or mold condition.
Only after diagnosis
Potential parts
- vinyl floor repair kit
Consider this category only after the product type, damage type, and compatible repair method have been identified; a surface kit is not a substitute for replacing a damaged plank or correcting moisture.
Confirm the flooring maker, collection, color, finish, and installation system before ordering, because generic repair materials are not assumed to match. - flooring transition
Consider this category only when a professional confirms that the damage is at a doorway or floor transition and that the accessory is the appropriate compatible component.
Confirm the adjoining floor heights, profile, width, finish, and attachment method for the specific installation; do not use a transition to conceal moisture or an unstable floor.
When checks do not resolve it
Need a professional?
Request flooring service for a cracked, chipped, split, raised, soft, or spreading plank, any damage after a leak or flood, a repeated seam or transition problem, or any floor whose product and installation system are unknown. Use prompt service when the area is unstable, actively wet, or a trip hazard.
Have this ready
- Provide room and plank location, overview and close photos, damage type, edge and joint pattern, normal walking feel, moisture history, progression, installation date, product name, spare-plank details, and purchase or warranty records if available.
Common questions
FAQ
Can I tell from a photo whether one vinyl plank needs replacement?
A photo can document the damage and location, but it cannot confirm the plank system, substrate condition, moisture extent, or compatible repair method. Include an overview and close photo for a flooring professional.
Does a waterproof vinyl plank mean the floor below is safe from water damage?
No. Manufacturer guidance distinguishes the flooring material from the substrate beneath it. A leak or flood can affect the assembly even when the plank surface resists water.
Should I pry out a cracked plank to inspect underneath?
No. Do not pry, remove, cut, or probe the floor. That can damage adjacent planks, affect the installation system, and disturb a concealed moisture condition. Request a professional assessment instead.
When is a vinyl floor repair kit appropriate?
Only after the product and damage type are identified and a compatible surface repair is appropriate. A kit will not correct a soft substrate, active moisture, separated installation, or a plank that needs replacement.
Read the exact guide
Official sources
- Flooring FAQsArmstrong Flooring · Supports the distinction between water-resistant flooring material and moisture effects on the substrate, and the need for product-specific inspection and repair decisions.
- Vinyl Floor Care & MaintenanceShaw Floors · Supports distinguishing routine surface care from damage prevention, including prompt spill cleanup, nonabrasive cleaning, and protection from scratches and indentations.
Community feedback
Share a repair observation
Share a plain-text repair observation. Accepted observations are published automatically; this page may take a moment to update.