
On this page
Start here
Quick answer
Unplug the blender before touching the container, blade assembly or drive area. Confirm the correct brand and model, then use its manual for the external power, container/lid interlock and overload checks. If the motor stopped after a heavy load, allow the manufacturer-specified cooling period instead of repeatedly restarting it. With the container removed and power disconnected, inspect only a visible coupling or drive socket when the manual permits it; a cracked, loose, seized or visibly damaged drive connection, loose blade, burning smell, smoke, sparking, leak or damaged cord is a stop-and-service condition. Do not put a hand or utensil into the container, bypass an interlock, open the motor base or guess a replacement part.
Before you begin
Safety first
- Keep the blender unplugged for blade, coupling and container checks. Do not reach into the container, insert tools, bypass a lid/container lock, open the motor base, perform live electrical tests, tighten a cutter assembly or use a guessed replacement part.
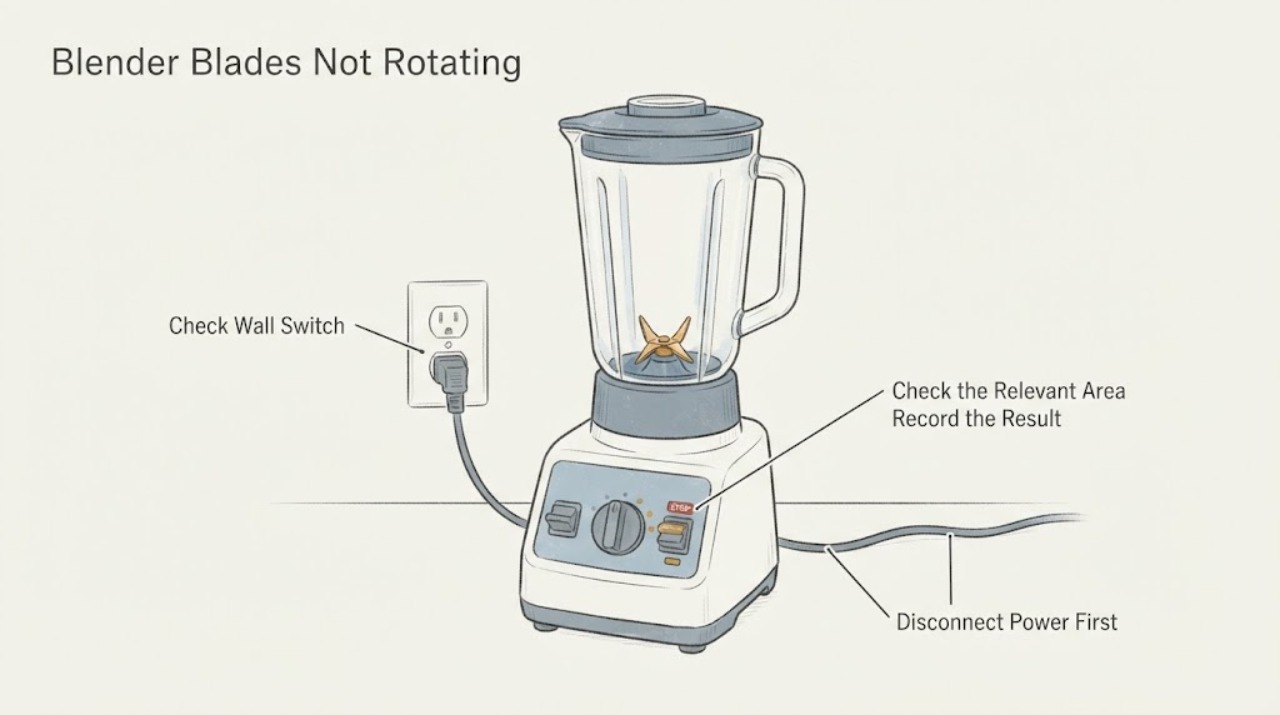
Work through in order
Diagnostic checks
Use only checks that match the exact appliance or system and its official guide.
-
Check 1
Switch the blender off and unplug it before removing the container, looking near the blade assembly or cleaning. Keep hands and utensils out of the container, and look from outside for smoke, sparking, a burning smell, a liquid leak, a cracked container, a damaged cord or a loose blade.
Expected result: Any smoke, sparking, strong burning smell, leak into the base, damaged cord, cracked container or visibly loose/damaged blade is present, or none of those hazards is visible.
Next step: If a hazard is present, keep the appliance unplugged, do not run it again or open the base, and arrange manufacturer or qualified service. If no hazard is visible, continue only with the exact manual's external checks.
Why this matters
Why: A visible safety hazard or damaged cutting assembly is not a normal blade-rotation symptom that can be safely corrected by continued testing. Hamilton Beach specifically says to discontinue use for loose or damaged blades and damaged cords; its manual also requires power disconnected before cleaning or servicing.
-
Check 2
Read the rating label and identify the exact brand, model and regional manual. With no damage or active hazard, follow that manual's ordinary external power check: confirm the plug is fully seated, the outlet or GFCI has power, and the normal switch or control is in the required start position. Do not remove covers or make live measurements.
Expected result: The outlet or GFCI is off/tripped, the cord or plug is damaged, the controls show no power, or the blender has normal power but still will not start.
Next step: Restore only an obviously switched-off outlet or reset a GFCI once if the manual and local electrical setup allow it. If it trips again, the cord is damaged, or the unit remains dead, leave it unplugged and use appliance or electrical service; do not bypass protection.
Why this matters
Why: Hamilton Beach lists a secure correct-voltage connection and a tripped outlet breaker as first checks for a blender that fails to start or stops. A repeated trip or damaged cord is a service condition, not evidence that the blade assembly should be replaced.
-
Check 3
With power disconnected, seat the container and lid exactly as the owner's manual shows, without forcing or bypassing a safety lock. Check whether the control panel or indicator now recognizes the container when the design has an interlock; do not use a loose lid, cracked container or improvised switch.
Expected result: The container/lid was not seated, the model shows an interlock or no-container indication, or the assembly was already correctly seated and the symptom remains.
Next step: Correct only the seating shown in the exact manual. If the interlock indication persists, do not bridge or defeat it; arrange service. If there is no interlock indication, continue to the overload and visible-drive checks rather than assuming a lock failure.
Why this matters
Why: Some blender designs prevent the motor from starting until the container or lid is correctly placed. Vitamix documents this behavior for its Ascent series, while Hamilton Beach's manual requires its container and lid to be in place; neither establishes the same lock for an unidentified model.
-
Check 4
If the blender stopped during a thick, frozen or overloaded batch and there is no safety hazard, leave it switched off and follow the exact manual's thermal-protection cooling instruction. Do not repeatedly press Start or run the motor with an overloaded container; only change quantity or liquid as the manual's recipe guidance permits.
Expected result: The blender restarts after the documented cooling period, or it remains stopped, smells hot, trips protection or stops again immediately.
Next step: If it restarts normally, use the exact manual's load and run-time limits. If it does not restart, repeatedly overheats, trips a breaker or smells burnt, stop testing and request service with the model and symptom history.
Why this matters
Why: Hamilton Beach lists thermal overload, motor overheating, oversized batches and long cycles as possible stop conditions. Vitamix likewise describes automatic overload protection and a manufacturer-specific cooling period. Recovery after cooling does not prove that the drive or motor is healthy if the symptom repeats.
-
Check 5
Only when the machine is unplugged, the container is removed and the exact manual permits it, inspect a visible drive socket or coupling for a crack, missing piece, looseness or obvious seizure. Do not put fingers or tools near sharp blades, force a coupling, remove a sealed blade assembly or open the motor base.
Expected result: The visible coupling is cracked, loose, immobile or missing, the motor runs while the blade stays still, the blade assembly is loose/damaged, or the visible drive area appears normal.
Next step: Stop and arrange model-matched service for any coupling, blade or transmission abnormality, or when the motor runs without blade motion. If no external defect is visible, do not escalate to internal testing; provide the model and the exact sound/behavior to service.
Why this matters
Why: Vitamix identifies a cracked, immobile or easily removed drive socket as a reason to contact service. Hamilton Beach says loose, broken or worn cutter assemblies should be replaced through its service path and not repaired or tightened by the user. A normal-looking coupling does not rule out an internal fault.
Use your observations
Decision map
Find the observation that best matches what you see, then follow the next safe action.
-
PATH 01Next step
What you see
The blender has no lights or response, the outlet/GFCI is off, or a protection device trips again.
Do this next
Stop after the safe external outlet check, keep the blender unplugged if the trip repeats or the cord is damaged, and use qualified appliance or electrical service.
Why this path and its safety boundary
Why it matters: The symptom is currently a power or protection problem, so blade replacement is not supported by the observation.
-
PATH 02Next step
What you see
The controls indicate a container/lid lock condition, or the motor will not start even though the manual requires the container to be seated.
Do this next
Re-seat the removable parts exactly as the model manual shows. If the indication remains, do not bypass the lock or open the base; arrange service.
Why this path and its safety boundary
Why it matters: An interlock or seating condition can prevent starting; it does not prove a failed control board or motor.
-
PATH 03Next step
What you see
The motor can be heard or the base runs, but the blades remain still, or the unplugged inspection finds a cracked, loose or immobile visible coupling.
Do this next
Stop using the blender and give service the exact model, container type and whether the motor runs. Do not force the coupling, tighten the blade assembly or order a generic part.
Why this path and its safety boundary
Why it matters: This pattern points to a drive or blade-assembly problem that cannot be identified safely across all blender designs from the symptom alone.
-
PATH 04Next step
What you see
The blender stopped after a heavy load, is hot, or smells hot but has no smoke, sparking, cord damage or leak.
Do this next
Use the exact manual's cooling and load guidance once, then seek service if it will not restart or the condition recurs. Do not repeatedly reset a machine that overheats.
Why this path and its safety boundary
Why it matters: Thermal overload is one manufacturer-documented possibility, but cooling times and load limits are model-specific.
-
PATH 05Next step
What you see
There is smoke, sparking, a strong or persistent burning smell, a damaged cord/container, a loose blade, a liquid leak into the base or a repeated protection trip.
Do this next
Keep it unplugged and arrange manufacturer or qualified service. Do not open the base, test energized parts or run it again to reproduce the noise.
Why this path and its safety boundary
Why it matters: The appliance has a safety or damage signal that cannot be resolved by ordinary blade troubleshooting.
Helpful context
Understand the symptom
First separate no-start from no-drive
“The blades are not rotating” can mean the blender has no power, a lid or container interlock is preventing a start, thermal protection has stopped the motor, the motor runs without transmitting motion, or the blade assembly is damaged. Without a brand and model, those observations cannot identify one failed part. Use the exact owner's manual to interpret displays, switches and safety interlocks before doing more than external checks.
Why a heavy mixture can stop a blender
Both opened manufacturer sources describe overload or overheating as a possible reason a blender stops. Vitamix gives its own model-specific cooling guidance, while Hamilton Beach describes thermal overload and smaller batches or shorter cycles for its commercial models. These examples support waiting and following the supplied manual; they do not establish one universal reset time or permit repeated restarting of an unidentified machine.
When the coupling or blade assembly needs service
A motor that can be heard while the blades remain still is different from a machine that never starts. Vitamix directs owners to inspect its visible drive socket after unplugging and removing the container. Hamilton Beach directs owners to stop using loose, cracked or damaged blades and not repair or tighten the cutter assembly. Apply those checks only where the exact manual exposes the same user-accessible area; do not open the base or reach toward sharp blades.
When checks do not resolve it
Need a professional?
Safety scope: Keep the blender unplugged for blade, coupling and container checks. Do not reach into the container, insert tools, bypass a lid/container lock, open the motor base, perform live electrical tests, tighten a cutter assembly or use a guessed replacement part.
Have this ready
- Provide the complete brand and model from the rating label, serial number if requested, container and blade-assembly type, whether the motor is silent or audible, what load preceded the stop, any display indication, and any smell, leak, smoke or protection trip.
Common questions
FAQ
Can I turn the blade by hand to see whether it is stuck?
Do not assume that hand-turning is safe or meaningful for an unidentified blender. The blade is sharp and designs differ. Unplug the appliance, keep hands away from the blade assembly, and follow the exact manual's permitted inspection; use service when the blade or drive is seized, damaged or inaccessible.
How long should I wait after an overload?
There is no universal time for every blender. Vitamix publishes model-family cooling guidance, while Hamilton Beach says to allow its unit to cool. Use your exact manual, do not keep restarting a hot motor, and request service if the machine will not restart or overheats again.
Does a motor sound with no blade movement prove the blade assembly is bad?
No. It indicates that the symptom needs a model-matched drive and blade inspection, but it does not identify a particular part. Vitamix directs owners to a visible drive-socket check for its machines, and Hamilton Beach warns against repairing or tightening a cutter assembly; an unidentified blender should be serviced rather than given a guessed part.
Read the exact guide
Official sources
- Food Blender Operation ManualHamilton Beach Commercial · Opened official manual for the HBF500/HBF500S commercial blender family. It is used as an explicitly conditional manufacturer example for power, thermal overload, cutter safety and external troubleshooting; it does not establish controls or parts for an unidentified blender.
- Frequently Asked QuestionsVitamix · Opened Vitamix's official US FAQ. It is used as an explicitly conditional manufacturer example for overload cooling, drive-socket inspection and the Ascent container-seating interlock; it is not a universal procedure for an unidentified blender.
Community feedback
Share a repair observation
Share a plain-text repair observation. Accepted observations are published automatically; this page may take a moment to update.