
On this page
Start here
Quick answer
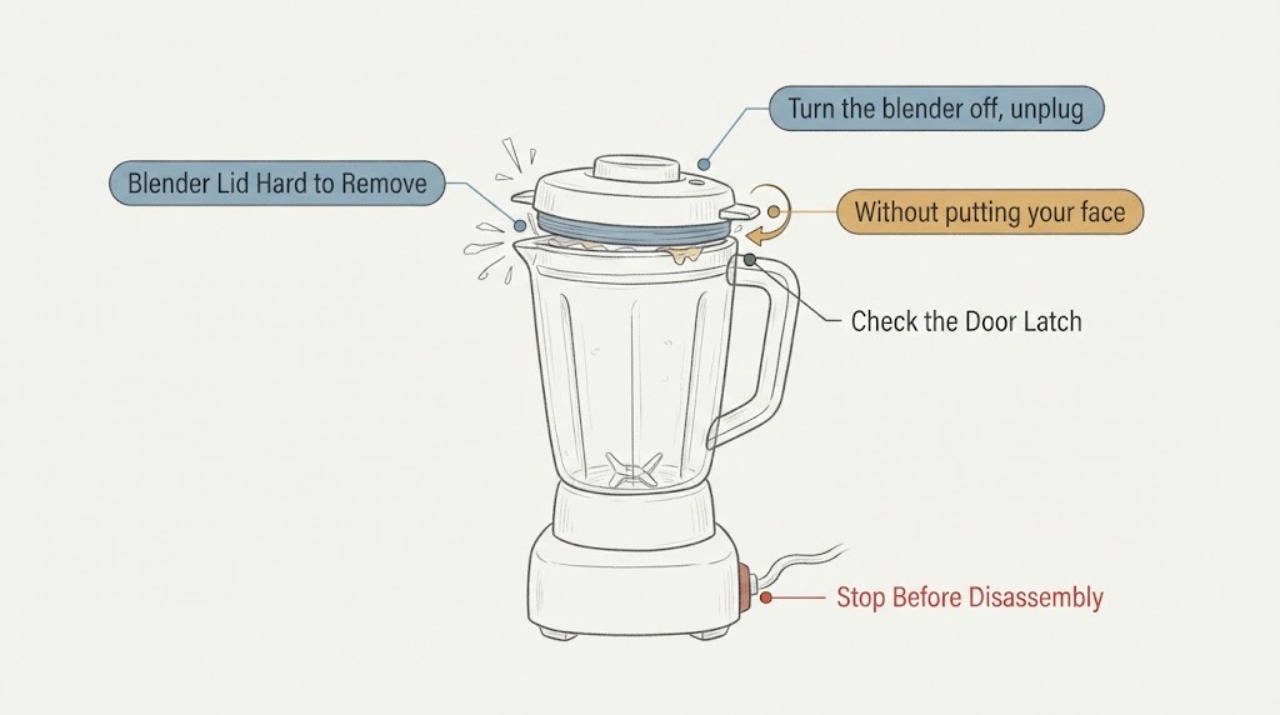
Do not force a blender lid while the motor is running, the blades are still moving, the contents are hot or steaming, or the container is pressurized. Turn the blender off, unplug it, wait for the blades to stop, and keep the container off the motor base while you follow the exact lid-removal method in its manual. Let hot contents cool fully, then check whether dried residue, a warped lid, or a misaligned seal is making the fit tight. Do not pry with a knife, drill the lid, or open a sealed hot container; replace a damaged lid or contact the manufacturer if normal manual removal still fails.
Work through in order
Diagnostic checks
Use only checks that match the exact appliance or system and its official guide.
-
Check 1
Turn the blender off, unplug it, wait until the blades have completely stopped, and remove the container from the motor base before attempting to remove the lid. Keep hands, utensils, and tools away from the blade assembly.
Expected result: The motor is off and the blades are stopped, or the container is still on the base, moving, or making a mechanical sound.
Next step: If the appliance has not fully stopped, leave it alone until it does. If it cannot stop normally, keep it unplugged and arrange service; do not hold the lid down or reach inside.
Why this matters
Why: Removing a lid while the blades can move creates a laceration and equipment hazard. Manufacturer manuals require power isolation and a complete stop before parts are removed.
-
Check 2
Without putting your face or hands over the lid opening, check whether the contents are hot, steaming, hissing, bulging, or recently blended at high speed. Do not pry, puncture, twist against resistance, or remove a vent plug unless the exact manual says it is safe for that condition.
Expected result: The container is cool and quiet, or it is hot, steaming, hissing, bulging, or otherwise pressurized.
Next step: If hot or pressurized, keep the container isolated and let it cool completely before attempting the model's normal lid procedure. If pressure or heat persists, stop and contact the manufacturer; do not force the lid.
Why this matters
Why: Hot ingredients can generate steam and pressure; vented-lid designs reduce that pressure, but lid construction and safe procedures differ by model.
-
Check 3
Identify the lid's normal handles, flaps, latches, or tabs from the exact owner manual. With the container held securely off the base and fully cool, use only that intended release point and the manual's direction of lift or twist.
Expected result: The lid releases with the intended handle or flap, or it does not release without excessive force or a tool.
Next step: If the intended release works, stop once the lid is free and inspect it. If it does not, stop rather than prying, cutting, or using pliers; obtain the exact manual or service guidance.
Why this matters
Why: Lid removal is design-specific. For example, one Vitamix manual directs the user to hold the container and lift one lid flap; this does not authorize the same motion on another blender.
-
Check 4
After the lid and container are cool and removed, inspect the sealing rim, lid tabs, gasket, and container lip for dried food, warping, cracks, or deformation. Clean only according to the manual using nonabrasive methods; do not use boiling water or abrasive tools on an unknown container.
Expected result: Residue is visible and the lid and container are intact, or a lid tab, seal, or container lip is warped, cracked, or damaged.
Next step: Clean and dry an intact lid only as the model manual allows. Do not use a damaged lid or container; identify the exact model and request a manufacturer-approved replacement or service.
Why this matters
Why: Dried residue can increase friction, while heat or dishwasher conditions can change fit. Blendtec warns that heat may make a jar expand or contract and lead to poor lid fit, and cautions against excessive temperatures and abrasives.
-
Check 5
Record the brand, model, container type, lid type, contents and temperature, whether the lid was recently washed or heated, and whether the difficulty repeats when the container is empty and cool.
Expected result: The lid is difficult only after hot processing or residue, or it remains difficult when cool, clean, empty, and correctly fitted.
Next step: Use the recorded information with the exact owner manual or manufacturer support. Keep a persistently stuck or damaged assembly out of use until fit and safe removal are confirmed.
Why this matters
Why: A condition-specific fit problem points to cleaning, heat, or pressure handling; a persistent cool empty-container problem raises the possibility of lid, seal, or container damage that cannot be diagnosed from force alone.
Use your observations
Decision map
Find the observation that best matches what you see, then follow the next safe action.
-
PATH 01Next step
What you see
The container is hot, steaming, hissing, bulging, or was just used for hot liquid.
Do this next
Keep hands and face away, unplug if safe, and allow the contents to cool fully before following the exact model's vent and lid procedure. Do not pierce or pry the lid.
Why this path and its safety boundary
Why it matters: Heat or pressure may be contributing to the lid resistance and forcing it could release scalding contents.
-
PATH 02Next step
What you see
The motor is off, the container is cool and off the base, and dried food is visible around an otherwise intact lid seal or rim.
Do this next
Clean the lid and rim using the exact manual's nonabrasive method, dry them, and reassess the fit without tools. Replace or service the assembly if it remains difficult.
Why this path and its safety boundary
Why it matters: Residue may be increasing friction at the seal, but the correct cleaning method depends on the container and lid material.
-
PATH 03Next step
What you see
The lid remains hard to remove when the cool, clean container is empty, correctly matched, and the intended handle or flap does not release it.
Do this next
Stop using the assembly and contact the manufacturer with the model and lid details. Do not use a knife, wrench, drill, adhesive, or unapproved replacement.
Why this path and its safety boundary
Why it matters: A warped lid, damaged tab or seal, container-fit problem, or model-specific locking issue is possible; force cannot identify which one.
-
PATH 04Next step
What you see
The lid or container is cracked, warped, melted, or shows damage after overheating or dishwasher exposure.
Do this next
Do not blend or force the lid. Keep the damaged parts away from use and obtain an exact manufacturer-approved replacement or service assessment.
Why this path and its safety boundary
Why it matters: The seal and container may no longer be safe or dimensionally correct for blending.
Helpful context
Understand the symptom
Treat a stuck lid as a safety problem first
A tight lid can be caused by the normal seal, dried food, heat-related fit changes, or pressure from hot contents. The exact removal motion varies by lid design. Manufacturers warn that the motor must be off, blades must have stopped, and the appliance should be unplugged before parts are removed. Never put a hand, utensil, or tool into the container while the blades can move.
Hot contents need cooling and pressure caution
Steam and trapped pressure can make a lid dangerous to force. Vitamix describes vented lids and lid plugs for hot ingredients and warns that escaping steam or pressure can burn or damage a container. If the contents are hot, steaming, hissing, or bulging the lid, keep your face and hands away, do not pry or pierce the lid, and let the container cool fully before using the model's normal removal method.
Do not guess the lid or container part
A lid that remains difficult to remove after cooling and cleaning may be warped, damaged, incorrectly fitted, or matched to the wrong container. Blendtec notes that heat can change jar dimensions enough to cause poor lid fit. Record the brand, model, jar, and lid details and use the manufacturer's manual or support path before ordering a replacement.
When checks do not resolve it
Need a professional?
Contact the blender manufacturer or qualified service if the lid is stuck after the container is cool and empty, the assembly is cracked or warped, pressure or heat does not dissipate, the motor or blades did not stop normally, or removal would require a tool, housing disassembly, or force. Do not pierce a sealed lid, reach near the blades, bypass an interlock, or use an unapproved lid or container.
Common questions
FAQ
Can I use a knife or screwdriver to pry off a blender lid?
No. A tool can damage the lid or container and may slip toward the blades. Unplug the blender, wait for a complete stop, cool the contents, and use only the release method in the exact owner manual.
Why does a blender lid get harder to remove after hot blending or washing?
Heat can create steam or pressure during blending, and Blendtec notes that heat can make a jar expand or contract and cause a poor lid fit. Let the container cool, check for warping or residue, and follow the model-specific cleaning and lid instructions.
What information does service need for a stuck blender lid?
Provide the brand and model, container and lid type, contents and temperature, whether the assembly was heated or washed in a dishwasher, what the intended release method does, and any crack, warp, leak, steam, or pressure symptom. Do not keep forcing the lid to reproduce the problem.
Read the exact guide
Official sources
- Blender Mastery: A Comprehensive Guide on How to Use a BlenderVitamix · Official Vitamix guidance used for the family-level explanation that hot liquids can cause steam or pressure and that vented lids reduce pressure. It does not authorize forcing an unknown lid or prescribe a universal release procedure.
- Use and Care ManualVitamix · Official Vitamix manual used as a model-specific example for unplugging before parts removal, waiting for blades to stop, hot-liquid precautions, intended lid-flap removal, and the warning against forcing or disassembling unsafe parts. It does not establish the lid method for every blender.
- www.blendtec.comBlendtec · Official Blendtec use-and-care page used for the specific fit explanation that dishwasher heat can make a jar expand or contract and cause poor lid fit, plus nonabrasive cleaning and unplugged motor-base safety. It is not a universal lid-removal manual for other brands.
Community feedback
Share a repair observation
Share a plain-text repair observation. Accepted observations are published automatically; this page may take a moment to update.