
On this page
Start here
Quick answer
If water is coming from a Bosch refrigerator's ice-maker area, stop making ice and identify whether the water is coming from the ice compartment, an external supply connection, or a separate condensation or melt path. Bosch's refrigerator guidance lists an unsecured or damaged water connection as a leak cause and says damaged hoses require qualified service; its ice-maker guidance also says that an unlevel appliance can let water flow out of the ice maker. With no model number, do not diagnose an inlet valve, mold, sensor, or ice-maker assembly, and do not force the ice bin or open sealed panels. Keep the area dry, isolate the water supply if safe, and arrange Bosch service for an active leak, damaged hose, or unresolved source.
Work through in order
Diagnostic checks
Use only checks that match the exact appliance or system and its official guide.
-
Check 1
If water is still entering the refrigerator, stop ice production using only the model-specific control and close the accessible water shutoff if it can be operated without reaching through water. Keep the floor and electrical area dry.
Expected result: The leak stops when ice production or the water supply is isolated, or water continues with both isolated.
Next step: Leave ice production off and arrange service if water continues, the source is unclear, or any electrical area is wet. Do not repeatedly cycle the ice maker to reproduce the leak.
Why this matters
Why: A change with the water supply or ice-maker cycle supports a water-path issue; continued water suggests another source such as meltwater, drainage, or a separate leak. It does not identify a valve or internal ice-maker part.
-
Check 2
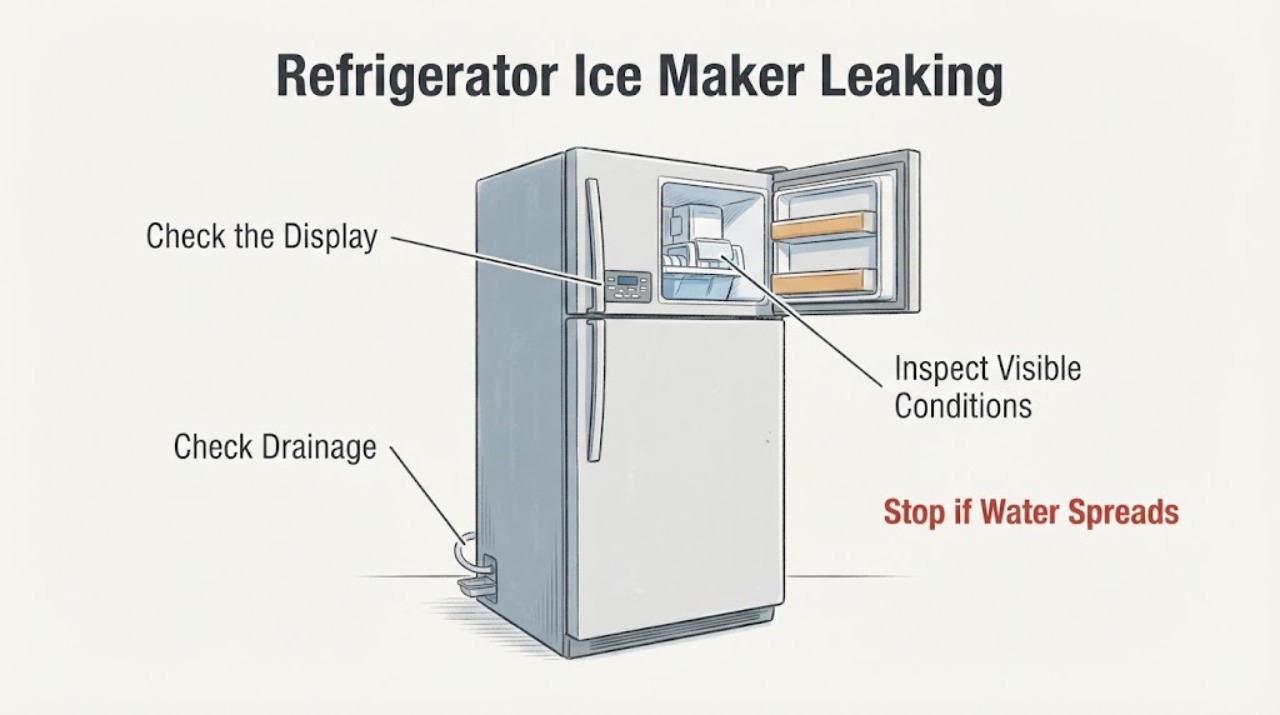
With the appliance stopped, trace only visible water: check the ice bin and ice-maker area, the rear water connection, the cabinet floor, and the interior rear drainage area. Do not remove interior panels or the ice-maker cover.
Expected result: Water is concentrated in the ice compartment, at the rear hose connection, or on an interior shelf/floor with ice buildup or a blocked drainage path.
Next step: Use the model manual for the confirmed area. If the source is inside the ice-maker housing, behind a panel, or not visible, stop and use Bosch service rather than opening the assembly.
Why this matters
Why: The location separates an ice-maker water path from an external connection or a condensation/meltwater path. Bosch's leak guidance lists blocked drainage, melting ice buildup, and a faulty door seal as other leak sources.
-
Check 3
Confirm that the ice container is fully seated and aligned, and observe whether the refrigerator visibly tilts. Do not force a jammed bin or adjust inaccessible leveling hardware while water is present.
Expected result: The bin is misaligned or the appliance is not level, or both appear correctly positioned.
Next step: If the manual documents a safe bin reseat or leveling check, follow it with the ice maker off and the area dry. If the leak persists, arrange service.
Why this matters
Why: Bosch says a misaligned ice container can affect ice-maker operation and that an unlevel appliance can allow water to flow out of the ice maker. These observations do not prove a failed ice-maker component.
-
Check 4
From outside the appliance, look for a loose connection, kink, crack, or drip at the accessible water hose and shutoff connection. Do not tighten or disconnect a pressurized line behind a wet refrigerator.
Expected result: The connection is visibly loose or the hose is damaged, or the external line appears dry and intact.
Next step: If the hose is damaged or the connection continues to leak, keep the water supply isolated and use Bosch or a qualified service provider; Bosch says damaged-hose replacement requires qualified service and original parts. If dry, continue to model identification and service boundaries.
Why this matters
Why: Bosch identifies an unsecured connection or damaged water hose as a leak cause. A dry external line does not rule out an internal ice-maker water-path problem.
-
Check 5
Find the refrigerator E-Nr. on the rating plate and use Bosch's model-specific support and parts lookup. Record the leak location, whether isolating water stopped it, ice-bin alignment, visible hose condition, and any display message.
Expected result: A matching manual and parts diagram are available, or the model cannot be identified and the leak remains unresolved.
Next step: Follow only the exact manual for the identified model. If the leak source is internal, active, or unresolved, keep ice production off and arrange an authorized Bosch service visit.
Why this matters
Why: Bosch's support and parts pages use the model number to provide matching resources; without it, an ice-maker valve, tray, sensor, or assembly cannot be selected safely.
Use your observations
Decision map
Find the observation that best matches what you see, then follow the next safe action.
-
PATH 01Next step
What you see
Water appears in or below the ice-maker area and stops when ice production or the water supply is isolated.
Do this next
Keep ice production off, avoid opening the assembly, and arrange Bosch service with the E-Nr. and leak location.
Why this path and its safety boundary
Why it matters: The evidence supports an ice-maker water path, but does not distinguish a fill tube, valve, tray, sensor, or other internal part.
-
PATH 02Next step
What you see
Water is visible at the rear connection or an accessible hose is cracked, kinked, or dripping.
Do this next
Close the water shutoff if safe, keep the refrigerator area dry, and have the line replaced or repaired by a qualified provider.
Why this path and its safety boundary
Why it matters: The external supply connection or hose is the leading visible source, and continued operation can worsen water damage.
-
PATH 03Next step
What you see
Water is on an interior shelf or floor with ice buildup or a suspected drainage path, while the ice-maker area and supply connection are dry.
Do this next
Use the exact manual for drainage and defrost guidance; do not assume an ice-maker valve is faulty.
Why this path and its safety boundary
Why it matters: The water may be condensation or melting ice rather than an ice-maker leak.
-
PATH 04Next step
What you see
The ice bin is not fully aligned or the refrigerator visibly tilts, and water appears around the ice-maker area.
Do this next
With water isolated and the area dry, follow the model manual for a safe bin or leveling check; seek service if leaking continues.
Why this path and its safety boundary
Why it matters: Bosch identifies bin alignment and appliance leveling as conditions that can affect ice production and allow water to flow out.
-
PATH 05Next step
What you see
Water continues with the ice maker and supply isolated, reaches electrical areas, or the source cannot be seen without removing panels.
Do this next
Stop using the ice maker, keep clear of wet electrical areas, and arrange authorized Bosch service.
Why this path and its safety boundary
Why it matters: The problem is not safe to narrow through generic user steps and may involve an internal leak or electrical hazard.
Helpful context
Understand the symptom
Separate the leak paths first
Dry the visible water only if it is safe to do so, then note where it reappears. Water inside the ice bin or freezer around the ice maker points to the ice-making water path; water at the rear connection points to the supply line; water on a refrigerator shelf or floor can also come from condensation drainage, melting ice buildup, or a door-seal problem. The task has no Bosch E-Nr., so this guide does not name an internal valve, mold, sensor, or compatible part.
Stop water and electricity risks
Stop ice production using only the model's documented control if it can be reached safely. If water is actively flowing, close the refrigerator water shutoff only if it is accessible and dry to operate. Keep water away from outlets and wiring, do not reach behind a wet appliance, and do not remove covers or test a valve with live power.
What the model number changes
Bosch refrigerators use different ice-making layouts and controls. Record the E-Nr., where the water appears, whether the ice bin is aligned, whether the leak starts during filling or after defrosting, and whether the refrigerator has an active display message. Use that information with the matching manual or service provider.
When checks do not resolve it
Need a professional?
Arrange Bosch or qualified service for an active or recurring leak, damaged hose, water near electrical parts, an internal ice-maker source, a leak that persists with the supply isolated, or any source that requires panel removal to inspect.
Common questions
FAQ
Does water under the ice maker prove the inlet valve failed?
No. Bosch guidance also identifies connection or hose problems, leveling, ice buildup, drainage, and door-seal conditions. Without a model-specific diagnosis, do not name an internal valve or order an ice-maker part.
Can I keep making ice while the leak is small?
No. Stop ice production using the model's documented control and isolate the water supply if safe. Continued water can damage the refrigerator or nearby electrical areas; use service if the source is not immediately clear.
What information does Bosch need for an ice-maker leak?
Provide the E-Nr., leak location, whether isolating water stopped it, the ice-bin and hose observations, and any display message. Bosch's refrigerator parts and support pages use the model number to route matching manuals, parts, and service.
Read the exact guide
Official sources
- Fridge is leaking water | Bosch UKBosch Home Appliances UK · Bosch's official UK refrigerator leak page; used for distinguishing drainage, meltwater, and door-seal paths from an ice-maker water path. Region-specific service details are not generalized.
- Fridge and Fridge Freezer Spare Parts | BoschBosch Home Appliances · Bosch's US refrigerator parts page requires the exact model/E-Nr. for matching parts and lists ice makers among refrigerator part categories; it does not establish fit for the unspecified task.
- Refrigerator-freezerBosch Home Appliances · Bosch-hosted en-US refrigerator manual used only for external leak and service boundaries; no model was supplied in the task, so no model-specific part or procedure is claimed.
- Get Support - Refrigeration | Bosch Home AppliancesBosch Home Appliances · Bosch's US refrigeration support hub routes owners to model lookup, manuals, service assistant, troubleshooting and authorized service without asserting a component diagnosis.
- Fridge is not making ice | Bosch UKBosch Home Appliances UK · Bosch's official UK support page; used for general ice-bin alignment and leveling observations only. Region-specific controls and water requirements remain model/manual dependent.
Community feedback
Share a repair observation
Share a plain-text repair observation. Accepted observations are published automatically; this page may take a moment to update.