
On this page
Start here
Quick answer
For a coffee maker that will not dispense, separate no power from a brew lockout, empty or misseated water reservoir, blocked pod or entrance needle, and scale. Confirm power, seat the reservoir, close the pod handle fully, and use the exact model cleaning or descaling procedure. If the machine still will not dispense after one documented rinse or descale path, keep it off and use model-specific service.
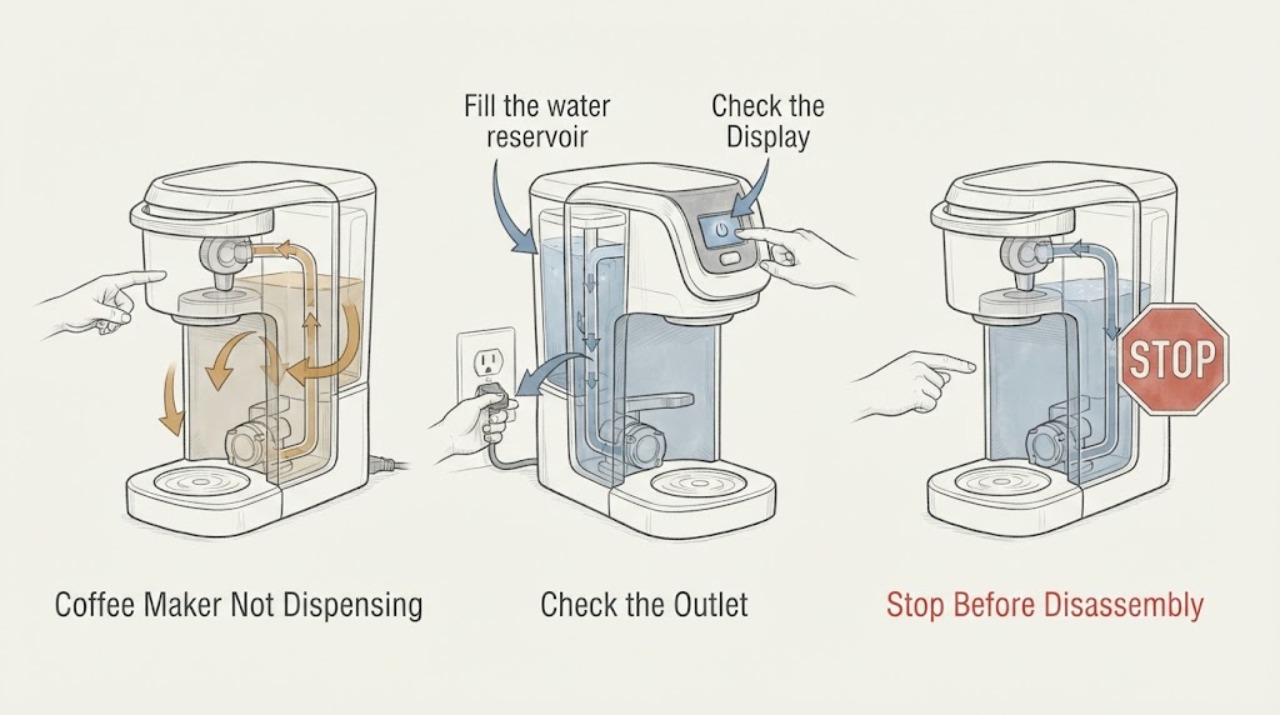
Work through in order
Diagnostic checks
Use only checks that match the exact appliance or system and its official guide.
-
Check 1
Check for display or power, confirm the brewer is firmly plugged into an independent outlet, and verify the household breaker if the display is dark.
Expected result: The display is dark or the brewer has power but does not enter brew mode.
Next step: Restore only a safe power connection or continue to the reservoir and pod checks.
Stop if: Do not use a damaged cord, wet outlet, dimmer-controlled outlet, or extension lead.
Why this matters
Why: Keurig separates no-power conditions from a brewer that is powered but will not brew.
-
Check 2
Fill the water reservoir to the model’s level, reseat it fully on its base, and check whether the screen still says “More Water Please.”
Expected result: The reservoir was empty or misseated, or the message remains after correct filling.
Next step: Remove and clean the reservoir as the guide directs, refill to the marked line, and perform one cleansing brew without a pod.
Stop if: Do not run the pump dry or use non-potable liquid.
Why this matters
Why: Keurig identifies reservoir level and seating as direct no-brew conditions; a persistent message can require reservoir cleaning.
-
Check 3
Insert the pod only if the model uses one, lower the handle completely, and check whether the brew screen appears; if the display reports a brew interruption, follow the guide’s cautious pod and entrance-needle access instructions.
Expected result: The handle is not fully lowered, a pod is mispositioned, or a brew-interrupted message remains.
Next step: Close the handle fully; unplug before clearing a blockage and use only the included model maintenance accessory.
Stop if: Do not put fingers into the pod holder or needle area.
Why this matters
Why: The brewer will not enter a normal brew state when the handle is open or the entrance needle is blocked.
-
Check 4
If water flow is partial or absent after the reservoir and pod checks, run the model’s cleaning or descale procedure exactly as documented and compare the output to a normal cup.
Expected result: Flow returns after cleaning/descaling, or it remains absent/partial.
Next step: Stop repeated cycles and contact Keurig support with the model and observed display message.
Stop if: Do not disassemble the pump, valve, or heated water path.
Why this matters
Why: Keurig identifies cleaning and descaling as remedies for blocked pod paths and partial brewing; persistence points to service.
Use your observations
Decision map
Find the observation that best matches what you see, then follow the next safe action.
-
PATH 01Next step
What you see
The display is dark and the independent outlet or breaker is not supplying power.
Do this next
Correct the safe household supply condition before testing the brewer again.
Why this path and its safety boundary
Why it matters: The immediate fault is electrical supply or connection.
-
PATH 02Next step
What you see
The brewer has power but shows a water message or will not brew until the reservoir or handle is reseated.
Do this next
Seat the reservoir and close the handle fully, then perform one normal test.
Why this path and its safety boundary
Why it matters: Water-reservoir seating or brew interlock is the likely user-checkable branch.
-
PATH 03Next step
What you see
The reservoir and handle are correct but the brew remains blocked, partial, or needle-related after model cleaning/descaling.
Do this next
Keep the brewer off and arrange model-specific service.
Why this path and its safety boundary
Why it matters: A persistent flow restriction, valve, pump, or control fault needs service.
Helpful context
Understand the symptom
What the symptom tells you
For a coffee maker that will not dispense, separate no power from a brew lockout, empty or misseated water reservoir, blocked pod or entrance needle, and scale. Confirm power, seat the reservoir, close the pod handle fully, and use the exact model cleaning or descaling procedure. If the machine still will not dispense after one documented rinse or descale path, keep it off and use model-specific service.
Use the exact model information
Controls, code meanings, safe access, and replacement parts vary by model. Record the model and the exact symptom before requesting service.
When checks do not resolve it
Need a professional?
Give the manufacturer or a qualified appliance technician the exact model, serial information, symptom timing, and all observations. Do not open sealed, refrigerant, gas, high-voltage, or energized assemblies.
Common questions
FAQ
Why does a powered coffee maker still not dispense?
Keurig’s guide points to an incompletely lowered pod handle, an empty or misseated reservoir, a blocked entrance needle, or scale. Check those in that order using the model’s safe procedures.
Can I clear the needle with my finger?
No. Unplug the brewer and use only the model maintenance accessory and instructions; do not put fingers into the pod or needle area.
Read the exact guide
Official sources
- K600 Use & Care GuideKeurig · Coffee brewer no-brew power, water reservoir, pod handle, needle blockage, and descale checks
Community feedback
Share a repair observation
Share a plain-text repair observation. Accepted observations are published automatically; this page may take a moment to update.