
On this page
Start here
Quick answer
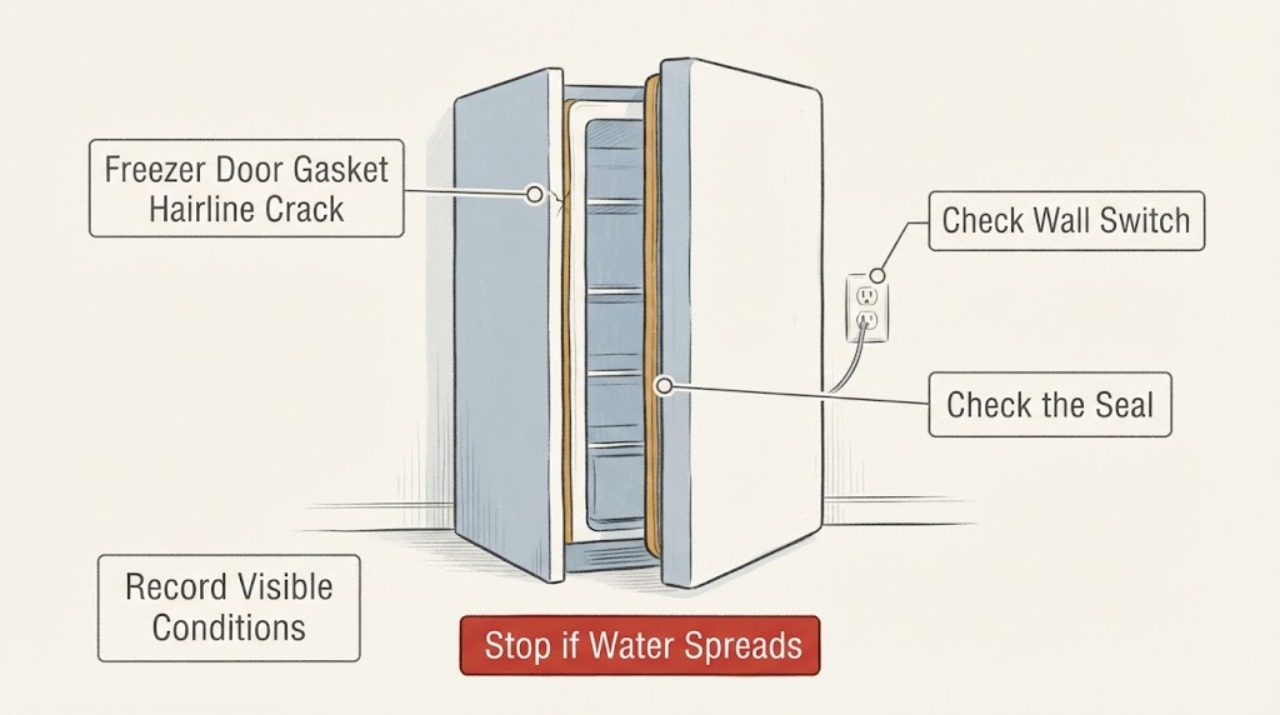
A visible hairline crack in a freezer door gasket is a seal defect, not a repair that should be filled with unverified glue or reshaped with a heat gun. GE's official gasket guidance says cuts, tears and rips require gasket replacement; it distinguishes a gasket that has merely pulled loose, which may be pressed back into its retainer, from wrinkles or deformation, which some models may correct with a low-setting blow dryer. For a temporary reduction in warm-air entry, clean and dry the gasket and door contact surface, remove anything preventing the door from closing, keep openings brief, and monitor frost and temperature. Find the exact model before ordering a replacement gasket or using any model-specific removal method.
Work through in order
Diagnostic checks
Use only checks that match the exact appliance or system and its official guide.
-
Check 1
Unplug or switch off the freezer only if the model manual and food-safety situation allow it, open the door, and clean and dry the gasket and the mating cabinet surface with the method approved for the appliance. Remove packages or ice that prevent the door from closing.
Expected result: The gasket sits flat against a clean frame with no obstruction, or a gap remains at the crack/edge when the door is closed.
Next step: Keep the door fully closed and minimize openings while arranging a model-matched gasket. Do not force the door against ice or use an adhesive to bridge the gap.
Why this matters
Why: A dirty surface, obstruction or loose seating can create a temporary air gap separate from the crack. A persistent gap at the damaged section confirms the seal is not restored by cleaning alone.
-
Check 2
Inspect the entire gasket perimeter and classify the defect without stretching it: is the gasket pulled out of its retainer, merely wrinkled/deformed, or actually cut, split or missing material? Use a paper slip around the perimeter only as a gentle seal observation, not as a reason to pull hard on the gasket.
Expected result: The gasket is visibly loose from its retainer, has a smooth deformation without a split, or has a crack/cut/tear that opens or leaves a gap.
Next step: If loose, follow the exact model manual to reseat it. If only deformed, use a low-setting blow dryer only when the exact manual or manufacturer guidance permits it; if cracked or torn, stop treating it as a reshaping problem and identify the correct replacement.
Why this matters
Why: GE distinguishes reseating a gasket pulled loose and correcting some wrinkles from replacing a gasket with cuts, tears or rips. A crack belongs to the replacement branch even if it is small.
-
Check 3
Record the complete model number from the freezer or refrigerator label and compare the gasket's shape, corners, magnetic seating and retainer arrangement with the exact owner manual or manufacturer parts lookup. Do not order by appearance or freezer width alone.
Expected result: The model-specific documentation identifies a replacement gasket and a user-level installation method, or the model/fit remains uncertain.
Next step: Use only the exact model's documented gasket or arrange service. If no reliable model match is available, provide the label information and photos to the manufacturer or qualified appliance technician.
Why this matters
Why: Gasket geometry and attachment vary by appliance. A generic seal or another model's removal procedure can leave a new leak or damage the door liner.
-
Check 4
After cleaning and closing the door, observe the freezer over the next normal cooling period without repeatedly opening it. Check for a continuing frost band near the crack, a door that will not stay shut, an unusually long run cycle, or food softening.
Expected result: The door remains sealed and temperature stabilizes, or frost/condensation and long running continue at the damaged area.
Next step: Keep the door closed, protect food if temperature is rising, and replace the damaged gasket or arrange service. Do not compensate by changing internal controls or repeatedly power-cycling the freezer.
Why this matters
Why: A continuing perimeter frost or warm freezer supports an unresolved seal leak; Whirlpool and Frigidaire identify a poor gasket seal as a source of warm-air entry and extra running. This does not prove a compressor or refrigerant fault.
-
Check 5
Stop user checks if the freezer has a damaged power cord, water around an electrical connection, smoke, burning odor, severe frost blocking the door, or food that may no longer be safely frozen.
Expected result: No hazard is present, or an electrical, water, door-closure or food-safety hazard is present.
Next step: For a hazard, disconnect power only from a safe position and arrange qualified service; keep the freezer closed as much as possible and follow applicable food-safety guidance. Do not use heat, adhesives or internal cooling-system repairs.
Why this matters
Why: A gasket crack is a sealing issue, but a hazard or significant temperature rise requires a broader appliance and food-safety response.
Use your observations
Decision map
Find the observation that best matches what you see, then follow the next safe action.
-
PATH 01Next step
What you see
The gasket is intact but has pulled out of its retainer, and the door closes evenly after the visible section is reseated using the exact model instructions.
Do this next
Monitor the perimeter seal and temperature. If the gasket pulls out again or a crack is visible, arrange model-matched replacement.
Why this path and its safety boundary
Why it matters: The immediate gap may have been a seating problem rather than a damaged gasket.
-
PATH 02Next step
What you see
The gasket is wrinkled or deformed but not split, and the manufacturer permits low-setting reshaping for that model.
Do this next
Follow only the model-approved low-setting method and smooth the gasket gently. Do not use a heat gun or apply heat to a cracked section.
Why this path and its safety boundary
Why it matters: A deformation can sometimes prevent an otherwise intact gasket from contacting the frame evenly.
-
PATH 03Next step
What you see
The gasket has a hairline crack, cut, tear or missing section, and the door leaves a gap or frost returns at that location.
Do this next
Keep openings brief and arrange an exact model-matched gasket replacement or qualified service. Do not glue, tape, caulk, heat-gun or stretch the damaged section.
Why this path and its safety boundary
Why it matters: The sealing material is damaged. GE's official guidance places cuts, tears and rips in the replacement branch; a patch is not established as a reliable repair by the cited guidance.
-
PATH 04Next step
What you see
The freezer is warming, the door cannot close, there is heavy frost, or an electrical/water hazard is present.
Do this next
Keep the door closed, protect or move food as appropriate, stop unsafe operation, and arrange qualified service. Do not open sealed refrigeration components or perform live electrical work.
Why this path and its safety boundary
Why it matters: The leak may be affecting food preservation or safe operation, and a gasket-only assumption is no longer sufficient.
Helpful context
Understand the symptom
A true split in the flexible gasket changes the decision. A loose gasket can sometimes be reseated, and a wrinkle may be correctable on some models, but a crack that opens when the door is closed is damaged sealing material. The reliable path is a model-matched replacement or service; a temporary check can reduce additional warm-air entry but does not restore the torn section.
Do not seal the crack with household glue, tape, caulk or an unapproved patch, and do not use a heat gun. Do not use a hot tool near frozen food, plastic liners or the magnetic gasket. Keep the inspection external and protect food if the freezer is warming or accumulating heavy frost.
Common questions
FAQ
Can I glue a hairline crack in a freezer gasket?
The official guidance opened here does not establish glue or caulk as a reliable gasket repair. GE says a gasket with cuts, tears or rips needs replacement. Keep the door closed and arrange an exact model-matched gasket instead of adding an unverified adhesive.
Can I use a heat gun to reshape the gasket?
No. Do not use a heat gun on a freezer gasket. GE mentions a low-setting blow dryer only for certain deformations and says to follow the owner's manual; it does not support heating a cracked section into a repair.
How can I tell whether the gasket is leaking?
Inspect the entire perimeter for gaps, close a paper slip gently in several locations, and watch for frost or condensation at the crack. A paper slip that pulls out with little resistance or recurring frost supports an unresolved seal, but it does not identify a cooling-system fault.
Is a loose gasket the same as a cracked gasket?
No. GE distinguishes a gasket pulled loose from the door, which may be pushed back into its retainer, from cuts, tears or rips, which need replacement. Treat an actual crack as damaged material even if it is small.
Read the exact guide
Official sources
- Refrigerator - Easy to Remove GasketGE Appliances · Opened the official GE support page. It explains that some modern gaskets peel away and must seat fully in the mating groove, while directing users to the appropriate style/model guidance; no universal removal method is inferred.
- 7 freezer problems & how to troubleshoot themWhirlpool · Opened the official Whirlpool article. It covers standalone and refrigerator freezers at family level and supports external seal observation; it does not authorize a specific gasket fit or repair method for an unidentified model.
- Freezer Runs Too MuchFrigidaire · Opened the official Frigidaire owner-support page. It supports generic external seal observations for freezers, not brand/model-specific gasket compatibility or replacement steps.
- Top Freezer Refrigerator - Adjusting or Replacing the Door GasketsGE Appliances · Opened the official GE support page. It directly distinguishes a gasket pulled loose, a deformation/wrinkle, and cuts/tears/rips; because the task has no brand or model, the article uses it as family-level gasket decision guidance and preserves the exact-manual boundary.
Community feedback
Share a repair observation
Share a plain-text repair observation. Accepted observations are published automatically; this page may take a moment to update.