
On this page
Start here
Quick answer
There is no safe universal handle-replacement sequence for an unidentified freezer. First record the brand and complete model number, then determine whether the broken piece is an exterior door or drawer handle or an internal evaporator-compartment flap/cover handle. Manufacturer guidance shows that handles may use screws, set screws, studs, clips or model-specific assemblies. Use the exact manual only when it identifies the part and fasteners; stop if access requires removing an evaporator cover, liner or refrigeration component.
Before you begin
Safety first
- Do not open the liner or evaporator cover, puncture insulation, drill the cabinet, disturb refrigerant tubing or work on concealed wiring. Use a competent appliance repairer for internal access.
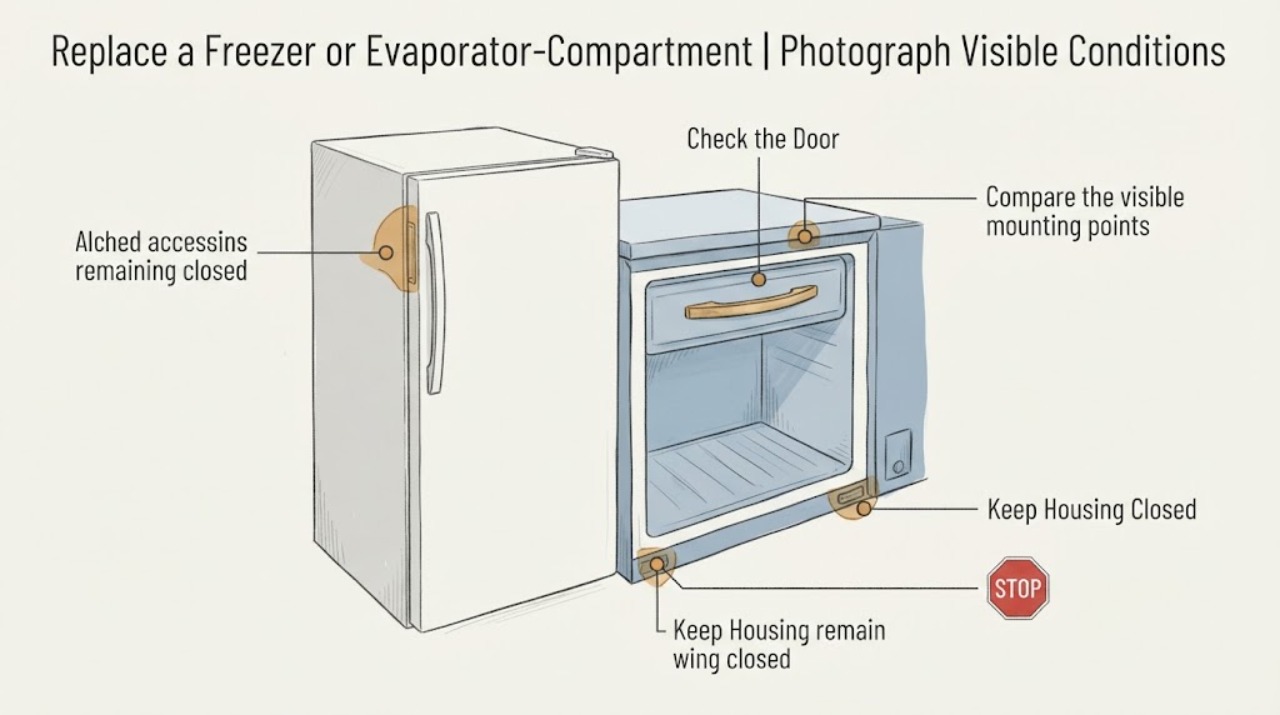
Work through in order
Diagnostic checks
Use only checks that match the exact appliance or system and its official guide.
-
Check 1
Locate and photograph the appliance rating plate and record the brand, complete model number, serial number and region, without removing panels or trim.
Expected result: A complete identity is visible, or the only way to find it would be to open the cabinet or disturb the evaporator compartment.
Next step: Use the complete identity to obtain the manufacturer's manual and parts lookup. If the identity is inaccessible without disassembly, stop and have service identify it.
Why this matters
Why: Handle fit and attachment are model-specific; an unidentified part cannot be safely matched by appearance.
-
Check 2
Classify the broken piece from outside: exterior upright-door handle, freezer drawer handle, chest-freezer lid handle, or a handle attached to an internal flap/evaporator cover.
Expected result: The handle is on the outside door or lid, or it is attached to an inner flap, liner, air duct or evaporator cover.
Next step: Proceed only with the exact exterior-handle instructions. For any internal flap, liner or evaporator-cover attachment, stop before disassembly and request model-specific service.
Why this matters
Why: Exterior handles may have accessible fasteners; an internal evaporator-compartment handle may be part of a refrigeration or insulated assembly.
-
Check 3
Compare the visible mounting points with the exact manufacturer's installation instructions: screws, set screws, studs, clips, slide direction and any supplied covers.
Expected result: The manual matches the appliance and shows the same fastener pattern, or the pattern and part cannot be matched.
Next step: If matched, gather only the listed tools and hardware. If not matched, do not pry, drill or substitute a handle; contact the manufacturer or a qualified repairer.
Why this matters
Why: A matched manual supports the manufacturer's removal direction; a mismatch means a similar-looking handle or generic tool sequence is unsafe to apply.
-
Check 4
Before any model-authorized adjustment to an exterior handle, switch off and unplug the freezer if the manufacturer's instructions call for it and keep tools away from seals, wiring and the cabinet liner.
Expected result: The appliance is isolated safely and the work remains limited to the accessible exterior handle, or isolation/access cannot be achieved without moving or opening the appliance.
Next step: Continue only with the exact documented exterior sequence. Otherwise leave the freezer intact and arrange competent service.
Why this matters
Why: HSE treats adjustment of domestic electrical appliances as a safety-controlled activity; inaccessible or internal work exceeds this limited user check.
-
Check 5
After a documented exterior replacement, check that the handle is secure without force and that the freezer door, drawer or lid closes evenly and does not damage the gasket.
Expected result: The handle is flush and stable with the seal and closure unchanged, or the handle remains loose, the seal is displaced or the panel flexes.
Next step: Stop using the affected compartment and arrange service for the unresolved fit. Do not compensate with longer screws, adhesive, drilling or force.
Why this matters
Why: A stable exterior fit supports completion of the handle-only job; looseness, seal damage or panel movement indicates an unresolved mounting or door problem.
Use your observations
Decision map
Find the observation that best matches what you see, then follow the next safe action.
-
PATH 01Next step
What you see
The complete model is available and the handle is a clearly exterior door, drawer or chest-lid handle whose fasteners match the manufacturer's instructions.
Do this next
Follow that exact manual, preserve the original hardware and stop if the assembly differs from the illustration.
Why this path and its safety boundary
Why it matters: The repair may be limited to the documented handle assembly, but the manufacturer-specific instructions control the removal direction and hardware.
-
PATH 02Next step
What you see
The handle is on an internal evaporator flap, inner door, liner, air duct or evaporator cover, or its attachment cannot be seen without disassembly.
Do this next
Do not pry or remove the evaporator cover. Keep the compartment closed and arrange model-specific appliance service.
Why this path and its safety boundary
Why it matters: The requested part may be integrated with an insulated or refrigeration assembly; no universal handle procedure or fit can be established from the topic alone.
-
PATH 03Next step
What you see
The proposed replacement looks similar but the model, fastener pattern, slide direction or mounting depth does not match the exact manual.
Do this next
Do not order or install it. Use the complete model identity with the manufacturer or have a qualified technician identify the correct assembly.
Why this path and its safety boundary
Why it matters: Similarity does not establish compatibility; an incorrect handle can damage the door panel, liner or gasket.
-
PATH 04Next step
What you see
After a documented exterior replacement, the door or lid no longer closes evenly, the gasket is pulled out of place, or the handle remains loose.
Do this next
Stop using the affected compartment and arrange service; do not add unapproved screws, adhesive or force.
Why this path and its safety boundary
Why it matters: The handle-only repair has not restored a safe closure and may be stressing the seal or panel.
Helpful context
Understand the symptom
Identify the handle before removing anything
A freezer door or drawer handle is mounted to the exterior panel. A handle on an evaporator compartment flap or cover can be part of an internal assembly, and the two should not be treated as the same repair. Photograph the broken handle in place, the surrounding panel and any visible fasteners. Find the rating-plate brand, complete model number and serial information before searching for a manual or replacement assembly.
Why a model-specific manual matters
Opened manufacturer guidance uses different attachment systems: some handles are released from screws, some slide over mounting studs or clips, and chest-freezer handles can use a multi-screw lid assembly. Those examples establish that the visible shape is not enough to select a handle or removal direction. They are not a universal procedure for an unidentified appliance.
Keep evaporator and liner access outside the user procedure
If the handle is attached to an evaporator flap, air duct, inner door, liner or cover, do not pry the panel, drill new holes, pull on hidden clips or remove the evaporator assembly to reach it. HSE identifies refrigerators and freezers as domestic appliances with electrical repair risks and advises switching off and unplugging before adjustment; concealed wiring and refrigeration components require competent service.
Check the result without stressing the freezer
After an exact manual-authorized exterior replacement, verify from outside that the handle is flush, all specified fasteners are present, and the door or flap closes without rubbing or pulling the seal out of position. Do not use an unverified handle as a lever or force an internal evaporator-compartment door. If the attachment remains loose or the door no longer seals, stop using the compartment and arrange service.
When checks do not resolve it
Need a professional?
Arrange model-specific service when the handle is part of an evaporator flap, inner door, liner or cover; when the model cannot be identified; when the exact mounting pattern does not match; or when closure, seal or cabinet integrity changes.
Safety scope: Do not open the liner or evaporator cover, puncture insulation, drill the cabinet, disturb refrigerant tubing or work on concealed wiring. Use a competent appliance repairer for internal access.
Have this ready
- Brand, complete model and serial number, region, photos of the handle and mounting area, whether it is exterior or internal, and whether the door or flap still seals and closes.
Common questions
FAQ
Can I use a universal freezer handle for this repair?
Do not assume compatibility. The attachment style and mounting geometry vary, and the topic has no model number. Match the complete appliance identity and exact manufacturer instructions before ordering or installing anything.
Is an evaporator-compartment handle the same as a freezer door handle?
Not necessarily. An exterior door or lid handle may be a visible fastener assembly, while an internal evaporator-compartment handle may be part of an insulated flap or cover. Identify the location before removing any hardware.
Should I remove the evaporator cover to reach the handle?
No generic instruction supports doing that. If the handle cannot be replaced from the exterior using the exact manual, stop before opening the liner or evaporator cover and arrange competent service.
Read the exact guide
Official sources
- How to Install the Chest Freezer HandleWhirlpool Product Help · Official chest-freezer example with model-manual warning; not a universal procedure for this unidentified topic.
- Safety in electrical testing: Servicing and repair of domestic appliancesUK Health and Safety Executive · Government repair-safety scope for refrigerators/freezers; it supports the professional boundary, not a handle-fit claim.
- Top Freezer Refrigerator - Handle Tighten, Remove and ReplaceGE Appliances · Official model-family examples showing different screw, stud and bracket methods; not a compatibility claim for the unidentified freezer.
- Introduction to electrical safetyUK Health and Safety Executive · Government safety guidance for switching off/unplugging before adjustment and using competent persons for electrical work.
- Brigade reissues essential white goods safety advice following Grenfell FireLondon Fire Brigade · Public safety guidance supporting isolation and qualified repair when a white good may be unsafe; not a handle-replacement procedure.
Community feedback
Share a repair observation
Share a plain-text repair observation. Accepted observations are published automatically; this page may take a moment to update.