
On this page
Start here
Quick answer
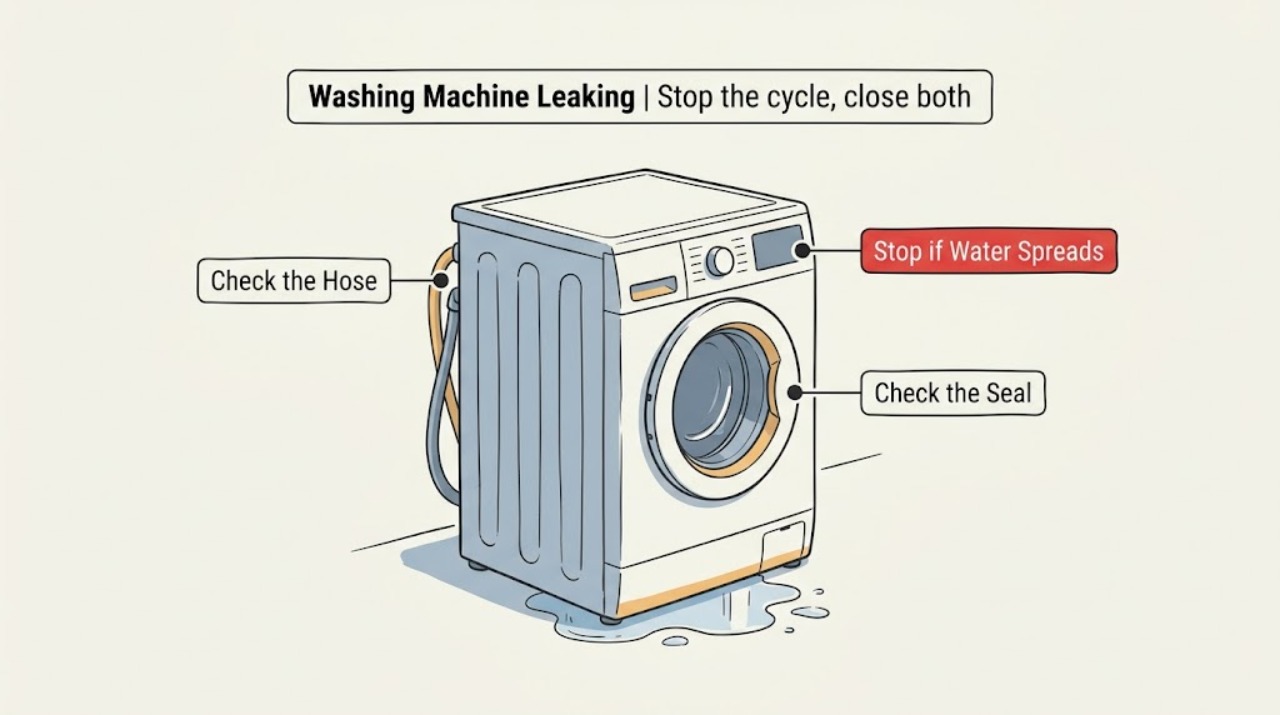
Stop the Frigidaire washing machine, close the hot and cold water valves, and disconnect power only from a dry, safe position. Wipe up enough water to identify where it first returns: the inlet hoses and connections, drain hose or standpipe, door or lid, detergent area, or underneath the cabinet. Check accessible hose damage, sealing washers, drain support, door or lid closure, load level, and excess suds. Do not keep running a machine with active flooding, water near electrical parts, a damaged hose or cabinet, or a leak from underneath. After one manual-approved correction, run a short supervised test; if water returns, arrange service rather than opening the cabinet.
Work through in order
Diagnostic checks
Use only checks that match the exact appliance or system and its official guide.
-
Check 1
Stop the cycle, close both water valves, and inspect the floor and electrical area from a dry position. Disconnect the machine only if the plug, socket, cord, and floor are dry and safely reachable.
Expected result: The water stops when the valves close, or water continues to appear from the drain, underneath the machine, or near an electrical connection.
Next step: If water is spreading, the underside is wet, or electrical parts are involved, leave the machine off and arrange service. Otherwise dry the accessible area and locate the first return point without moving the appliance aggressively.
Why this matters
Why: Closing the supply limits a fill-side leak. Continued water may be residual or drain-side, while moisture near electricity makes further testing unsafe.
-
Check 2
With the valves closed and the appliance off, inspect both ends and the length of each inlet hose, their sealing washers, the rear connectors, and the drain hose where it enters the standpipe or household drain. Check for kinks, splits, loose or cross-threaded connections, a missing seal, a slipped hose, or a blocked drain.
Expected result: Water starts at an inlet connection, a damaged hose or seal, a drain hose that is not secured, or an overflowing standpipe; or all visible connections are dry and correctly supported.
Next step: Correct only an accessible alignment or support problem using the model manual, hand-tightening before any limited tool adjustment. Do not force fittings or use a damaged hose; request service for cracks, broken connectors, or a persistent drain blockage.
Why this matters
Why: A loose, cross-threaded, cracked, or poorly sealed inlet can leak during filling. A drain hose that slips or a blocked standpipe can spill during draining. A dry rear path shifts attention to the door or lid, dispenser, leveling, filter, or an internal leak.
-
Check 3
For a front-load washer, inspect the door glass and gasket for hair, thread, laundry caught in the seal, cuts, or deformation. For a top-load model, check that the lid closes correctly and that no load or object is interfering with it. Separately inspect the detergent drawer or dispenser for residue, damage, incomplete closure, or suds escaping.
Expected result: The leak is at the closed door or lid, the gasket is damaged or obstructed, or foamy water emerges from the dispenser; or the door, lid, and dispenser are clean, intact, and dry.
Next step: Remove only loose debris and clean the accessible dispenser as the manual directs. Do not use the washer with a torn gasket, damaged lid or dispenser, or a leak that continues after cleaning; arrange service.
Why this matters
Why: A foreign object or damaged seal can let wash water past the door. Excess or incorrect detergent can produce suds overflow, while residue or a damaged dispenser can redirect water. A clean seal and dispenser make a hose, drain, leveling, or internal cause more likely.
-
Check 4
If the leak is associated with suds or a detergent-related error, stop adding detergent and check that the product is high-efficiency and within the model and detergent maker's limits. Once the machine is safe and the manual permits it, run the model-approved empty cleaning cycle without additives; do not use a full laundry load to test an overflow.
Expected result: Suds appear during the empty cycle and reduce after cleaning, or no suds appear while water still leaks from a connection, seal, or underneath.
Next step: Use only the recommended detergent and amount if the leak stops. If water or a leak code remains, close the valves, keep the washer off, and request service rather than repeating cleaning cycles indefinitely.
Why this matters
Why: Suds support an excess or incorrect-detergent branch, but no suds does not clear the water path or internal components. Persistent water without suds needs a different diagnosis.
-
Check 5
Check that the machine is stable and level without pulling it into a wet area. If the model was recently installed or moved, confirm shipping materials were removed and that the appliance is positioned as the installation instructions require. After one accessible correction, dry the area and run a short, supervised test only if the manual allows it.
Expected result: The cabinet rocks, a foot is not firmly contacting the floor, shipping material remains, or the leak returns during filling, washing, draining, or spinning despite a stable installation.
Next step: Correct leveling or installation only as directed by the model manual. Stop the test at the first return of water and arrange service for any persistent, stage-specific, underside, or inaccessible leak.
Why this matters
Why: An unstable or recently moved washer can worsen splashing and hose stress. A repeat leak at a specific stage, or a leak that comes from underneath, points to an internal hose, pump, tub, valve, or seal fault.
Use your observations
Decision map
Find the observation that best matches what you see, then follow the next safe action.
-
PATH 01Next step
What you see
Water is near the plug, socket, cord, control panel, or a person would need to stand in pooled water to reach the machine.
Do this next
Do not touch the wet electrical area or reach behind the washer. Close water valves only if safely accessible, leave power isolation to a qualified person if necessary, and arrange service.
Why this path and its safety boundary
Why it matters: Further troubleshooting is an electrical and flooding hazard.
-
PATH 02Next step
What you see
The leak begins at an inlet connection, drain hose, door or lid seal, dispenser, or leveling condition that can be corrected exactly as the model manual describes.
Do this next
Correct that one identified cause, dry the area, and run one short supervised test if the manual allows. Stop and request service if water returns.
Why this path and its safety boundary
Why it matters: An accessible installation, load, seal, or maintenance cause may be responsible.
-
PATH 03Next step
What you see
The visible hoses, seals, dispenser, level, and detergent condition are correct, but water still appears or comes from underneath.
Do this next
Keep the washer off and the water valves closed. Do not remove cabinet panels or run more cycles; arrange qualified appliance service.
Why this path and its safety boundary
Why it matters: An internal leak or damaged pump, tub, valve, hose, or seal is more likely.
-
PATH 04Next step
What you see
Suds disappear after the correct detergent and an approved empty cleaning cycle, but the water leak remains.
Do this next
Recheck the first wet point without operating a full load. If water returns from a hose, seal, underneath area, or electrical area, stop and request service.
Why this path and its safety boundary
Why it matters: The original overflow may have been detergent-related, but the remaining leak needs a separate water-path diagnosis.
Helpful context
Understand the symptom
Start at the first wet point
Water can travel along a cabinet or floor, so the puddle is not always the source. Dry the accessible area, keep the machine off, and observe only from a safe, dry position. A leak during filling points toward the inlet or dispenser; one during draining points toward the drain hose, standpipe, or pump area; a leak from beneath the cabinet usually needs service.
Top-load and front-load checks differ
A front-load model has a door gasket and may have a user-accessible pump filter. A top-load model has a lid and different hose and tub access. Frigidaire's support material covers both front-loading washers and laundry centers, but the exact manual for your model controls which panels, filters, and test cycles are user-accessible.
Limit damage before troubleshooting
Close the water valves before handling hoses. Do not stand in pooled water, reach behind a wet machine, or touch a wet plug, cord, socket, or control. If power cannot be isolated safely, leave the appliance off and arrange qualified service.
Safety boundary
Stop conditions
- Close the water valves and stop the cycle if water is actively spreading, the leak returns during a test, or the source is underneath the cabinet.
- Do not stand in pooled water, reach behind a wet appliance, or touch a wet plug, socket, cord, or control panel.
- Do not open cabinet panels, bypass a lid or door lock, force hose fittings, or continue using a machine with a damaged hose, gasket, dispenser, or housing.
- Do not repeat test cycles indefinitely; one manual-approved supervised test is enough to confirm whether an accessible correction held.
Only after diagnosis
Potential parts
- inlet or drain hose and sealing washer
Only consider this category when inspection identifies a damaged hose, missing sealing washer, cracked connector, or confirmed drain-hose failure.
Confirm the full model, connection type, routing, and manufacturer fit information before ordering. - door gasket or lid seal
Only consider this category when water escapes from a closed door or lid and the seal is visibly damaged after loose debris and laundry obstruction have been ruled out.
Seals vary by model and may require retaining hardware or professional installation; confirm fit before ordering. - drain pump or tub hose
Only consider this category when the leak is isolated to draining or underneath the cabinet and a qualified technician confirms a damaged pump or internal hose.
Internal water-path parts are model-specific; keep the appliance disconnected and use the model service documentation.
When checks do not resolve it
Need a professional?
Arrange qualified service when the leak returns after one safe, manual-approved correction, comes from underneath or an inaccessible area, involves a damaged hose, connector, gasket, pump, tub, valve, or cabinet, or leaves water near electrical parts. Stop immediately for active flooding, a damaged cord or socket, sparking, or a machine that must be moved through standing water to inspect.
Common questions
FAQ
Where should I look first when my Frigidaire washer leaks?
Stop the cycle, close the water valves, and locate the first wet point from a dry position. Check inlet connections, the drain hose, the front door or top lid, and the dispenser before assuming the leak is underneath.
Can too much detergent make a Frigidaire washer leak?
Yes. Too much or the wrong detergent can create suds that overflow. Use the high-efficiency detergent and amount specified for your model, and use an approved empty cleaning cycle if the manual allows it.
Should I keep running the washer to find the leak?
No. Close the water valves and keep the machine off while water is spreading, near electrical parts, or coming from underneath. After one safe correction, run only a short supervised test if the manual allows it.
When does a Frigidaire washer leak need service?
Request service when the leak returns after one accessible correction, comes from underneath or an inaccessible area, involves a damaged seal, hose, pump, tub, valve, or cabinet, or leaves water near electrical parts.
Read the exact guide
Official sources
- Laundry top load washer is leaking water.Frigidaire · Frigidaire washer and laundry-center leak source, hose, drain, level, shipping-material and service guidance
- What do I do if water is leaking from the back of my Laundry Center?Frigidaire · Frigidaire laundry-center rear inlet-hose connection and backflow guidance
- Washer Displaying Error Code F2 too many suds or suds overflowing.Frigidaire · Frigidaire washer excess-detergent, high-efficiency detergent, suds and overflow guidance
Community feedback
Share a repair observation
Share a plain-text repair observation. Accepted observations are published automatically; this page may take a moment to update.