
On this page
Start here
Quick answer
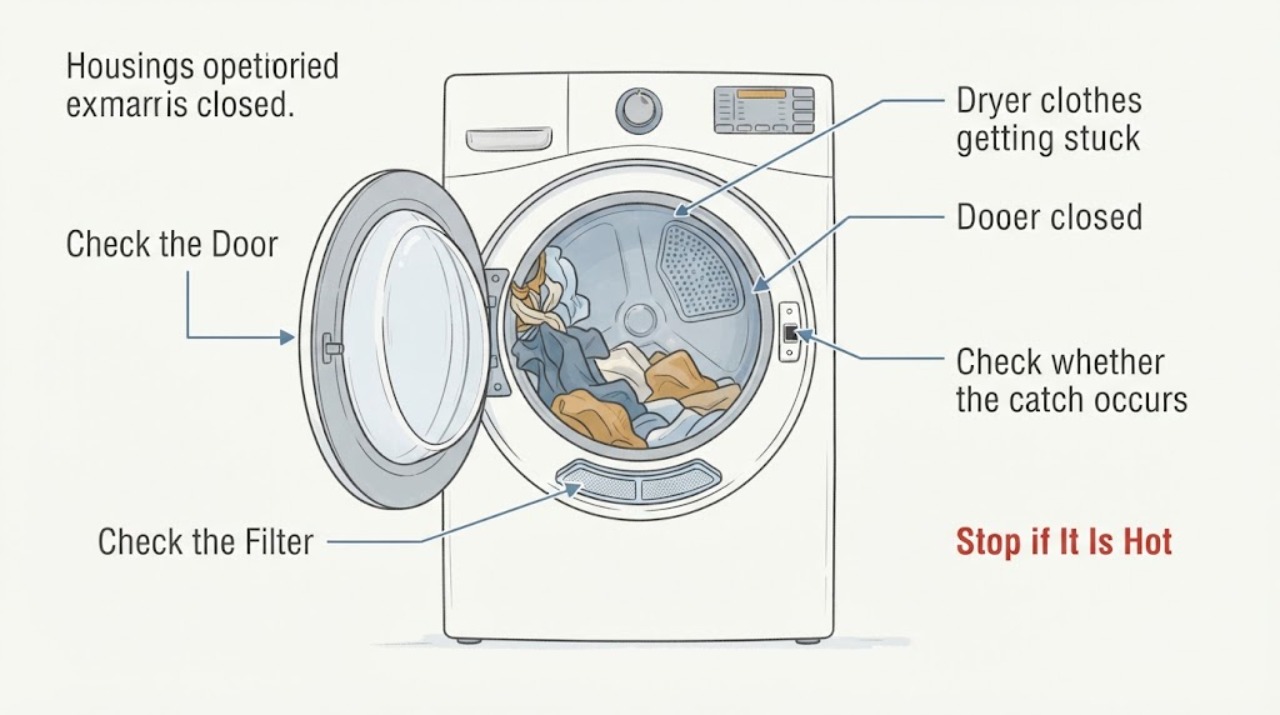
Clothes getting caught around a GE dryer lint filter, sensor rods, or drum edge is a repair symptom, especially when fabric has tears, snags, or black marks. Stop the cycle, remove the load after the drum stops, inspect only the accessible opening for an obstruction or sharp edge, and arrange service rather than reaching inside the cabinet.
Work through in order
Diagnostic checks
Use only checks that match the exact appliance or system and its official guide.
-
Check 1
Stop the dryer and wait for the drum to stop before removing the load. Inspect the load for tears, snags, black marks, or fabric caught at the door opening.
Expected result: Fabric is damaged at the same location, or no damage is visible.
Next step: Keep the dryer off and arrange GE service when fabric catches or damage is present.
Stop if: Stop and arrange qualified service for smoke, burning odor, sparks, damaged wiring, water near electrics, or repeated protective-device trips.
Why this matters
Why: Repeated damage or a catch point confirms that a component near the drum path may need repair.
-
Check 2
With power disconnected when safe, inspect the accessible lint-filter frame, sensor rods, and drum edge for a loose item or visible burr.
Expected result: A foreign item is visible and removable without tools, or a sharp, loose, or displaced part is present.
Next step: Remove only a loose item from the normal opening; do not file, bend, or remove the filter, sensors, or drum parts.
Stop if: Stop and arrange qualified service for smoke, burning odor, sparks, damaged wiring, water near electrics, or repeated protective-device trips.
Why this matters
Why: A removable item may explain one event; a damaged or displaced appliance part requires repair.
-
Check 3
Check whether the catch occurs with every load, only bulky items, or only when the drum rotates in a certain position.
Expected result: The catch repeats across loads or follows one drum position, or it was a single removable obstruction.
Next step: Stop use for a repeatable catch and provide the location and load details to the technician.
Stop if: Stop and arrange qualified service for smoke, burning odor, sparks, damaged wiring, water near electrics, or repeated protective-device trips.
Why this matters
Why: A repeatable position-dependent catch points to alignment, support, seal, or drum-area damage rather than laundry type alone.
-
Check 4
Record the exact GE model and the catch location without removing panels or operating the dryer while open.
Expected result: The catch point can be described from the doorway, or it cannot be located safely.
Next step: Use qualified appliance service; do not run the dryer with a panel removed or with damaged fabric continuing to catch.
Stop if: Stop and arrange qualified service for smoke, burning odor, sparks, damaged wiring, water near electrics, or repeated protective-device trips.
Why this matters
Why: A precise location helps service identify the affected lint-filter, sensor, seal, or drum area.
Use your observations
Decision map
Find the observation that best matches what you see, then follow the next safe action.
-
PATH 01Next step
What you see
Clothes catch at the lint filter, sensor rods, or drum edge and show snags or black marks.
Do this next
Leave the dryer off and schedule qualified service.
Why this path and its safety boundary
Why it matters: GE identifies these locations as abnormal and recommends repair service.
-
PATH 02Next step
What you see
A single visible foreign item is removed and no edge, sensor, or drum damage is present.
Do this next
Run no test with a loose part; monitor only after the normal filter and door area are intact.
Why this path and its safety boundary
Why it matters: The event may have been caused by the item, but recurrence would change the diagnosis.
-
PATH 03Next step
What you see
The catch repeats, a sharp edge or displaced part is visible, or the drum is noisy or rough.
Do this next
Stop using the dryer and arrange GE service with the model and observed location.
Why this path and its safety boundary
Why it matters: An appliance component likely needs adjustment or replacement, and continued tumbling can damage clothing.
Helpful context
Understand the symptom
What the symptom can mean
This ge dryer symptom can come from an accessible condition, a control state, or a component that requires qualified service.
Use the result to choose the next step
Record what you observed and stop when the safety or service boundary below applies.
When checks do not resolve it
Need a professional?
Arrange qualified appliance service when the symptom persists after the documented user-accessible checks, a protective device trips again, or the diagnosis would require opening panels, accessing wiring, refrigerant circuits, sealed mechanisms, or motor and control components.
Common questions
FAQ
Can I keep using the dryer while this symptom continues?
Use it only when the accessible checks show normal operation and no safety warning; stop for persistent faults, heat, smoke, water near electrics, sparks, or repeated protective-device trips.
When should I stop troubleshooting?
Stop when the symptom repeats after the documented user checks, when a panel or sealed system would need to be opened, or when any electrical, fire, water, or mechanical hazard appears.
Read the exact guide
Official sources
- Dryer - Clothes Catching Around Filter, Sensor or DrumGE Appliances · GE dryer clothes catching around lint filter, sensor, or drum
Community feedback
Share a repair observation
Share a plain-text repair observation. Accepted observations are published automatically; this page may take a moment to update.