
On this page
Start here
Quick answer
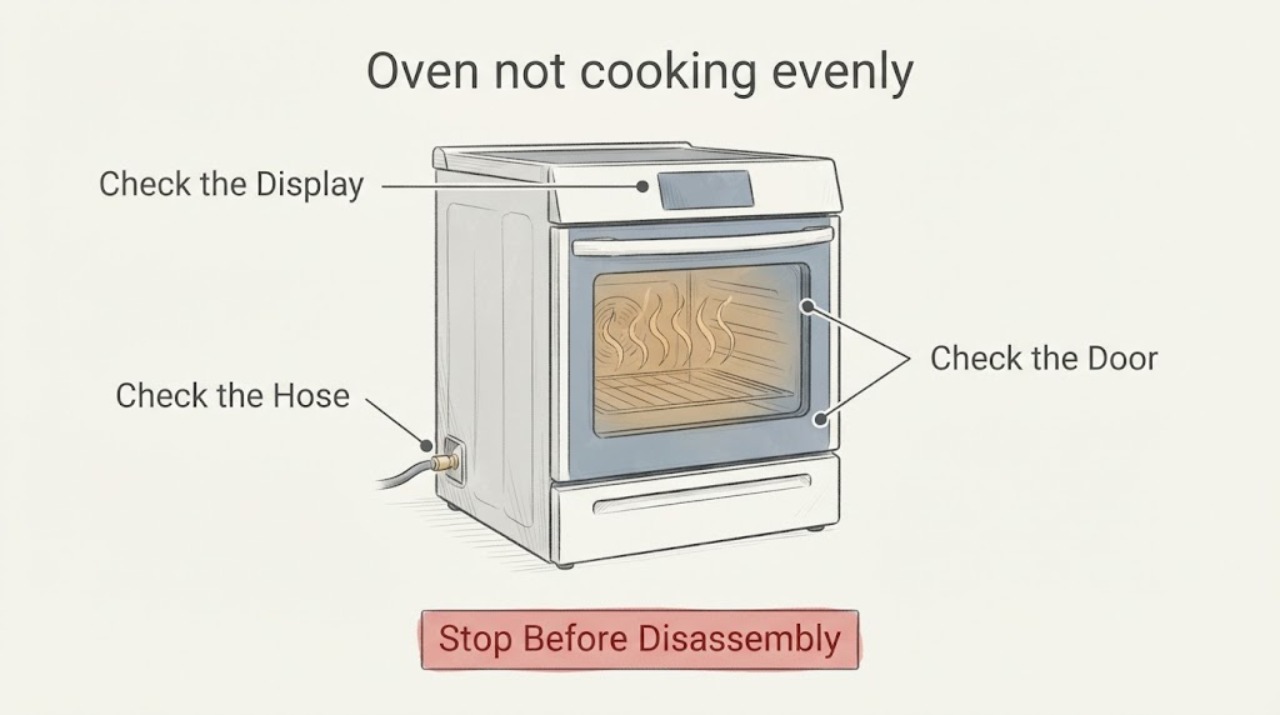
Start by separating a recipe or setup problem from a heating problem: fully preheat, use the model's recommended rack position, leave space around pans, avoid covering the rack with foil, and account for dark cookware or convection conversion. GE says ovens normally cycle above and below the set temperature, so a single thermometer reading is not proof of a fault; use consistent food results or the GE biscuit test. If uneven browning remains after setup and circulation checks, or an electric element is visibly cracked or does not heat after power is safely removed, use the exact manual and qualified service instead of guessing a thermostat or element.
Work through in order
Diagnostic checks
Use only checks that match the exact appliance or system and its official guide.
-
Check 1
Repeat the recipe only after the oven has fully preheated to the selected mode and temperature; use the preheat tone or light, or the model's manual timing if no indicator is provided.
Expected result: GE says failure to preheat can significantly change short bake results and recommends preheating until the tone sounds or light goes out; without those indicators, its baking guidance gives a model-independent 10-to-15-minute fallback for the cited cookie problem.
Next step: Keep the same preheat method for a controlled repeat. If the oven cannot reach or hold the selected mode, stop repeated cooking tests and use the exact manual or service path.
Why this matters
Why: If the result improves after a complete preheat, the earlier unevenness was not evidence of a failed heater or thermostat.
-
Check 2
Move the rack and pan to the position specified in the GE Cooking Guide for the chosen mode, and keep the pan centered with about one to two inches of clearance from other pans and the oven walls.
Expected result: GE says rack positions vary by model and cooking mode, and that pan placement and clearance affect heat circulation and baking results.
Next step: Repeat with one pan in the manual's recommended position. Do not use a generic rack letter or number as a substitute for the exact model Cooking Guide.
Why this matters
Why: A hot or pale edge caused by rack height or crowding can mimic uneven oven heating without a hardware failure.
-
Check 3
Check the cookware and circulation: avoid dark or glass pans when diagnosing browning, leave the recommended clearance, do not cover the entire rack with foil, and avoid opening the door during the bake.
Expected result: GE says dark cookware can over-brown food, crowded or oversized pans can trap heat, full-rack foil blocks circulation, and frequent door openings increase cooking time or heat loss.
Next step: Use a light, correctly sized pan with clear airflow and compare the result on the same rack. Keep foil away from blocking the rack and do not use it to mask a persistent temperature concern.
Why this matters
Why: A repeatable result that changes with pan finish, spacing or door use points to the cooking setup rather than proving a thermostat, element or sensor fault.
-
Check 4
If using Convection Bake or Convection Roast, check whether the GE model has Auto Recipe Conversion and compare the displayed or entered temperature with the manual's conversion instructions.
Expected result: GE says some convection models automatically set the oven 25 degrees lower through Auto Recipe Conversion because circulated hot air needs less heat output, and that the exact feature is model-dependent.
Next step: Use the exact owner manual to confirm conversion settings and rack positions. If the mode or display behaves differently from the manual, stop guessing and arrange model-specific support.
Why this matters
Why: A converted setpoint can look like undercooking or uneven results when a conventional recipe is compared without accounting for the selected mode.
-
Check 5
Judge the oven with a repeatable bake such as GE's biscuit test rather than one thermometer reading or one recipe result; record pan, rack, mode, preheat status and browning pattern.
Expected result: GE says oven elements cycle on and off normally, temperatures can swing above and below the setpoint, thermometer placement and door opening affect readings, and a consistent biscuit test is a better way to assess cooking performance.
Next step: Keep the test record with the full model number. If the result remains uneven despite controlled setup, use GE's model-specific manual or qualified service rather than selecting a component from the pattern alone.
Why this matters
Why: A consistent left/right, top/bottom or front/back pattern after controlled setup is stronger evidence of a real performance concern than a normal cycle swing or a single measurement.
-
Check 6
If the oven is electric and an element appears cracked or fails to glow during the appropriate cycle, turn off power at the appliance's fuse or circuit breaker before any visual inspection; do not touch or remove the element while energized or hot.
Expected result: GE says an electric element may malfunction and directs power removal before carefully inspecting a bake element; unresolved concerns are sent to service.
Next step: Leave the appliance powered down and arrange qualified service or use the exact model parts/manual path. Do not open control panels, measure live circuits, or inspect a gas burner internally.
Why this matters
Why: A visible crack or absent heat can justify a service path, but the symptom does not establish a compatible replacement part or prove a thermostat/control fault.
Use your observations
Decision map
Find the observation that best matches what you see, then follow the next safe action.
-
PATH 01Next step
What you see
If the result improves after full preheat, correct rack position, pan spacing and a consistent recipe
Do this next
Keep the successful mode, rack, cookware and preheat routine; confirm the model Cooking Guide for other recipes.
Why this path and its safety boundary
Why it matters: The earlier variation was consistent with setup or cooking conditions rather than a confirmed oven fault.
-
PATH 02Next step
What you see
If only convection results differ while conventional baking is consistent
Do this next
Check the exact manual for conversion and rack positions before changing the thermostat or treating the oven as failed.
Why this path and its safety boundary
Why it matters: Auto Recipe Conversion, circulated-air behavior, or convection-specific rack guidance may be involved; the feature is model-dependent.
-
PATH 03Next step
What you see
If browning remains uneven in a controlled biscuit test after setup and circulation checks
Do this next
Provide the full model, mode, rack, cookware and test pattern to GE-qualified service and avoid unverified internal repair.
Why this path and its safety boundary
Why it matters: A persistent performance concern is more credible, but it still does not identify a thermostat, sensor, element or control component.
-
PATH 04Next step
What you see
If an electric element is visibly cracked, never heats in its proper cycle, or the oven has burning odor, arcing, repeated tripping or damaged wiring
Do this next
Stop using the oven, remove power only through a safe normal disconnect, and arrange qualified service; do not open panels or perform live tests.
Why this path and its safety boundary
Why it matters: The condition has moved beyond a cooking-setup check and may present an electrical or heat hazard.
Helpful context
Understand the symptom
Uneven cooking is an observation, not a component diagnosis. GE's official guidance treats preheat, rack and pan position, cookware, airflow, door openings, convection conversion and normal temperature cycling as separate variables. Check those conditions consistently before treating the result as an oven fault; a model number is required before applying a rack guide, thermostat adjustment or service procedure.
When checks do not resolve it
Need a professional?
Arrange qualified GE service when controlled preheat, rack, cookware, convection and airflow checks do not resolve the pattern; when an element is visibly damaged or does not heat; or when there is burning odor, arcing, repeated breaker tripping, damaged wiring or a gas-oven safety concern. Do not open panels or perform live electrical or gas tests.
Common questions
FAQ
Does a thermometer that moves above and below the set temperature prove the GE oven is faulty?
No. GE says heating elements cycle on and off normally and oven temperature can swing above and below the setpoint. Use a controlled biscuit test and consistent setup before treating the variation as a fault.
Why is one side or one rack browning differently?
Rack position, pan spacing, cookware finish and size, blocked airflow, frequent door opening, incomplete preheat and convection conversion can all change results. Check those variables before inferring a failed component.
Can I replace an element because food cooks unevenly?
Not from uneven cooking alone. GE supports a power-off visual inspection for a visibly cracked electric bake element, but model compatibility and the repair procedure require the exact manual or qualified service.
Read the exact guide
Official sources
- Range & Wall Oven - Oven Temperature Is Not CorrectGE Appliances · Official GE family-level owner support for ranges and wall ovens without a supplied model; exact owner manual governs rack positions and adjustments.
- Range & Wall Oven - Proper Oven Rack PositionsGE Appliances · Official GE rack-position guidance; the number/letter and mode-specific use varies by model.
- Range & Wall Oven - Oven Temperature Incorrect with Convection CookingGE Appliances · Official GE convection guidance; Auto Recipe Conversion is only on some models and requires the exact owner manual.
- Range & Wall Oven - Common Biscuit and Cookie Baking Problems and SolutionsGE Appliances · Official GE baking guidance for ranges and wall ovens; used for controlled recipe-result checks, not component diagnosis.
- Range & Wall Oven - Oven Temperature Fluctuation / Cycling On and OffGE Appliances · Official GE family-level explanation of normal temperature cycling; it does not diagnose a specific model or component.
Community feedback
Share a repair observation
Share a plain-text repair observation. Accepted observations are published automatically; this page may take a moment to update.