
On this page
Start here
Quick answer
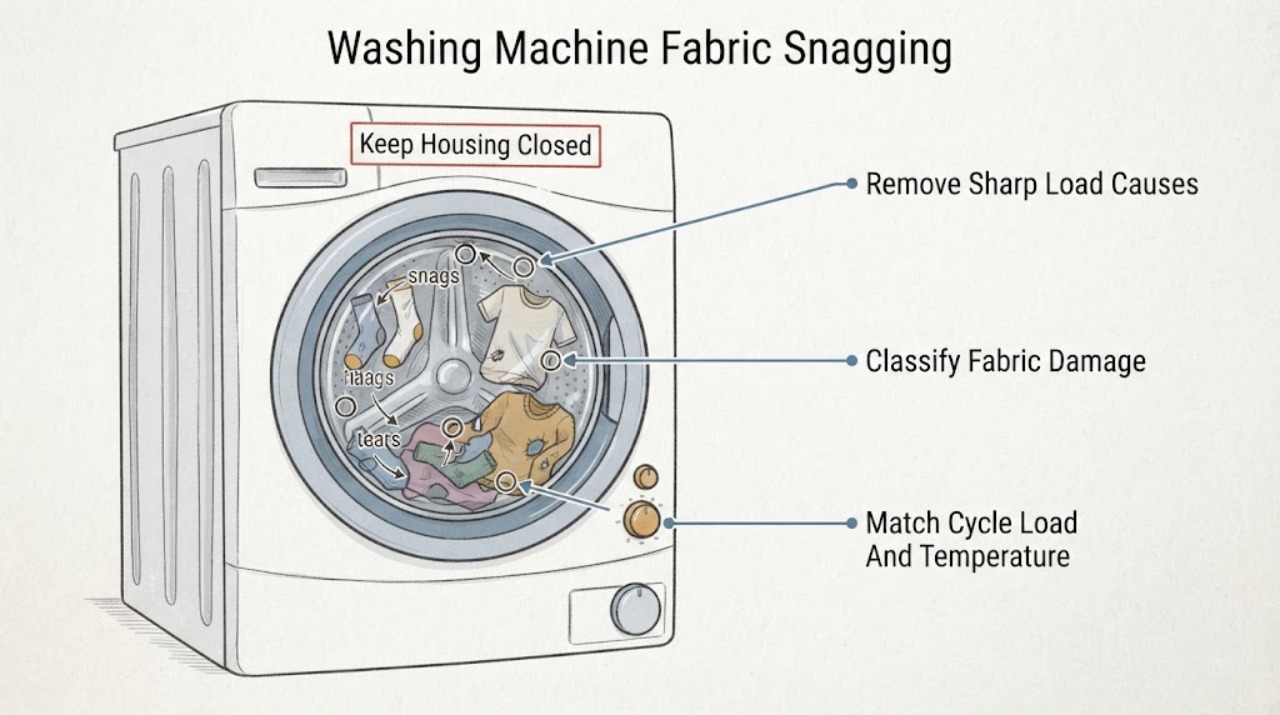
Do not assume every pulled thread or hole proves that the GE washer is defective. GE lists pockets and sharp fasteners, chemical or bleach damage, pre-existing weak fabric, unsuitable agitation, overload or an agitator burr as different possibilities. First photograph the damage and check whether the washer, the garment or the load setup provides the repeatable clue. Empty pockets, fasten or turn garments inside out, separate heavy and delicate items, use the garment-care cycle and correct load level, and inspect only accessible washer surfaces with power off. If the same snag pattern returns with a carefully sorted load, stop washing valuable items and arrange GE service; do not remove a modern agitator or reach into a moving or powered washer.
Work through in order
Diagnostic checks
Use only checks that match the exact appliance or system and its official guide.
-
Check 1
Photograph the damaged garment before washing again and record whether the result is a pulled thread/snag, a tear or hole with a weak edge, random square or yellow discoloration, or general fraying. Note the selected GE cycle, temperature and load companions.
Expected result: The garment has a pulled thread or tear, chemical-looking discoloration/weak edges, a pre-existing seam or hole, or gradual cuff/collar wear.
Next step: If the pattern points to the garment or chemicals, correct that cause before testing the appliance. If the same snag pattern repeats on different garments, continue with a controlled load and the accessible washer check.
Why this matters
Why: GE associates different patterns with sharp objects and fasteners, bleach or chemicals, unnoticed pre-existing damage, and fabric wear from aging, sunlight or Permanent Press processing. The pattern is a triage clue, not a confirmed washer-part diagnosis.
-
Check 2
Before the next load, empty all pockets, fasten zippers/hooks/buttons, remove or cover sharp buckles where practical, turn knits inside out, and place fine items in a laundry bag. Check the tub for a loose object left behind.
Expected result: A pocket item, open fastener, sharp buckle, loose object or unprotected knit is found; or the load is free of those hazards.
Next step: Remove the identified cause and do not use the damaged garment until it is repaired. If a clean, protected load is still snagged, move to load/cycle and appliance checks rather than adding more detergent or bleach.
Why this matters
Why: GE lists pins, pocket objects, snaps, hooks, sharp buttons, belt buckles and zippers as common snag/tear causes and specifically recommends turning knits inside out and using a laundry bag for fine items.
-
Check 3
Match the wash cycle and water temperature to the garment-care label, separate heavy items from lightweight or delicate items, select the proper water level for the load, and leave enough room for items to move freely. Never wrap clothing around a top-load agitator.
Expected result: The original load was crowded, mixed heavy and delicate items, used an unsuitable cycle/temperature, had too little or too much load for the selected water level, or wrapped items around the agitator.
Next step: Run only a carefully sorted, non-valuable test load when no sharp object or safety issue remains. If damage returns, stop using valuable fabrics and inspect the accessible wash area or schedule service.
Why this matters
Why: GE links tangling and fabric damage risk to sorting, load size, water level, agitator wrapping, agitation speed and water temperature. A load-related snag should improve when these variables are corrected, but improvement does not prove a mechanical part is good.
-
Check 4
With the washer off and unplugged, inspect only accessible tub, basket and agitator surfaces for a loose object or obvious roughness/burr that could catch fabric. Do not reach through a moving machine and do not remove an agitator or cabinet panel on an unidentified model.
Expected result: A loose object or clearly rough accessible surface is visible; the accessible surfaces look smooth; or the suspected snag point is under/inside the agitator or cabinet.
Next step: Remove only a loose object that is safely reachable with power isolated. For a rough surface, under-agitator snag or inaccessible catch point, keep the washer out of service for affected garments and arrange GE service rather than filing, prying or disassembling.
Why this matters
Why: GE lists a damaged agitator burr as a possible snag source, but it also states that clothing can get caught under an agitator and that modern top-load agitator removal requires a technician. A smooth accessible surface does not rule out an internal or model-specific issue.
-
Check 5
If there is no active hazard and the prior checks found no snag source, use one small, correctly sorted load of less-valuable items, keep the same cycle and temperature as the care label, and compare the fabric before and after. Stop immediately if a new pull or tear appears.
Expected result: The controlled load is undamaged; the same snag returns on multiple garments; or a sharp catch, unusual agitation or other machine symptom appears.
Next step: Do not continue testing valuable fabrics. Photograph the repeat damage and record the model/serial, cycle, temperature, load and visible findings for GE support.
Why this matters
Why: A repeatable result across different garments after load causes are removed makes an appliance inspection more appropriate, while a clean result points back toward the original garment/load combination. It still does not identify a specific internal part.
-
Check 6
Stop using the washer for affected fabrics if snagging persists after a correctly sorted load, if clothing catches under the agitator, or if there is smoke, burning odor, electrical damage or another unsafe symptom. Keep the washer disconnected when inspecting and use GE's model support/service path.
Expected result: The damage repeats, the catch point is under the agitator or cabinet, or a safety symptom is present.
Next step: Arrange qualified GE appliance service and provide the exact model/serial and damage record. Do not run the washer to reproduce the problem, file an unidentified surface, remove the agitator or open live panels.
Why this matters
Why: GE directs owners to a technician for agitator removal on top-load models made from 1995 onward and provides model-specific support/service routing. Fabric damage alone does not justify a guessed agitator, basket or drive-part replacement.
Use your observations
Decision map
Find the observation that best matches what you see, then follow the next safe action.
-
PATH 01Next step
What you see
The item shows a weak pre-existing seam/hole, random square/yellow discoloration or weak edges, or it contacted bleach/another chemical before washing.
Do this next
Separate or repair the garment, rinse chemical-exposed items as appropriate, and do not use the damaged item as proof of a washer defect. Investigate the washer only if unrelated garments also develop pulls or tears.
Why this path and its safety boundary
Why it matters: GE lists pre-existing damage, bleach and other chemicals as causes that can appear or worsen during laundering without a washer snag point.
-
PATH 02Next step
What you see
Damage stops when pockets are empty, fasteners are secured, delicate items are protected, heavy and light items are separated, and the correct cycle, water level and temperature are used.
Do this next
Keep the corrected sorting and cycle routine, and continue following garment-care labels. Escalate only if damage returns with a similarly controlled load.
Why this path and its safety boundary
Why it matters: GE's guidance supports a load-preparation, agitation or fabric-care explanation; the corrected result does not establish an appliance repair part.
-
PATH 03Next step
What you see
A loose object or obvious roughness is visible in the accessible wash area, or clothing repeatedly catches under/around the agitator despite a correctly prepared load.
Do this next
Remove only a safely reachable loose object with power isolated. For an under-agitator or inaccessible catch, stop use and have a technician inspect it; do not remove a modern agitator yourself.
Why this path and its safety boundary
Why it matters: GE identifies rough or burred agitator surfaces as a possible cause and notes that clothing can catch under the agitator, but the exact repair scope is model-dependent.
-
PATH 04Next step
What you see
Different garments are snagged by a small, correctly sorted load after load causes and accessible objects have been ruled out, or the washer also has smoke, burning odor or electrical symptoms.
Do this next
Keep the washer off for unsafe symptoms and arrange GE service with the model/serial, cycle, temperature, load and photographs. Do not keep running valuable clothing or perform cabinet/agitator disassembly.
Why this path and its safety boundary
Why it matters: The repeatable result warrants model-specific service, but it does not identify an agitator, basket, tub or drive component from the symptom alone.
Helpful context
Understand the symptom
Identify the damage pattern before blaming the washer
GE groups snags, holes, tears, rips, discoloration and excessive wear together but gives them different possible causes. A sharp fastener or pocket object can pull a thread; undiluted bleach or another chemical can weaken or discolor fabric; an old tear can enlarge during washing. Photograph the item before laundering and note the cycle, temperature, load mix and whether the damage is a pulled thread, a clean hole, a weak edge or a color change.
Remove ordinary load causes first
For the next safe load, empty every pocket, fasten zippers, hooks and buttons, remove sharp buckles where possible, turn knits inside out, and put fine washables in a laundry bag. Do not mix heavy towels or other rough items with delicate fabrics. Use the care-label cycle and temperature, the correct water level, and enough room for items to move freely. These are preventive decisions, not proof that a washer component is sound.
Inspect only the accessible wash area
With the washer stopped and disconnected from power, look for a loose object left in the tub and, where visible, feel for an obvious rough or burred agitator surface without reaching into a moving machine. GE notes that clothing may catch under an agitator and says removal of agitators on modern top-load models requires a technician. Do not remove the agitator, open a cabinet or file a suspected burr on an unidentified model as a first step.
When checks do not resolve it
Need a professional?
Arrange GE service when different garments are repeatedly snagged after pockets, fasteners, sorting, load size, water level and care-label cycle checks are corrected., Use a technician when clothing catches under an agitator or the suspected catch point is inside the cabinet; GE says agitator removal on top-load models made from 1995 onward requires a technician., Stop using the washer immediately for smoke, burning odor, electrical damage or another safety symptom. Do not run repeated tests or open live panels.
Have this ready
- complete GE model and serial information
- photos of the garment damage before washing again
- cycle, temperature, water-level and load details
- whether pockets/fasteners were controlled and whether heavy/delicate items were mixed
- visible loose-object, agitator or accessible basket observations
Common questions
FAQ
Does a snag prove the GE washer is damaging clothes?
No. GE lists pocket objects, sharp fasteners, bleach or other chemicals, pre-existing weak fabric, unsuitable agitation and loading problems as other causes. A repeat snag on different garments after those causes are controlled is a stronger reason to request service.
What should I change before the next load?
Empty pockets, fasten zippers/hooks/buttons, turn knits inside out, use a laundry bag for fine items, separate heavy and light fabrics, select the care-label cycle and temperature, and use the correct water level and load size.
Can I remove the agitator to look for the snag point?
Do not assume that is a user procedure. GE says clothing can get caught under an agitator and that top-load agitator removal on models made from 1995 onward requires a technician. Provide the model and damage record to GE service.
Should I file a rough agitator surface?
GE mentions roughness or burrs as a possible cause, but the exact model and part condition are unknown here. Do not file or reshape an unidentified surface; isolate the washer and use model-specific GE service if the roughness is visible or damage repeats.
Read the exact guide
Official sources
- Support for GE Washers and DryersGE Appliances · Official GE washer/dryer support portal. Used as the exact model/service gate and not as evidence for an unseen repair procedure.
- Top Load Washer - Tangled, Twisted, Knotted ClothesGE Appliances · Official GE Appliances top-load washer support article. Used only for top-load sorting/load/agitator-wrapping branches; exact model controls any additional procedure.
- Washer - Laundering ProblemsGE Appliances · Official GE Appliances washer support article. Used for the problem-specific fabric damage causes and prevention checks; it does not identify a model-specific internal defect.
- Frequently Asked Questions About GE WashersGE Appliances · Official GE Appliances washer FAQ. Used for the statement that clothing may catch under the agitator and that agitator removal on top-load models from 1995 onward requires a technician, plus the need to use the model-specific support path.
Community feedback
Share a repair observation
Share a plain-text repair observation. Accepted observations are published automatically; this page may take a moment to update.