
On this page
Start here
Quick answer
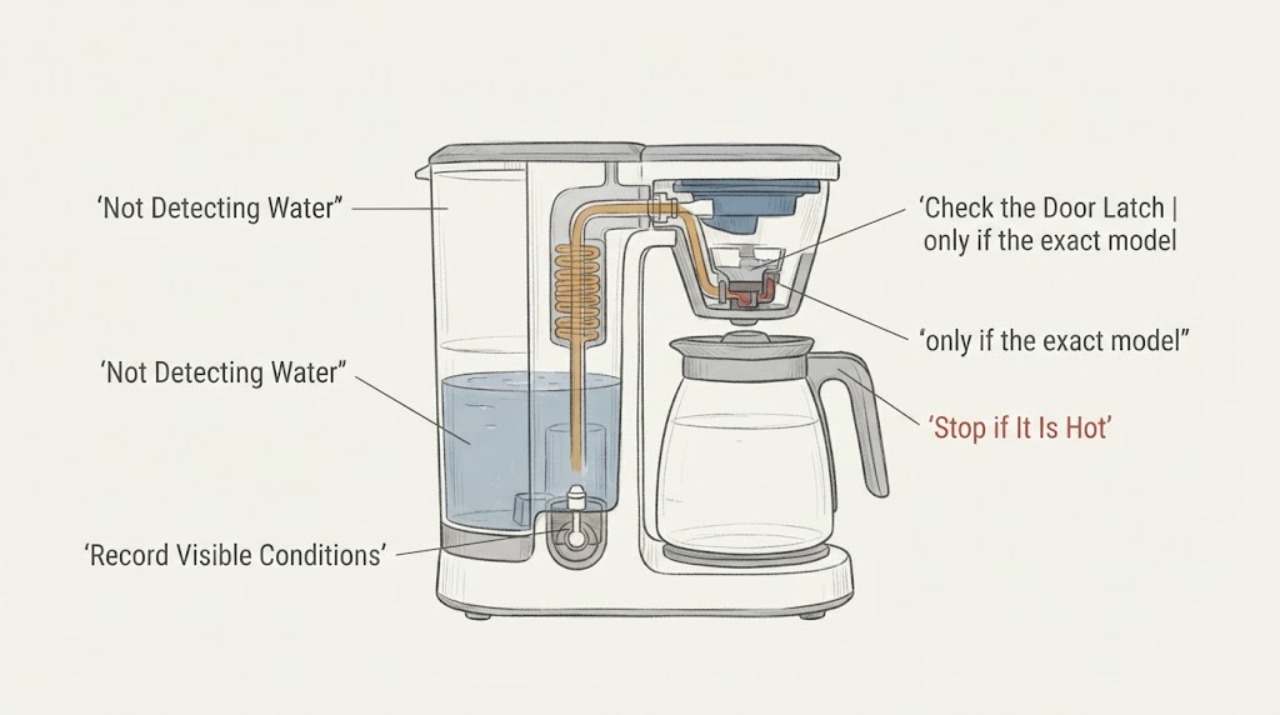
When a Hamilton Beach FlexBrew does not detect water, first identify the complete model and the exact light or display message. With the unit cool and unplugged, check that the removable reservoir contains cold water above the model guide’s MIN line, that its lid and reservoir are seated, and that the brew lid is closed and latched. FlexBrew models do not all use the same capacity or control sequence, so do not copy a fill amount from another model. If the reservoir had run dry, Hamilton Beach says the selected cup button may need to be pressed again to prime the pump; do this only after water is added and only as the exact model guide permits. If the water indication remains after the safe setup, use the model-specific cleaning or descaling procedure once; persistent no-detection, leaking, smoke, unusual heat, or a damaged cord needs qualified service.
Work through in order
Diagnostic checks
Use only checks that match the exact appliance or system and its official guide.
-
Check 1
Record the complete Hamilton Beach model number and the exact water-related light or display pattern. Classify the symptom as a reservoir-empty indication, a filled reservoir that is not recognized, or a brew cycle that starts but moves no water.
Expected result: The indication matches the model guide, the reservoir is visibly filled but the machine still reports no water, or no water moves after brewing starts.
Next step: Open the exact model Use & Care guide before using a button sequence, fill quantity, or cleaning procedure.
Stop if: Do not guess from another FlexBrew model or continue a cycle that leaks, overheats, smokes, or smells burned.
Why this matters
Why: FlexBrew controls and water limits vary by model. The same light behavior cannot safely select one fill amount or one fault cause across the product line.
-
Check 2
Unplug the coffee maker and allow it to cool. On a dry, stable surface, fill the reservoir with cold water only to the exact model guide’s MIN-to-MAX range, replace its lid, seat the reservoir fully, and close the main brew lid until it latches.
Expected result: The water indication clears and the machine accepts a brew, or the reservoir remains unrecognized despite the correct level and seating.
Next step: If the indication clears, complete one normal brew according to the model guide. If it does not, continue to the dry-reservoir and water-path checks without repeated starts.
Stop if: Do not operate with water under the base, a damaged cord or plug, exposed liquid near controls, or an unusually hot appliance.
Why this matters
Why: A low level, displaced reservoir, missing reservoir lid, or unlatched brew lid can prevent the documented brew sequence. An unchanged indication points beyond this external setup.
-
Check 3
If the reservoir had run dry, and only if the exact model guide permits it, press the selected cup or brew button again after refilling and seating the reservoir; allow only the brief, documented priming attempt.
Expected result: The pump begins moving water and the brew completes, or the indication remains and no water moves.
Next step: If water begins moving, let the documented brew finish. If it does not, stop using the machine and proceed to exact-model cleaning or service.
Stop if: Do not keep pressing the control, run the unit dry, force water into the inlet, or remove panels.
Why this matters
Why: Hamilton Beach’s FAQ describes repeated selection as a possible way to prime a pump after a reservoir has run dry. No response after the permitted attempt does not prove a failed pump or sensor.
-
Check 4
With the unit unplugged and cool, follow the exact model’s approved cleaning or descaling procedure once. Handle a removable needle holder only as the guide shows, and complete the required clean-water flush before any beverage use.
Expected result: The indication clears and water flows normally, or the indication and restricted flow remain after the model procedure.
Next step: Use the coffee maker only if the model guide’s completion state is reached. Otherwise leave it unplugged and arrange qualified service.
Stop if: Do not mix vinegar quantities or button sequences between models, insert tools into an internal path, use compressed air, or open the housing.
Why this matters
Why: Mineral deposits or a clogged needle can affect brewing, but persistent no-detection after the correct procedure may involve an internal water-path or control fault.
Use your observations
Decision map
Find the observation that best matches what you see, then follow the next safe action.
-
PATH 01Next step
What you see
The water indication clears after the exact reservoir level, reservoir seating, lid latch, and one model-permitted dry-reservoir prime check.
Do this next
Complete one normal brew using the exact model guide and monitor whether the indication returns.
Why this path and its safety boundary
Why it matters: A water-level, seating, or temporarily unprimed pump condition is more likely than a confirmed internal part failure.
-
PATH 02Next step
What you see
The reservoir is filled within the exact model range and seated, but the water indication remains or no water moves after the permitted prime and cleaning steps.
Do this next
Stop using the coffee maker, keep it unplugged, and arrange qualified appliance service with the model and exact light sequence.
Why this path and its safety boundary
Why it matters: A restriction or internal water-level, pump, valve, heater, or control issue is possible, but the symptom does not identify which component is involved.
-
PATH 03Next step
What you see
Water is under the base, the cord or plug is damaged, smoke or burning odor appears, or the appliance becomes abnormally hot.
Do this next
Keep the appliance unplugged and obtain qualified appliance or electrical service; do not recreate the failure.
Why this path and its safety boundary
Why it matters: The problem has crossed from a routine water-detection check into an electrical, liquid, or burn hazard.
Helpful context
Understand the symptom
Identify the water message and the exact FlexBrew model
“Not detecting water” can mean an empty-reservoir indication, a brew cycle that will not start, or a reservoir that is filled but not recognized. Record the light pattern or display and find the complete model number before changing anything. Hamilton Beach publishes separate FlexBrew instructions: for example, the 49968 page uses a removable reservoir with a 15 oz MIN and 40 oz MAX, while the 49921 guide uses 16 oz MIN and 50 oz MAX. Those figures are examples of model variation, not a universal FlexBrew setting.
Make the reservoir and lid check with the appliance cool
Unplug the coffee maker, let hot water and coffee cool, and place it on a dry, stable surface. Fill the reservoir with cold water only to the exact model guide’s range, replace the reservoir lid, and slide or seat the reservoir fully. Check that the main FlexBrew lid closes and latches. Do not immerse the powered base or pour water over the controls. If water is under the base, the cord or plug is damaged, or the appliance is unusually hot, leave it unplugged and arrange service.
Use one documented pump-prime attempt after a dry reservoir
If the reservoir was allowed to run dry, the Hamilton Beach FAQ says that after adding water the selected cup button may need to be pressed again, sometimes a few times, to prime the water pump. Treat this as a model-supported recovery step only when the reservoir is seated, the lid is closed, there is no leak, and the exact guide permits it. Stop if the indication remains, the pump does not move water, or liquid appears in an unsafe place; do not keep cycling the controls to force a result.
Clean the approved water path without guessing a sequence
If the reservoir is correctly installed but brewing still does not begin, mineral deposits or a clogged piercing needle can restrict the water path. Follow the complete model guide for cleaning, descaling, reservoir quantities, needle-holder handling, and the required fresh-water flush. Hamilton Beach’s 49921 guide documents a vinegar cycle and water-only flush, while other FlexBrew manuals use different capacities and controls. Do not combine those procedures or open the housing to reach an internal pump or sensor.
Escalate when water remains undetected
If the reservoir is filled and seated, the lid is latched, the model-permitted prime or cleaning step has been completed, and the water indication still persists, the external checks are complete. The symptom does not identify a particular sensor, pump, valve, heater, or control board. Keep the coffee maker unplugged and provide service with the full model, light pattern, reservoir level, whether it had run dry, any cleaning already performed, and whether there was leaking or unusual heat.
When checks do not resolve it
Need a professional?
Arrange qualified service when the exact reservoir and lid checks, one permitted prime attempt, and the model-specific cleaning path do not restore water detection. Keep the unit unplugged for leakage, smoke, burning odor, abnormal heat, or cord or plug damage. Do not open the housing or guess a replacement sensor or pump.
Common questions
FAQ
Can I use another FlexBrew model’s water amount?
No. Hamilton Beach’s official materials show different model limits, including 49968 at 15 oz MIN and 40 oz MAX and 49921 at 16 oz MIN and 50 oz MAX. Use the complete model guide for the correct range.
Should I press the brew button again when the reservoir was empty?
Only after adding water and seating the reservoir, and only as the exact model guide permits. Hamilton Beach’s FAQ says the selected cup button may need to be pressed again, sometimes a few times, to prime a pump after the reservoir ran dry. Stop if water does not move or a hazard appears.
Does “not detecting water” prove the water sensor is bad?
No. The official guidance also identifies reservoir level or seating, a dry pump, mineral deposits, and a clogged needle as possible no-brew causes. Persistent no-detection after the documented external checks requires service diagnosis rather than a guessed part replacement.
Read the exact guide
Official sources
- FlexBrew Single Serve Hot and Iced Coffee Maker (49921) Use & CareHamilton Beach · Exact 49921 model guide used for a second variant example and general safety boundaries; do not apply its quantities or buttons to another model.
- FlexBrew Coffee Maker (49968)Hamilton Beach · Exact 49968 model page used only to demonstrate a variant-specific example; not a universal FlexBrew procedure.
- Hamilton Beach FAQsHamilton Beach · Official FlexBrew FAQ with general product-line guidance; use the complete model guide for variant-specific quantities and controls.
Community feedback
Share a repair observation
Share a plain-text repair observation. Accepted observations are published automatically; this page may take a moment to update.