
On this page
Start here
Quick answer
First unplug the Hoover dryer and identify whether it is vented, condenser, or heat-pump. Condenser and heat-pump models route water to a container or an optional drain hose, so empty and firmly refit the container, then inspect the drain hose and clean the condenser only as the model manual allows. A vented model does not use that water-container path; inspect its vent hose, outside outlet, and room ventilation instead. If water is coming from inside the cabinet, the tank stays empty while a puddle forms, or the leak continues after the accessible routing checks, leave the dryer off and arrange model-specific service.
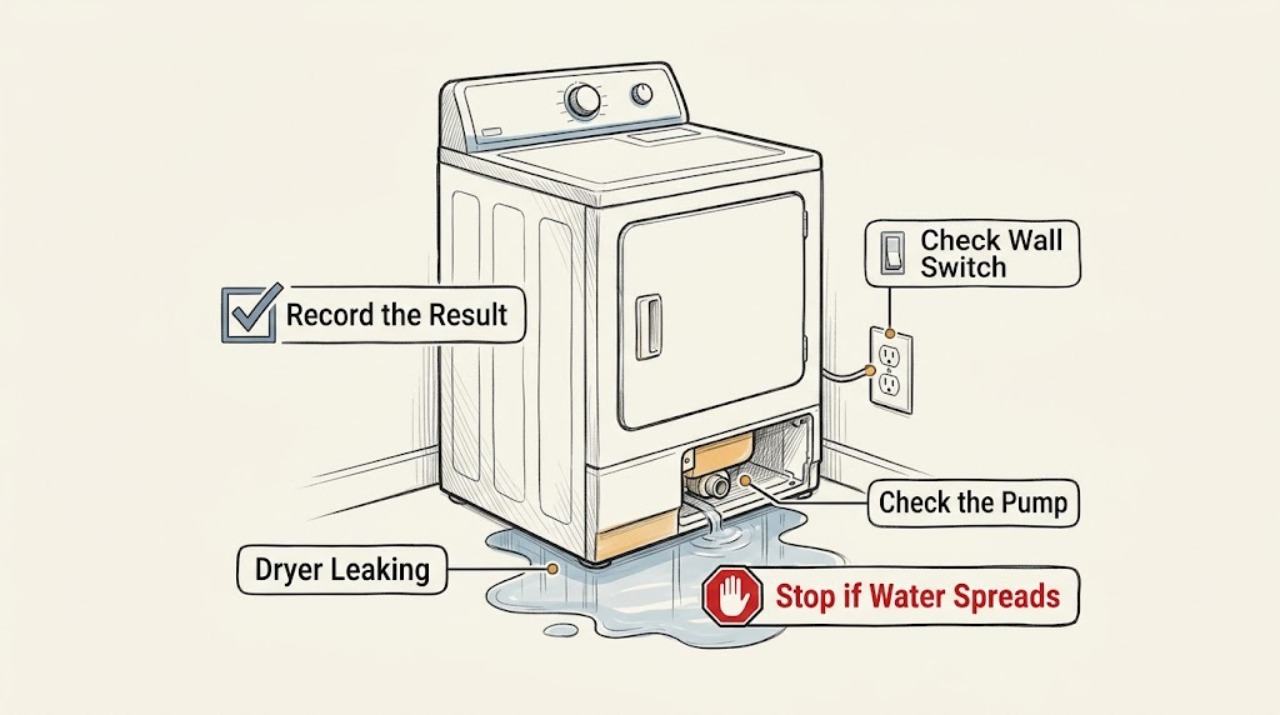
Work through in order
Diagnostic checks
Use only checks that match the exact appliance or system and its official guide.
-
Check 1
Switch the dryer off, unplug it, and use a towel to identify where the water first appears without moving or opening the cabinet.
Expected result: The water is only at the front/container area, only at the rear hose area, under the base, or visibly inside the drum/cabinet; note whether it appears during a cycle or after it stops.
Next step: If water is inside the cabinet, near electrical wiring, or the source cannot be isolated safely, keep the dryer unplugged and use the service boundary below. Otherwise continue with the checks for the matching dryer type.
Why this matters
Why: The first wet location distinguishes a user-accessible container or hose path from a possible internal drainage or cabinet fault. A puddle under the base without an obvious external source is not proof that the floor is the cause.
-
Check 2
Use the full model number and owner's manual to classify the Hoover dryer as vented, condenser, or heat-pump before checking moisture components.
Expected result: The manual identifies a vent hose to the outside, a condenser/heat exchanger with a water container, or a heat-pump model with a container and possibly continuous drainage.
Next step: For a vented dryer, inspect the vent route and outside outlet. For a condenser or heat-pump dryer, continue with the container, drain-hose, and condenser checks only if those parts are present on your model.
Why this matters
Why: The moisture route is architecture-specific: vented models expel moist air, while condenser and heat-pump models collect or drain liquid water. A water-container check on a vented model can send the diagnosis in the wrong direction.
-
Check 3
On a condenser or heat-pump model, empty the water container and refit it exactly as the model manual shows, without forcing the housing.
Expected result: The container was full, tilted, not fully seated, or already empty and firmly seated; an indicator or display may also report a full container.
Next step: Remove only loose water from the accessible container and refit it securely. If it will not seat, is cracked, or the tank remains empty while a puddle returns, stop using the dryer and arrange model-specific service rather than improvising a seal or replacement.
Why this matters
Why: A full or incorrectly seated container can interrupt the intended collection path. If the container is empty and correctly seated while water still appears below the machine, the fault is less likely to be simple tank capacity.
-
Check 4
If continuous drainage is fitted, inspect the accessible drain-hose connection and its route for a loose joint, kink, crushed section, or a connection that does not match the model manual.
Expected result: The hose is securely inserted and free of kinks, or it is loose, obstructed, routed too high, or pinched when the dryer is pushed back.
Next step: With power disconnected, correct only an obvious accessible kink or loose placement according to the full manual. Do not tilt the dryer, cut the hose, or alter plumbing if the installation is unclear; use an authorized technician.
Why this matters
Why: Hoover's heat-pump instructions require the hose to be inserted securely, kept below the stated model limit, and protected from kinking. A routing defect can let water back up or escape before it reaches the waste pipe.
-
Check 5
On a condenser or heat-pump model, clean the lint filter and clean or rinse the condenser only by the procedure and frequency specified for that model.
Expected result: The filter or condenser has a visible lint/debris layer, or the manual identifies the condenser as self-cleaning or inaccessible to the owner.
Next step: Clean the filter and, when explicitly permitted, rinse and fully dry the removable condenser before reinstalling it. If the manual does not permit owner cleaning, skip that step and seek model-specific service.
Why this matters
Why: Hoover says filter and condenser maintenance supports airflow and efficient moisture handling, but condenser access and cleaning instructions vary. Restriction can make drainage symptoms more likely, while a self-cleaning design should not be dismantled.
-
Check 6
For a vented model, inspect the vent hose and outside outlet for disconnection, crushing, blockage, or poor ventilation; for any model, confirm it is level and has the clearance required by its manual.
Expected result: Moist air is escaping at a joint or blocked outlet, the hose is kinked/crushed, the room is unusually humid, or the dryer is visibly uneven.
Next step: Reconnect or straighten only an obvious accessible vent or hose issue, and restore the manual's clearance. Do not run the dryer with a detached vent or with water near its electrical connection.
Why this matters
Why: A vented dryer depends on an unobstructed route to carry warm, moist air outside. Poor routing or ventilation can leave condensation around the appliance, while an uneven installation can affect how water reaches the collection path on models that collect water.
-
Check 7
After the matching checks are complete and the floor and connections are dry, make one short, supervised cycle attempt with the dryer closed and attended.
Expected result: No new water appears, the same external point becomes wet again, or water appears from inside the cabinet or near the electrical connection.
Next step: Stop the cycle immediately if water returns, then unplug the dryer when safe and arrange service. Do not repeat test cycles to see whether an internal leak clears.
Why this matters
Why: A dry supervised run after correcting an external path supports a container, hose, vent, or maintenance issue. A repeat leak or internal source indicates that the accessible checks did not resolve the drainage or sealing fault.
Use your observations
Decision map
Find the observation that best matches what you see, then follow the next safe action.
-
PATH 01Next step
What you see
Do this next
With power disconnected, restore the hose and outlet path only where the defect is obvious and accessible. Keep the dryer off if the hose remains detached or water is near the power connection.
-
PATH 02Next step
What you see
Do this next
Empty and refit the container using the manual's sequence. If the tank is cracked, will not seat, or the puddle returns with an empty tank, stop and request service.
-
PATH 03Next step
What you see
Do this next
Leave the dryer unplugged and compare the hose connection and height with the full model manual. Do not tilt the appliance or re-plumb an unclear installation yourself.
-
PATH 04Next step
What you see
Do this next
Stop using the dryer and arrange Hoover or authorized service. Provide the model number, dryer architecture, exact wet location, and whether a direct drain is fitted.
-
PATH 05Next step
What you see
Do this next
Do not restart the dryer. Disconnect power only if it can be done without contacting water, keep the area clear, and arrange urgent model-specific appliance service.
Helpful context
Understand the symptom
The dryer architecture changes the leak path
Hoover's current range includes vented, condenser, and heat-pump tumble dryers. A condenser or heat-pump dryer removes moisture into a container or, on supported models, a drain hose. A vented dryer sends warm, moist air through a vent hose to the outside instead. Read the model label and manual before checking a tank or condenser, because those checks do not apply to every Hoover dryer.
Stop before water reaches electrical parts
Switch the dryer off and remove its plug before examining accessible filters, the container, condenser, or hose. Do not remove cabinet panels, bypass a safety device, or continue a cycle when water is collecting inside the cabinet. Hoover's model guidance treats excess water inside the appliance and a persistent fault as a service boundary.
When checks do not resolve it
Need a professional?
Stop and arrange service if water is inside the cabinet, near electrical parts, the container is cracked or cannot seat, the tank stays empty while water collects underneath, the leak returns after the accessible hose/container/filter/condenser checks, or the dryer shows scorching, smoke, a burning smell, or heavy immediate leakage. Disconnect power only when safe to do so.
Common questions
FAQ
Why is my Hoover dryer leaking from underneath?
First identify the dryer type. On condenser and heat-pump models, check the water container, optional drain hose, and permitted condenser maintenance. On a vented model, check the vent hose, outside outlet, and ventilation instead. A continuing leak with an empty, correctly seated container needs model-specific service.
Should a Hoover vented dryer have water in a tank?
Hoover describes vented dryers as expelling warm, moist air through a hose, while condenser dryers collect condensed water in a container or drain. Confirm the exact architecture from the model manual before looking for a tank problem.
Can a full or badly fitted water container cause a Hoover dryer leak?
It can disrupt the intended collection path on supported condenser and heat-pump models. Empty and refit the container using the model manual. If it is empty and correctly seated but water still appears below the dryer, do not assume the tank is the failed part; stop and arrange service.
What if my Hoover dryer still leaks after I clean the filter and condenser?
Do not keep running test cycles. If the drain hose and container are also correct but water returns, especially with an empty tank or water inside the cabinet, an internal drainage or sealing fault is possible and requires authorized model-specific diagnosis.
Read the exact guide
Official sources
- Tumble Dryer Appliance Advice CentreHoover Service UK · Hoover's model-indexed advice center; exact advice depends on selecting the appliance's full model number.
- Hoover Heat Pump Tumble Dryer DXW H10A2TKE Instruction Manual - Product Code 31100898Hoover / Hoover Service UK · Model-specific manual used for the documented water-container and drain-hose procedures; do not assume every Hoover model has identical fittings or limits.
- How to Clean a Tumble Dryer – Hoover UKHoover Home / Hoover UK · General maintenance guidance; model manuals override it where a condenser is self-cleaning or has different access instructions.
- Tumble Dryers | Vented, Heat Pump & Condenser – Hoover UKHoover Home / Hoover UK · Manufacturer overview that distinguishes vented, condenser, and heat-pump dryer moisture paths; the individual model manual controls exact installation details.
- Hoover Tumble Dryer Hydro Dryer HHD780X Instruction Manual - Product Code 31100162Hoover / Hoover Service UK · Older model-specific manual used for its safety and excess-water stop guidance, not as a universal instruction set for all Hoover dryers.
- TDHPEolo02Hoover / Hoover Service UK · Model-family manual used only for its explicit drain-hose installation boundaries; the manual's 85 cm limit and fittings are not universal across Hoover dryers.
Community feedback
Share a repair observation
Share a plain-text repair observation. Accepted observations are published automatically; this page may take a moment to update.