
On this page
Start here
Quick answer
First determine whether the KitchenAid dryer is a Steam model and where the water appears. A Steam model has a cold-water inlet, Y connector, hoses, and rubber washers that can leak at the rear; turn off the dryer's water faucet before inspecting those visible connections. A non-Steam vented dryer does not have that water inlet, so check for an outside water source and for a crushed, kinked, or obstructed exhaust path without opening the cabinet. Disconnect power before an external inspection, never run the dryer with a disconnected vent, and arrange qualified service if water is inside the cabinet, a hose is split, the source is unclear, or the leak returns.
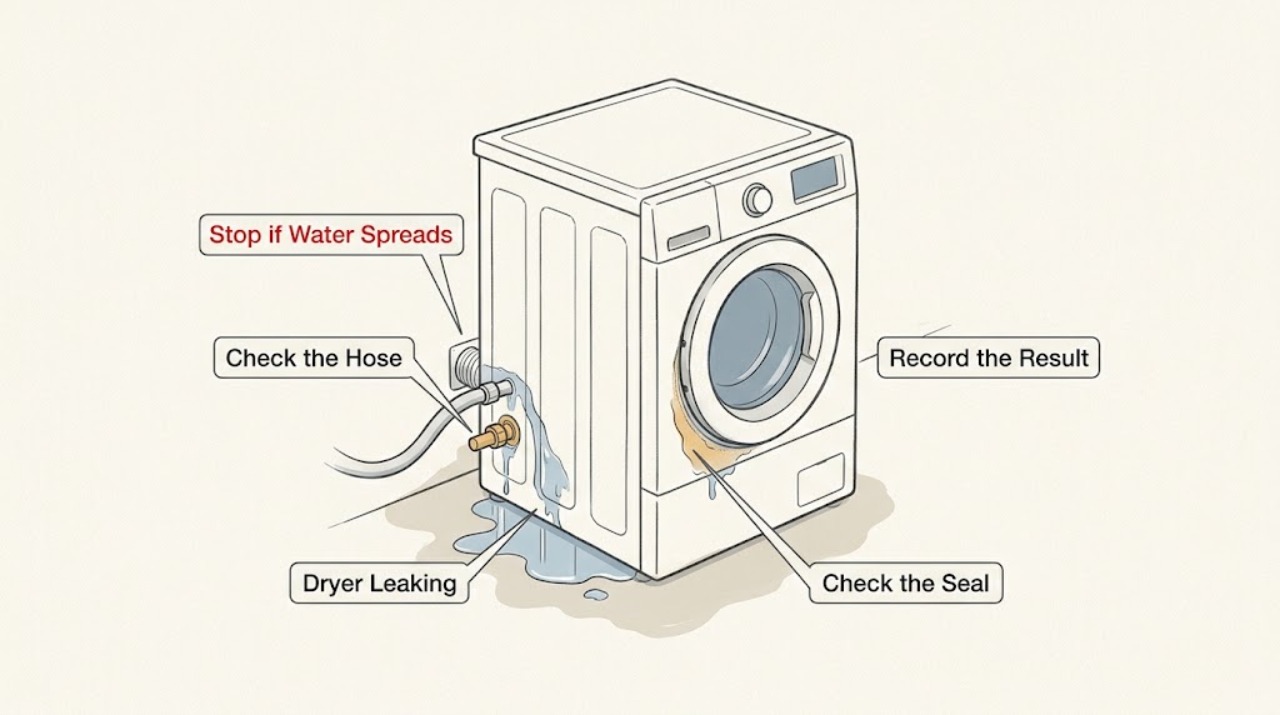
Work through in order
Diagnostic checks
Use only checks that match the exact appliance or system and its official guide.
-
Check 1
With the dryer stopped and cool, identify whether it is a Steam model from the model documentation or from a visible water hose entering the rear, and map the wettest point without moving the appliance.
Expected result: There is a cold-water hose and the rear connection is wet; there is no water hose and the wet area is around the exhaust or floor; or water is inside the cabinet or appears while the dryer is idle.
Next step: Use the Steam connection check only when an inlet hose is present. Otherwise use the vent and external-source checks; if the cabinet is wet or the source is not visible, keep the dryer off and arrange service.
Stop if: Stop if reaching the wet area would require removing a panel, pulling a hardwired or gas dryer, or handling a damaged cord or plug.
Why this matters
Why: A wet Steam hose connection makes the water inlet path the leading possibility. No inlet hose rules out the Steam-water path for that appliance and shifts attention to the exhaust area or an external source. Cabinet water or an idle leak is not explained by a routine vent check and needs service assessment.
-
Check 2
For a Steam model, turn off the cold-water faucet supplying the dryer, then inspect only the visible hose ends, Y connector, faucet connection, and rubber washers for a loose-looking joint, bulge, kink, cut, or wet trail.
Expected result: The wet trail begins at a hose, washer, Y connector, or faucet; a hose is visibly damaged; or all visible connections are dry after the water is shut off.
Next step: Leave the water faucet off and do not run the Steam cycle. Photograph the connection and arrange service or an exact-model-approved hose or washer replacement; do not over-tighten or dismantle the connection.
Why this matters
Why: A wet trail beginning at one of those connections makes the Steam water path more likely than the exhaust. A bulged, cut, kinked, or leaking hose is a replacement or service issue, while dry visible joints do not rule out an internal leak.
-
Check 3
With power disconnected and the dryer cool, inspect the accessible exhaust hose and the outside vent hood for a visible kink, crushing, lint blockage, disconnected joint, or flap that cannot open freely; do not operate the dryer with the vent disconnected.
Expected result: The duct is crushed or kinked, the outside hood is obstructed, the joint is disconnected, or the vent path looks clear and the water remains elsewhere.
Next step: Correct only an obvious, accessible installation issue using the exact model and installation guidance. If lint is deep in the duct, the duct is damaged, or water persists after airflow is restored, stop and request qualified dryer or vent service.
Why this matters
Why: A restricted or disconnected exhaust path can explain poor airflow and moisture near the discharge, but it does not prove an internal water leak. A clear vent with water under the cabinet makes a vent-only explanation less likely.
-
Check 4
Check the floor, wall, faucet, washer, and nearby drain area for a separate wet trail while leaving the dryer in place; compare the trail with whether the dryer was running, using Steam, or sitting idle.
Expected result: The trail starts above or beside the dryer, occurs only when a nearby appliance or faucet runs, occurs only during Steam, or reappears while the dryer is idle with its water supply closed.
Next step: Keep the dryer off until the external source is repaired or ruled out. If the trail begins inside the dryer footprint or remains unexplained, provide the timing and wet-location notes to a qualified technician.
Why this matters
Why: A trail that starts outside the dryer makes an external plumbing or neighboring-appliance source more likely. A Steam-only pattern keeps the dryer inlet path in focus. A repeat idle leak with the dryer water supply closed is not explained by a Steam cycle and should not be chased by repeated operation.
-
Check 5
After the water supply is closed on a Steam model and the vent is visibly intact, dry the surrounding floor and make one short, attended observation only if no water has reached electrical parts and the model manual permits normal operation; stop at the first new wet trail.
Expected result: No new water appears; water returns at a Steam connection; moisture returns at the exhaust; or water appears under or inside the cabinet.
Next step: Stop the test immediately for any new water. Keep a Steam dryer's water faucet closed, disconnect power if water is near the cord or controls, and arrange service when the source is not an obvious, model-approved external connection.
Stop if: Do not perform this observation if there is standing water, a burning smell, a damaged cord, gas odor, smoke, or any uncertainty about safe power isolation.
Why this matters
Why: No new water during a safe observation lowers the likelihood of an active external leak but does not prove the dryer is repaired. A returning connection leak, exhaust-area moisture, or cabinet water identifies a service handoff rather than a reason to run more cycles.
-
Check 6
Before requesting service, record the full model number, whether the dryer is gas or electric, Steam or non-Steam, the cycle and timing of the leak, the wet location, and any visible hose or vent damage; keep water and power isolated when applicable.
Expected result: The technician can be given a precise architecture and symptom record, or the model and leak source remain unknown.
Next step: Use the exact model documentation or qualified KitchenAid service for diagnosis. Do not order a hose, washer, vent component, pump, or other part until fitment and the leak mechanism are confirmed.
Why this matters
Why: KitchenAid installation and repair instructions vary by model and by Steam, gas, and electric configuration. Missing model or source information limits safe part and procedure selection; it is not evidence that a generic dryer part fits.
Use your observations
Decision map
Find the observation that best matches what you see, then follow the next safe action.
-
PATH 01Next step
What you see
Do this next
Keep the dryer's cold-water faucet off, do not run Steam, and arrange exact-model service or use only a model-confirmed replacement connection.
-
PATH 02Next step
What you see
Do this next
Keep the dryer off until the vent is corrected or professionally cleaned. If water remains or the vent is clear, escalate to appliance service rather than adding a condensate pump or other unsupported part.
-
PATH 03Next step
What you see
Do this next
Stop using the dryer, isolate water and power when safe, and arrange qualified service. Do not remove panels or run repeated cycles to reproduce the leak.
Helpful context
Understand the symptom
Start with the dryer's architecture
Do not assume every KitchenAid dryer has a drain pump or a water circuit. The opened KitchenAid manual says to skip the water-connection steps on vented, non-Steam models; Steam models instead use a cold-water faucet, a Y connector, and inlet hoses. Record the model number if available, then note whether the wet spot is at a rear hose connection, at the exhaust outlet, under the cabinet, or outside the dryer. That location and whether the dryer was running or idle determine which branch is safe to follow.
What the vent check can and cannot establish
KitchenAid's venting guidance covers a vented dryer's lint screen, exhaust hose, exterior hood, and airflow. It warns against crushed or kinked ducting, plastic or foil ducting, and blocked outdoor discharge. A restricted vent can leave a damp area or moisture around the exhaust, but the manual does not establish that every puddle is caused by condensation. If water is collecting inside the cabinet or the wet source cannot be traced to a visible external connection, stop rather than treating airflow as a confirmed leak diagnosis.
Keep the inspection external
Switch the dryer off, let it cool, and disconnect power before looking around the rear or exhaust connection. On a Steam model, close the cold-water faucet before touching the hose. Do not remove panels, probe wiring, loosen gas fittings, or keep operating the dryer while water reaches electrical parts. KitchenAid's gas guidance reserves gas leak testing and related service for qualified personnel.
Safety boundary
Stop conditions
- Do not operate the dryer when water is near electrical parts, the cord, or the controls.
- Do not remove cabinet panels, probe live wiring, loosen gas fittings, or attempt gas leak testing.
- For a Steam model, keep the cold-water faucet closed after a hose or connection leak is found.
- Do not run the dryer with a disconnected exhaust vent or continue cycling to reproduce an unexplained leak.
Only after diagnosis
Potential parts
- Steam dryer water inlet hose or rubber washer
Consider this only when the exact Steam model has a visible leak, bulge, cut, or failed washer at the water connection and the manual or technician confirms the part is the source.
Confirm the complete dryer model and the manufacturer's fit information; do not assume a generic washer or hose fits every KitchenAid Steam dryer. - metal dryer exhaust duct component
Consider this only when the exact installation guidance or a qualified vent professional confirms that a crushed, damaged, or incorrectly installed exhaust component is causing the observed airflow problem.
Confirm the model's installation requirements and the route before ordering; this is not a substitute for diagnosing water inside the cabinet.
When checks do not resolve it
Need a professional?
Call qualified appliance or vent service if water is inside the cabinet, the leak reaches the cord or controls, a Steam hose is split or continues leaking after the faucet is closed, the vent is damaged or deeply blocked, the source is unclear, or the problem returns after an obvious external connection issue is addressed. Stop immediately for smoke, burning smell, gas odor, a damaged cord or plug, or any need to open the cabinet or test live wiring.
Common questions
FAQ
Can every KitchenAid dryer leak from a water hose?
No. The opened KitchenAid manual separates Steam models, which have a cold-water inlet, from vented non-Steam models. Do not apply Steam hose or washer guidance to a dryer without that architecture.
What should I do first if a KitchenAid Steam dryer is leaking at the rear?
Turn off the cold-water faucet supplying the dryer, keep the Steam cycle off, and inspect only the visible hose, washer, Y connector, and faucet area. A damaged or persistent leak needs exact-model service.
Can a blocked vent explain water near a non-Steam dryer?
A blocked, crushed, kinked, or disconnected vent can cause poor airflow and moisture around the exhaust, but KitchenAid's manual does not establish that every puddle is caused by condensation. If water persists, is under the cabinet, or has no clear external trail, stop and request service.
Should I add a drain pump or order a generic dryer leak part?
No. The assigned dryer model is unspecified, and the opened KitchenAid material does not establish a condensate-pump architecture for this topic. Confirm the exact model and leak mechanism before selecting any part.
Read the exact guide
Official sources
- Owner's ManualKitchenAid · KitchenAid dryer safety, lint-screen maintenance, vented exhaust installation, airflow restrictions, and troubleshooting
- Owner's ManualKitchenAid · KitchenAid dryer Steam water inlet, hose and washer inspection, vented non-Steam architecture, gas safety, and model-specific installation
Community feedback
Share a repair observation
Share a plain-text repair observation. Accepted observations are published automatically; this page may take a moment to update.