
On this page
Start here
Quick answer
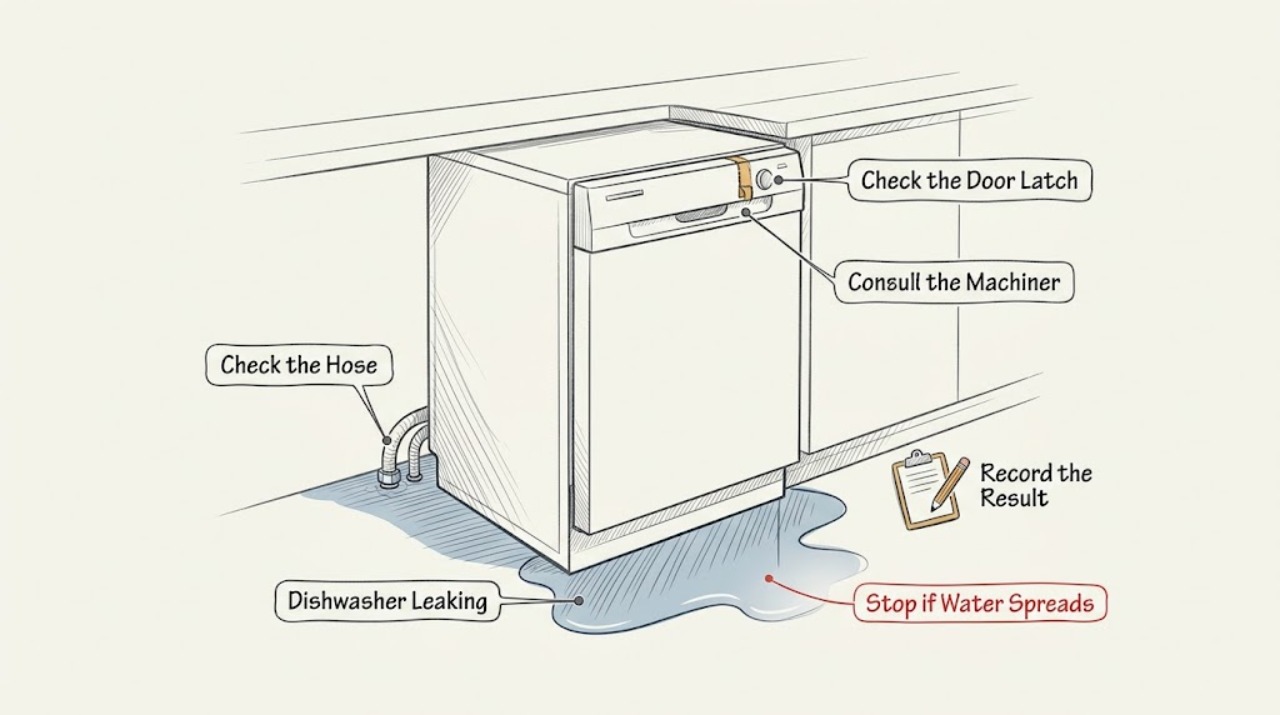
Stop the cycle and identify whether water came from the door edge, a visible hose connection, or underneath the dishwasher. Keep power and water isolated if the leak can reach electrics; only correct an obvious loading or external connection issue, and use the model manual before removing a seal or panel.
Work through in order
Diagnostic checks
Use only checks that match the exact appliance or system and its official guide.
-
Check 1
Stop the cycle, keep hands away from pooled water near electrical connections, and note whether the first water appears at the front door edge, under the tub, or at a hose/faucet connection.
Expected result: Water is still flowing, reaches an electrical area, or the source cannot be seen safely.
Next step: Turn off the water supply and power only from a safe dry position, then arrange qualified service.
Why this matters
Why: An active water or electrical hazard takes priority over troubleshooting.
-
Check 2
With the unit empty and off, inspect the door gasket, latch area, racks, and detergent dispenser for a trapped item or load that prevents an even seal.
Expected result: A utensil, rack, gasket fold, or residue is holding the door path open.
Next step: Remove only the accessible obstruction, wipe the sealing surfaces, and run no further test if the gasket is torn or the latch is damaged.
Why this matters
Why: The door may be directing wash water past the seal rather than containing it.
-
Check 3
For a countertop unit, inspect the quick-connect, inlet hose, and outlet hose externally; for a built-in unit, inspect visible supply and drain connections without pulling the appliance out.
Expected result: A connection is loose, a hose is kinked, or water appears at a fitting.
Next step: Close the water supply, correct only a clearly accessible connection according to the model manual, and request service if the fitting continues to leak.
Why this matters
Why: The installation connection may be leaking independently of the wash tub.
Use your observations
Decision map
Find the observation that best matches what you see, then follow the next safe action.
-
PATH 01Next step
What you see
The leak starts at the door edge and an obstruction or gasket issue is visible
Do this next
Correct the accessible obstruction only and stop if the gasket or latch is damaged.
-
PATH 02Next step
What you see
The leak begins at a connection or underneath the cabinet
Do this next
Isolate water and power when safe and arrange qualified service.
Helpful context
Understand the symptom
Location and timing narrow the leak
Magic Chef offers countertop models with inlet and outlet hoses as well as built-in models with different installation paths. A leak observed during filling is not the same as one that appears only at the door or after draining.
When checks do not resolve it
Need a professional?
Use Magic Chef model-specific service for a persistent or inaccessible leak.
Common questions
FAQ
Can I run another cycle to see where the dishwasher leaks?
Only after the water source is safe, the floor is dry, and no electrical area is wet. If the source is unclear or underneath, isolate water and power and arrange service.
Should I replace the gasket immediately?
Not without confirming the model and seeing that the gasket or latch is actually the leak path. A trapped item or hose connection can create the same symptom.
Read the exact guide
Official sources
- Manual DownloadsMagic Chef · Magic Chef model-specific product manuals
- SupportMagic Chef · Magic Chef product support and service paths
- 24 in. Black Front Control Built-in Stainless Steel Tall Tub DishwasherMagic Chef · Magic Chef built-in dishwasher configuration and controls
- 21 in. Countertop Dishwasher with 6-Cycles, 6 Place Settings Capacity in WhiteMagic Chef · Magic Chef countertop dishwasher quick-connect, inlet, and outlet hose installation
Community feedback
Share a repair observation
Share a plain-text repair observation. Accepted observations are published automatically; this page may take a moment to update.