
On this page
Start here
Quick answer
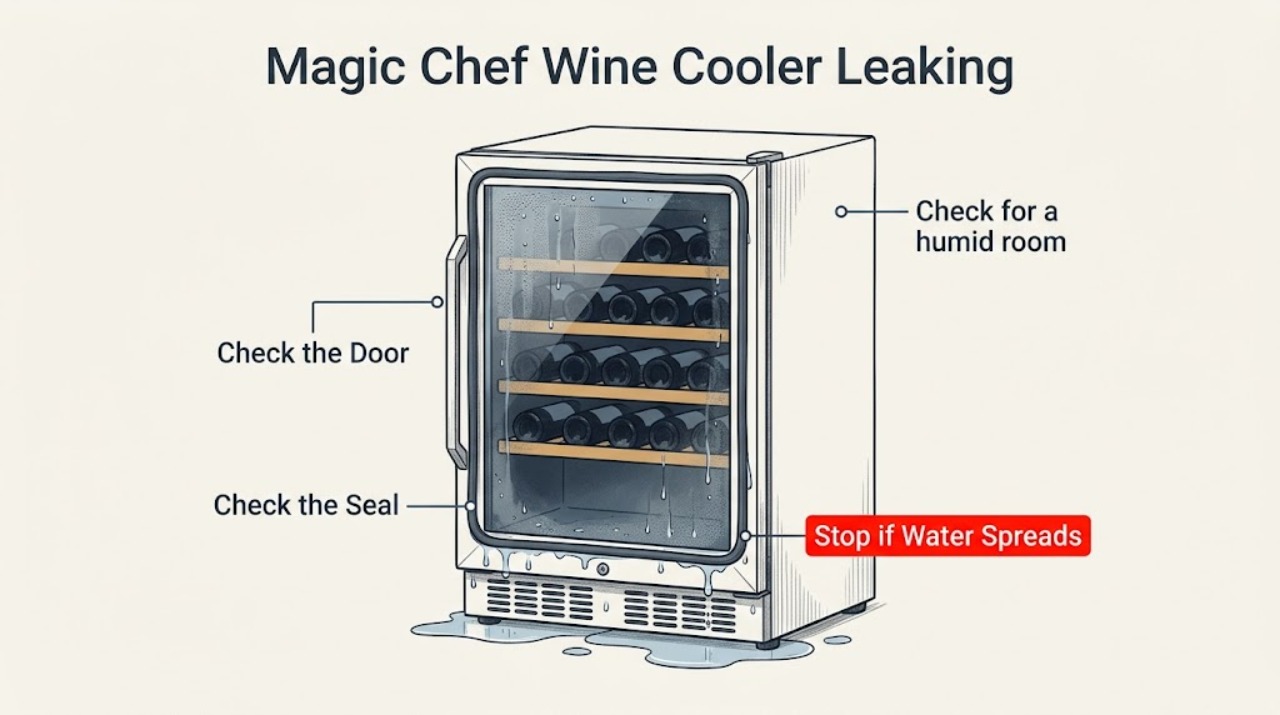
A Magic Chef wine cooler leak may be room moisture collecting around the cabinet, a door that is not sealing, or water reaching the floor from a model-specific drain or evaporation path. First locate whether moisture is inside the cabinet, at the door, or underneath; dry the area and check level, clearance, door closure, and humidity without removing panels. If water reaches electrical parts, the cord is damaged, or the leak persists, unplug only from a dry safe position and arrange service.
Work through in order
Diagnostic checks
Use only checks that match the exact appliance or system and its official guide.
-
Check 1
With the wine cooler powered off only if the area is dry and safe, wipe the floor and trace fresh moisture to the door edge, inside rear wall, underside, or a nearby spill.
Expected result: Water is at the door gasket, inside the cabinet, or directly under/around the base.
Next step: Photograph and record the location before cleaning; continue with the matching check.
Stop if: If the source is not clear, keep the unit dry and request inspection rather than guessing.
Why this matters
Why: The location distinguishes a seal or condensation issue from a drain, evaporation, or external spill path.
-
Check 2
Check that the wine cooler is level, the racks are seated, bottles are not preventing the door from closing, and the gasket contacts the frame all the way around.
Expected result: The door is slightly open, racks or bottles obstruct it, or the gasket has a visible gap or dirt.
Next step: Reposition the obstruction, clean the accessible gasket with the manual-approved method, and level the cabinet as specified.
Stop if: Continue to the environment and installation check.
Why this matters
Why: Warm humid air can enter and condense, while an uneven cabinet can affect door closure and water movement.
-
Check 3
Check for a humid room, direct sunlight, nearby heat source, blocked ventilation, or a built-in installation that does not match the exact model's clearance requirements.
Expected result: The room is humid or hot, the unit is in sunlight or near heat, or ventilation/clearance is restricted.
Next step: Move or ventilate the unit only within the model's installation limits; do not push a freestanding model into a cabinet.
Stop if: Continue to the model-specific water path boundary.
Why this matters
Why: Excess condensation or poor heat rejection can create water around the cooler and reduce performance.
-
Check 4
Inspect only the accessible drip area or outlet described by the exact manual; do not poke a drain with wire, remove covers, or tip a loaded cooler.
Expected result: The outlet is visibly blocked, water returns after cleaning, or moisture reaches electrical parts.
Next step: Stop using the cooler, isolate power only from a dry safe position, and arrange qualified appliance service.
Stop if: Monitor after the safe seal and environment corrections and provide the leak location to service if it returns.
Why this matters
Why: A drain or evaporation fault may require service, and water near electricity is a safety concern.
Use your observations
Decision map
Find the observation that best matches what you see, then follow the next safe action.
-
PATH 01Next step
What you see
Moisture is on the door edge or inside wall and the door does not seal
Do this next
Correct the door obstruction or seal condition and reassess in the same environment.
-
PATH 02Next step
What you see
A puddle forms under the cooler in a humid or poorly ventilated location
Do this next
Correct the environment within the manual's installation limits and monitor.
-
PATH 03Next step
What you see
Water returns from the base or reaches an electrical connection after accessible checks
Do this next
Keep the cooler off and arrange qualified appliance service.
Helpful context
Understand the symptom
Find the water's location first
A damp inside wall is different from a puddle under the unit. Wine coolers also vary: some use a drip or evaporation arrangement, and built-in or dual-zone models may have different installation requirements. Use the exact model manual before dismantling anything.
When checks do not resolve it
Need a professional?
Keep the wine cooler off when water reaches electrical parts or the source cannot be safely accessed.
Common questions
FAQ
Why is water pooling under a Magic Chef wine cooler?
Room humidity, door-seal leakage, leveling, or a model-specific water-handling fault can contribute. Locate the moisture, check the seal and installation conditions, and use the exact manual before service.
Can I use a wire to clear the wine cooler drain?
Do not insert tools into an unknown drain or remove covers. Follow the exact model manual; have an inaccessible or recurring blockage serviced.
Read the exact guide
Official sources
- Freestanding Wine Cooler User’s ManualMC Appliance / Magic Chef · Magic Chef freestanding wine cooler installation, moisture, door, leveling, and troubleshooting
- 24 in. 44 Bottle or 140 Can Dual Zone Wine Beverage in Stainless SteelMagic Chef · Magic Chef wine and beverage cooler configurations, zones, controls, and installation context
Community feedback
Share a repair observation
Share a plain-text repair observation. Accepted observations are published automatically; this page may take a moment to update.