
On this page
Start here
Quick answer
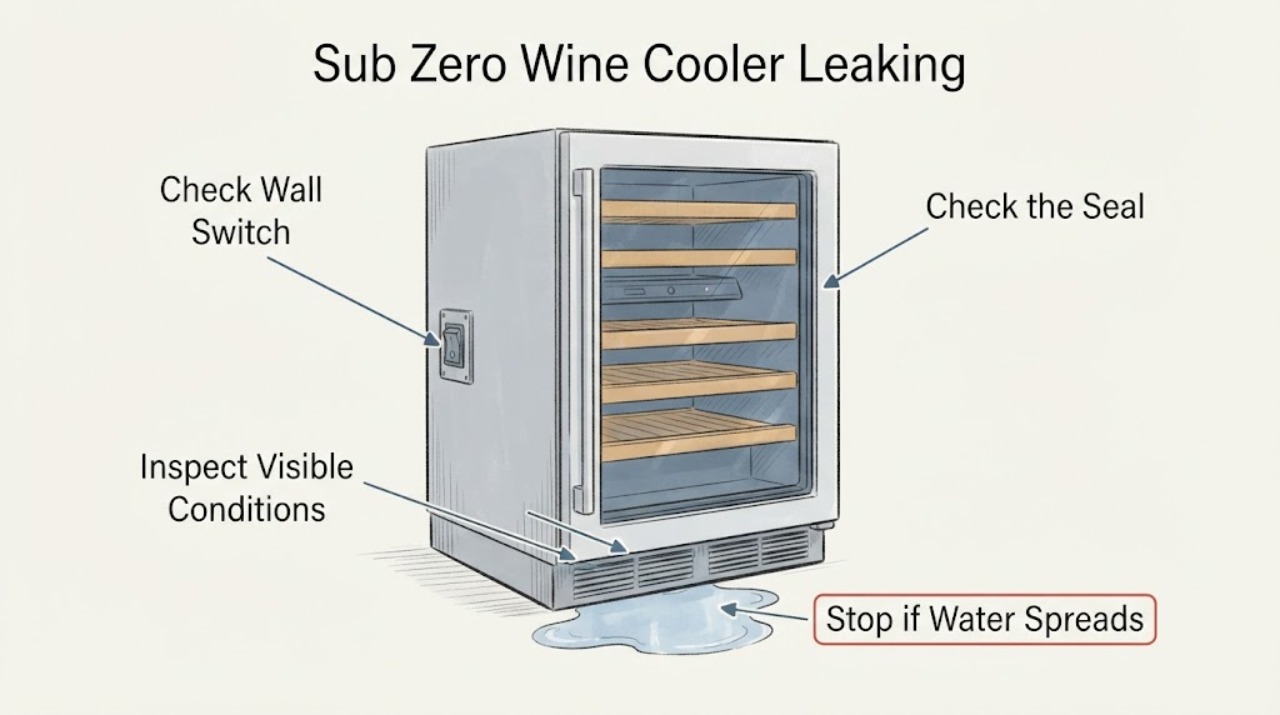
A leaking Sub-Zero wine cooler should be isolated from electrical contact first, then traced from the first wet point. Check the water shutoff if the unit is connected to a supply, the gasket and door closure, and the approved condenser area; persistent or internal leaks need Factory Certified Service.
Work through in order
Diagnostic checks
Use only checks that match the exact appliance or system and its official guide.
-
Check 1
Disconnect risk and locate the water: Turn the wine cooler off and, if water is near an outlet or cord, isolate power at the accessible switch or breaker without touching wet electrical parts. If the unit has a connected water supply, close the home shutoff.
Expected result: The leak stops when the supply is closed, or water continues with no supply connection.
Next step: Keep the unit isolated and arrange qualified service if water is near electrics or continues.
Why this matters
Why: A stop after shutoff points toward a supply or valve path; continued water points toward condensation, a drain pan, or an internal leak.
-
Check 2
Trace the first wet point: Dry the floor and lower cabinet, then observe where new moisture appears: hose or fitting, underneath, door gasket, or cabinet interior.
Expected result: Water reappears at a fitting, under the cabinet, or along the gasket.
Next step: Do not dismantle the unit; photograph the first wet point for the service visit.
Why this matters
Why: A fitting suggests home plumbing; an inaccessible pan or internal source needs service; gasket moisture may need cleaning and inspection.
-
Check 3
Inspect door sealing: Remove anything that prevents the door from closing, then wipe the gasket clean and dry and check for a torn or displaced section.
Expected result: The gasket is dirty but intact, or it is torn, loose, or still seeping after cleaning.
Next step: Retest with the door fully closed; escalate if moisture returns.
Why this matters
Why: A clean intact gasket may restore the seal; damage or persistent seepage needs a replacement part or certified service.
-
Check 4
Check condenser condition: With the unit safely isolated, look through the approved access area for a visibly dirty condenser and clear only loose surface dust according to the owner guide.
Expected result: The condenser is visibly obstructed, or it is clean and the leak remains.
Next step: Use the model guide for access and request service for an inaccessible or persistent fault.
Why this matters
Why: Restricted heat rejection can worsen condensation; a clean condenser with ongoing leakage points away from this simple cause.
-
Check 5
Confirm recovery after correction: After the source is dry and the door is sealing, monitor the unit during normal closed-door operation for renewed droplets or a growing puddle.
Expected result: Moisture stops, or a new puddle forms again.
Next step: Keep the water supply closed if applicable and schedule Factory Certified Service for recurrence.
Why this matters
Why: A dry retest supports a door or condensation cause; recurrence means the source was not corrected.
Use your observations
Decision map
Find the observation that best matches what you see, then follow the next safe action.
-
PATH 01Next step
What you see
The control shows a delay, pause, or unfinished previous cycle.
Do this next
Cancel or reset it using the model manual, then observe one controlled restart.
Why this path and its safety boundary
Why it matters: The dishwasher or appliance may be waiting for a control action rather than failing at the reported component.
-
PATH 02Next step
What you see
The external path is restricted, the door or gasket is not sealing, or the filter is visibly blocked.
Do this next
Correct only the accessible condition described by the manufacturer and retest once.
Why this path and its safety boundary
Why it matters: An accessible installation, sealing, or maintenance condition is more likely than an internal part failure.
-
PATH 03Next step
What you see
Controls are ready, accessible paths are clear, and the same symptom returns during a repeat cycle.
Do this next
Stop using the appliance when the symptom can cause damage and contact the manufacturer or an authorized servicer with the recorded observations.
Why this path and its safety boundary
Why it matters: The remaining possibilities include an internal valve, pump, sensor, heater, or control fault that cannot be identified safely without the model manual and service tools.
Helpful context
Understand the symptom
This guide keeps the sub-zero wine-cooler diagnosis at the accessible checks supported by the manufacturer source. Work in order and use each observation to choose the next branch.
When checks do not resolve it
Need a professional?
Stop and contact the manufacturer or an authorized technician if the symptom persists after the accessible checks, water reaches electrical parts, a breaker trips again, smoke or burning smell appears, or any wiring, sealed system, pump, valve, or control requires access.
Common questions
FAQ
Should I keep running it while I troubleshoot?
Stop if water is near electrical parts, a breaker trips, there is smoke or a burning smell, or the appliance is sparking. Otherwise perform only the external checks in the sequence and stop if the symptom returns.
Do I need the exact model number?
Yes. Controls, filters, drain routing, and service procedures vary by model. Record the model label and any displayed code before ordering a part or requesting service.
When is a replacement part justified?
Only after the model manual or an authorized technician links the observed result to that part. A similar symptom alone does not establish fit or compatibility.
Read the exact guide
Official sources
- Water Leaking Under a Sub Zero | How to GuideSub-Zero · Sub-Zero wine storage units and related products
Community feedback
Share a repair observation
Share a plain-text repair observation. Accepted observations are published automatically; this page may take a moment to update.