
On this page
Start here
Quick answer
If a Maytag microwave sparks, stop the cycle immediately and identify whether metal, foil, an accessory touching the cavity, food residue, or a damaged interior surface is involved. Remove only the accessible item after the oven is off and cool, clean residue with the model-approved method, and use only cookware and accessories allowed by the manual. If sparking returns with a clean cavity and approved dish, or there is burn damage, stop using the microwave and arrange qualified service.
Before you begin
Safety first
- Do not operate with the door open or damaged, defeat interlocks, scrape the cavity coating, or remove internal covers.
Work through in order
Diagnostic checks
Use only checks that match the exact appliance or system and its official guide.
-
Check 1
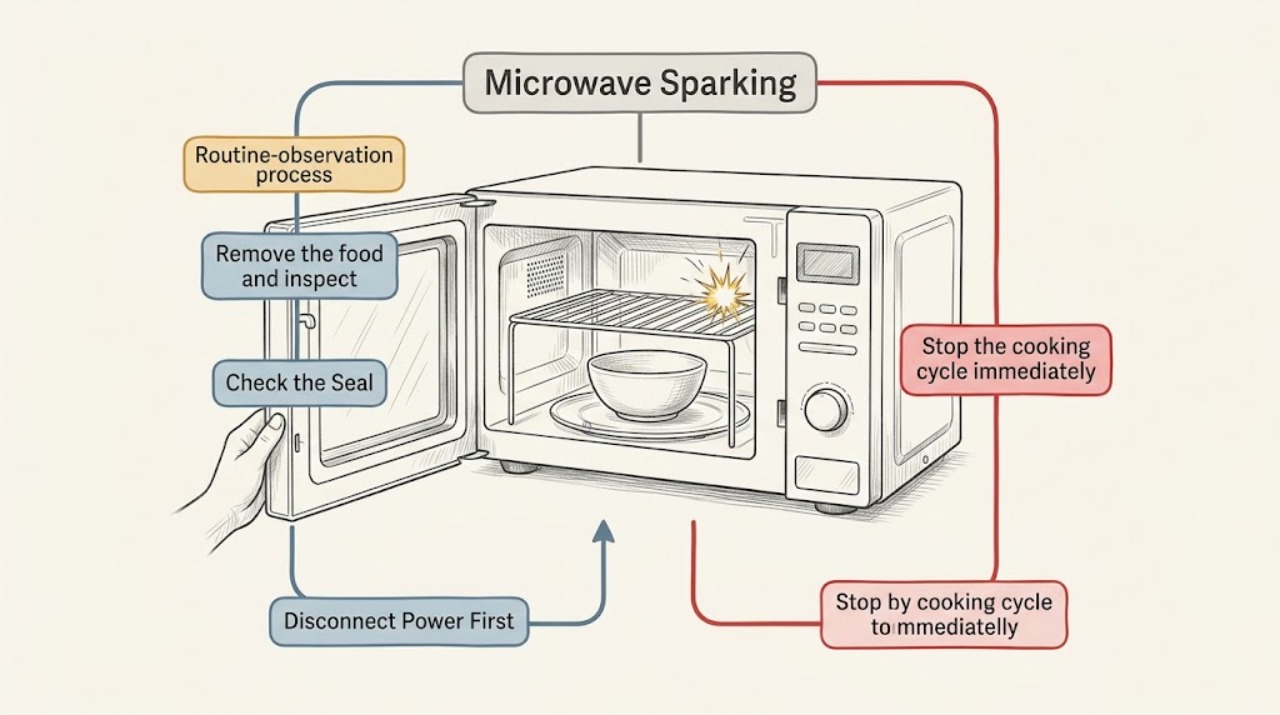
Stop the cooking cycle immediately. Once the cavity is no longer active and the dish is safe to handle, note where the flash occurred and whether there was smoke, flame, or a burning smell.
Expected result: The spark stops with the cycle, or smoke/flame/burning odor or visible damage remains.
Next step: Keep the door closed if material inside ignited, disconnect power only if safe, and do not restart until the cause is identified.
Why this matters
Why: Maytag advises stopping immediately because prolonged arcing can damage the appliance; smoke, flame, or damage changes this from routine inspection to a safety stop.
-
Check 2
Remove the food and inspect the dish, packaging, twist ties, foil, metal trim, skewers, thermometers, or other objects for metal that touched the cavity or was not approved for microwave use.
Expected result: A metal or unapproved item is found, or the dish and packaging are microwave-safe.
Next step: Discard or replace the unsafe item and do not test it again. Continue only if the cavity is undamaged and the cookware is approved.
Why this matters
Why: Maytag lists metal cookware, metallic trim, twist ties, foil liners, and other metal objects as common arcing triggers, subject to the model manual.
-
Check 3
After the cavity is cool, inspect the walls, ceiling, turntable supports, waveguide-cover area, and door/sealing surfaces for splatter, carbonized residue, chipped coating, or an accessory touching the interior.
Expected result: Residue or a touching rack/pan is present, or the cavity looks clean and intact.
Next step: Clean only accessible residue with the model instructions and reposition/remove the accessory. Do not scrape, sand, or remove the waveguide cover.
Why this matters
Why: Maytag identifies soil buildup and racks or crisping pans touching the cavity as possible spark sources; a clean intact cavity makes a recurring internal issue more concerning.
-
Check 4
For one controlled follow-up, use an approved microwave-safe container and the model manual's normal setting, stopping immediately if any flash, odor, smoke, or abnormal sound returns.
Expected result: The microwave operates without arcing, or it sparks again with an approved load and clean cavity.
Next step: Stop and arrange qualified microwave service for recurrence, burn marks, damaged coating, door damage, or abnormal noise.
Why this matters
Why: A one-time clear run after removing a confirmed trigger supports a load or residue cause; recurrence without that trigger is not a safe user-level repair.
Use your observations
Decision map
Find the observation that best matches what you see, then follow the next safe action.
-
PATH 01Next step
What you see
Sparking stops after an unapproved metal item or accessory is removed and the cavity is clean
Do this next
Follow the model manual's cookware and accessory rules and stop immediately if arcing returns.
Why this path and its safety boundary
Why it matters: The cooking load or accessory was the supported trigger.
-
PATH 02Next step
What you see
A clean cavity sparks again with an approved container
Do this next
Leave the microwave unused and request qualified service; do not remove panels.
Why this path and its safety boundary
Why it matters: A cavity, waveguide, door, or internal component fault remains possible.
-
PATH 03Next step
What you see
Sparking is accompanied by flame, smoke, burning odor, or visible damage
Do this next
Keep the door closed if contents ignite, isolate power only if safe, and obtain qualified service before reuse.
Why this path and its safety boundary
Why it matters: The fire and appliance-safety boundary overrides further troubleshooting.
Helpful context
Understand the symptom
Sparking is a stop-and-inspect symptom
Maytag describes arcing as capable of damaging the microwave. The safe sequence is to stop first, then distinguish a removable cooking item or residue from a recurring cavity or internal fault.
When checks do not resolve it
Need a professional?
Stop using the microwave for recurrent arcing or any visible or electrical damage.
Safety scope: Do not operate with the door open or damaged, defeat interlocks, scrape the cavity coating, or remove internal covers.
Have this ready
- Provide the model, spark location, load and accessory used, whether foil/metal was present, cavity condition, and any smoke or burn mark.
Common questions
FAQ
Should I keep running a Maytag microwave to see if the sparks stop?
No. Maytag advises stopping the cycle immediately because prolonged arcing can damage the appliance. Inspect the load only after the cycle is stopped and safe to handle.
Can a dirty Maytag microwave spark?
Yes. Maytag identifies food soil buildup on the cover, cavity walls, turntable supports, or door area as a possible cause. Clean according to the model guide and stop if arcing returns.
Read the exact guide
Official sources
- MAYTAG BUILT-IN MICROWAVE OVEN Use and Care GuideMaytag · Maytag built-in microwave models covered by the guide
- 5 Reasons Why Your Microwave Might Be SparkingMaytag · Maytag microwave use and care
Community feedback
Share a repair observation
Share a plain-text repair observation. Accepted observations are published automatically; this page may take a moment to update.