
On this page
Start here
Quick answer
A Samsung robot vacuum making noise should be stopped and checked with power off for hair or debris in the main brush, side brush, and wheels, a loose brush cover, a packed dustbin or filter, and a sensor or mop attachment that is rubbing. Reassemble only the parts your model's guide identifies and make one supervised test. If the noise or vibration continues with clean, correctly fitted parts, the robot wobbles, a warning returns, or there is heat or a burning smell, stop using it and arrange qualified Samsung service.
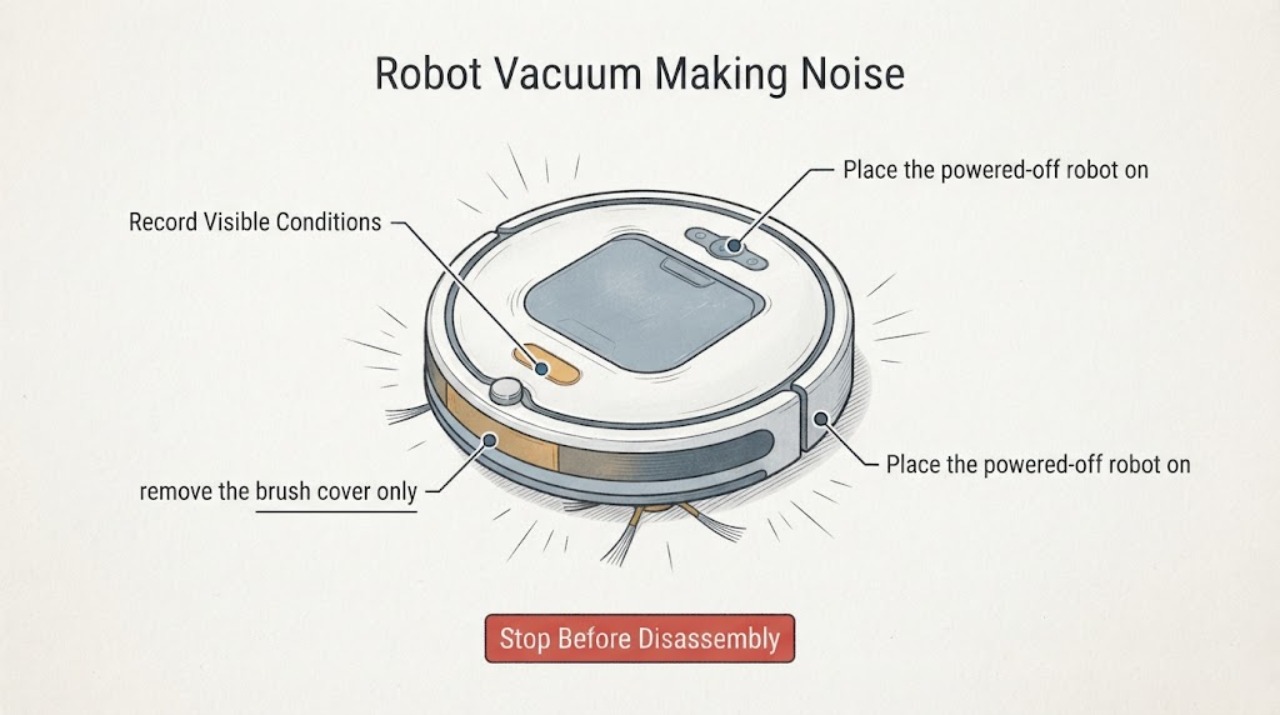
Work through in order
Diagnostic checks
Use only checks that match the exact appliance or system and its official guide.
-
Check 1
Stop the Samsung robot vacuum with its normal control and note the sound from a safe distance before moving it: squeak, clicking, grinding, rattling, or vibration. Record whether it starts while suction runs, when the robot moves, when a brush turns, or only when a mop or Clean Station function is active.
Expected result: The noise is tied to movement, the main or side brush, suction, a mop function, or the Clean Station; or it occurs in every state.
Next step: Power the robot off before inspection. If it is vibrating violently, cannot move normally, or shows heat or a burning smell, leave it off and use the service branch.
Why this matters
Why: A movement-only sound makes a wheel, brush, cover, or floor-contact check more useful. A sound with suction or in every state leaves airflow, motor, or internal mechanical causes possible; the sound alone does not identify a failed component.
-
Check 2
With the robot powered off and unplugged from its charging connection, remove the brush cover only as the model guide shows. Lift out the main brush and inspect both ends, the side brush, and the cover for hair, thread, grit, or a cover that is not seated securely; clean and refit the parts without forcing them.
Expected result: Hair or thread is wrapped around a brush or end, grit is trapped under the cover, the cover does not sit flush, or the brush path is clean and correctly assembled.
Next step: Remove only accessible material, refit the brush and cover according to the exact model instructions, and do not run the robot while a cover is loose. Continue to the wheel and dust path checks if the noise remains.
Why this matters
Why: Tangled material can load a brush and create squeaking or vibration. Samsung specifically links a Jet Bot Combo squeak to an incorrectly assembled brush cover or floor friction, while a clean and secure brush path makes a wheel, airflow, or internal cause more likely.
-
Check 3
Place the powered-off robot on a soft cloth and inspect the driving wheels and side-brush area for hair, thread, or debris. Turn each accessible wheel only as far as it moves normally and remove trapped material with the model-approved cleaning tool; do not disassemble the drive assembly.
Expected result: One wheel is obstructed, rough, or uneven; debris is caught around a side brush; or the wheels and brush move freely with no visible obstruction.
Next step: Clean and refit only accessible parts, then test once on a clear, stable floor. If a wheel remains stiff, the robot wobbles, or the sound returns, stop and arrange service.
Why this matters
Why: Samsung identifies trapped material in the driving wheels as a maintenance condition. A wheel or side brush that remains rough after visible debris is removed can create vibration and needs model-specific diagnosis.
-
Check 4
Remove and empty the dustbin, inspect the filter and suction opening for packed dust, and return every part completely dry and seated in its grooves. If the robot has a mop attachment, check that the attachment and its cover are fitted as the exact model guide shows.
Expected result: The dustbin or filter is packed, a suction opening is blocked, a part is damp or not seated, or the dust path and attachments are clear and secure.
Next step: Empty and refit only the owner-accessible dust and mop parts, then make one supervised test. Do not operate with a wet filter or loose attachment; seek service if the noise persists.
Why this matters
Why: Samsung says dust and debris can affect Jet Bot performance, and its cleaning guidance requires cleaned parts to be dry and correctly reinserted. A blocked or incorrectly fitted dust path can change the sound, while a clear path shifts attention back to the moving parts.
-
Check 5
Wipe the robot's visible sensor windows with a soft, dry cloth and make sure the brush cover, rubber sweep, and other visible lower attachments are not rubbing or misaligned. After reassembly, run one short supervised cleaning pass and record whether the noise changes with the floor or cleaning mode.
Expected result: The noise disappears after reassembly; it occurs only on one floor or with a mop or rubber sweep; or it remains with clean, secure parts in every mode.
Next step: Use the exact model instructions to correct a visible fit or attachment issue once. If the noise returns, vibration persists, or the robot cannot run normally, stop using it and arrange qualified Samsung service.
Why this matters
Why: A mode- or floor-specific squeak can fit contact between an attachment and the floor, while a persistent sound or vibration across modes is less likely to be a simple cleaning issue. Samsung directs support for unusual noise or vibration that cleaning does not resolve.
Use your observations
Decision map
Find the observation that best matches what you see, then follow the next safe action.
-
PATH 01Next step
What you see
The noise stops after hair, thread, or grit is removed from the main brush, side brush, or driving wheel, and the covers and parts are seated correctly.
Do this next
Monitor one normal cleaning run. Stop if the sound returns, the robot vibrates, or the same part becomes obstructed again.
Why this path and its safety boundary
Why it matters: An accessible obstruction or assembly issue is more likely than a confirmed internal failure. Samsung's maintenance steps focus on those parts before service.
-
PATH 02Next step
What you see
A Jet Bot Combo squeaks only when a brush cover is loose or a rubber sweep contacts the floor, and the noise changes after the attachment is fitted correctly.
Do this next
Use the exact Combo instructions to seat the cover or attachment and supervise one run. Contact Samsung service if the squeak remains or returns with correct fit.
Why this path and its safety boundary
Why it matters: The sound is consistent with the model-specific cover or floor-contact explanation Samsung documents for the Combo.
-
PATH 03Next step
What you see
The brush, wheels, dust path, sensors, and visible attachments are clean and secure, but grinding, rattling, or vibration continues in every mode.
Do this next
Stop using the robot and arrange qualified Samsung service. Provide the model, sound type, mode in which it occurs, and the cleaning checks already completed.
Why this path and its safety boundary
Why it matters: A persistent mechanical, motor, or internal alignment problem is more likely than removable debris. The symptom does not identify a safe replacement part.
-
PATH 04Next step
What you see
The robot shows a red warning or voice message, cannot move normally, overheats, smells burnt, or becomes louder after one permitted cleaning check.
Do this next
Power the robot off, keep it away from use, and arrange qualified Samsung service. Do not keep resetting it or open the drive, battery, or motor housing.
Why this path and its safety boundary
Why it matters: This exceeds routine owner cleaning. Samsung routes persistent warning conditions and unusual noise or vibration to support.
Helpful context
Understand the symptom
Identify what is making the sound
A robot vacuum can sound different when the noise comes from the brush, a side brush, a wheel, airflow, or a cover rubbing the floor. Note whether the noise starts as soon as the motor runs, only when the robot moves, or only in a particular cleaning mode. That observation helps choose the first accessible check without assuming that one part has failed.
Clean only with the robot stopped
Power off the Samsung robot vacuum before turning it over or removing a brush. Use a soft, dry cloth on sensors, keep cleaned parts dry, and follow the exact model guide for any cover or attachment. A noise that persists after the owner-accessible cleaning steps needs support rather than repeated testing.
When checks do not resolve it
Need a professional?
Arrange qualified Samsung robot-vacuum service when unusual noise or vibration persists after the owner-accessible brush, wheel, dustbin, sensor, and cover checks; when a wheel remains rough or the robot wobbles; or when a warning returns. Provide the exact model, sound type, cleaning mode, whether a mop or Clean Station function was involved, and what changed after cleaning.
Common questions
FAQ
Why is my Samsung robot vacuum squeaking?
Check for hair or thread in the brush and wheels, and make sure the brush cover is seated correctly. For Jet Bot Combo, Samsung also identifies friction between the rubber sweep and floor as a possible cause. Persistent squeaking after correct cleaning needs service.
Should I turn off the Samsung robot vacuum before cleaning the brush?
Yes. Samsung's Jet Bot guidance says to power off and unplug the robot before removing the spin brush, then clean and reattach it securely. Follow the exact model guide for the main brush and cover.
Can a blocked wheel make a Samsung Jet Bot vibrate?
It can. Samsung recommends inspecting the driving wheels for trapped debris. Clean only accessible material with the robot powered off; a wheel that remains stiff, rough, or uneven needs qualified service.
When should I stop using a noisy Samsung robot vacuum?
Stop when the noise or vibration persists after one permitted cleaning check, the robot cannot move normally, a warning returns, or there is abnormal heat or a burning smell. Record the model and sound pattern for Samsung service.
Read the exact guide
Official sources
- Samsung Jet Bot Combo troubleshootingSamsung Gulf · Samsung Bespoke Jet Bot Combo models; use only the model-specific portions when the robot is a Combo
- How to clean and maintain your Samsung Jet BotSamsung Electronics (UK) Limited · Samsung Jet Bot owner-accessible cleaning and inspection steps; exact parts vary by model
- How Do I Maintain My Samsung Jet Bot?Samsung Gulf · Most Samsung Jet Bot models, including Jet Bot AI+, Jet Bot 90, Jet Bot 85, and Jet Bot 70
Community feedback
Share a repair observation
Share a plain-text repair observation. Accepted observations are published automatically; this page may take a moment to update.